

Table of Contents
This junk journal flowers kit gives a floral journal 36 pages to glue, trim and write on, with no two pages alike. There are 25 full scene pages, from a peony bouquet in a glass jar to a florist shop window, 5 seamless background patterns for pockets and covers, and 6 lined writing pages with floral borders for your own entries.
Print the set on heavyweight matte paper, somewhere between 24lb and 32lb, so the colour sits well and the sheet does not curl when glue touches it. Set your printer to its best or photo quality and let each sheet dry flat for a minute before handling. Trim with scissors or a paper cutter to fit your journal, then glue, tuck or write straight onto the page.
Using these images: free for personal projects such as printing, coloring, cards, journals and gifts. Handmade items that include them may be sold up to 30 pieces per design. More than that is commercial use and is not permitted, and neither is selling or sharing the images themselves or passing them off as your own. Please ask before any other use.
Bouquets and Vases
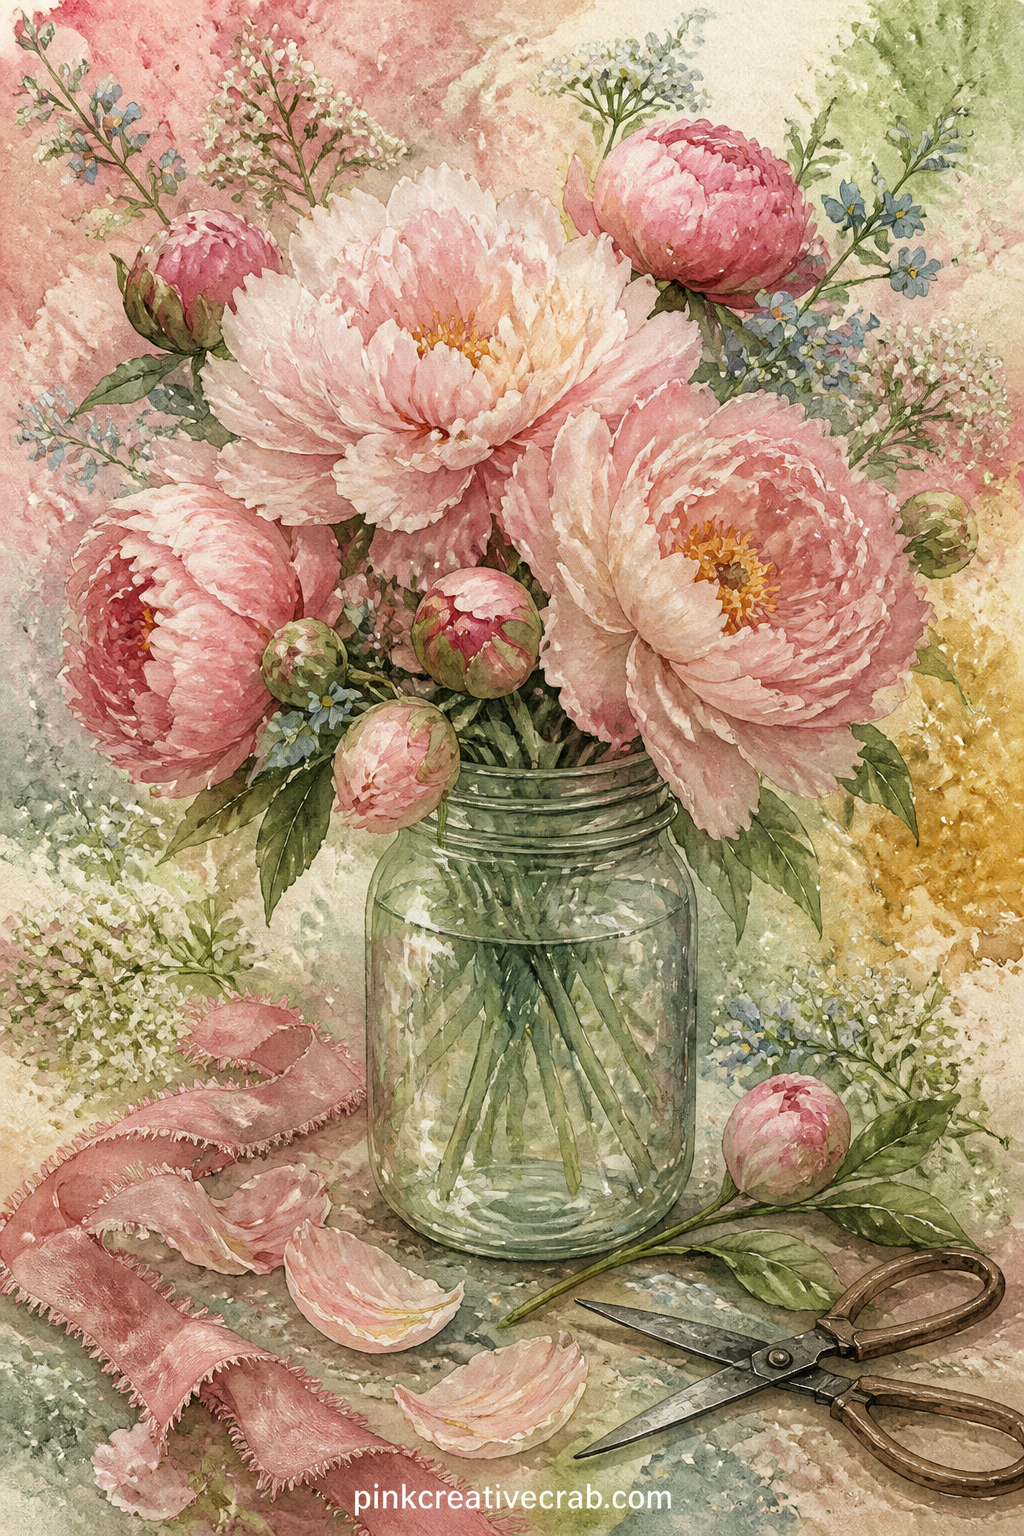
Tuck a small handwritten note under the jar, naming where the peonies came from or who gave them, and the page doubles as a keepsake rather than just a picture.
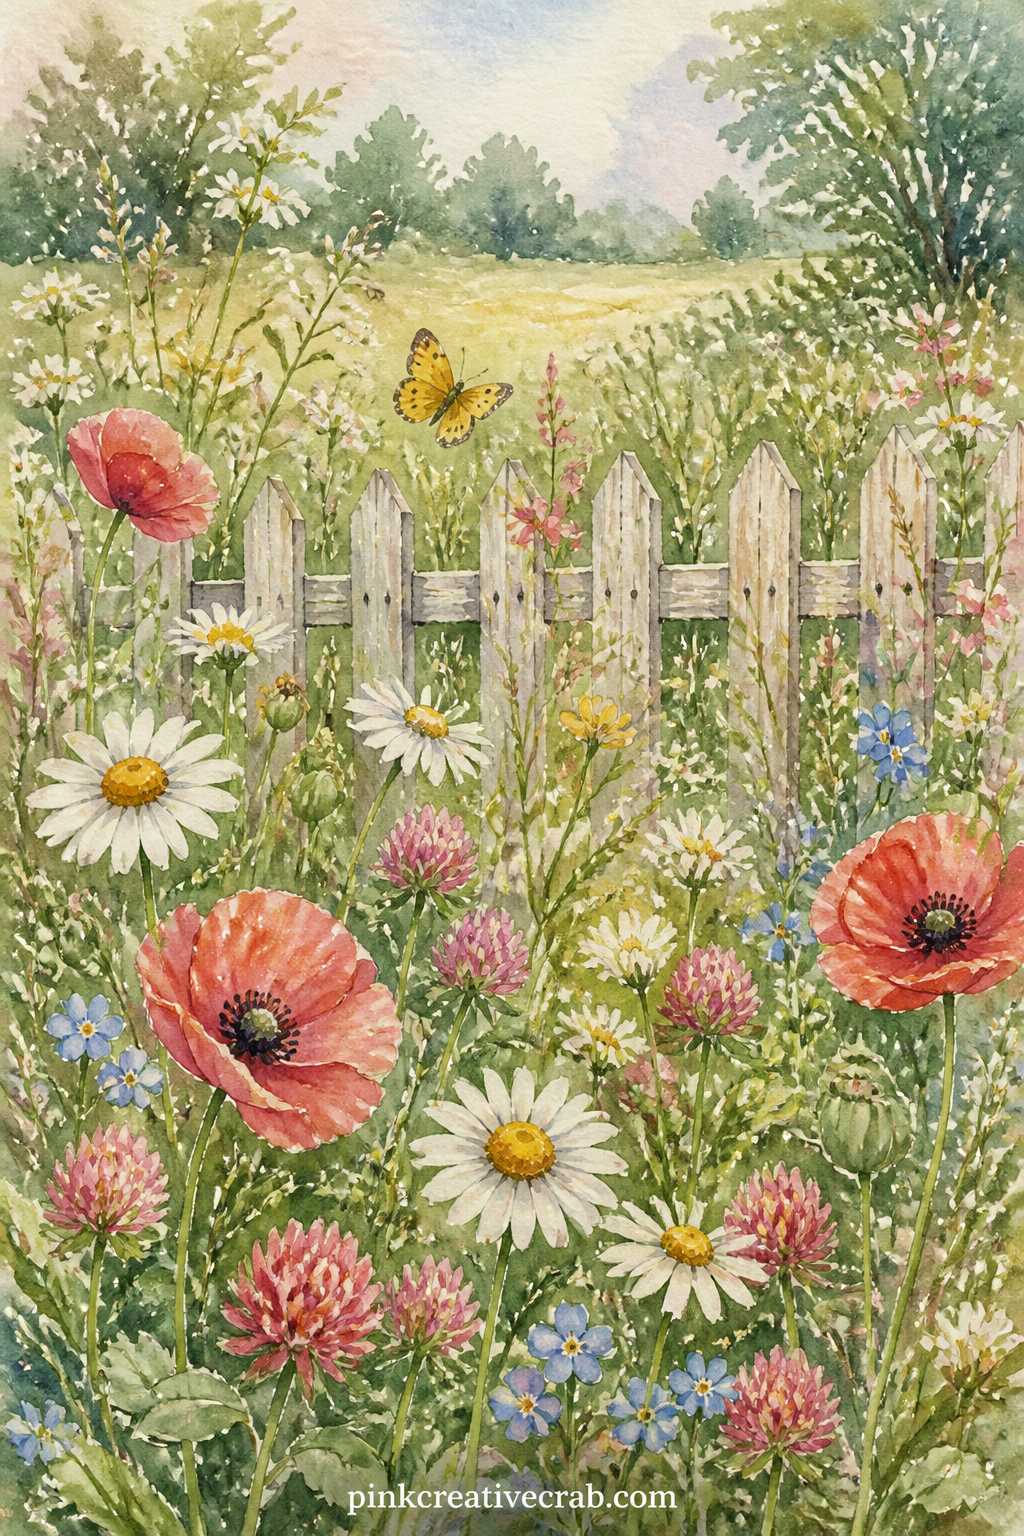
Pair this meadow with the forget-me-not pattern page later in this set, using the pattern as a facing page so the two sheets read like one open spread of flowers.
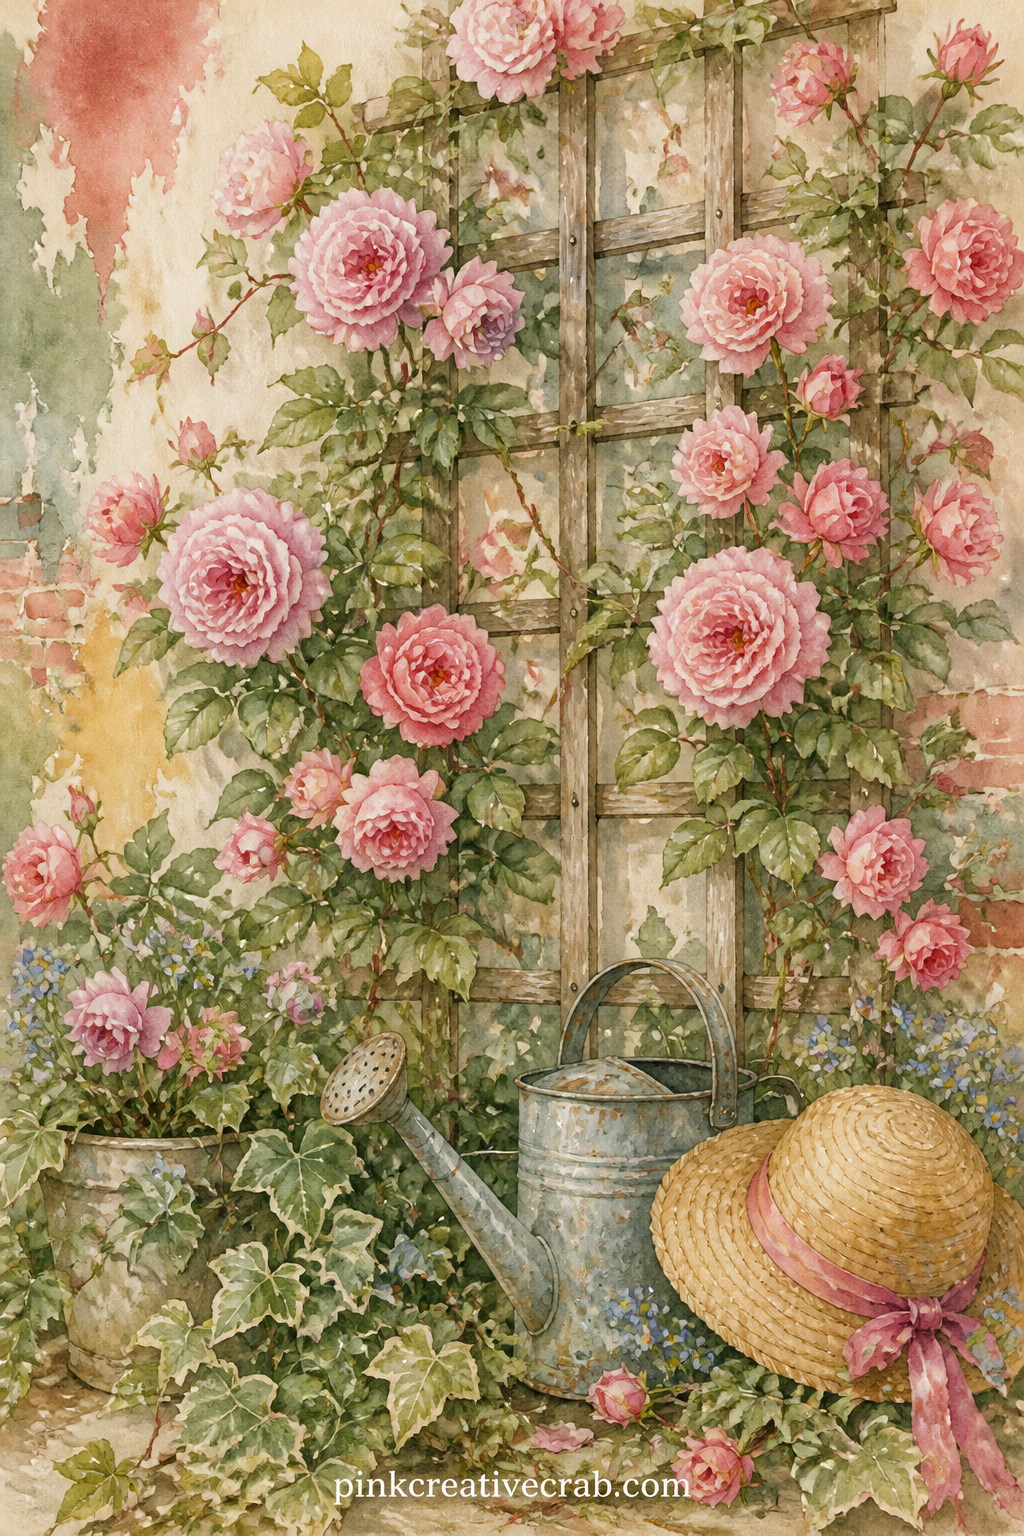
Climbing roses over a wooden trellis make a tall centre image, with a watering can, a sun hat and a trailing vine worked in around the base to fill the page.
Save this one for a spread about a garden visit or a grandmother’s roses, since the trellis gives plenty of room for a caption written along the bottom edge.
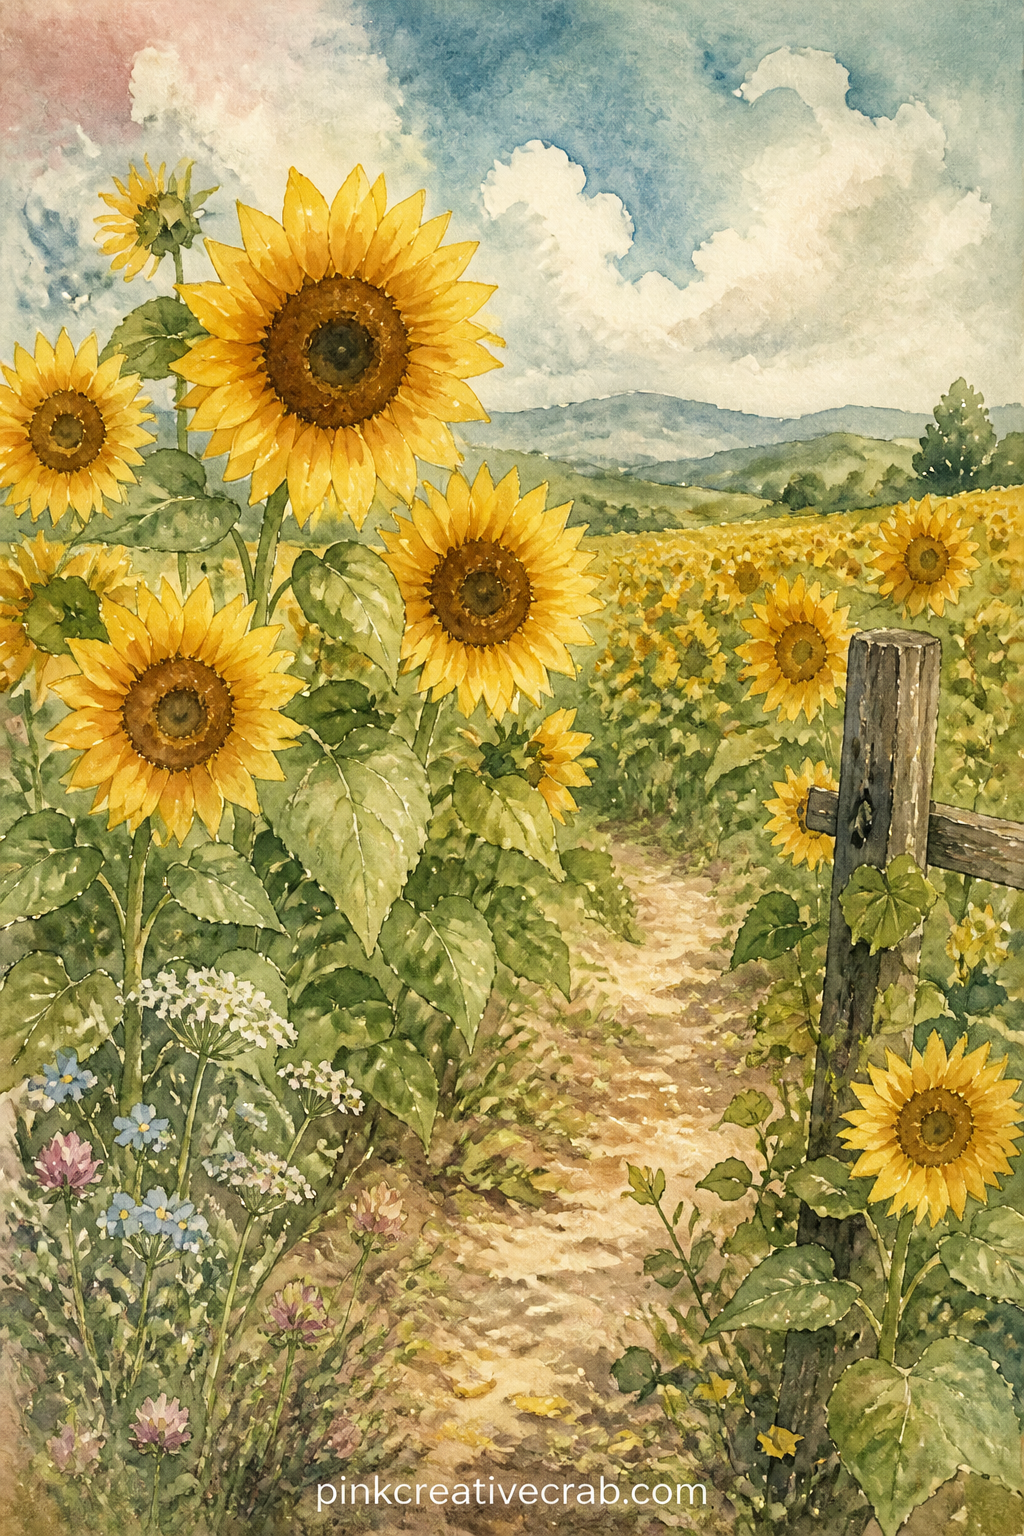
A common mistake is leaving the sky blank white behind tall sunflowers, which makes the page feel unfinished, so look for one where the horizon and clouds are fully painted in.
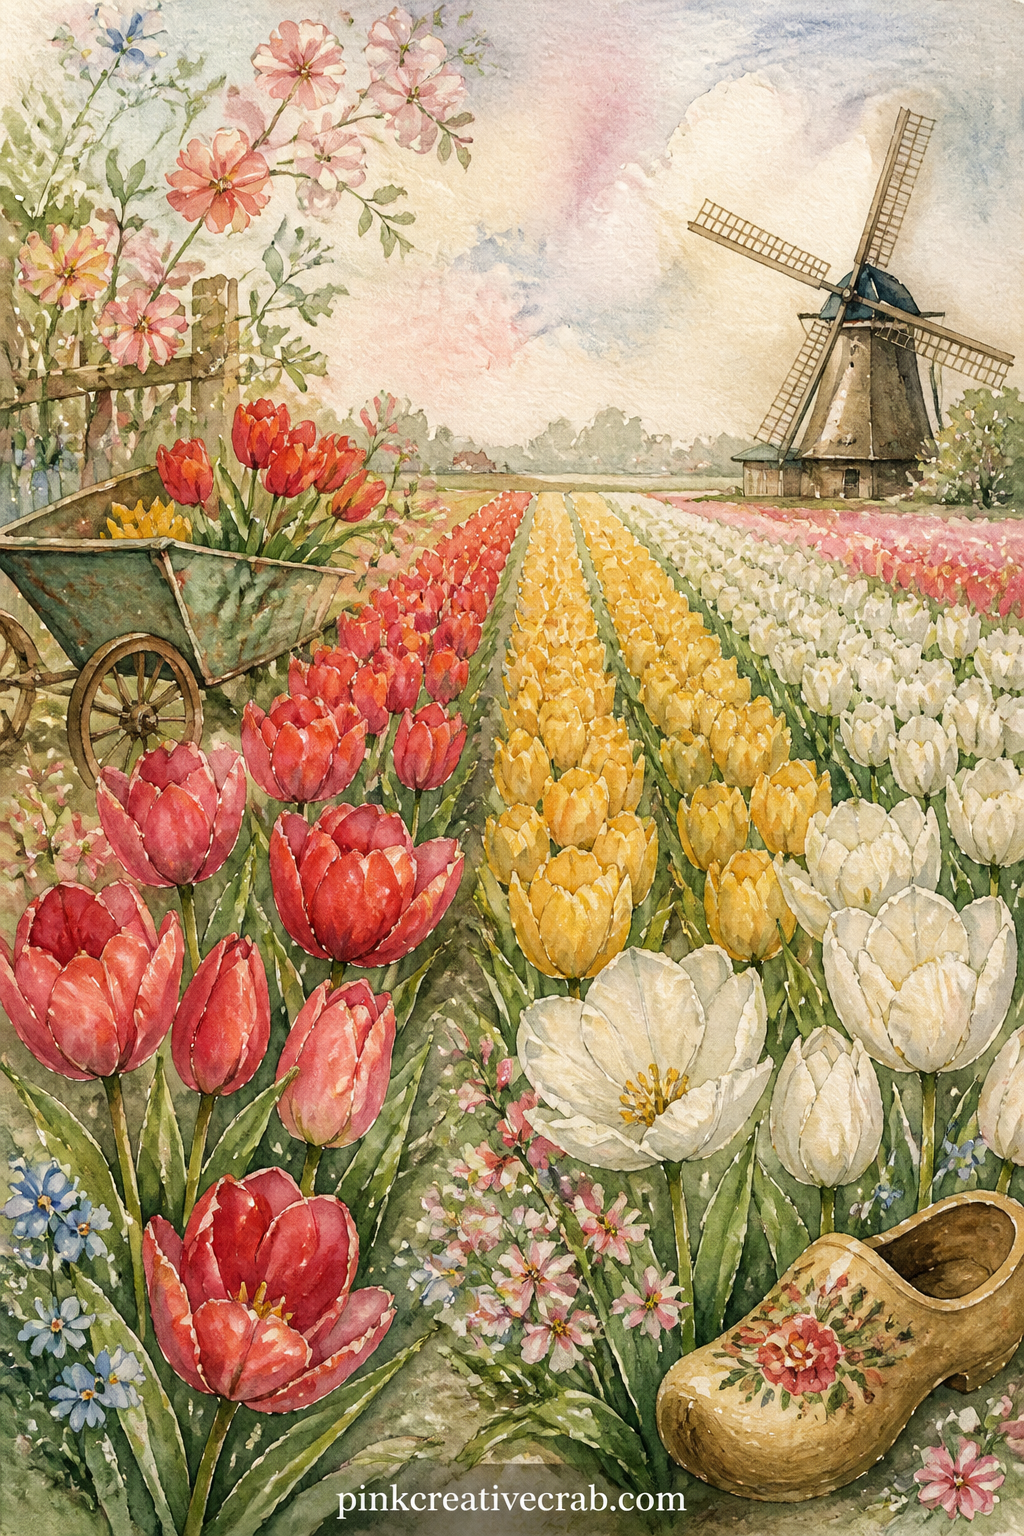
Give this page to the reader of the journal who loves orderly things, since neat rows of tulips in red, yellow and white suit a tidy, list-making kind of writer.
Florist and Market Scenes
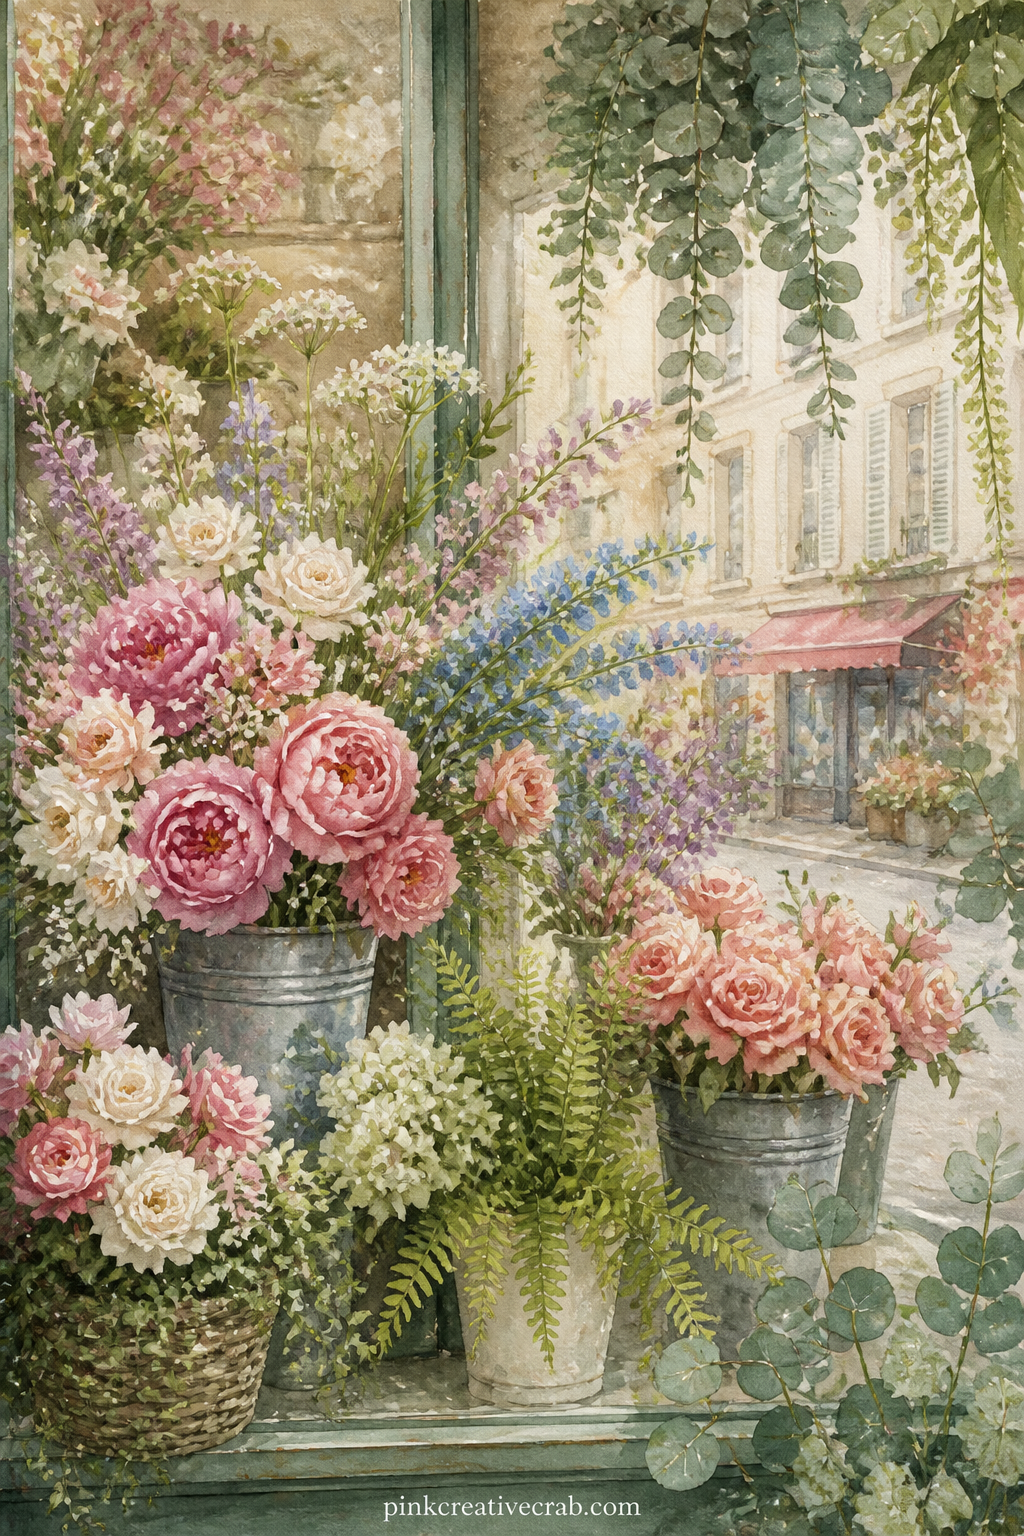
What would you buy from this window, and for whom. Write the answer in a line or two along the pavement edge of the page, naming the bouquet and the occasion.
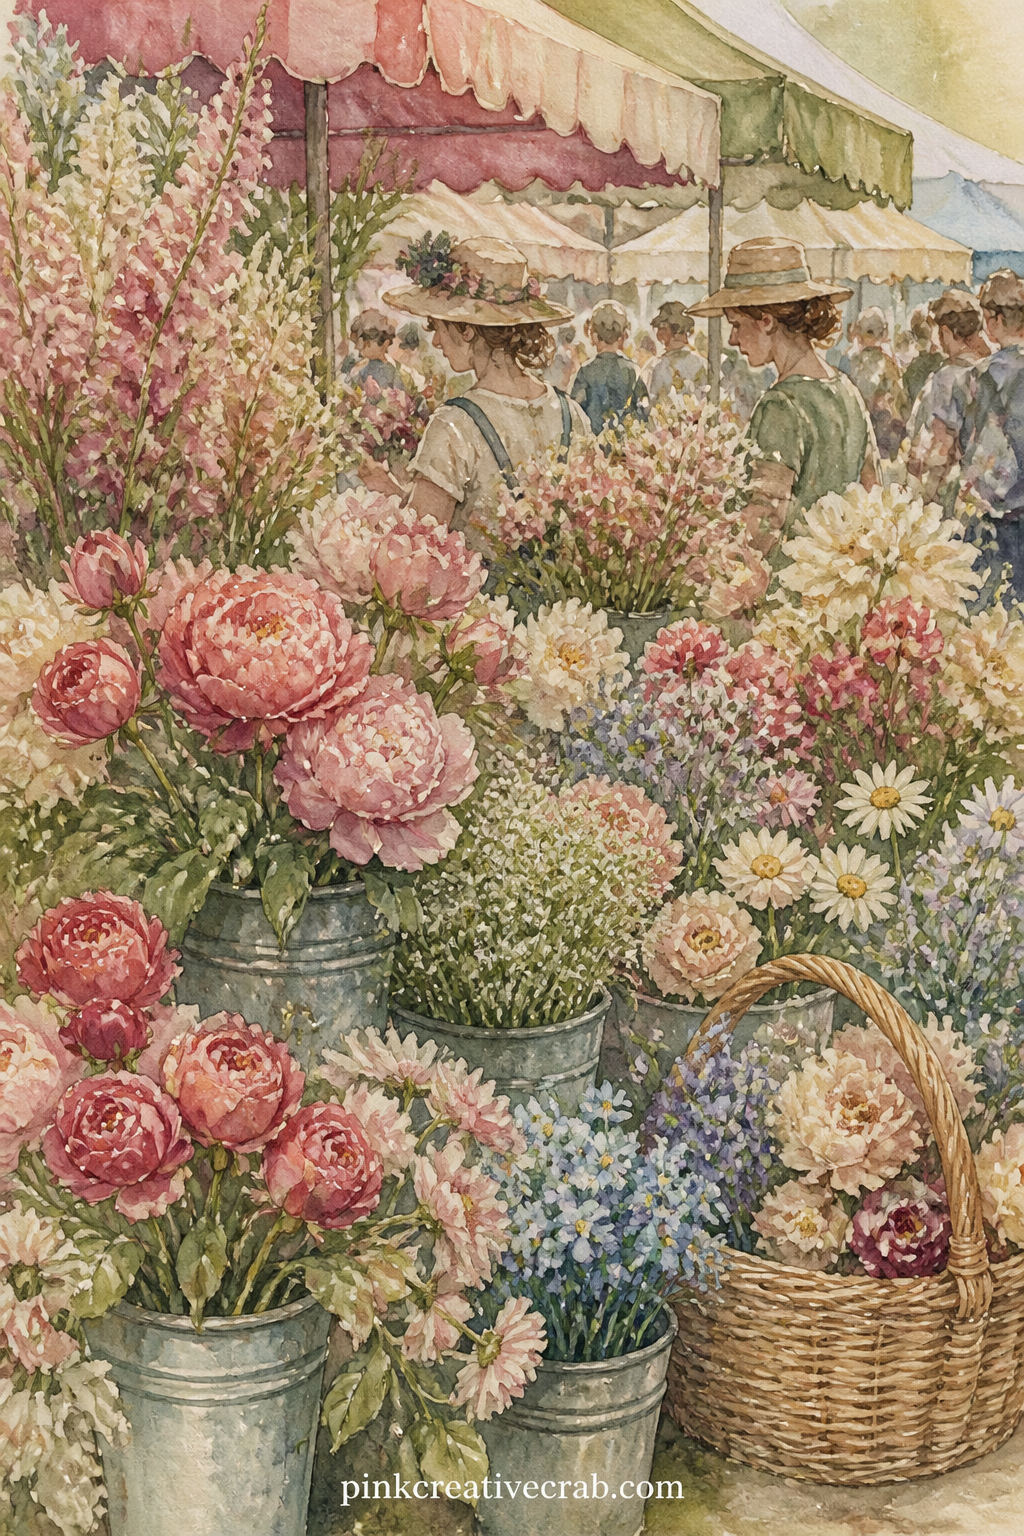
Place a pressed flower or a small cut ticket stub onto this page before gluing it in, so the market stall carries a real souvenir rather than only a painted one.
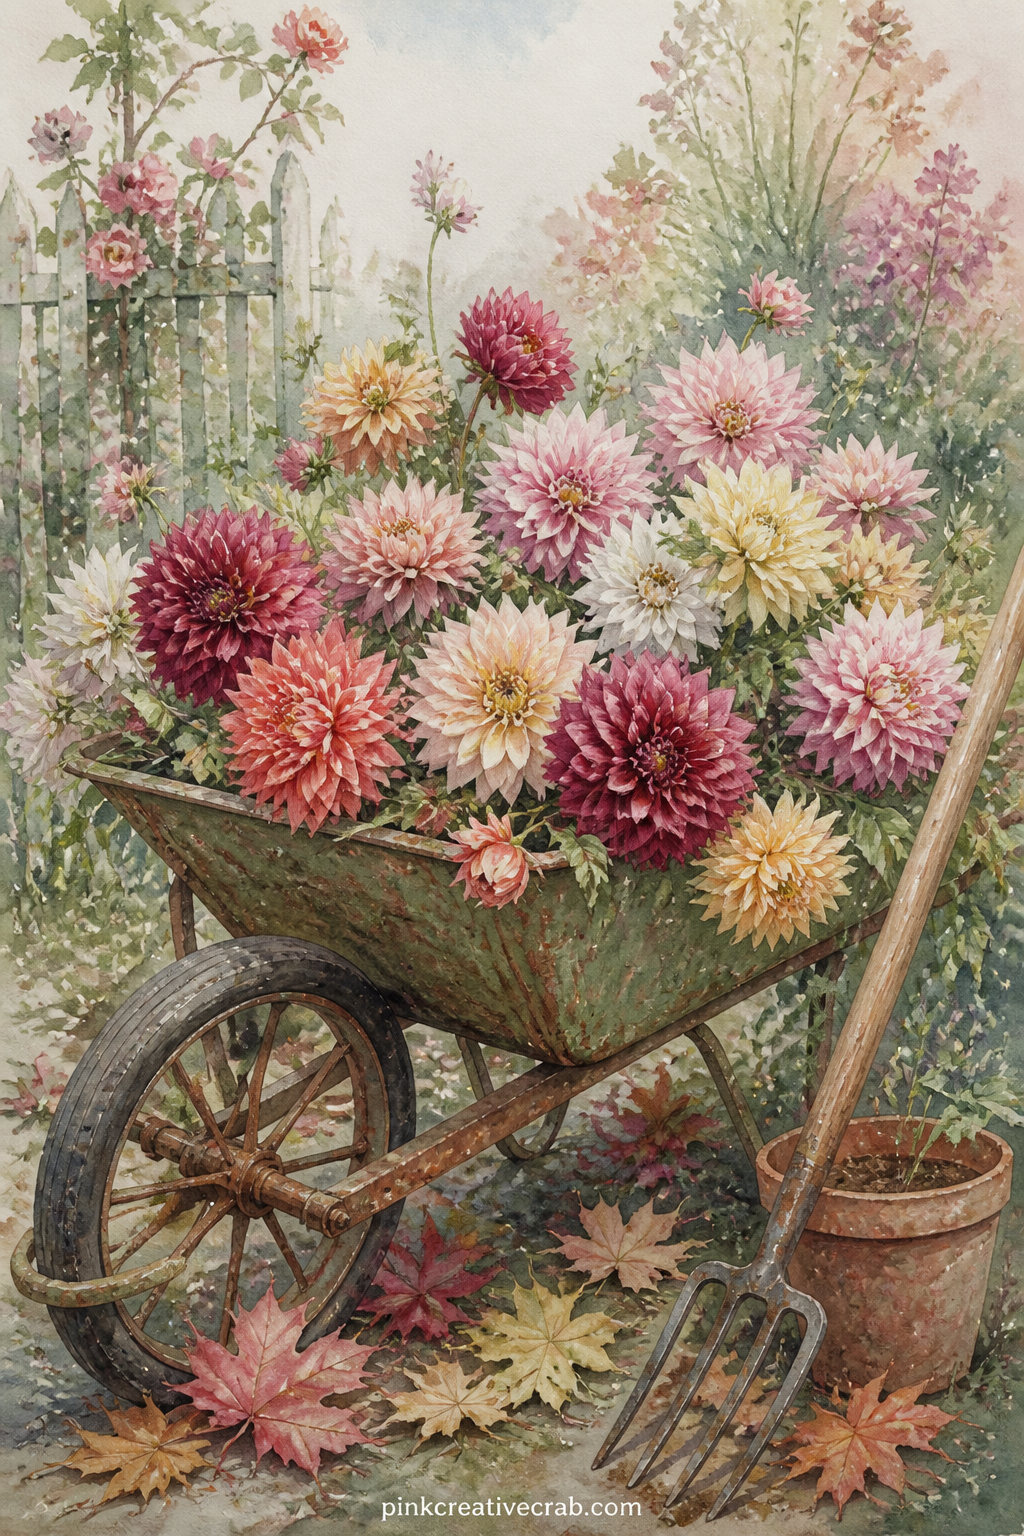
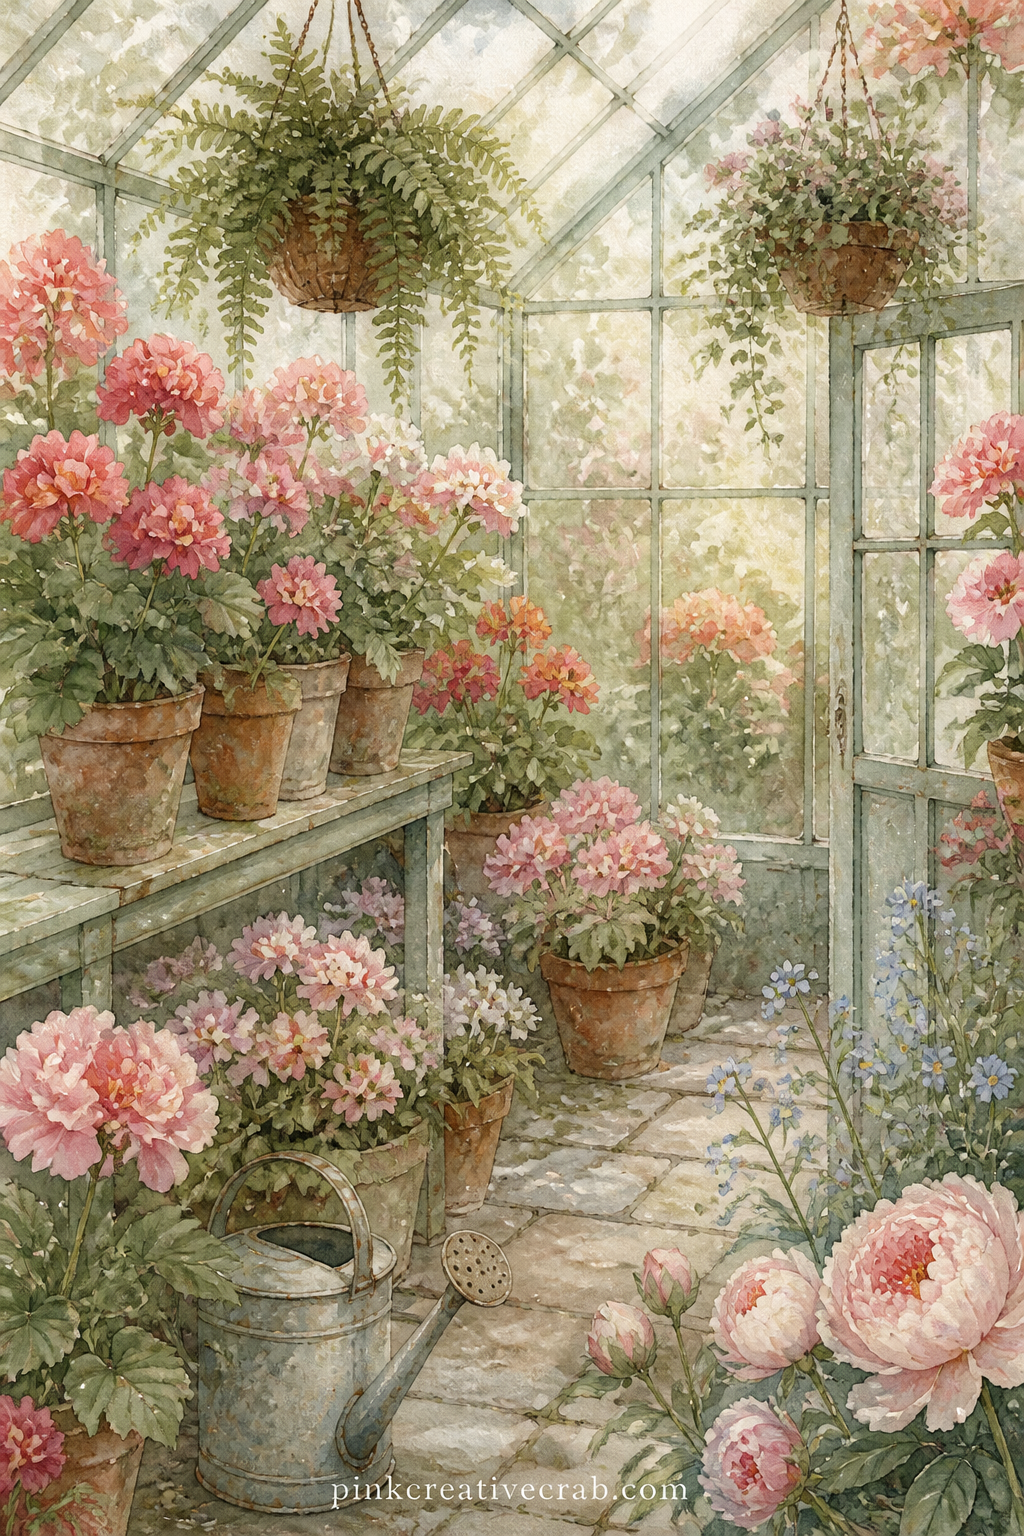
For the five minute version, colour only the dahlia heads in the wheelbarrow with a marker over the printed outline and leave the rest of the wash as it is.
That small touch of extra colour draws the eye straight to the flowers without asking for a full repaint of the page.
Tear the right edge of this page unevenly before gluing it in, so the greenhouse panes seem to continue past the torn line into the next sheet of the journal.
Botanical Studies
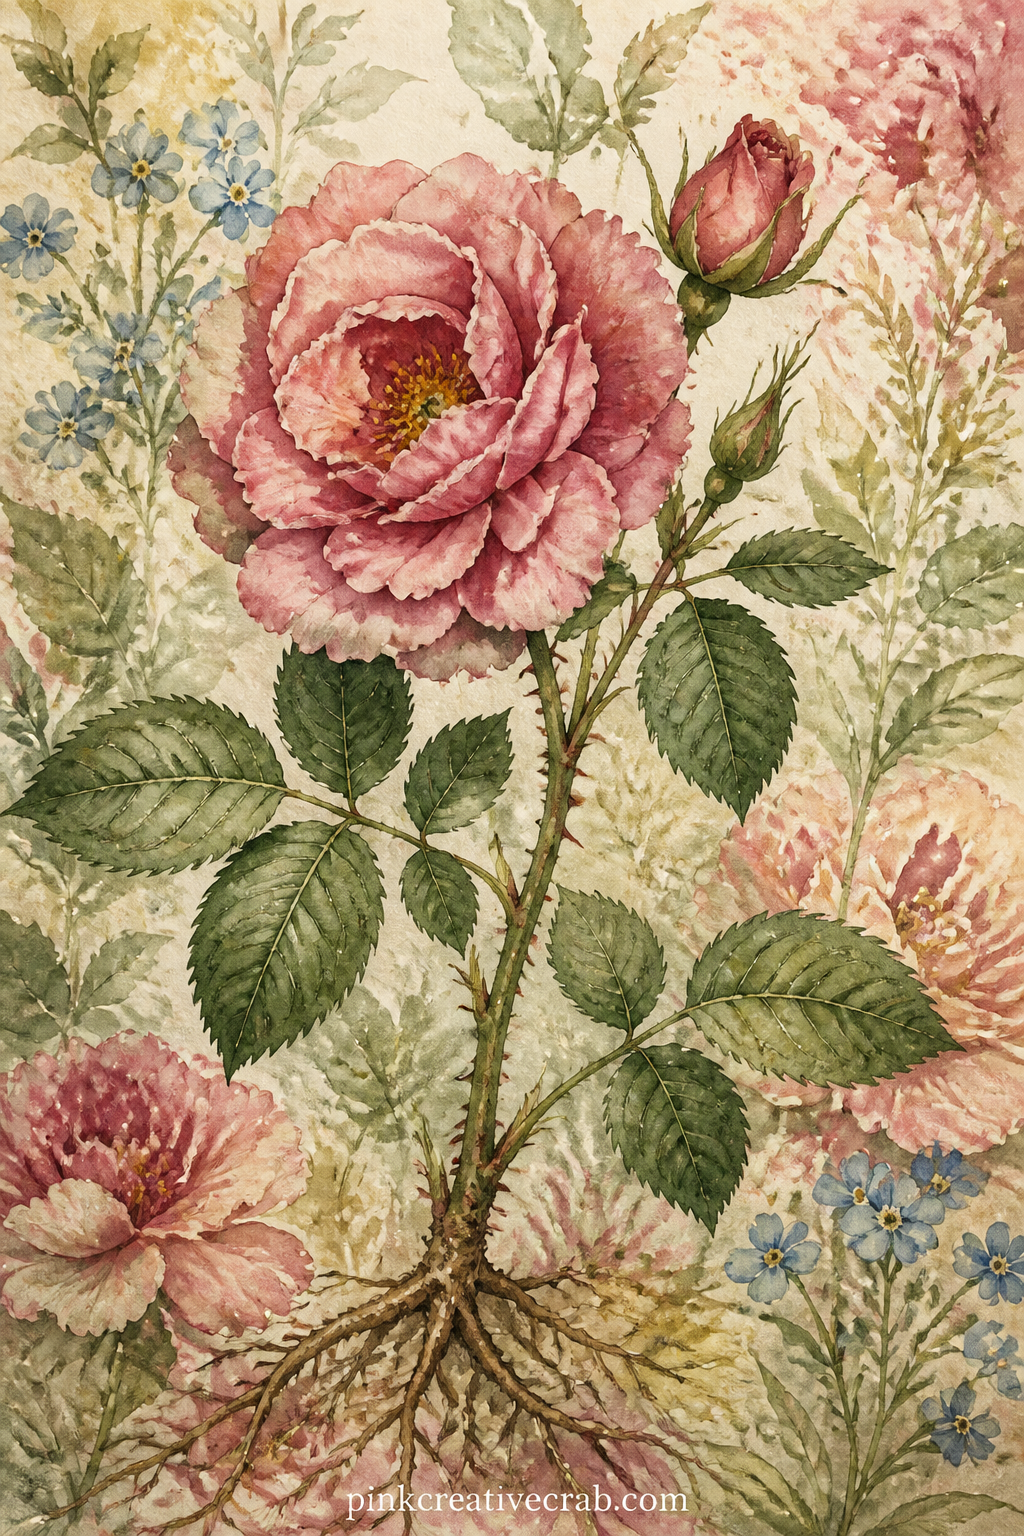
Curl the edges of this page gently around a pencil before gluing it flat, to echo the look of an old pressed botanical plate pulled from a larger book.
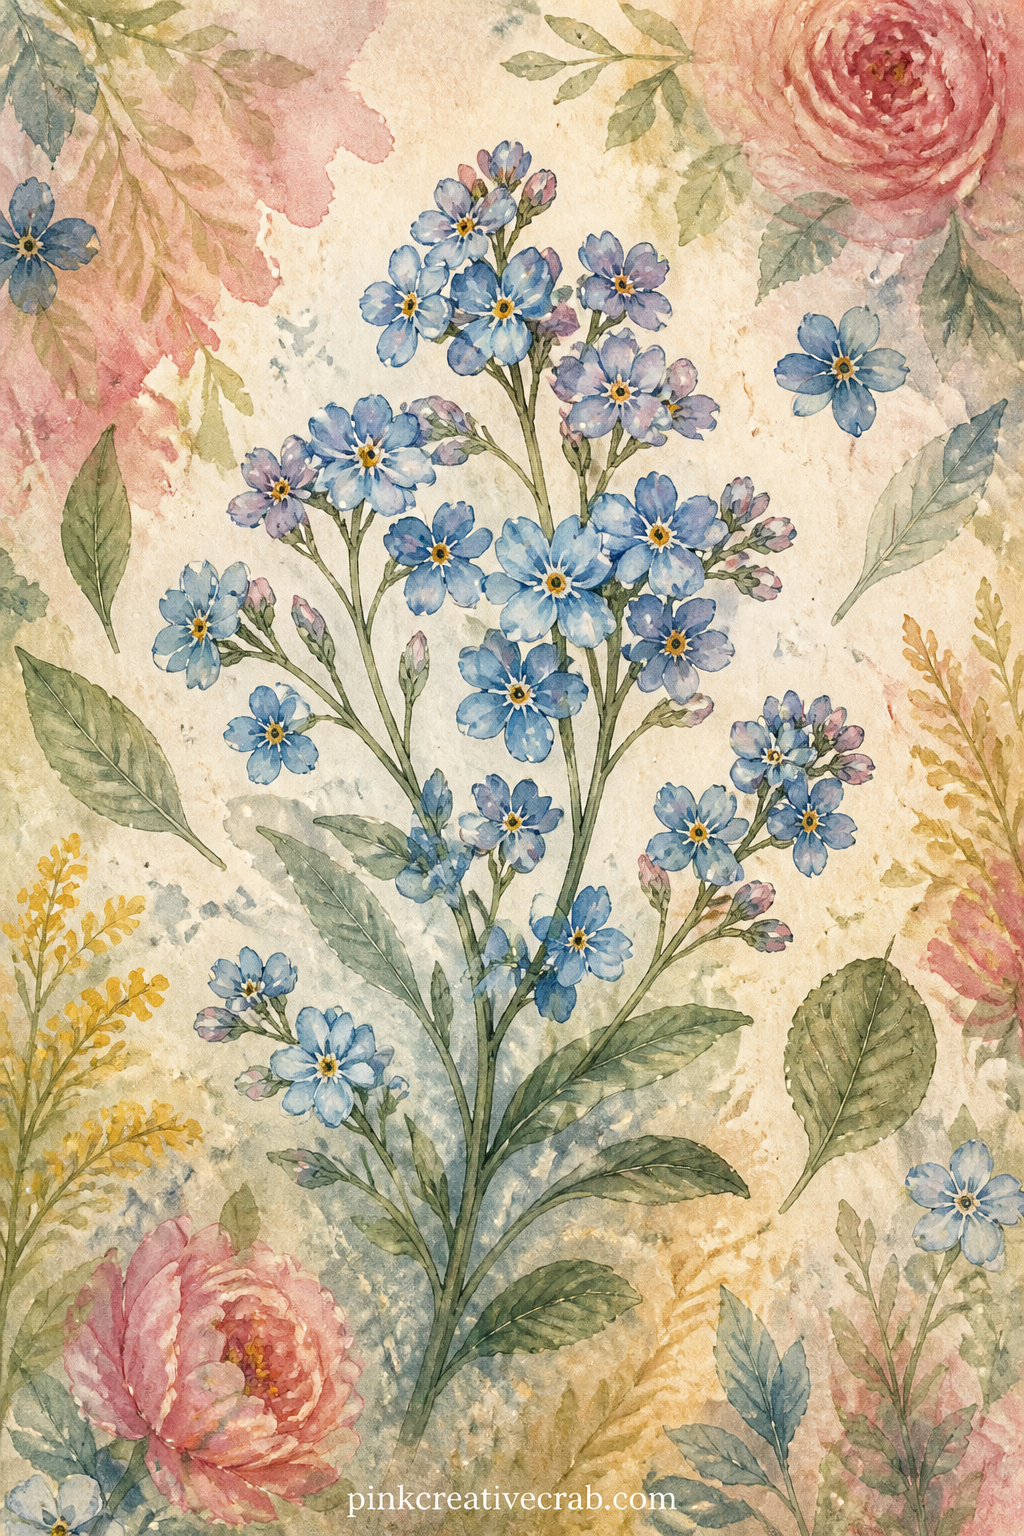
Glue a scrap of pale blue ribbon or thread along the bottom margin of this plate, since forget-me-nots on their own can look a little bare without one small added detail.
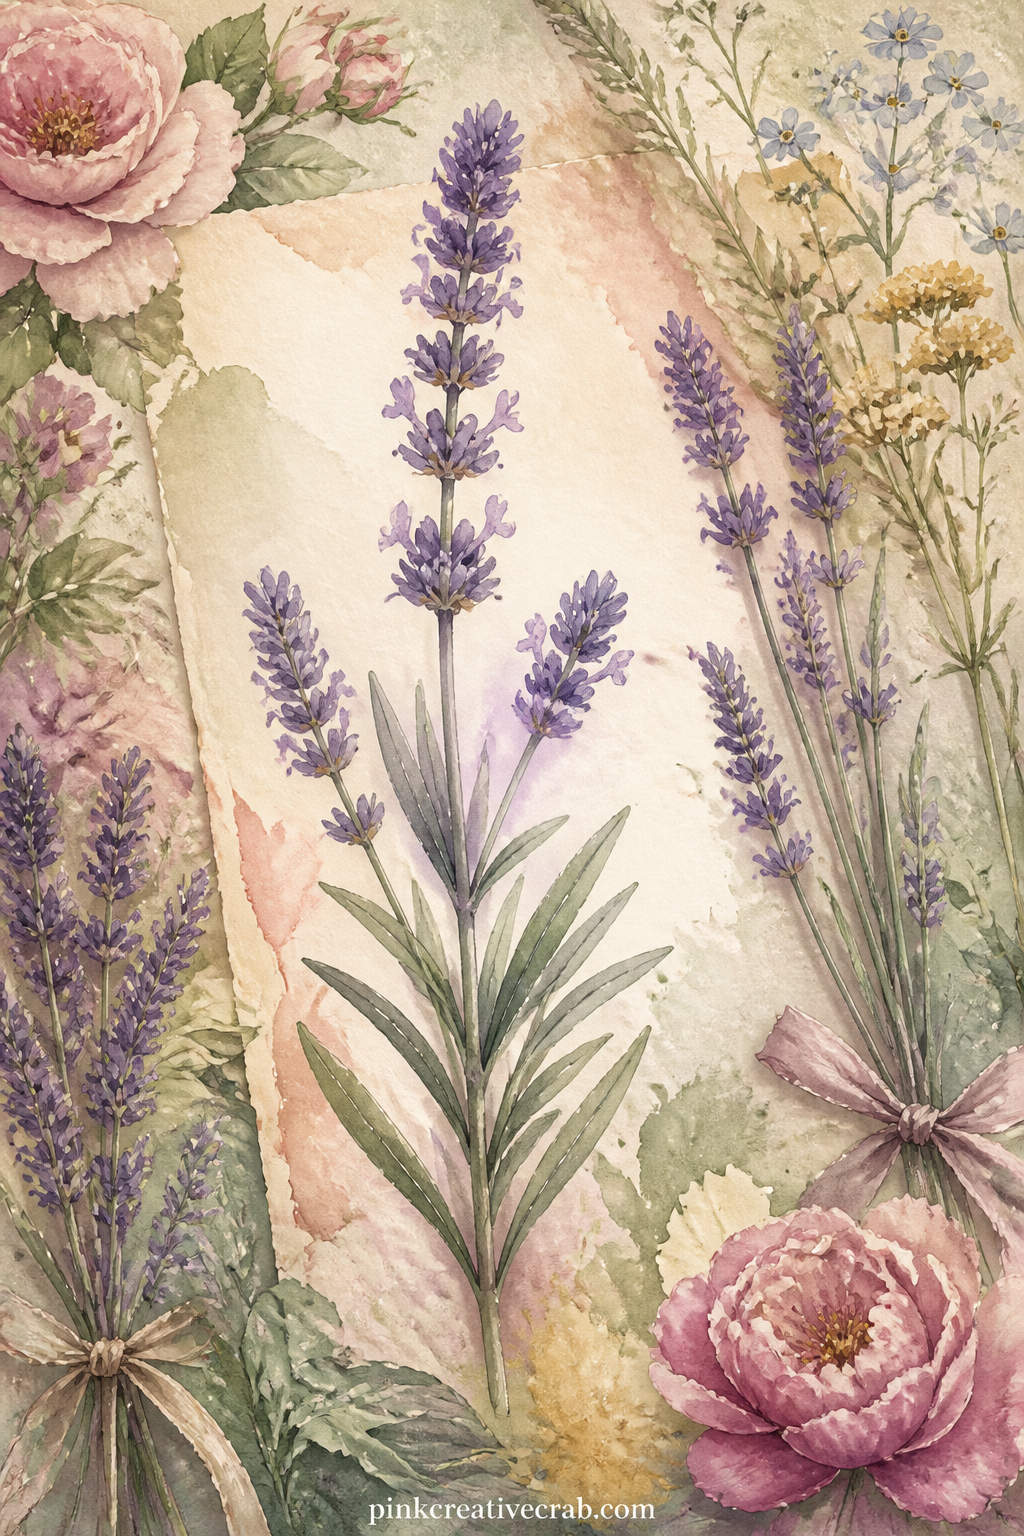
This plate works well next to a lined page later in the set, if the writer wants to jot a note about scent or a memory of a lavender field beside the drawing.
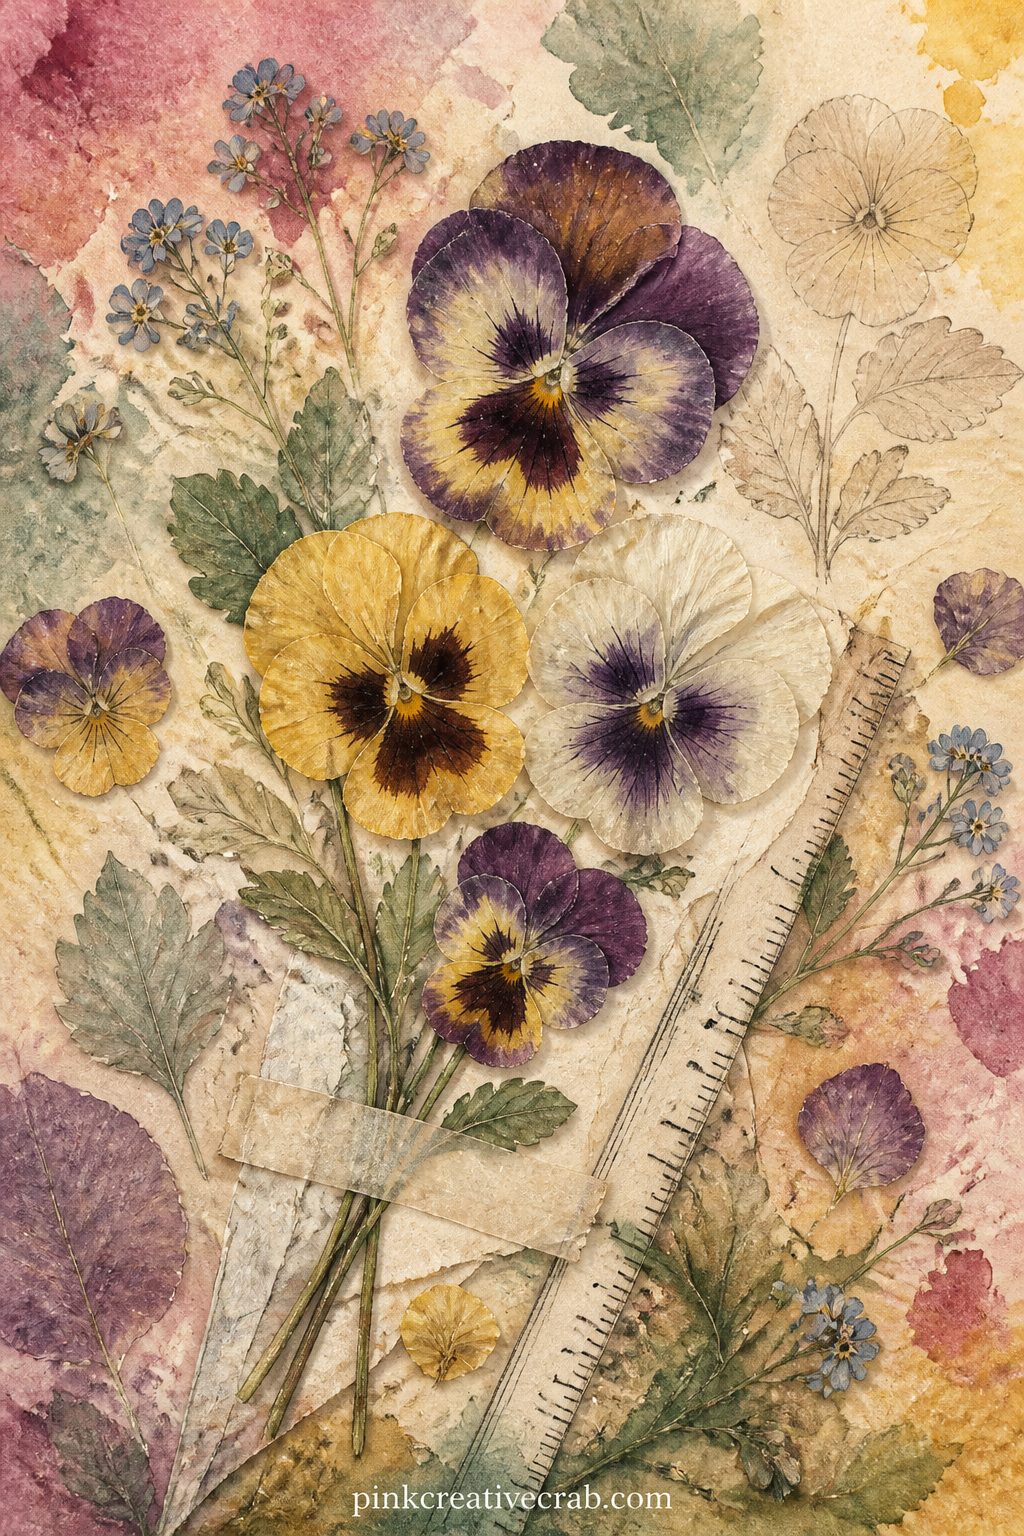
Stain the edges of this page with a damp tea bag before it dries fully, which darkens the border and makes the pressed pansies look genuinely kept rather than printed.
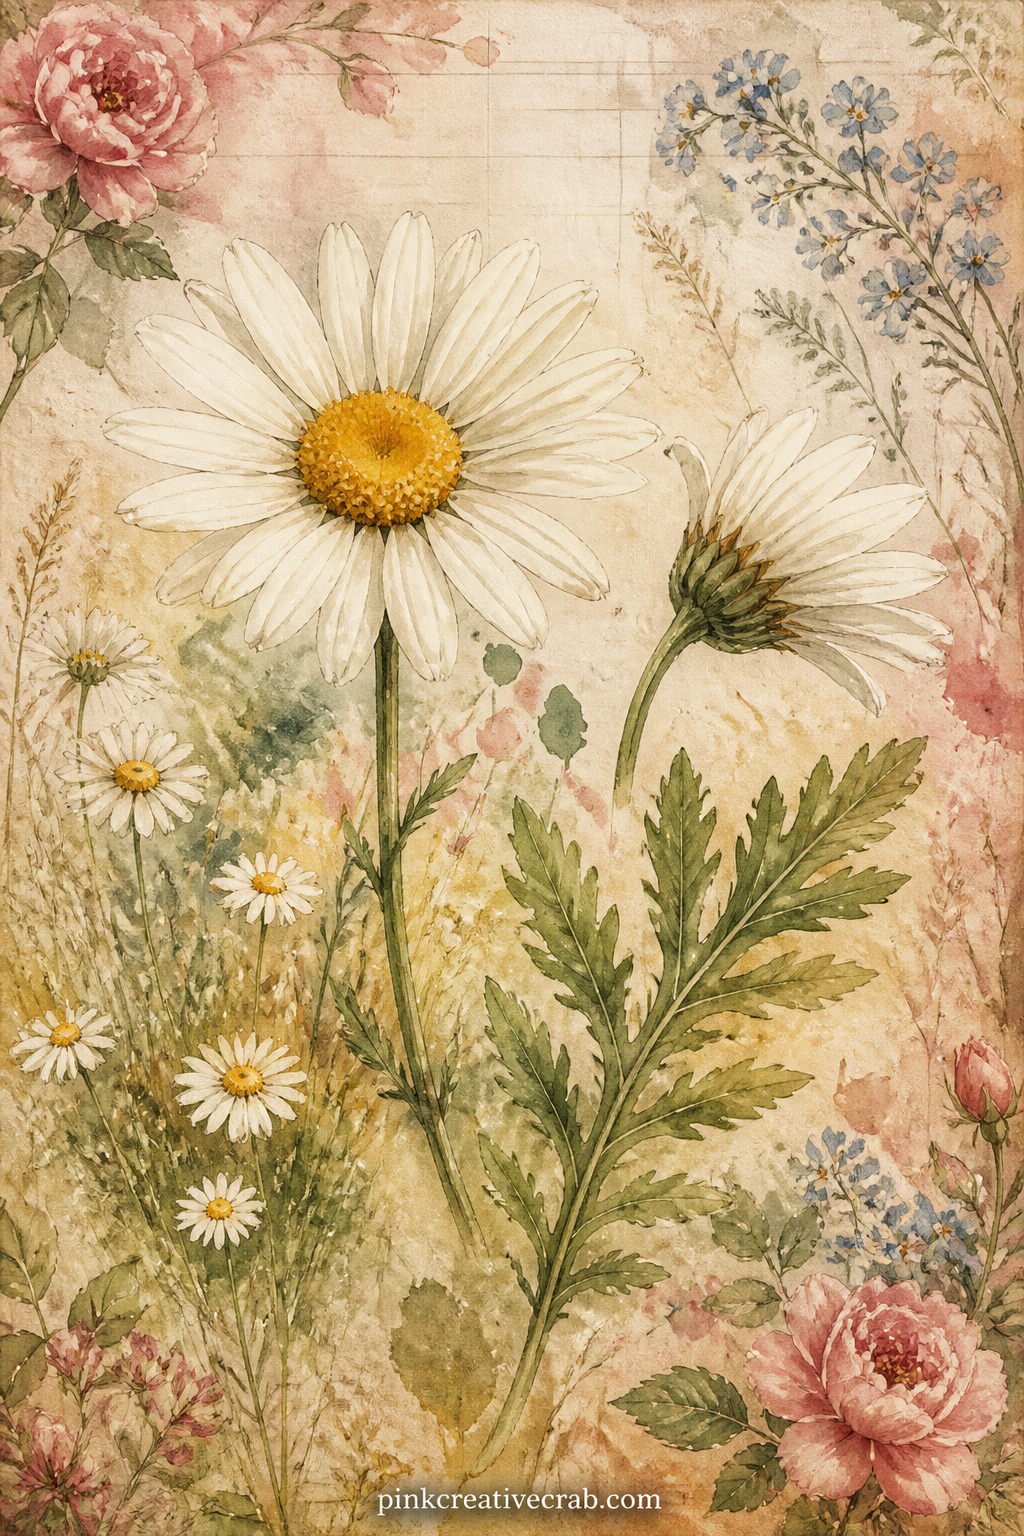
Note the date and the place the daisies were seen along the bottom of the page, the way a field guide owner would, and this plate turns into a small record rather than only a drawing.
Windows and Shelves
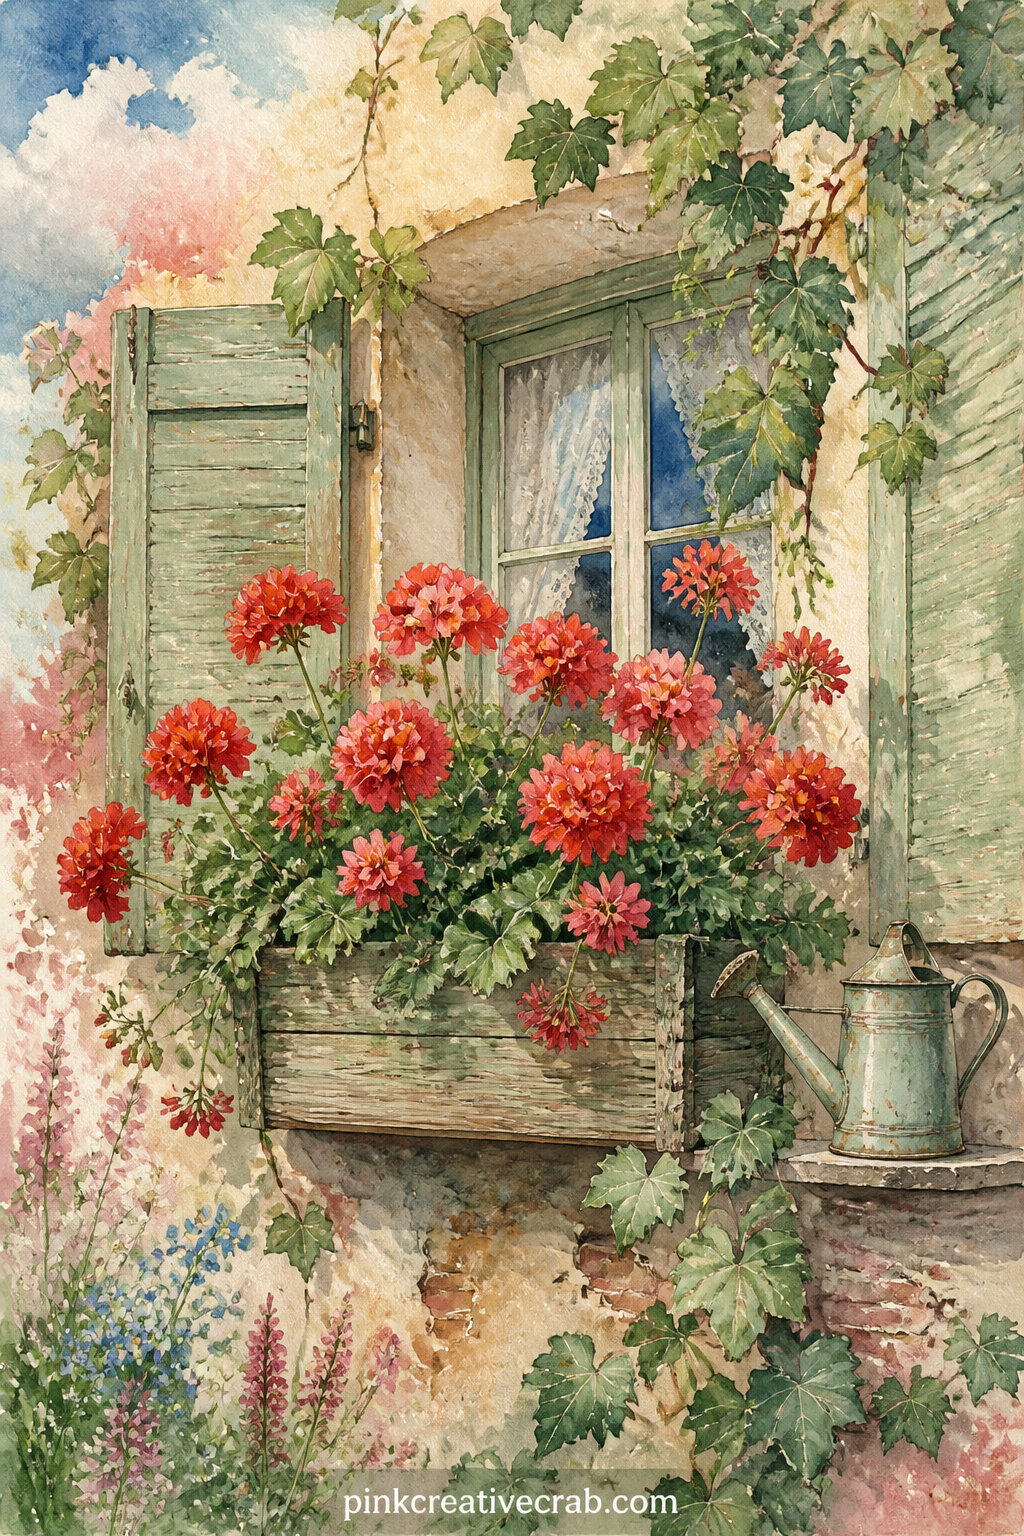
A frequent problem with window scenes is a flat painted sky with nothing happening in it, so pick a version with birds or soft clouds worked into the background behind the shutters.
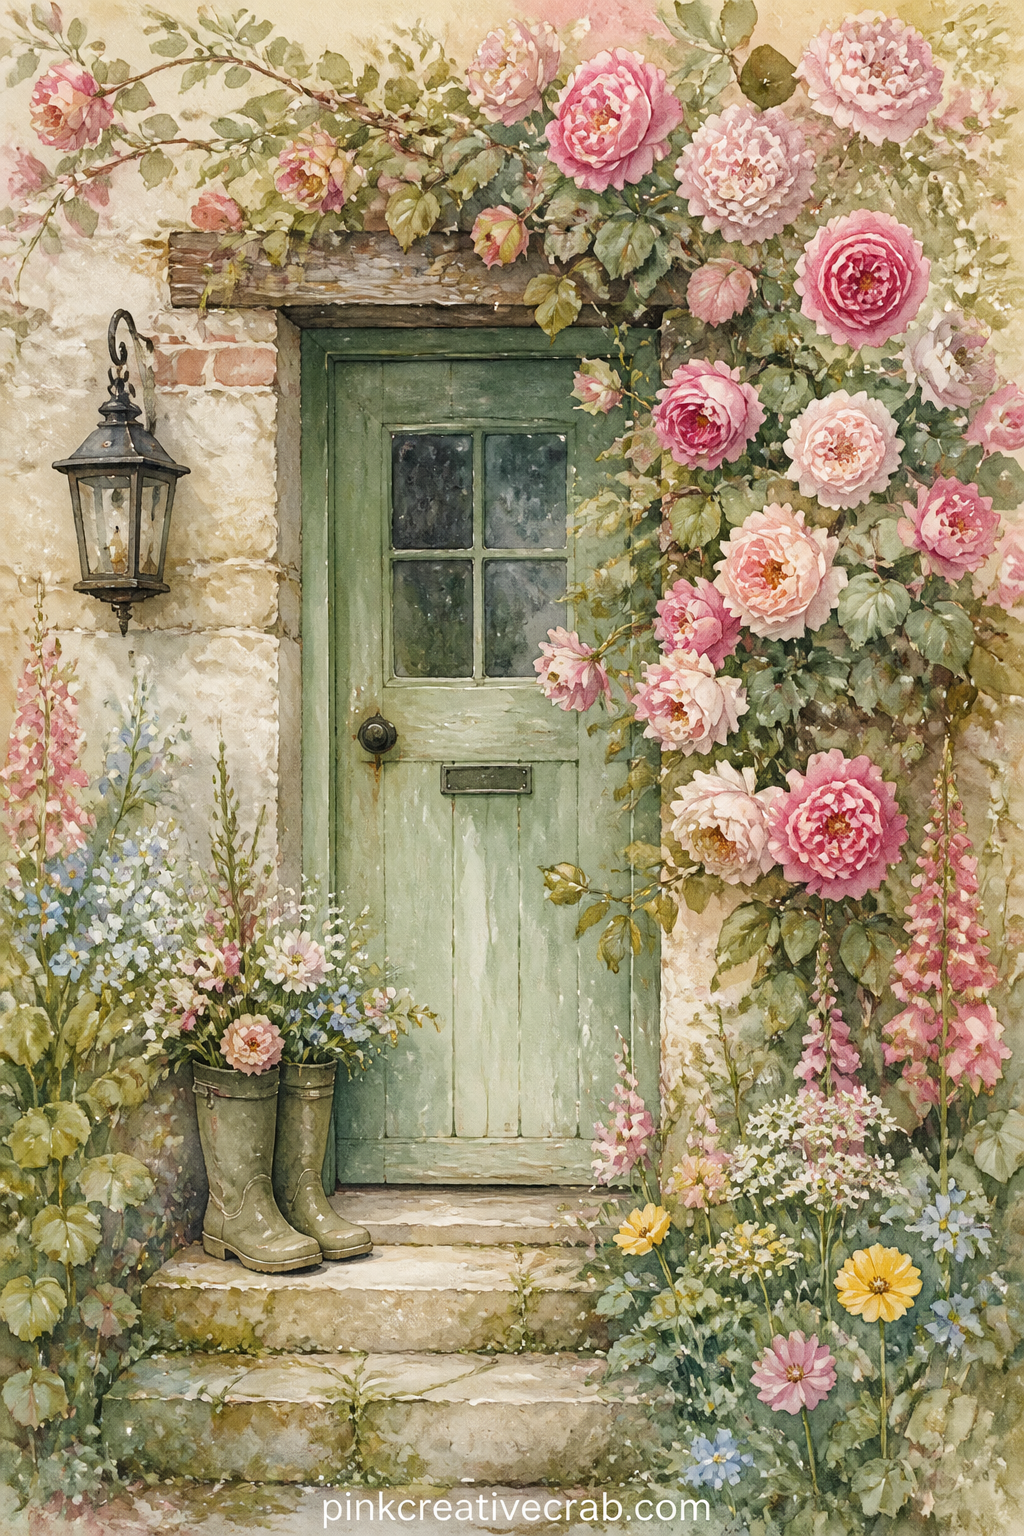
Fold this page in half down the middle before gluing only the back half in, so the doorway with its roses opens like a small door inside the journal spread.
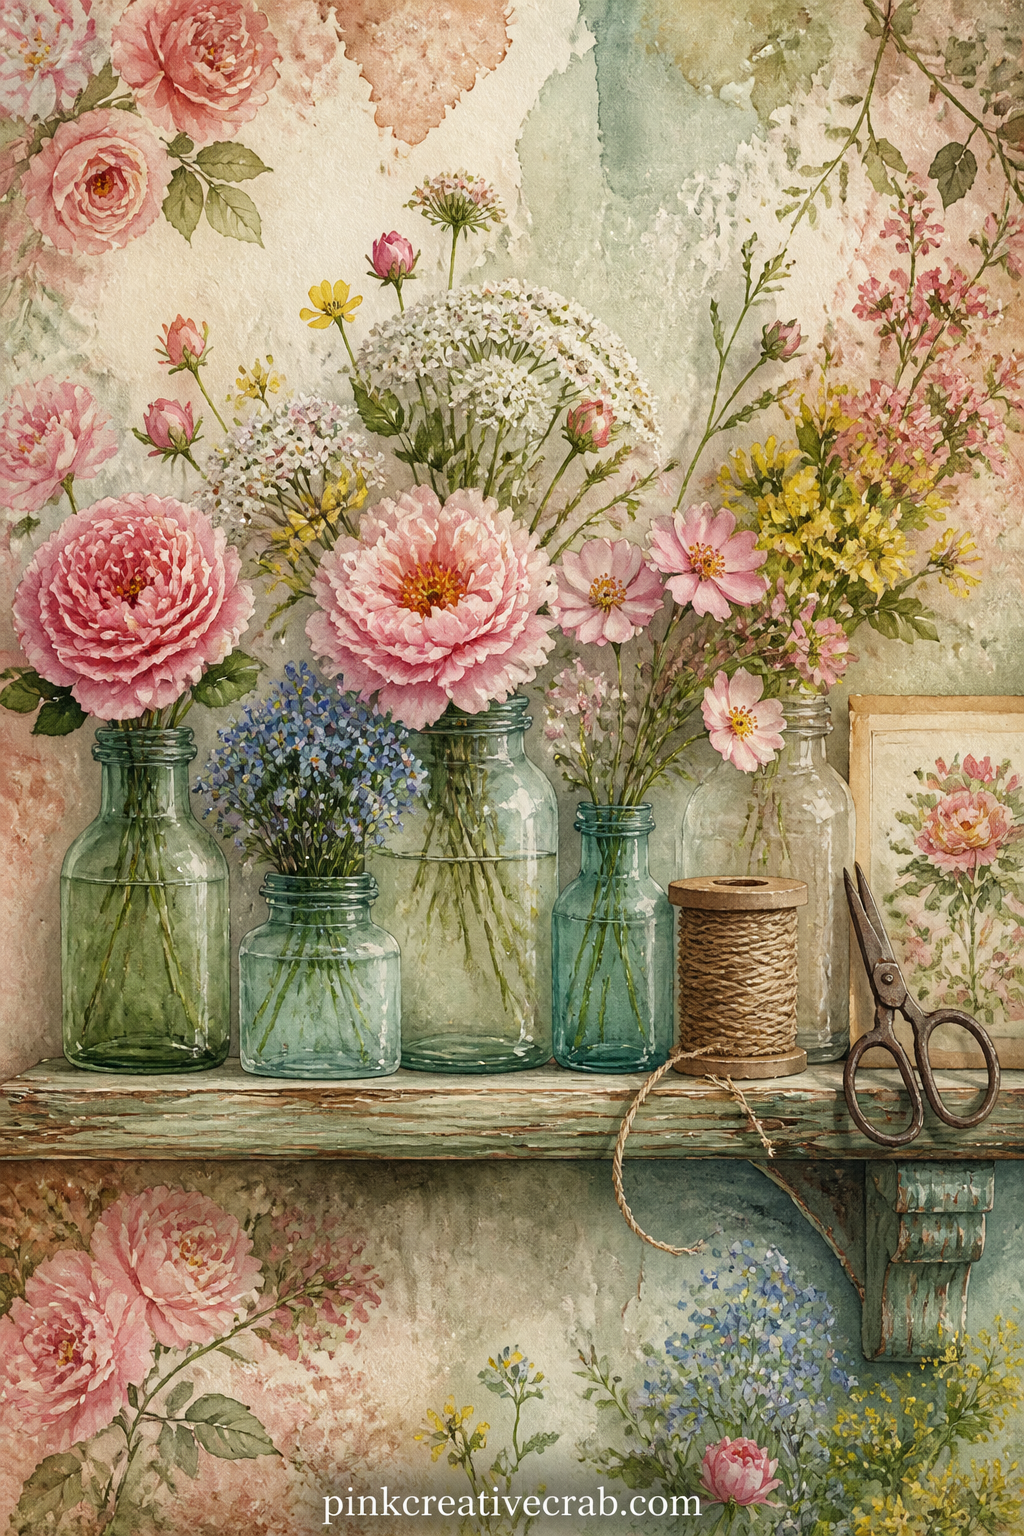
Three or four short-necked bottles of flowers line a wooden shelf as the main image, with a ball of twine, a pair of scissors and a folded seed packet tucked beside them.
Give this page to a gardener in the family, since the small tools around the flowers speak to anyone who spends afternoons potting and pruning.
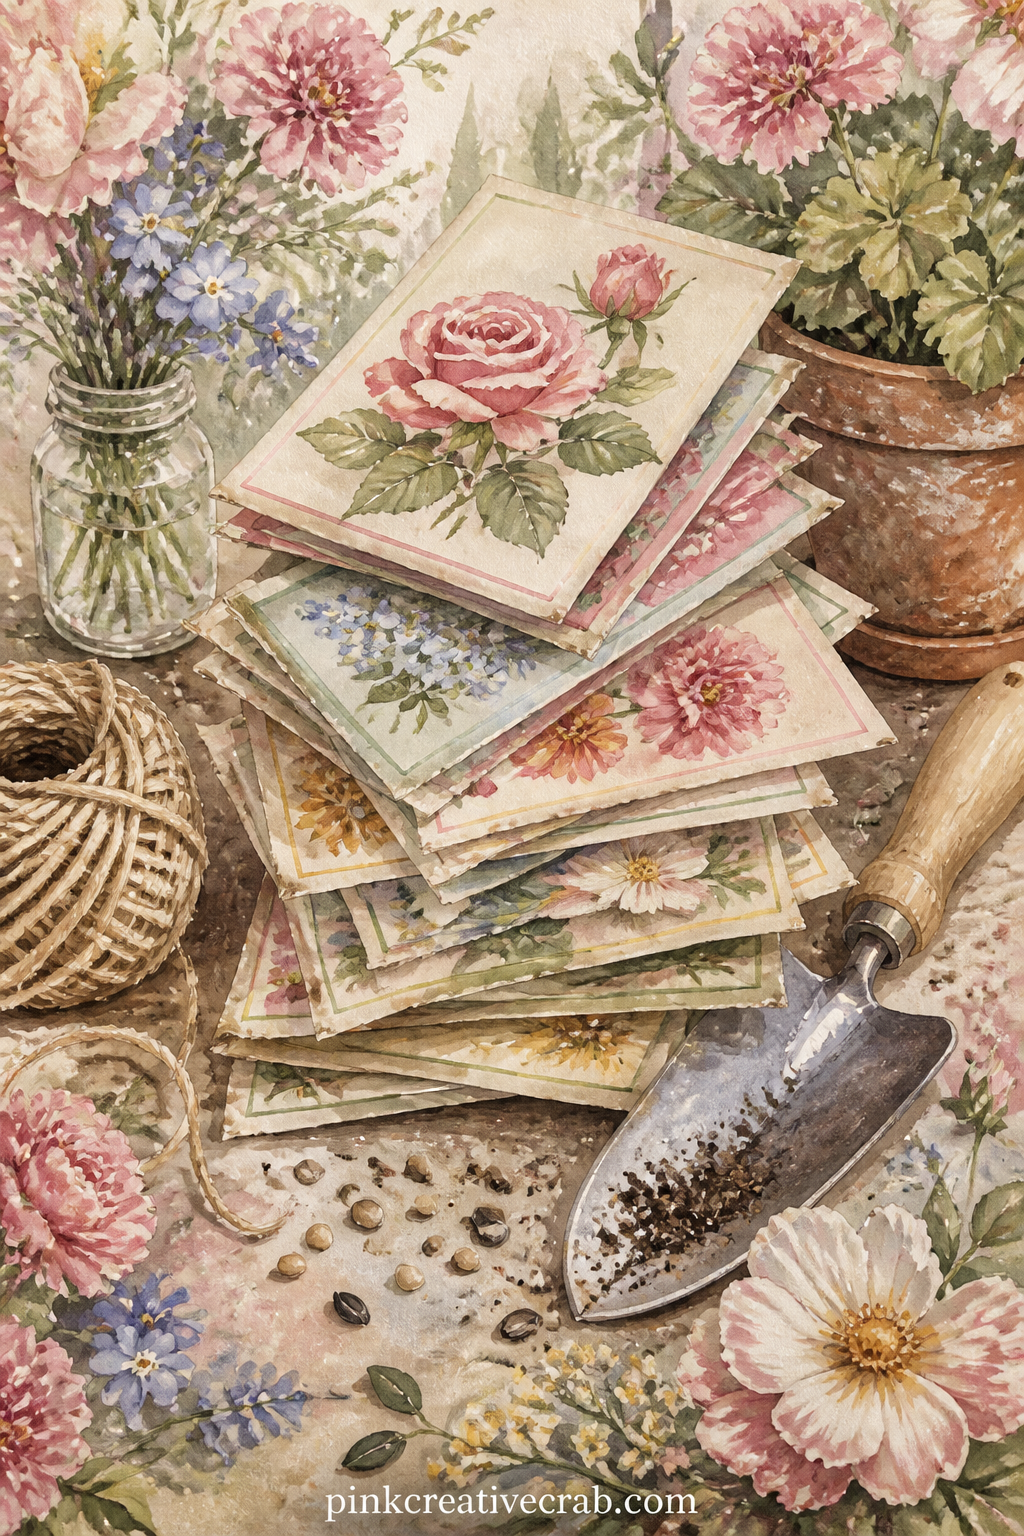
Glue a real seed packet, even an empty one, over the corner of this page so the illustrated stack appears to spill out past the edge of the printed sheet.
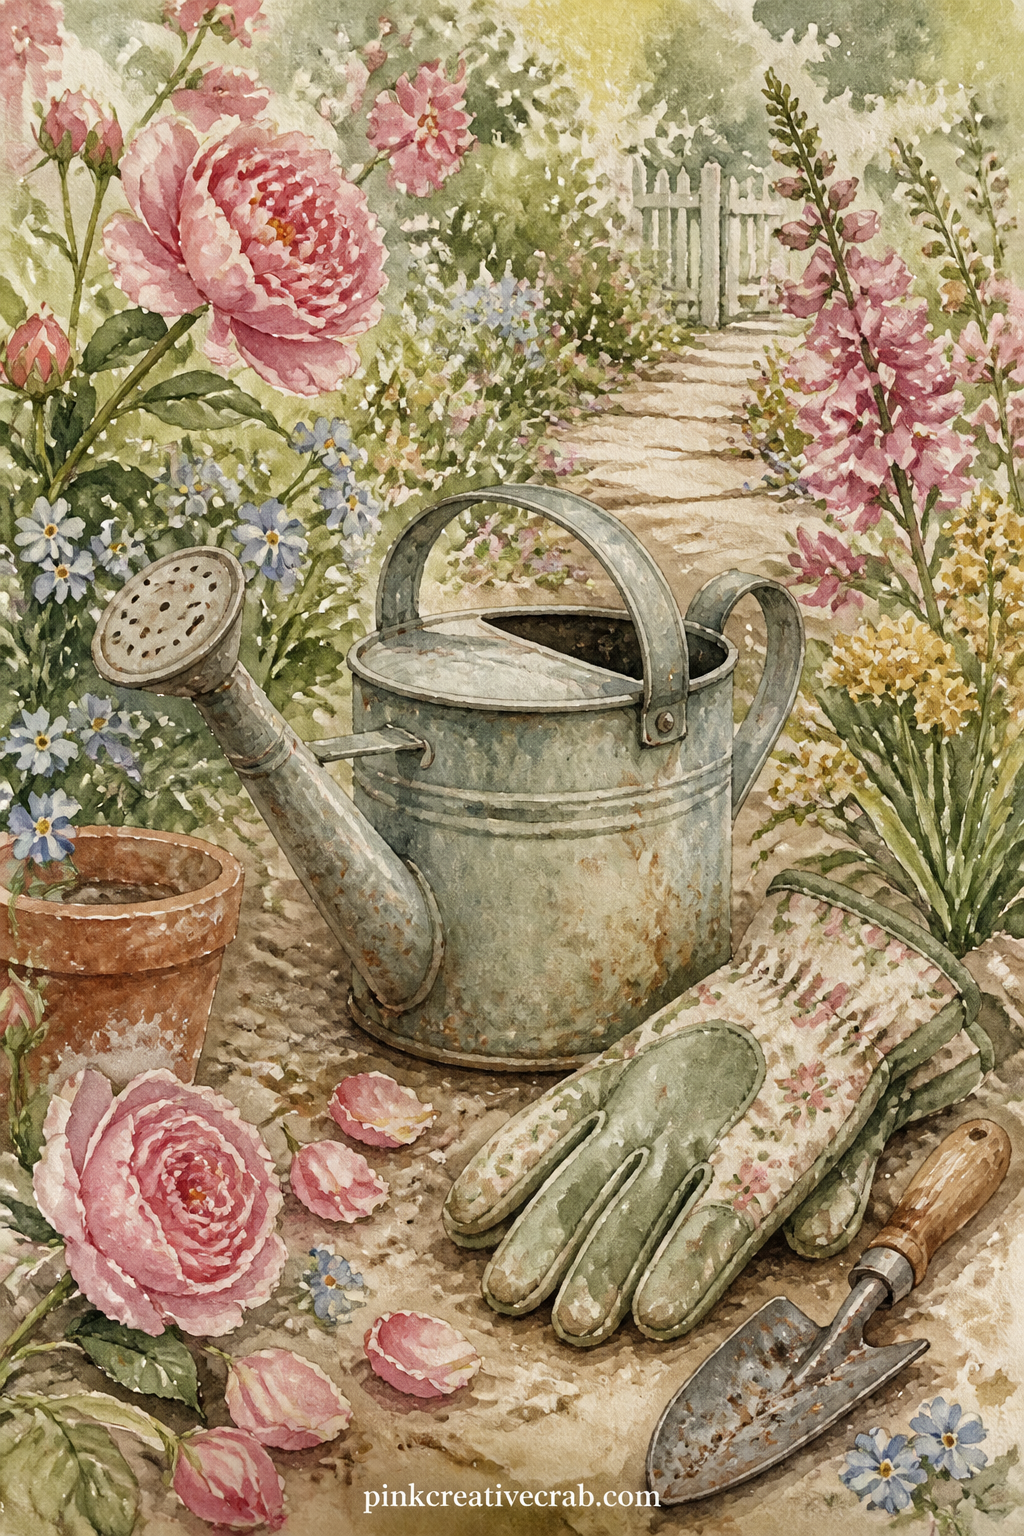
Write a short gardening to-do list directly onto this page, since the watering can and gloves give a natural place for notes about watering, pruning or planting.
Garden Details
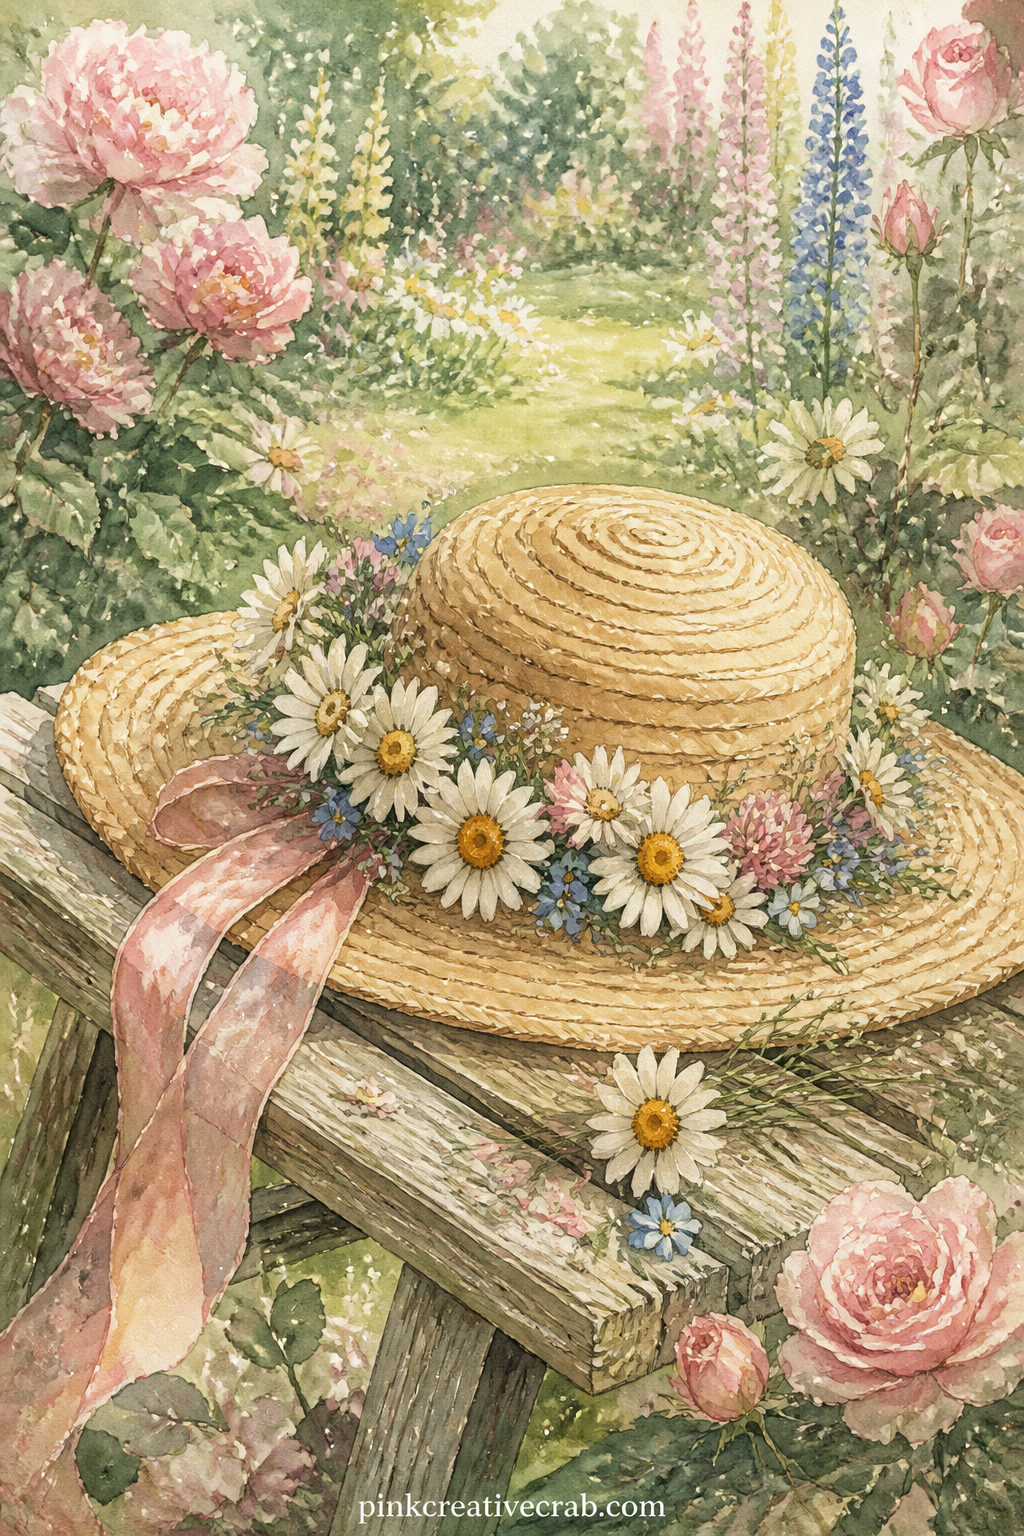
The usual mistake is treating this as a tiny object on white space, so look for a version where the hat sits on a garden bench with grass and light painted around it.
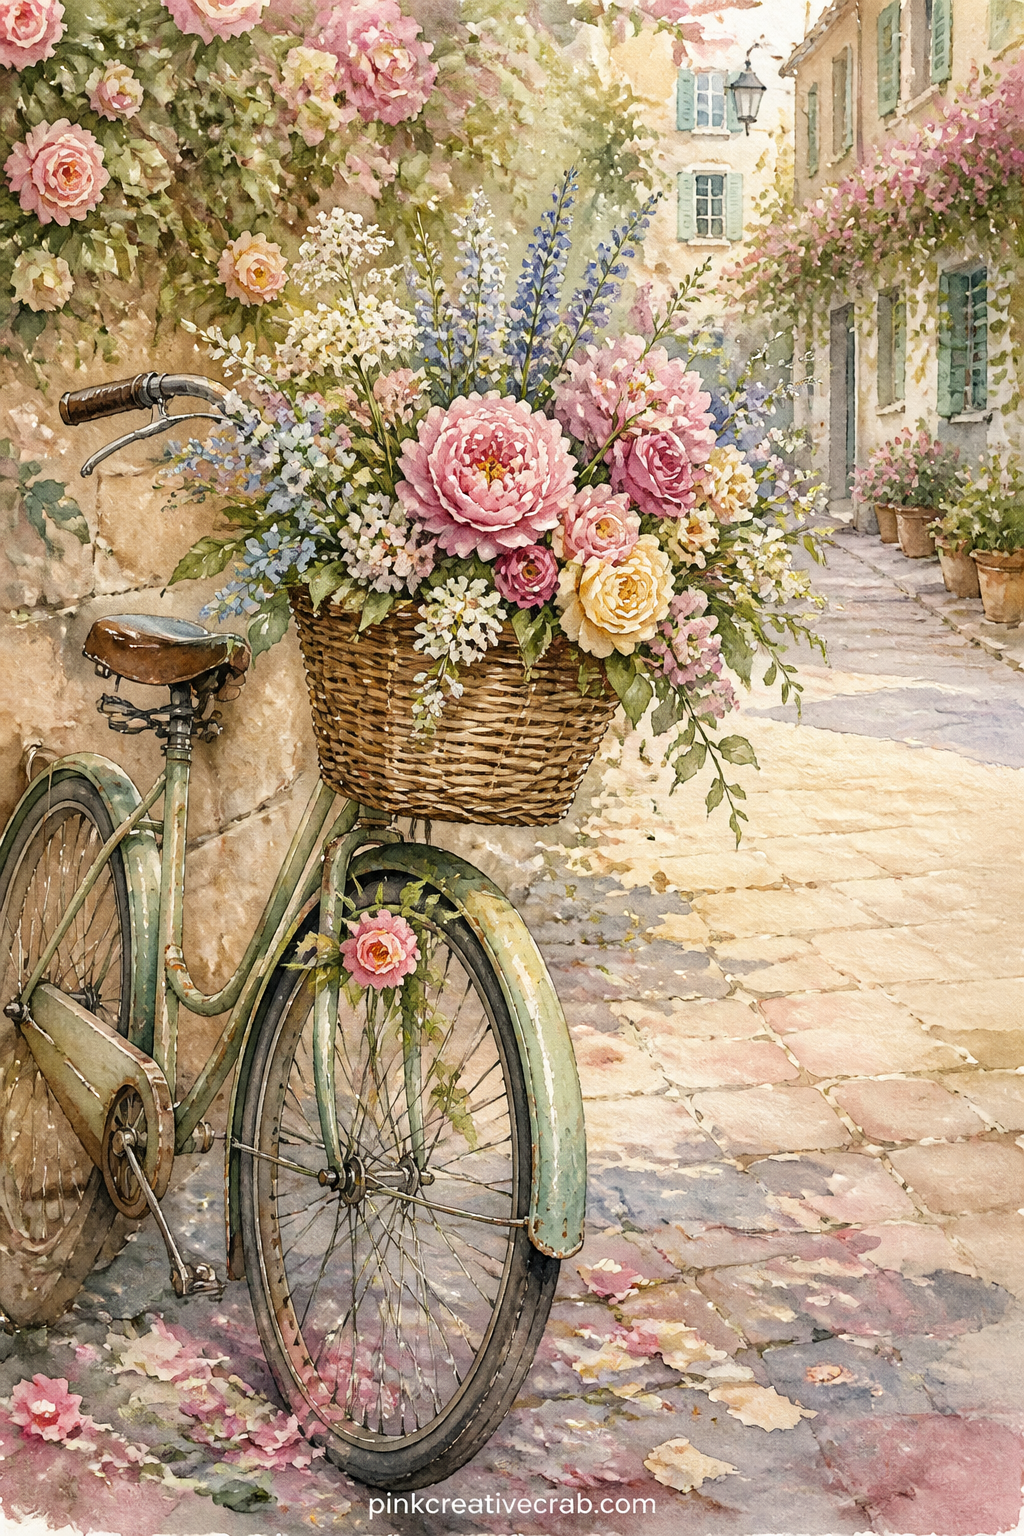
Pair this page with the market stall scene earlier in the set, placing the bicycle on the way to or from the stall so the two pages tell one short errand as a story.
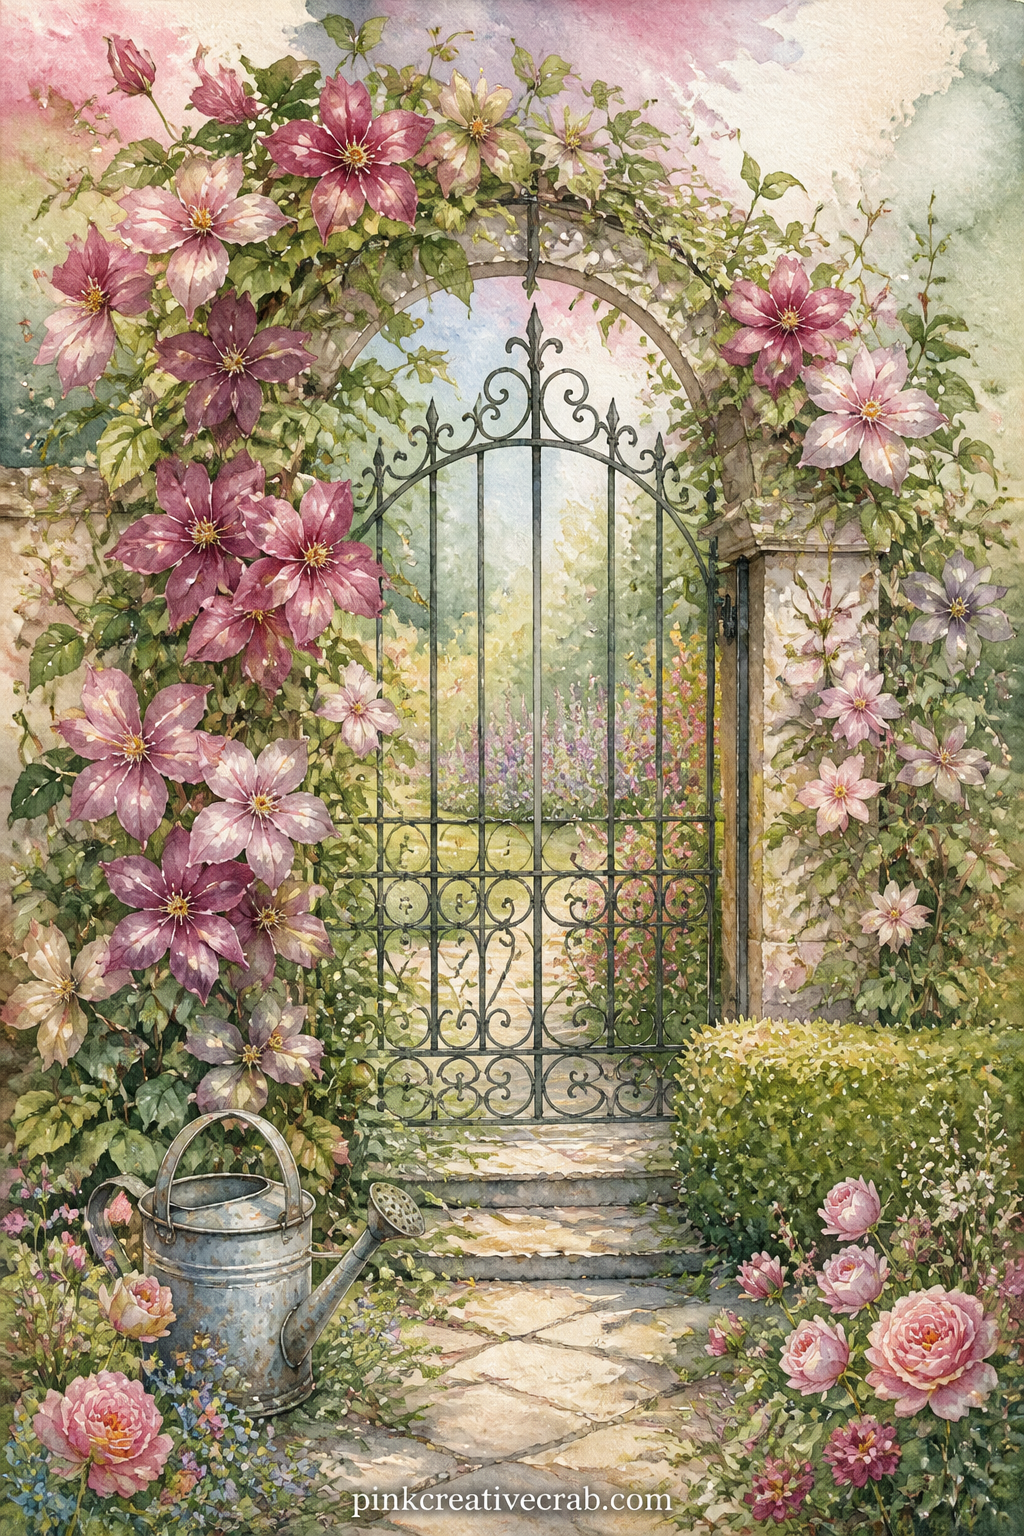
Leave a short open line under this page reading dear garden, then let the writer finish the thought, since a gate scene invites a note about arriving somewhere loved.
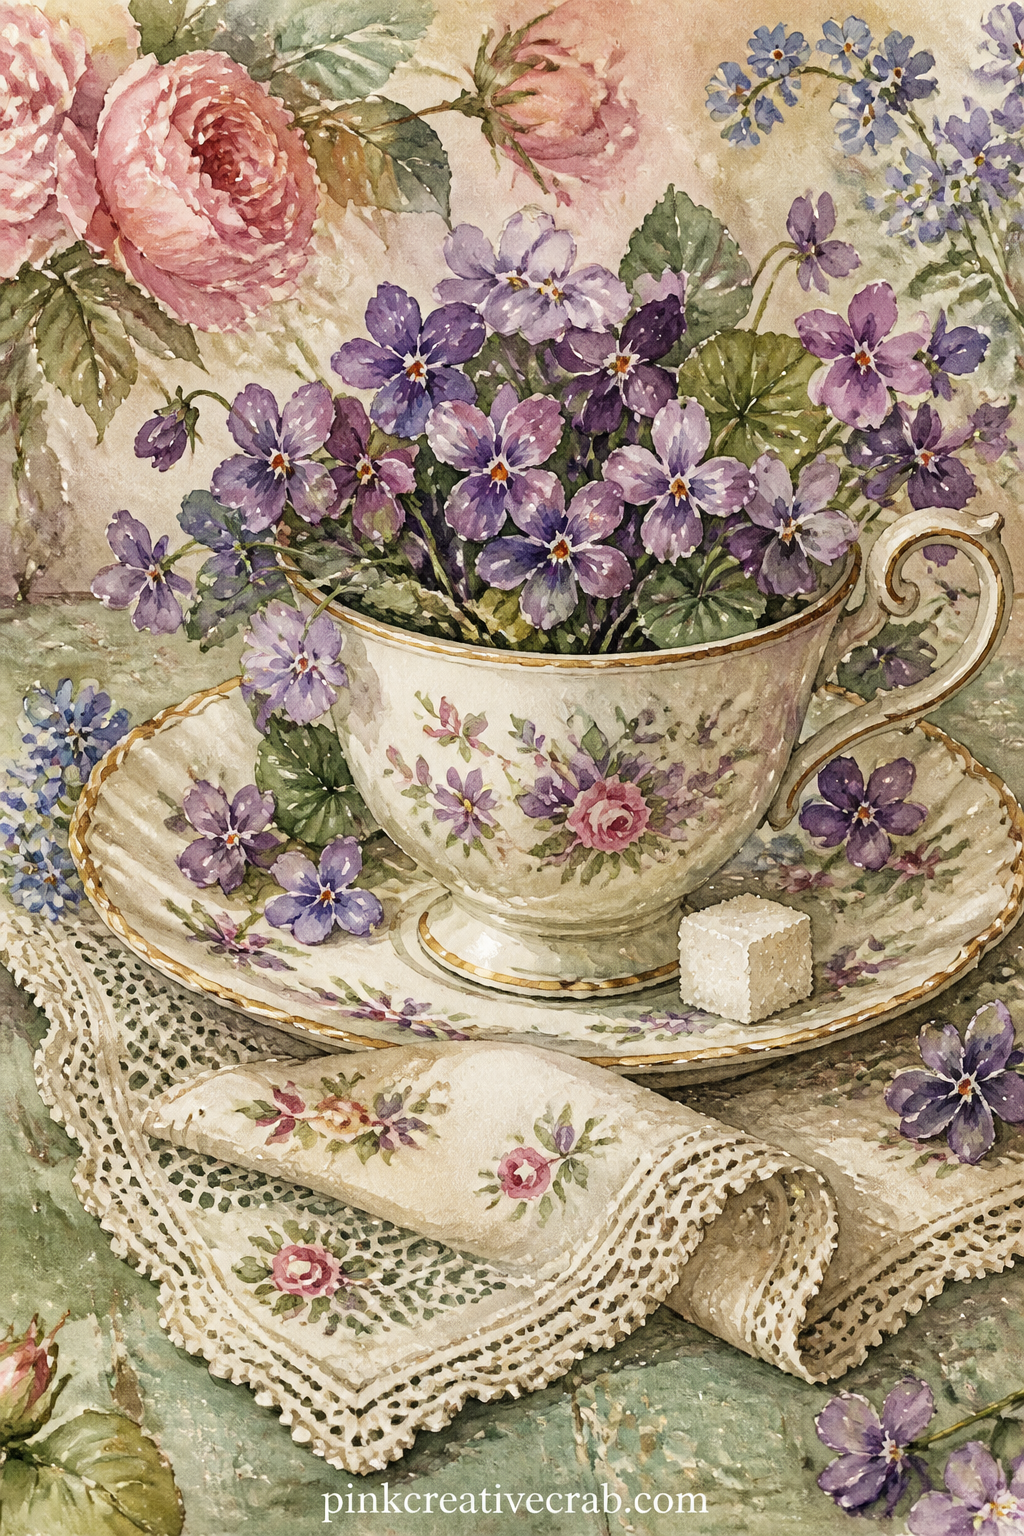
This small cup of violets suits a reader who collects old china, so set it beside a saucer and a folded lace napkin to carry that quieter, tea-table mood.
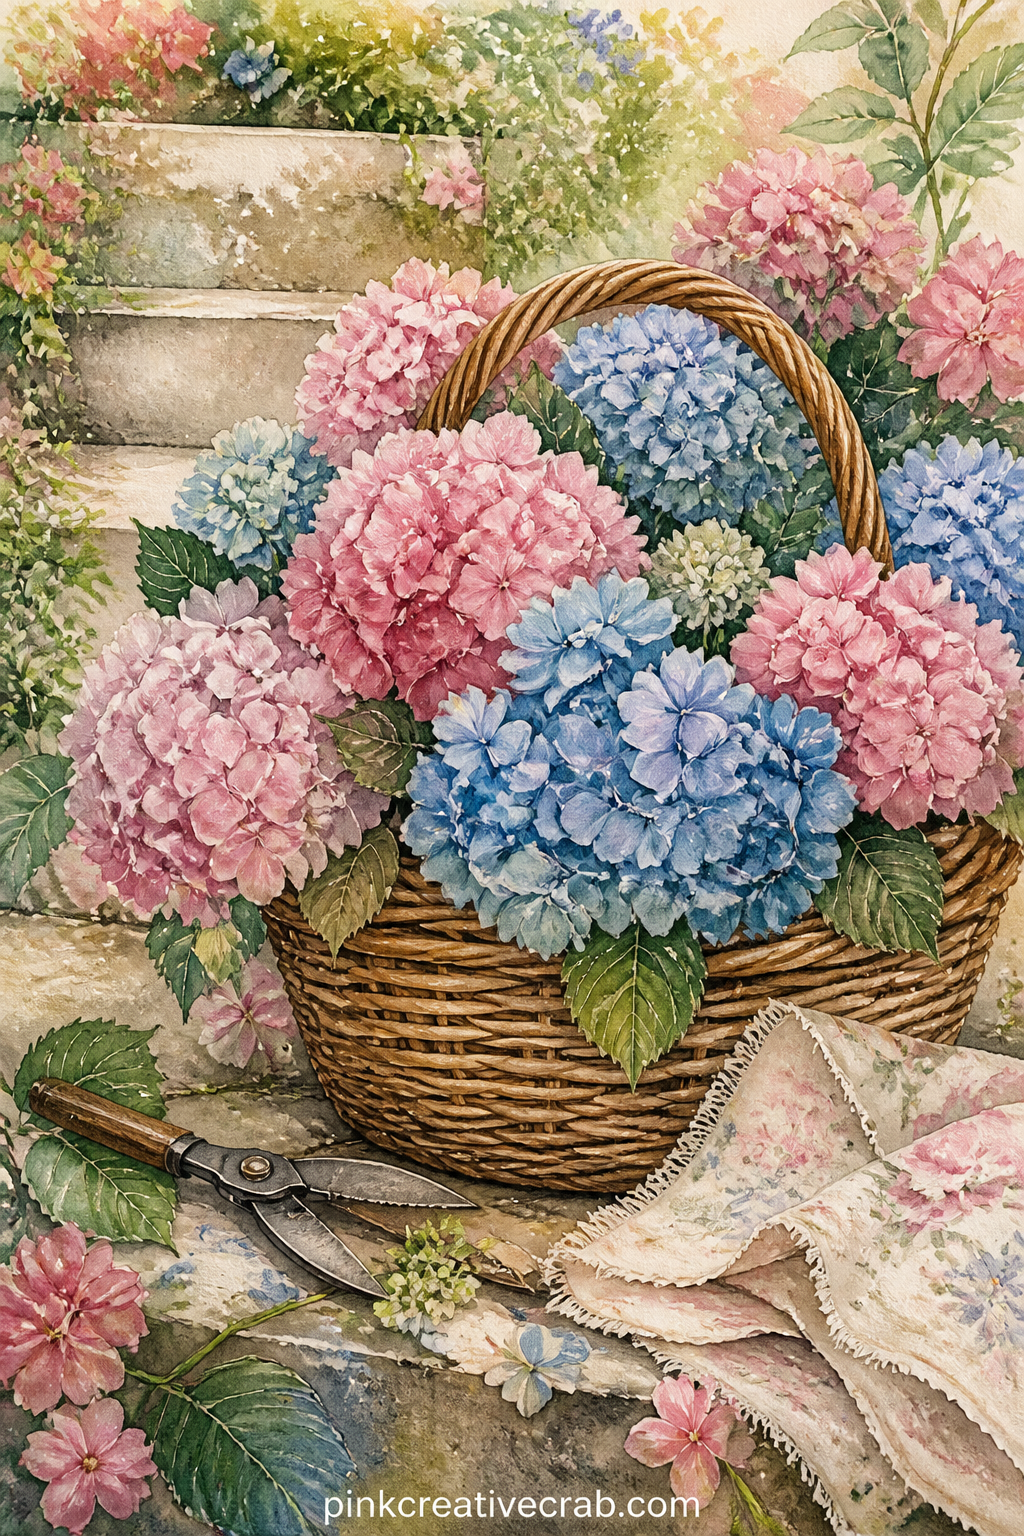
For the five minute version, add only a single ribbon tied around the basket handle in marker, over the already painted blooms, and glue the page straight in.
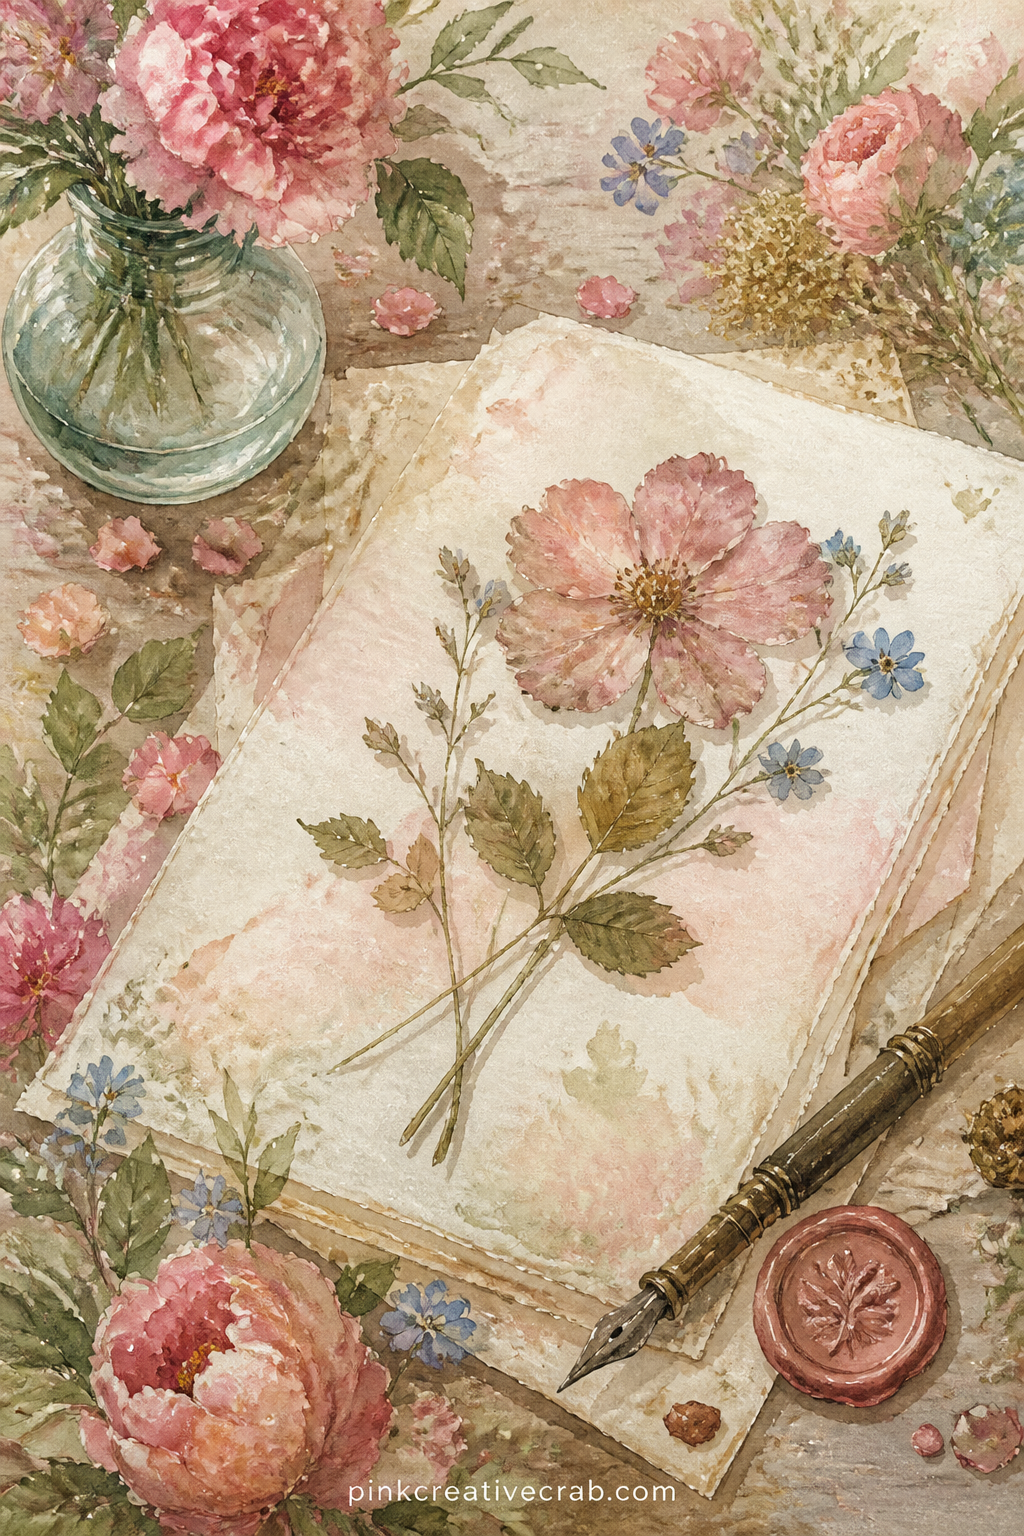
Glue a folded paper scrap or ribbon onto this page so it reads as the letter itself, with the pressed flower and pen resting beside it on the desk.
Background Papers
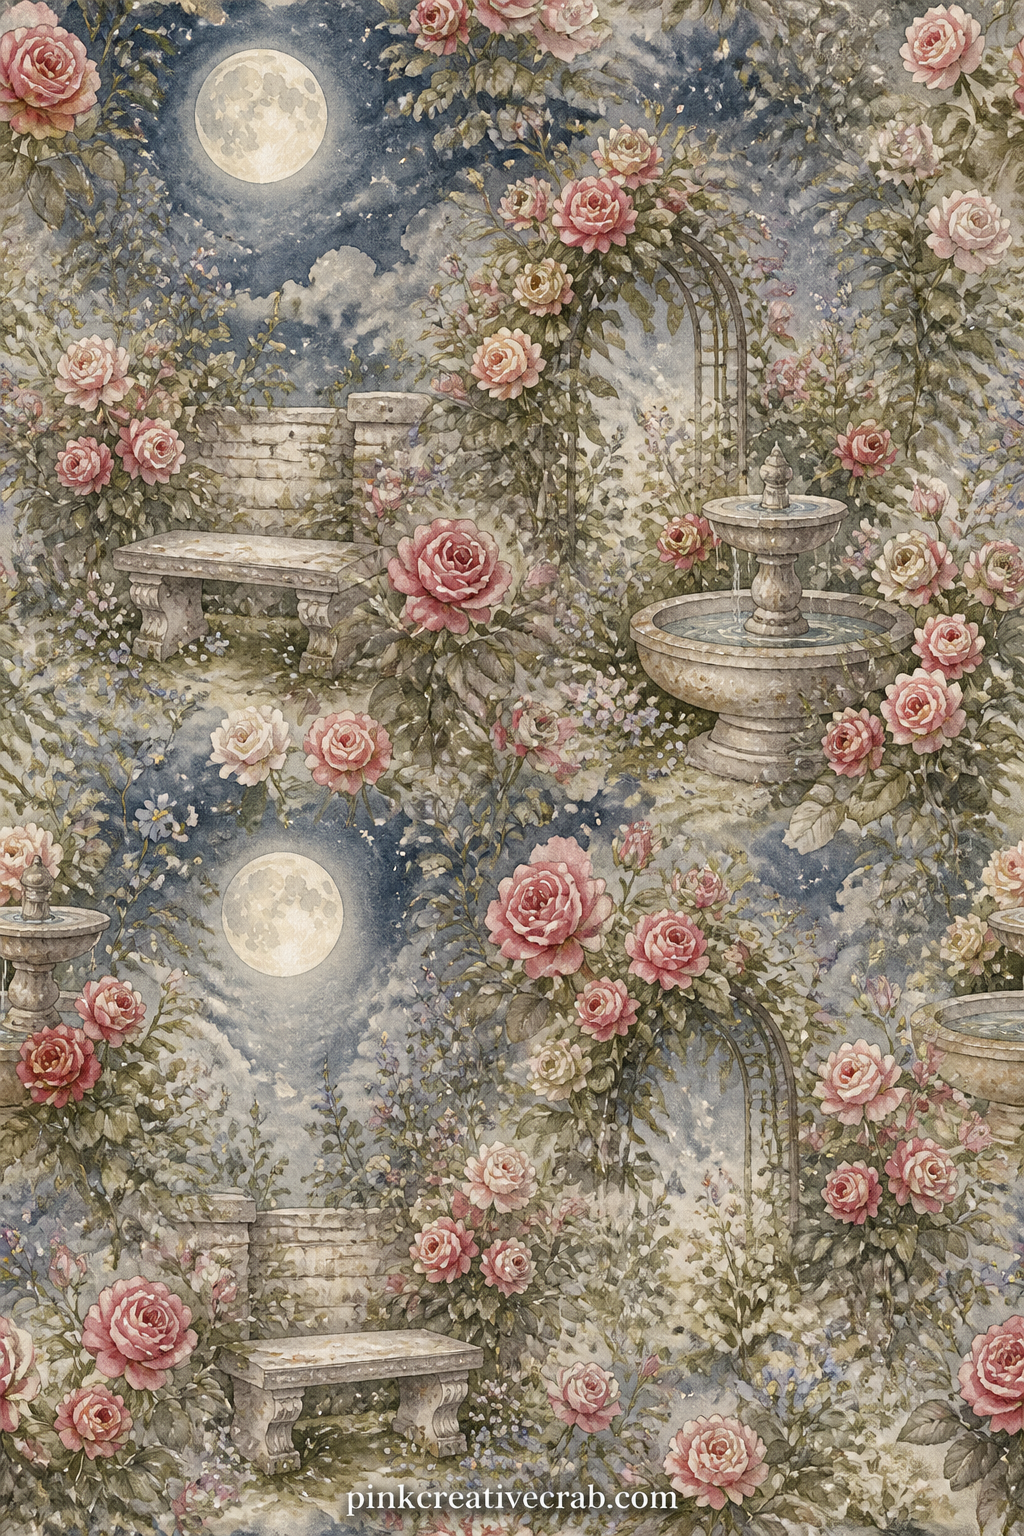
Even a night scene stays full: this garden keeps its roses and hedges lit softly by a painted moon and sky, so nothing on the page is left bare or empty.
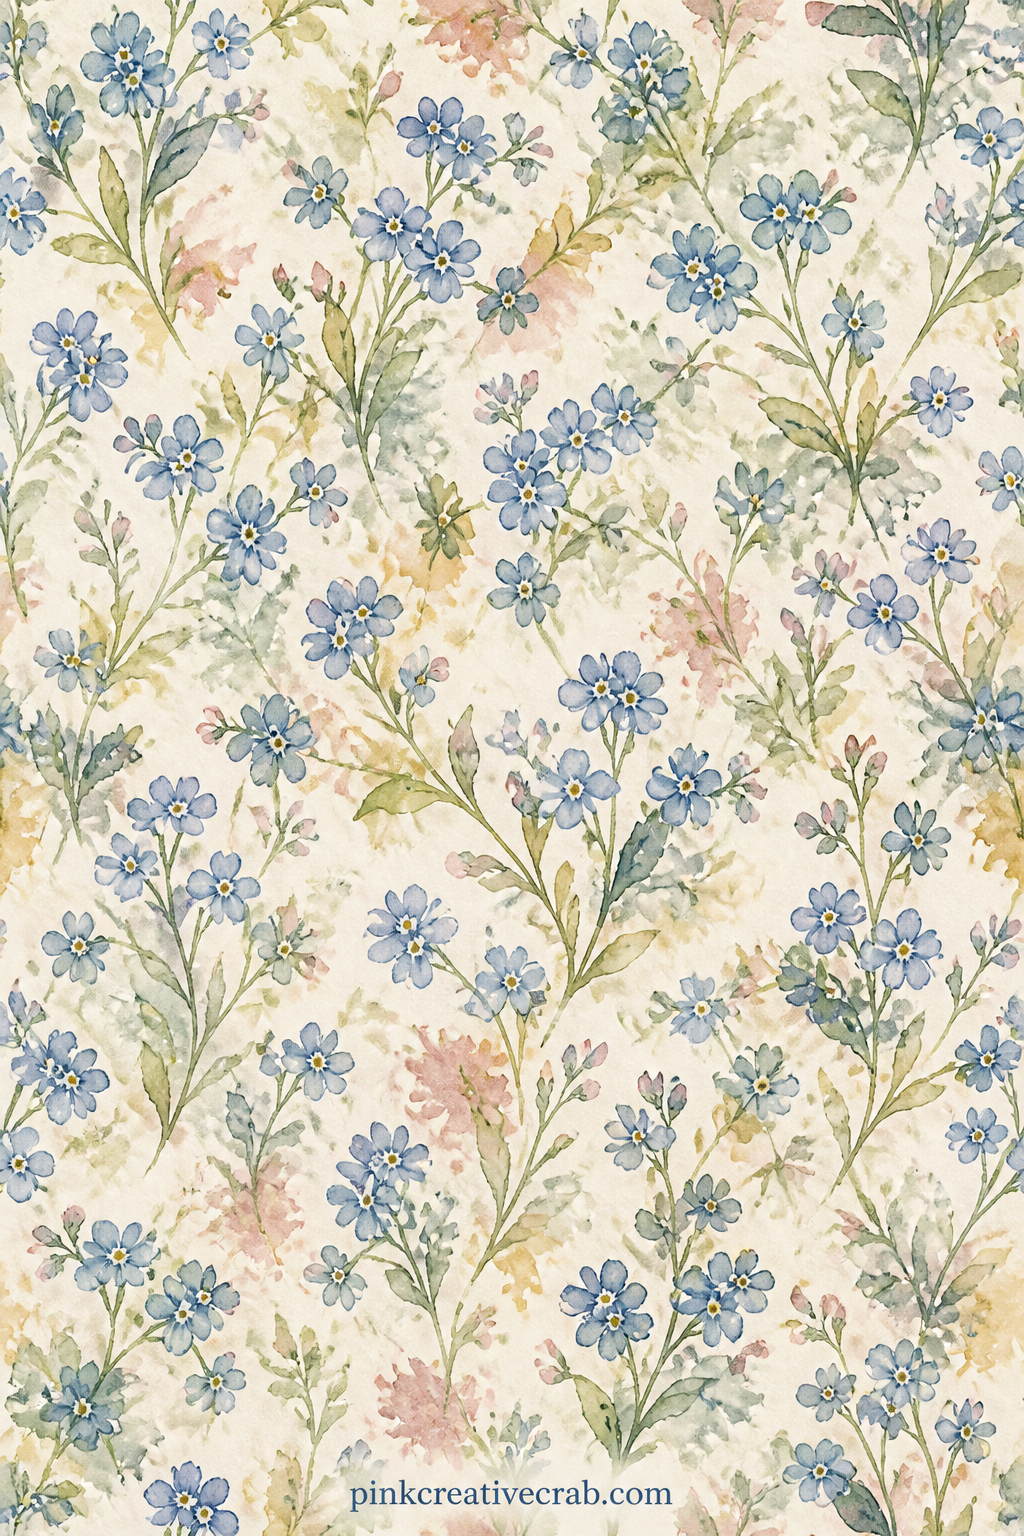
Tiny blue forget-me-nots scatter edge to edge in this pattern, good as a lining behind a photo of a garden visit, a soft inside cover, or a backing sheet under a pressed flower page.
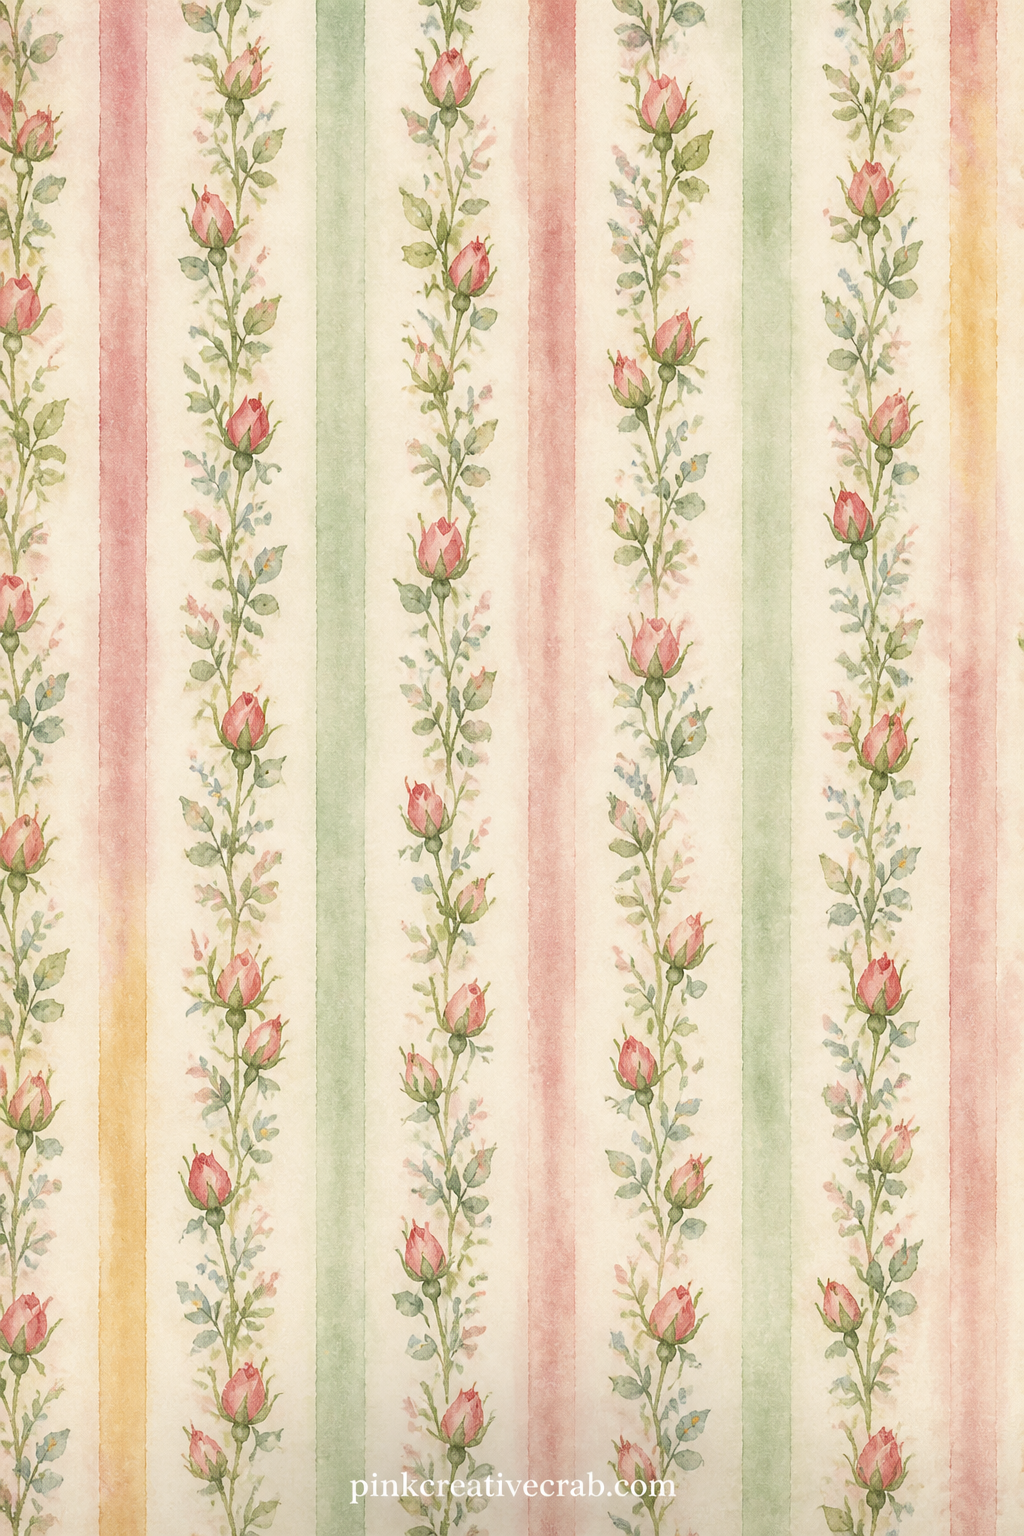
Narrow stripes carry tiny rosebuds down the sheet, suited to a cover sheet, a strip cut for a page border, or lining behind a florist window scene for extra colour.
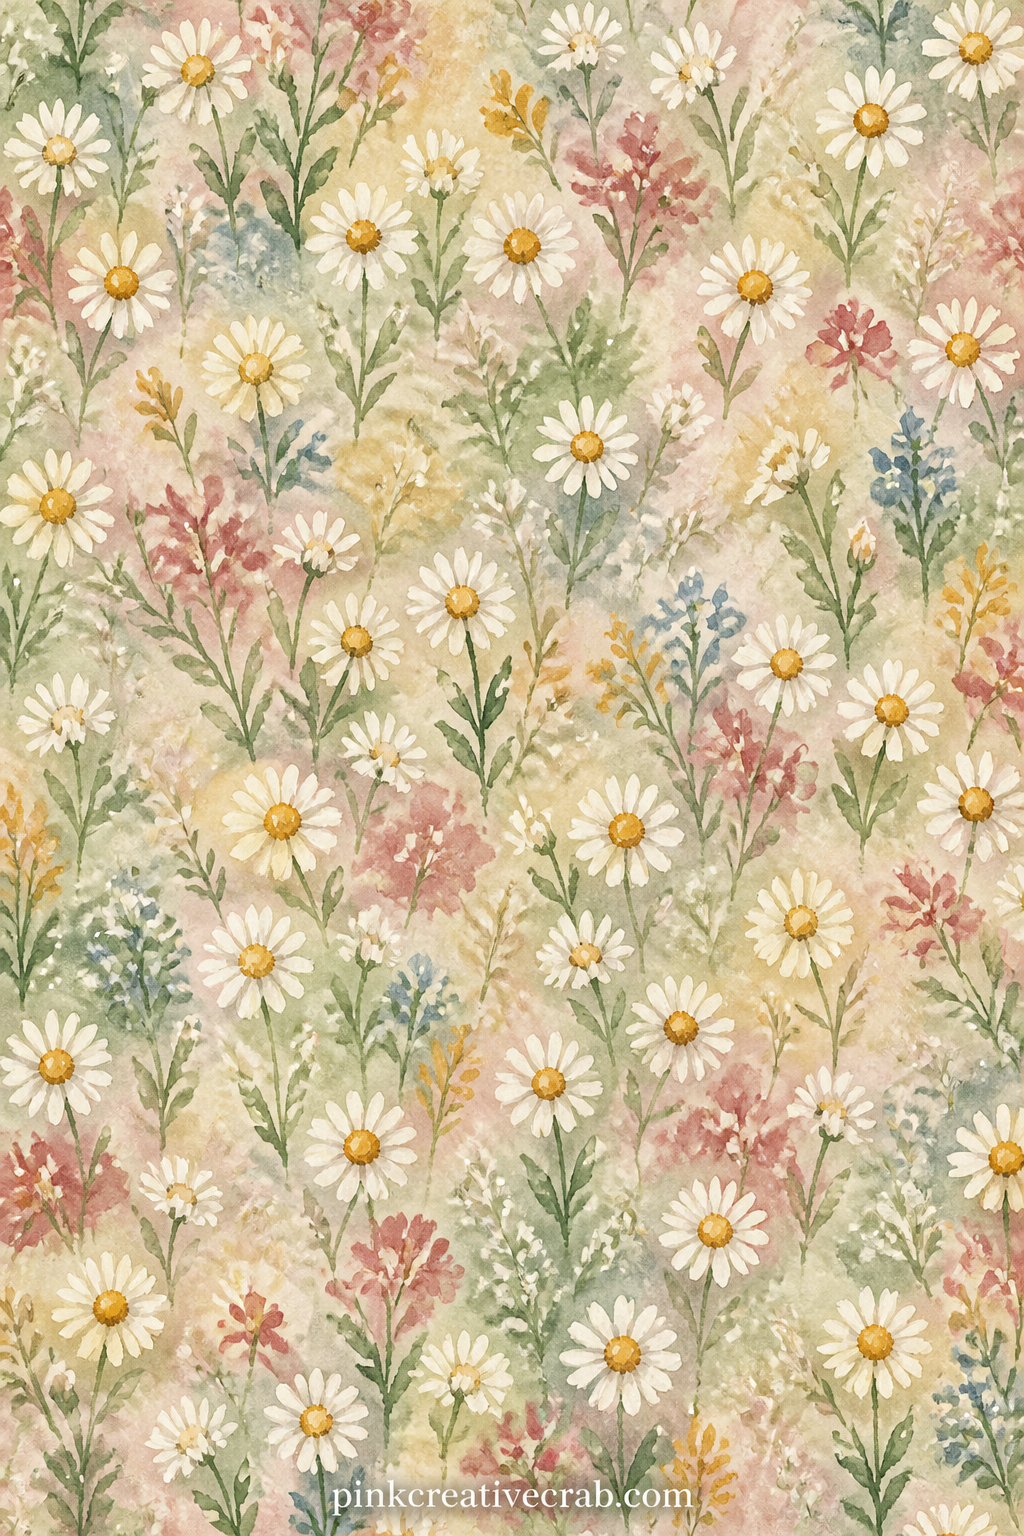
Loose daisies spread across the whole sheet in this pattern, ready to sit under a meadow photo, line the inside front cover, or back a botanical plate for extra texture.
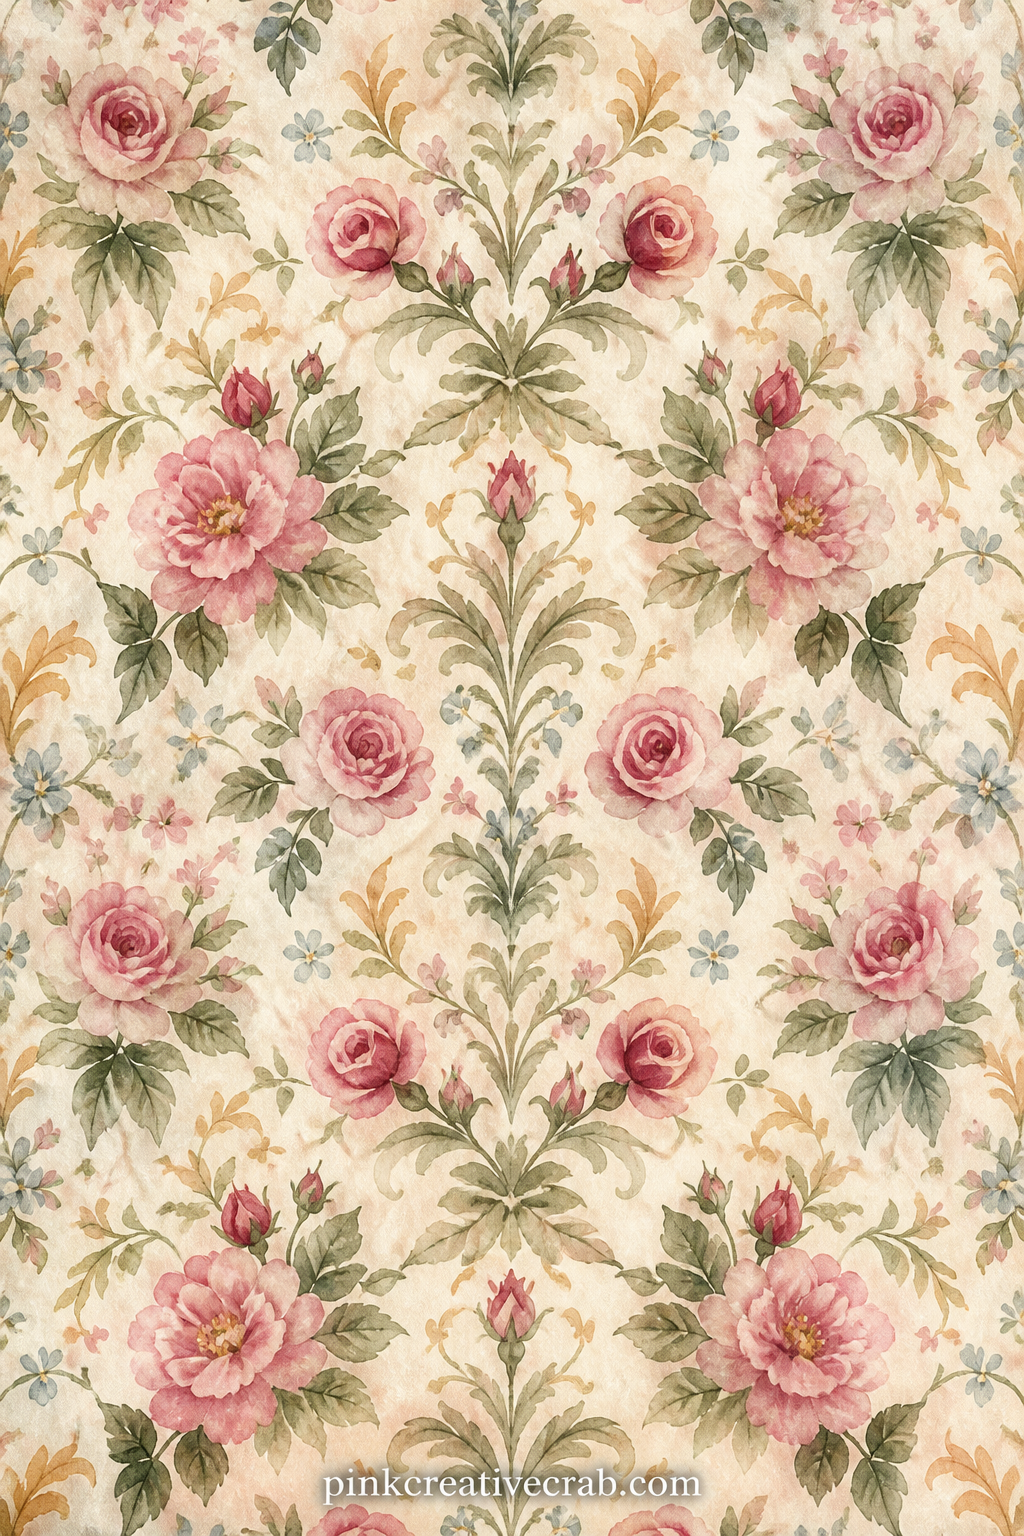
A faded damask of roses and leaves repeats across this sheet, strong enough to serve as a journal cover, a divider between sections, or a base behind a lined writing page.
Lined Writing Pages
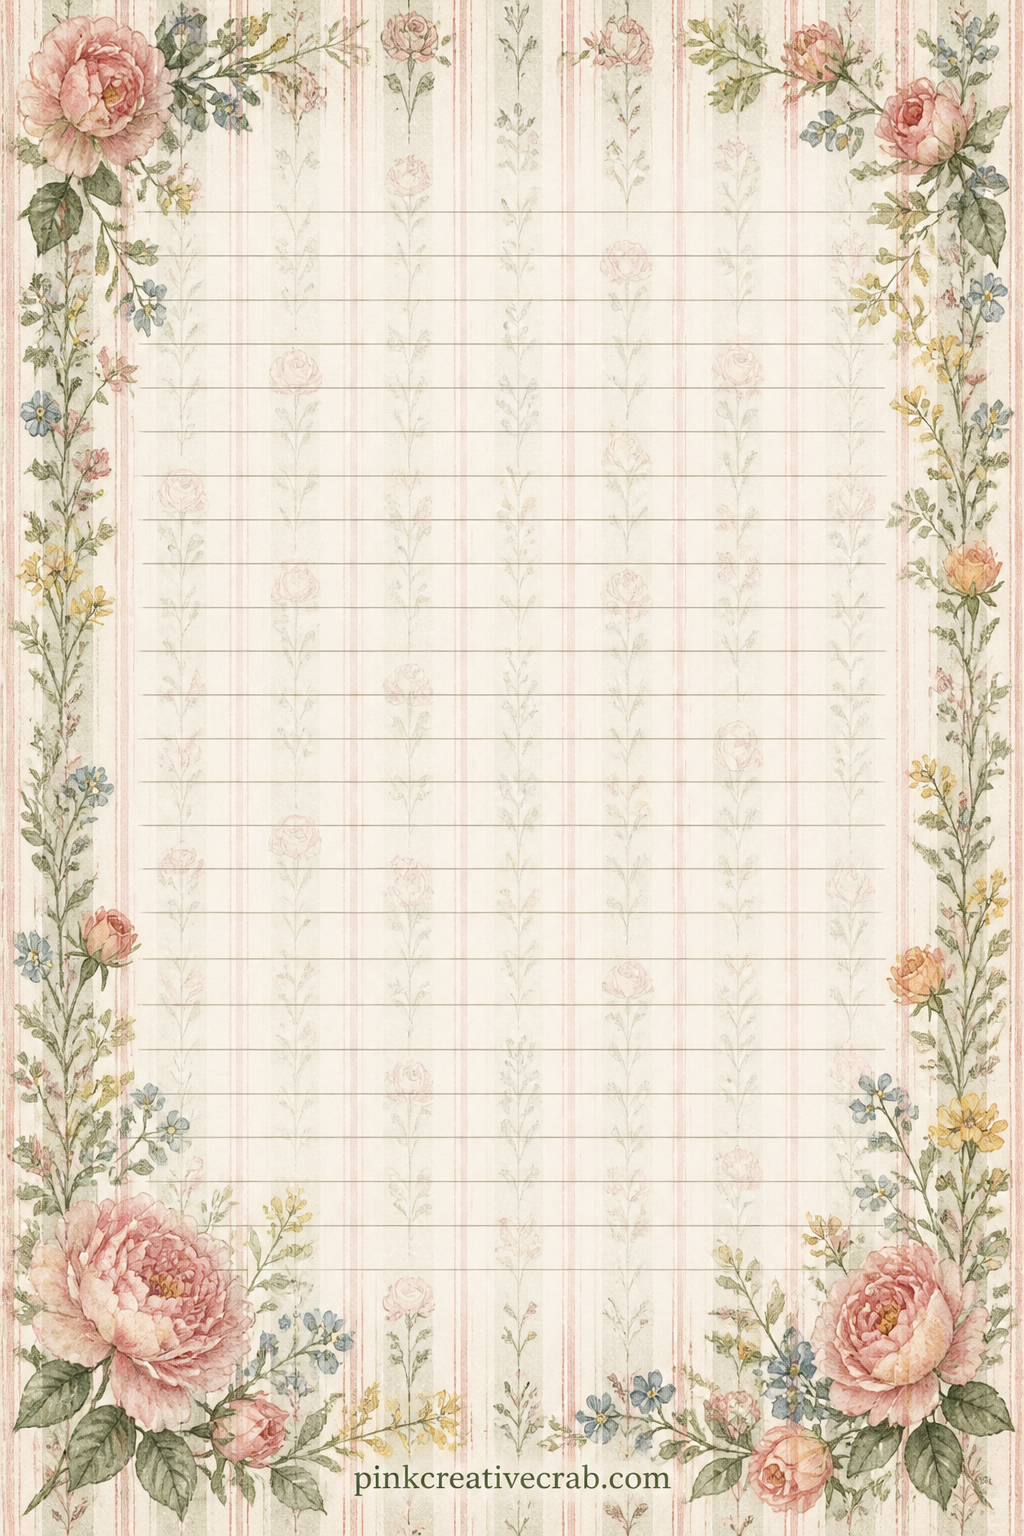
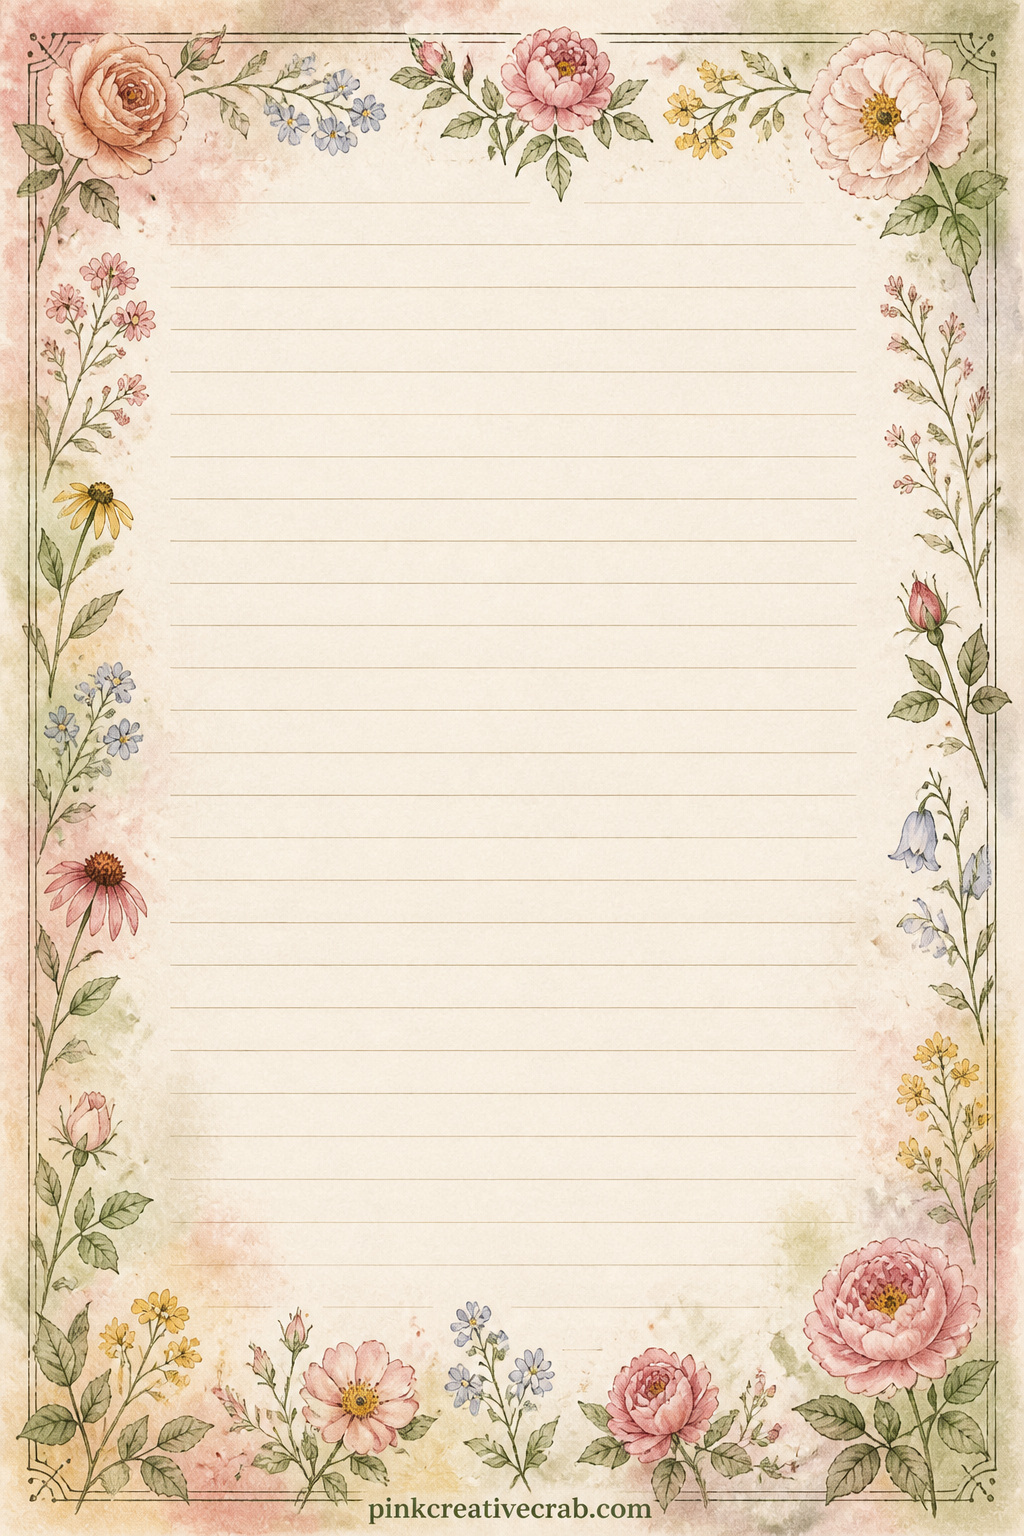
Lines down the centre wait for a flower-shop receipt copied out, a short list of favourite blooms, or a letter to next year about what grew well in the garden.
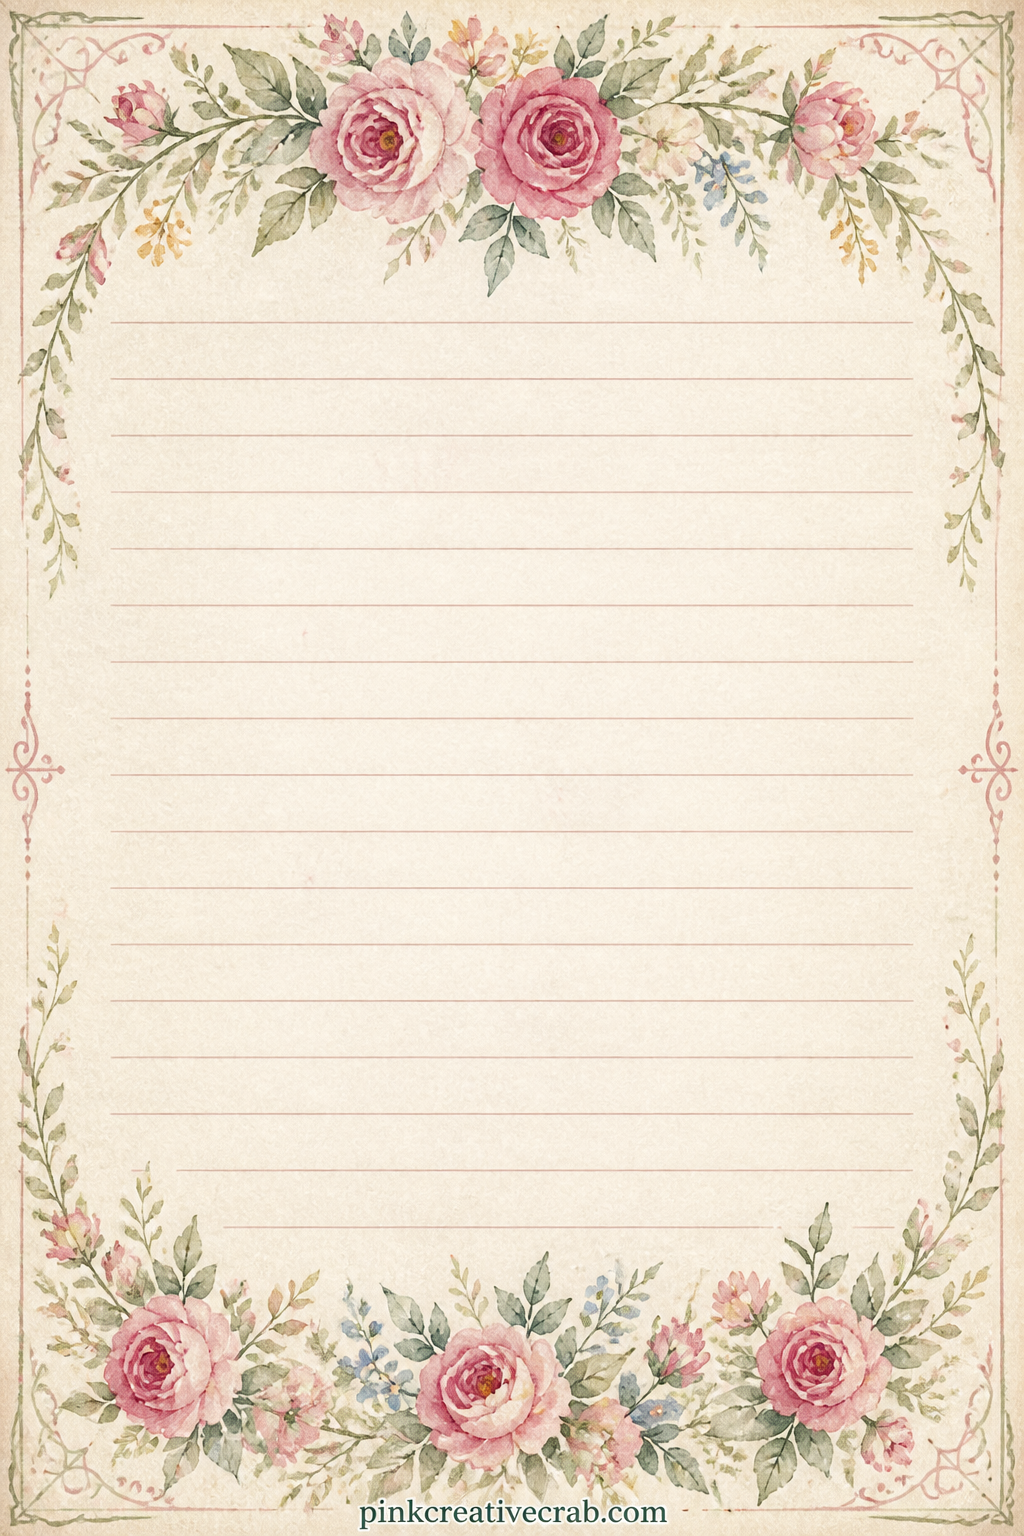
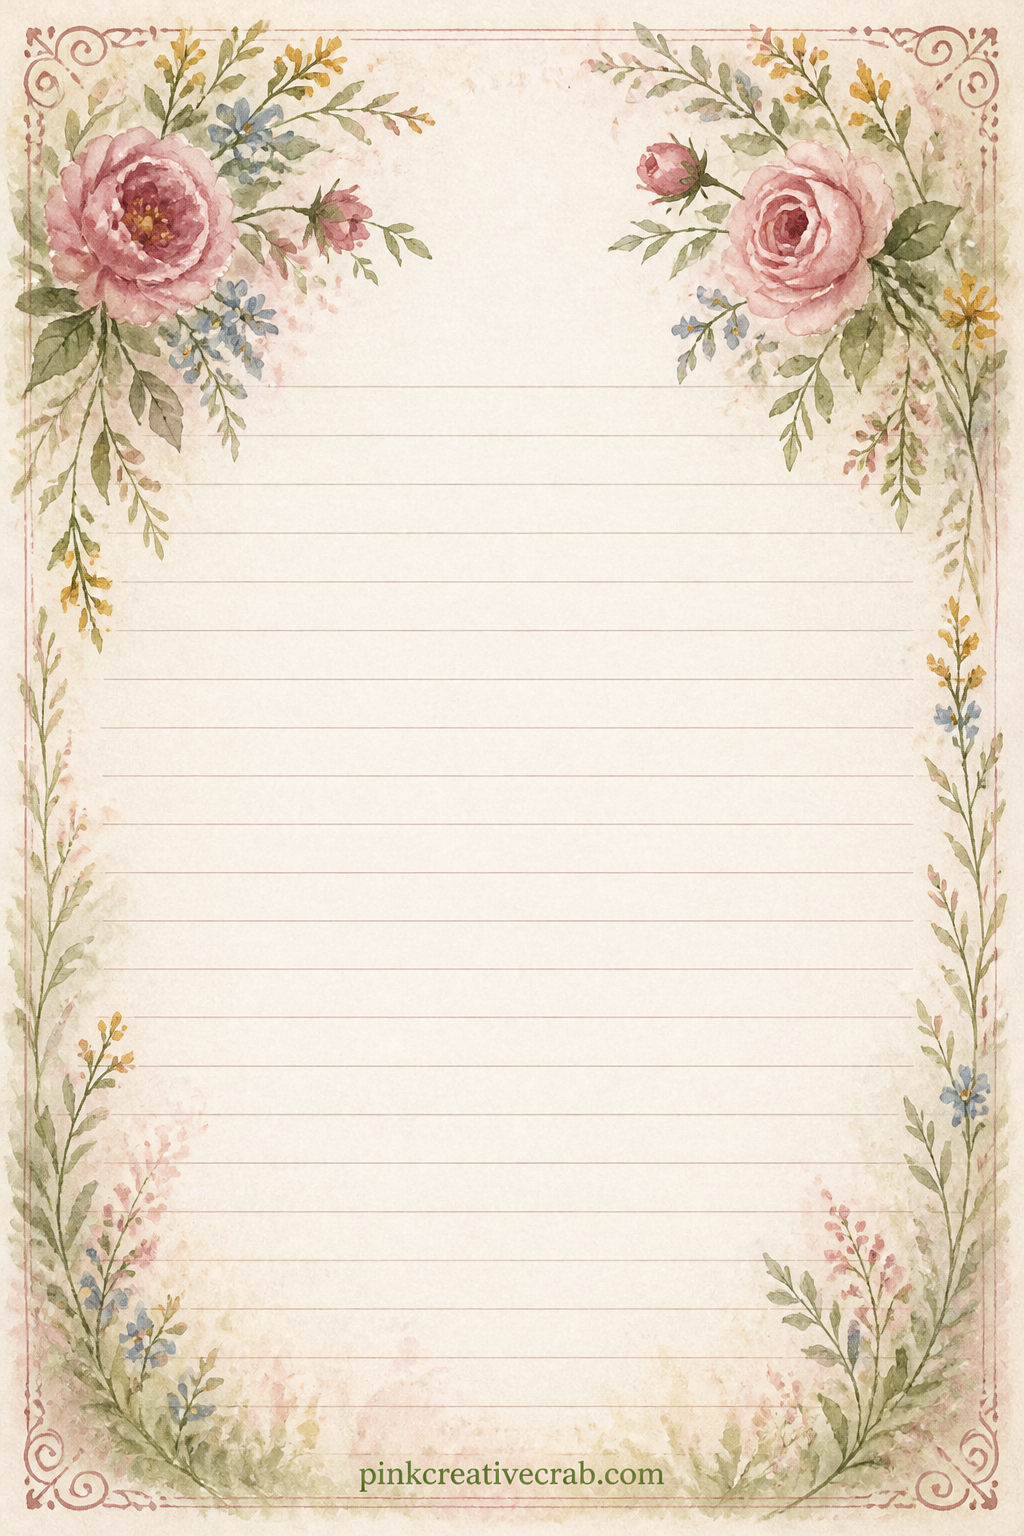
Use the open lines for a wildflower identification list, a walking route through a meadow, or a short note describing the colours seen on a particular afternoon.
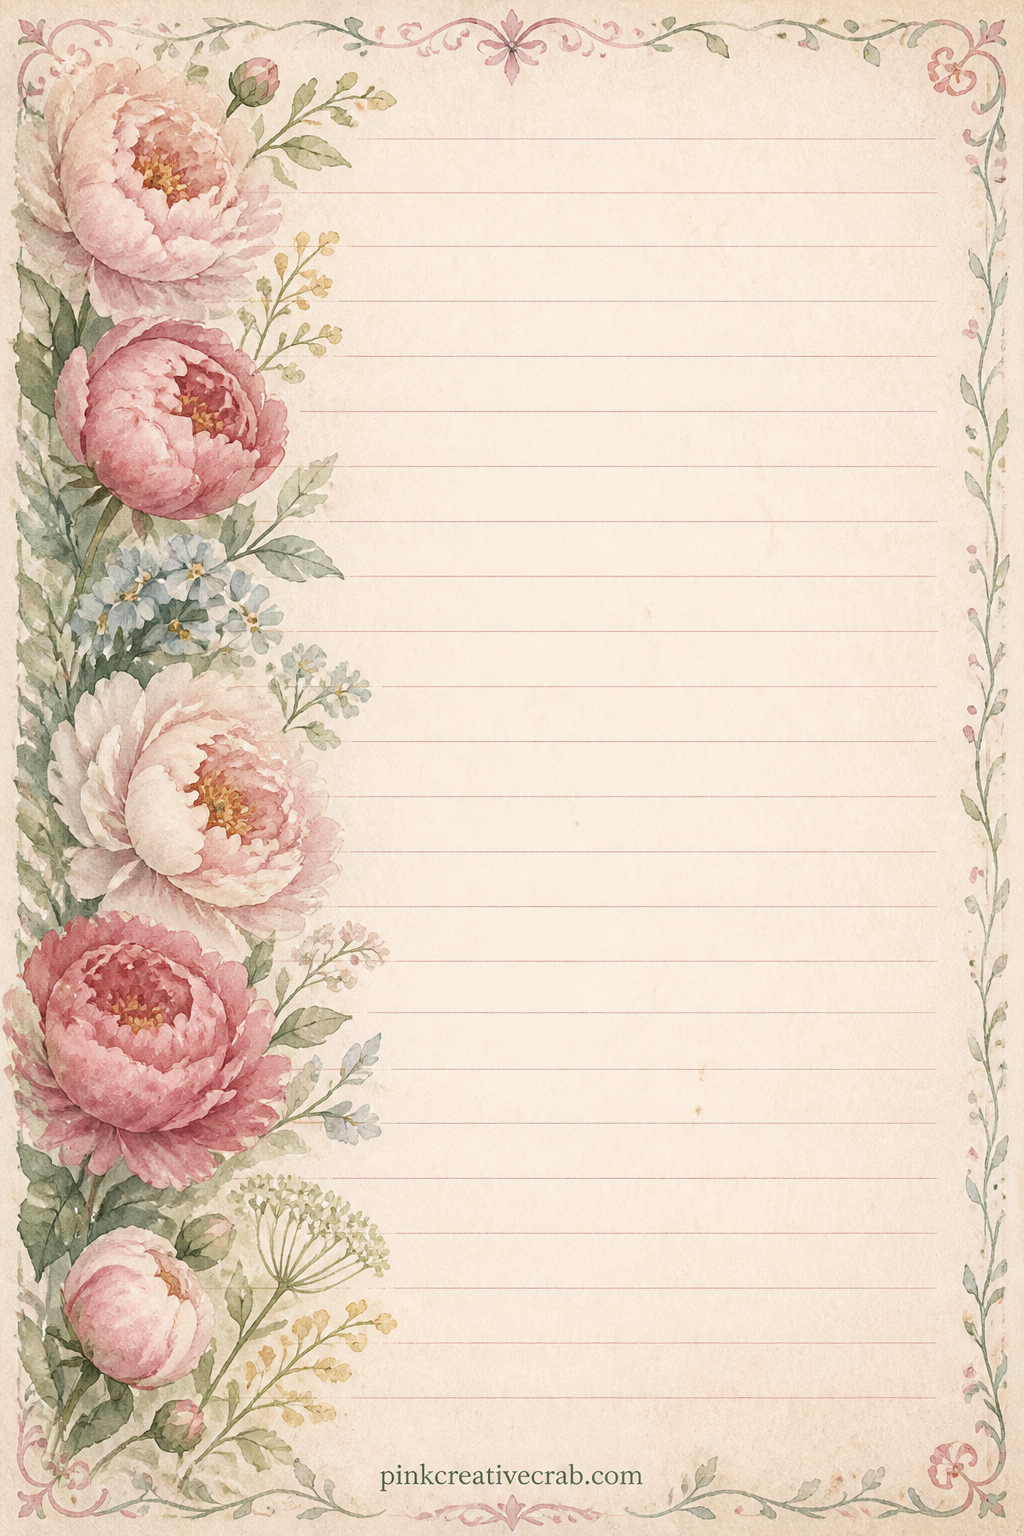
The side band of peonies leaves the rest of the page open for a thank you note, a short poem, or a recipe for a floral tea copied from somewhere else.
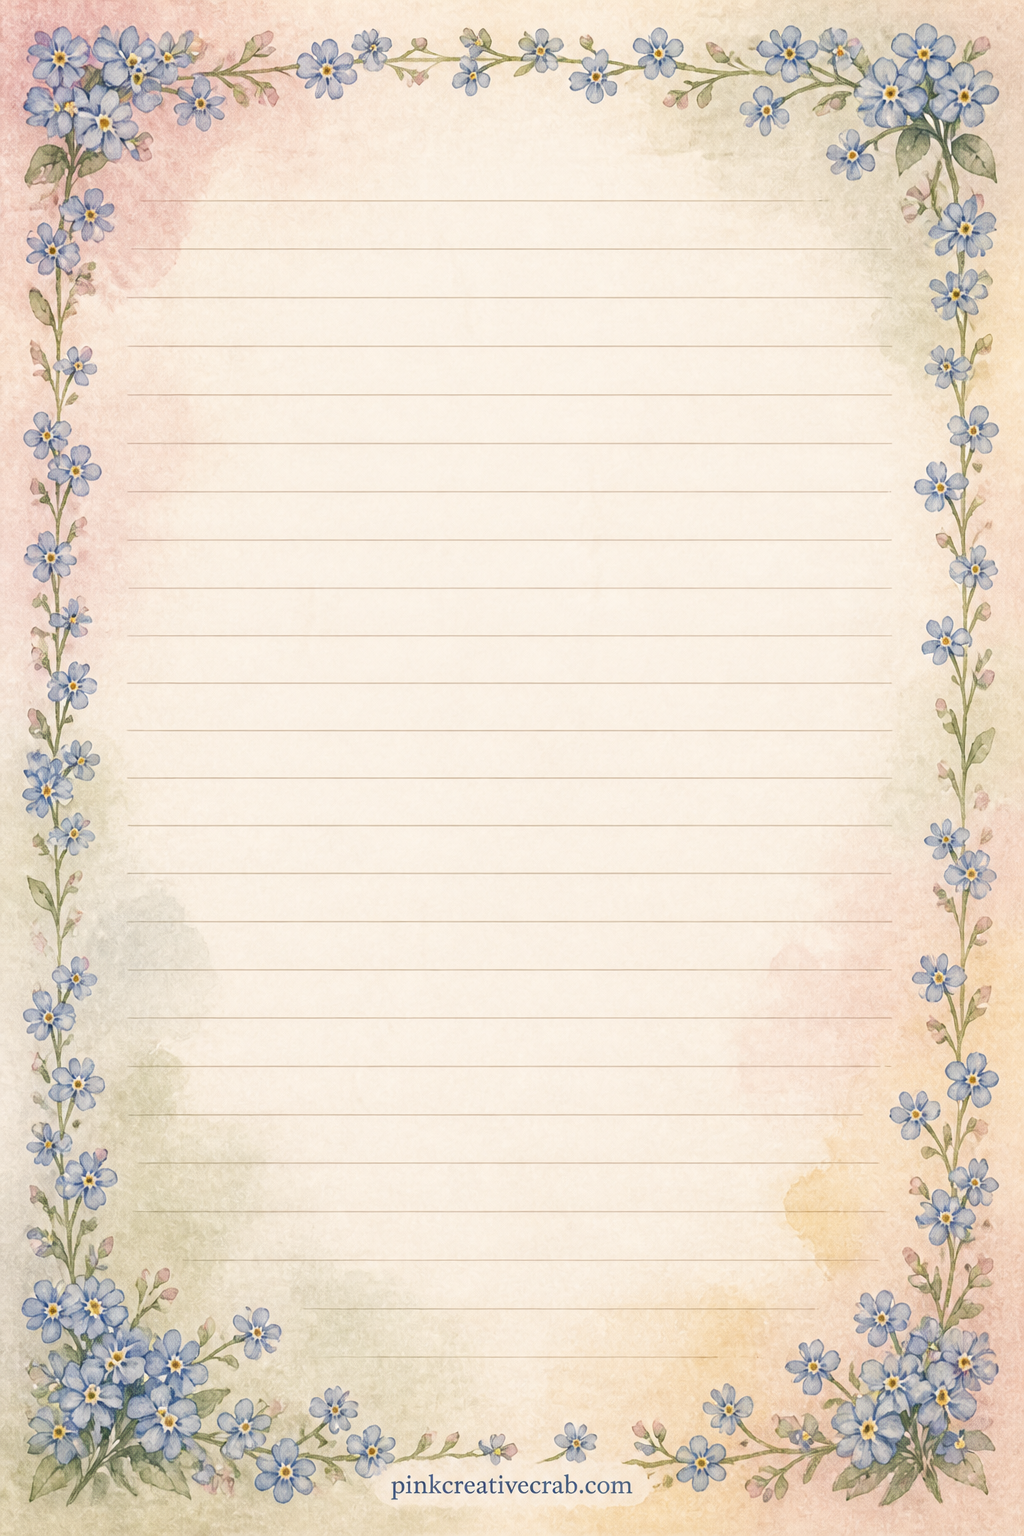
Leave this page for a short letter to someone who loves flowers, a list of blooms still wanted for the garden, or a single remembered line about a spring walk.
What to Do Next
Print the pages, trim what needs trimming, and start gluing the scenes into your journal in whatever order feels right for the story you are telling. For more floral painting practice before the next kit, see the loose watercolor flowers ideas, the simple watercolor flowers list, or the vintage junk journal set for more aged paper pages to mix in.
Frequently Asked Questions
What paper works best for these junk journal flowers pages?
Choose a matte paper between 24lb and 32lb for a good balance of colour depth and easy folding. Cardstock gives more durability for cover pages, but ordinary heavier printer paper works fine for the scene and lined pages that stay glued flat inside a journal.
What printer settings should I use?
Set your printer to its best or photo quality setting and choose the matte or plain paper profile rather than glossy photo paper, since gloss settings can oversaturate the soft washes. Let each page sit for a minute after printing so the ink sets before handling.
What size should I print the pages at?
Standard letter or A4 size suits most home-assembled journals and prints with no scaling needed. For a smaller journal, print at 80 to 90 percent scale and trim the extra border away, keeping the proportions of each page intact.
Can I colour or add to these pages myself?
Yes. Coloured pencils, fine markers or a light wash of watercolour sit well over the printed pages if you want to deepen a petal or add a highlight. Keep any added colour light so it blends with the existing soft washes rather than fighting them.
What do I glue or trim the pages with?
A glue stick keeps the paper flat without the wrinkling that wet glue can cause, and craft scissors or a paper cutter give clean edges for trimming to size. Keep a bone folder or the back of a spoon nearby for crisp folds on any page you fold in half.
Have any thoughts?
Share your reaction or leave a quick response — we’d love to hear what you think!
-
 0
0 -
0
-
0
-
0
-
0
-
0


