

Table of Contents
- Snowman With Lopsided Carrot Nose
- Christmas Stocking On A Nail
- Wrapped Gift Box With Bow
- Striped Candy Cane
- Waving Gingerbread Man
- Triangle Christmas Tree
- Santa Hat With Pom Pom
- Holly Sprig With Berries
- Reindeer Munching A Carrot
- Six Pointed Snowflake
- Pair Of Mittens
- String Of Christmas Lights
- Snow Covered Pine Tree
- Swirl Pattern Ornament Ball
- Gingerbread House
- Penguin In A Scarf
- Jingle Bell With Bow
- Mug Of Hot Cocoa With Marshmallows
- Stack Of Three Gifts
- Glowing Star Tree Topper
- Snowman Family Trio
- Peppermint Swirl Lollipop
- Wreath Of Circles
- Snowy Sledding Hill
- Mouse Peeking From Stocking
- Santa Boot By Chimney
- Simple Angel Shape
- Polar Bear Cub In Snow
- Star And Tree Cookie Plate
- Snow Globe With Tiny Tree
- Sleigh Full Of Gifts
- Scarf Wearing Owl On Branch
- Lit Christmas Candle
- Frequently Asked Questions
Every christmas drawing easy idea on this list uses big basic shapes, so a child aged five to ten can finish one in a single sitting over winter break, no fancy technique needed.
Hand her crayons and washable markers, pick one subject from the list below, and let her start right at the table she is already sitting at.
Using these images: free for personal projects such as printing, coloring, cards, journals and gifts. Handmade items that include them may be sold up to 30 pieces per design. More than that is commercial use and is not permitted, and neither is selling or sharing the images themselves or passing them off as your own. Please ask before any other use.
Snowman With Lopsided Carrot Nose
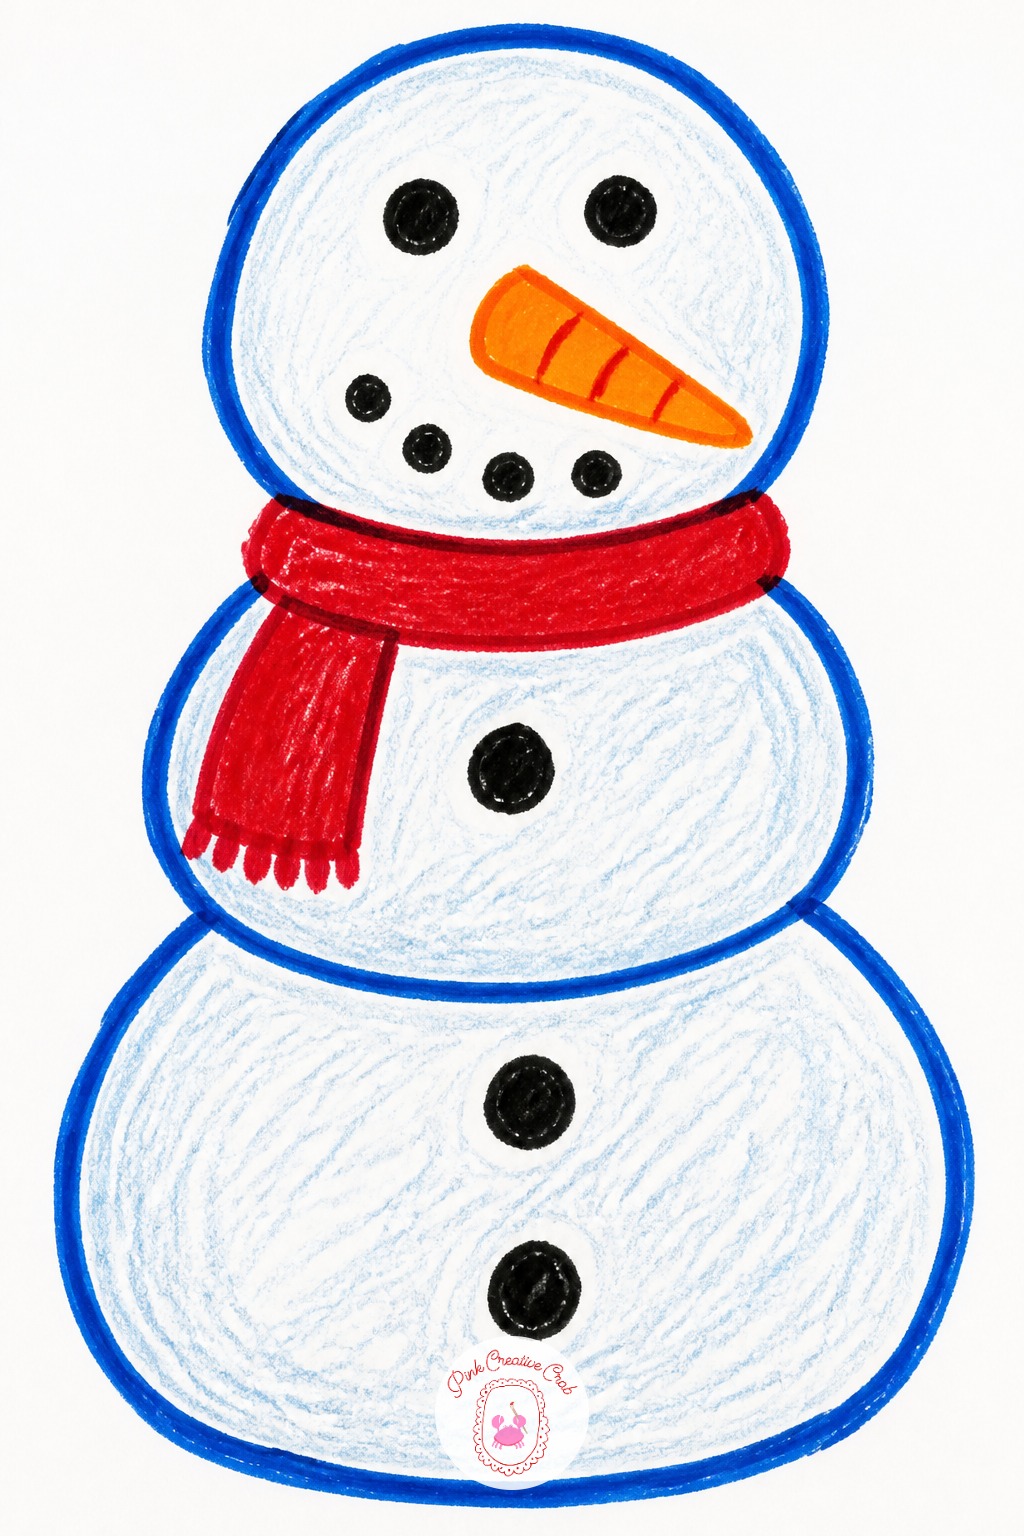
Reach for a fat crayon for the body, not a thin marker. Thick wax fills three big circles fast without gaps, and small hands press harder with a chunky crayon than with a skinny one.
Stack three circles, biggest at the bottom, and let the carrot nose tilt off to one side instead of sitting straight in the middle. A crooked nose looks more like a snowman a child actually built outside.
Finish with a black marker for the coal eyes and buttons, since marker lines stay crisp over crayon wax. Press the orange crayon at an angle for the nose so the tip comes out pointed.
Christmas Stocking On A Nail
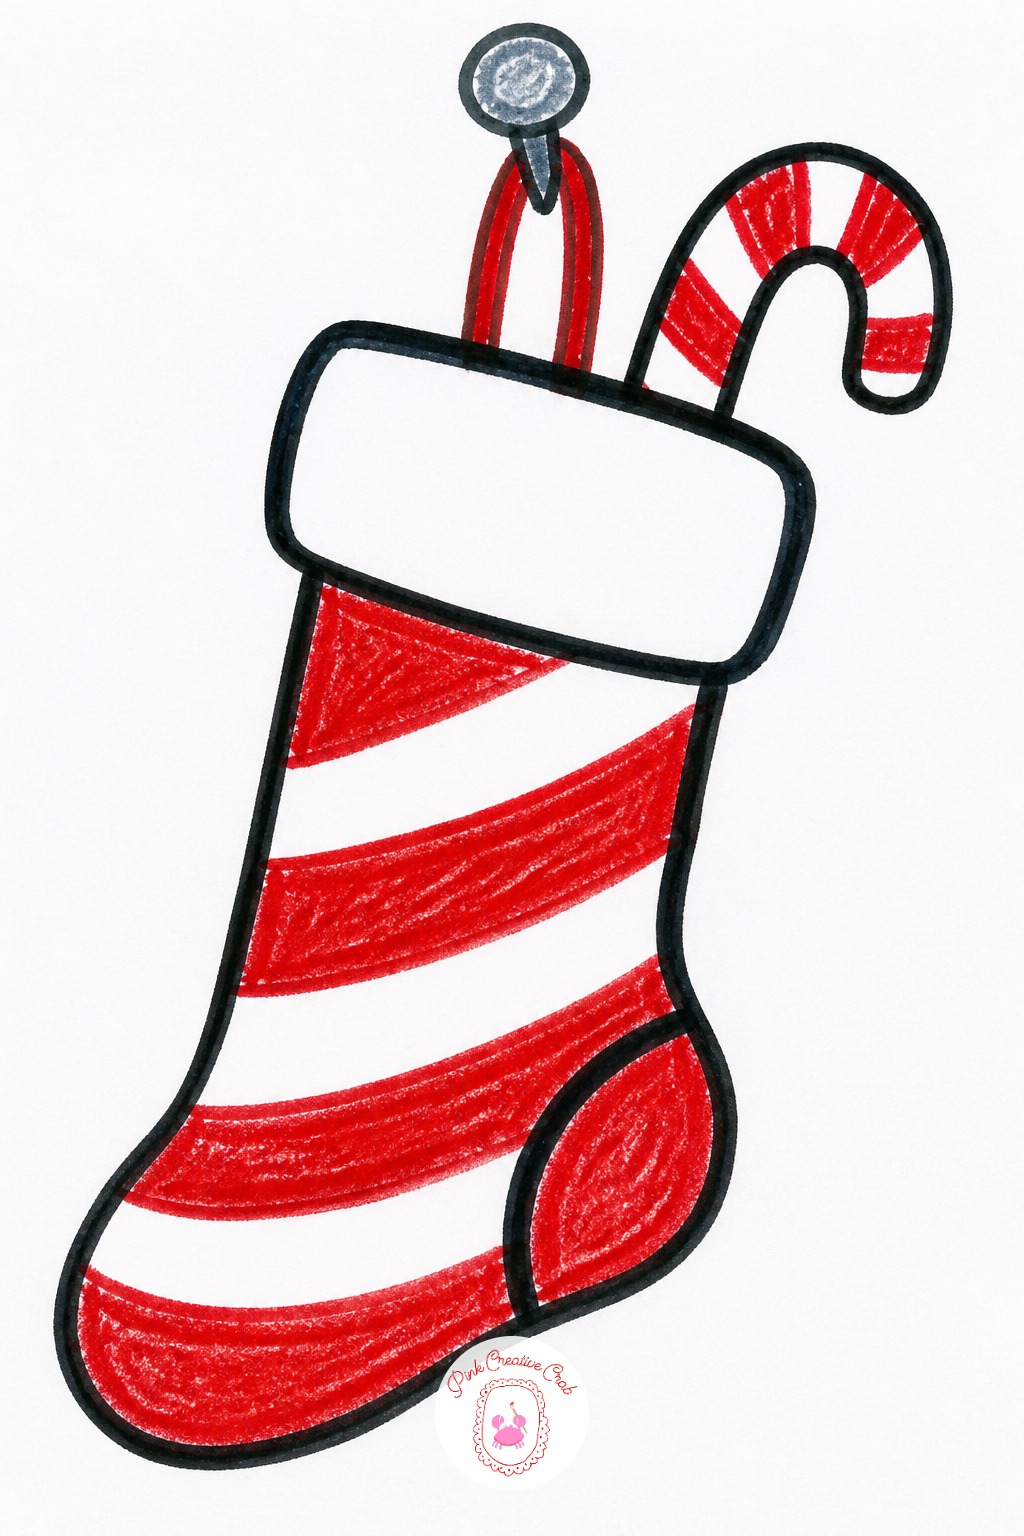
Draw the wide curved cuff first, right where the stocking will hang open. That top edge decides how big the whole stocking gets, so make it generous, almost as wide as a hand.
Next bring two lines down from the cuff and curve them into a heel and a long toe, the classic sock shape. Add the hanging loop last, a small curved strip at the top corner, once the body of the stocking is already drawn.
Fill the cuff with a different color than the stocking body, white crayon or a pale marker works well, so the two parts read clearly from across the room.
Wrapped Gift Box With Bow
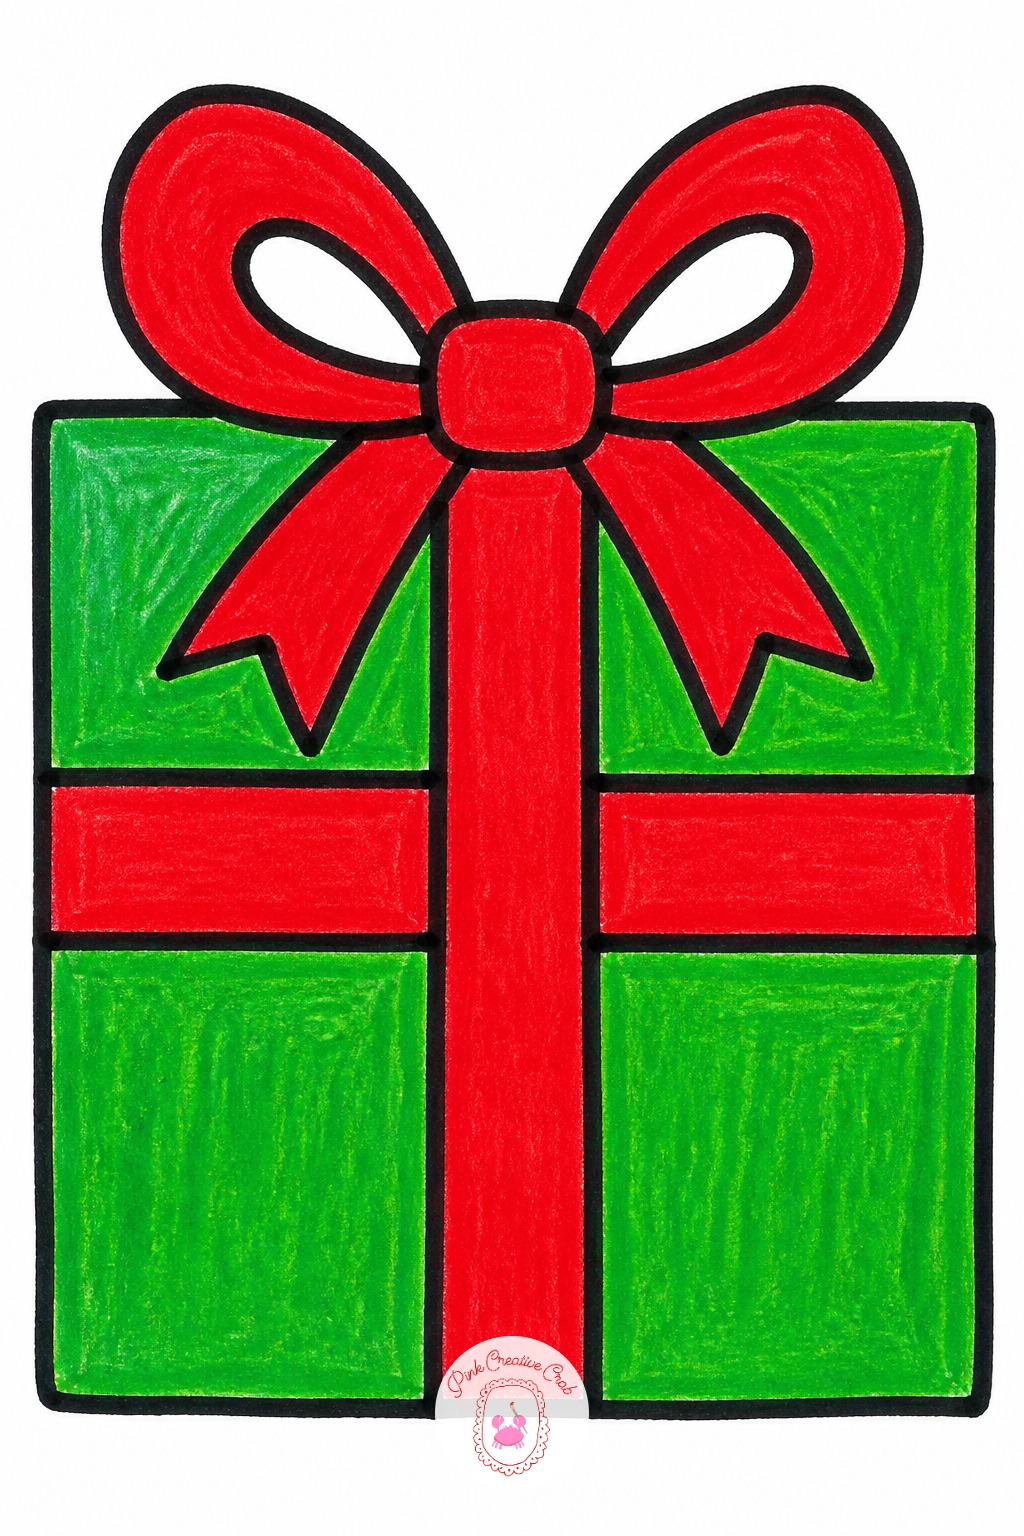
Make the box a true square, not a tall rectangle, since a square box is what most children picture when they hear the word present. Draw it first, then measure the bow against it by eye: the bow should be no wider than half the box’s width, centered on top.
Keep the ribbon lines running straight across the middle, one side to side and one top to bottom, crossing exactly in the center of the box.
Color the ribbon a different shade than the box itself. That contrast reads as wrapping paper and trim even without any pattern drawn inside.
Striped Candy Cane
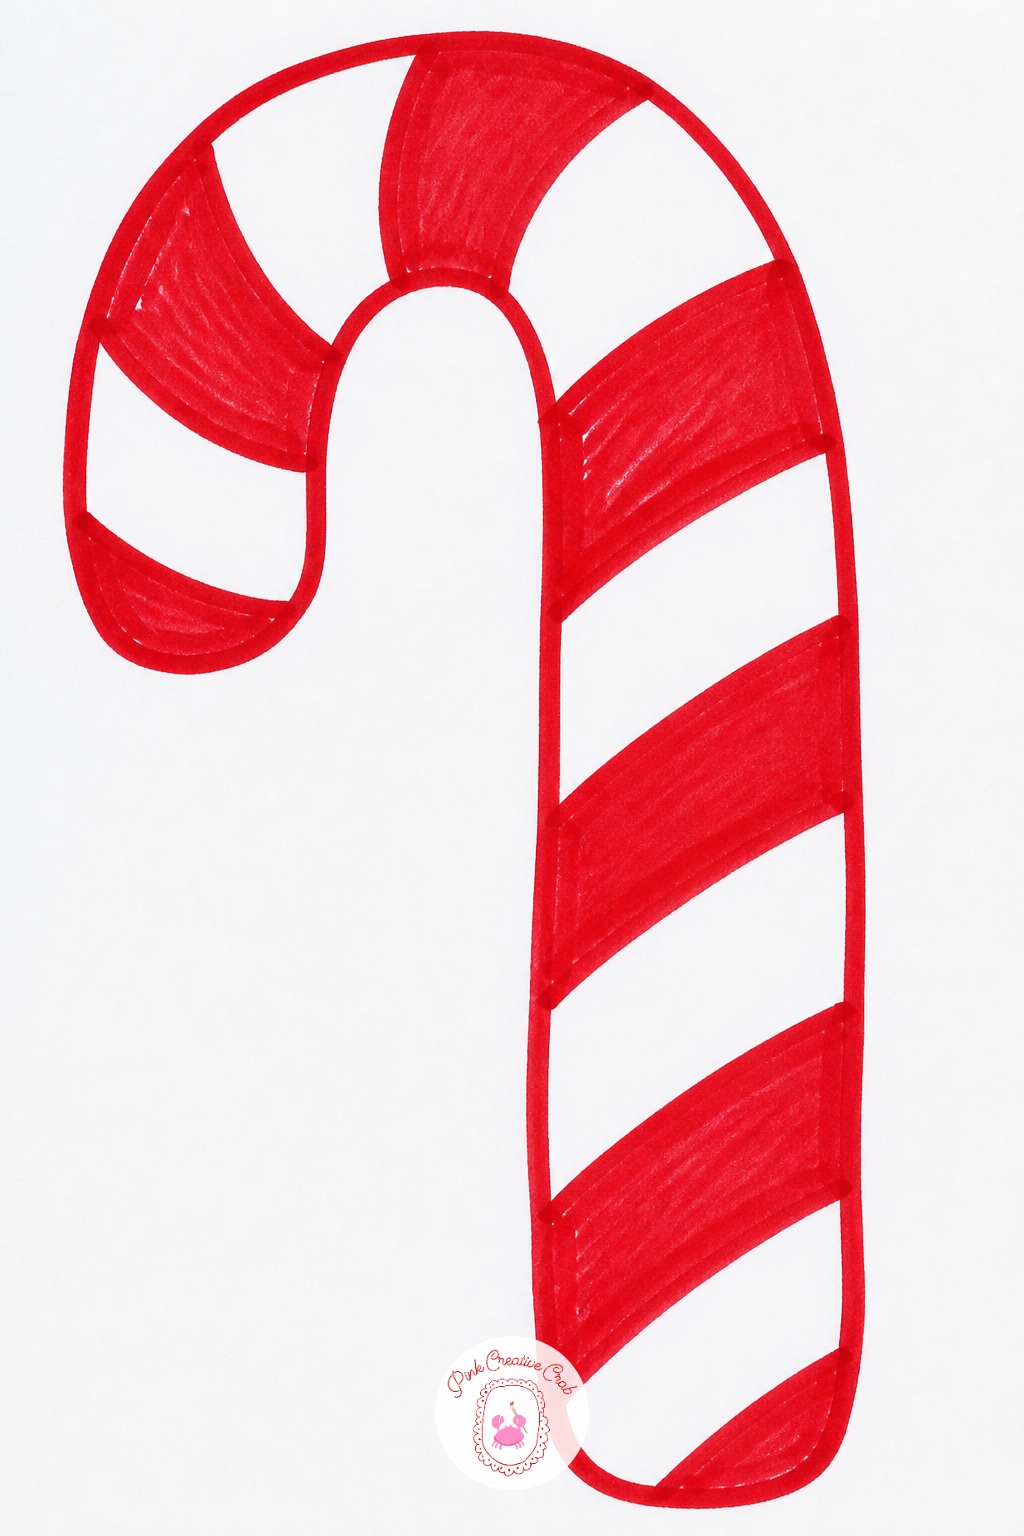
Picture the light coming from the upper left, the way it usually does when a child draws near a window. That means the stripe on the left side of the cane stays a touch lighter, and the shadow side on the right gets a thin dark line beside it.
Draw the long straight body first, then curl the top into a hook shape, like the letter J. Add the red stripes as diagonal bands wrapping around the curve, not straight lines, since straight stripes on a curved hook look flat.
Leave one thin white gap between each red stripe for the shine.
Waving Gingerbread Man
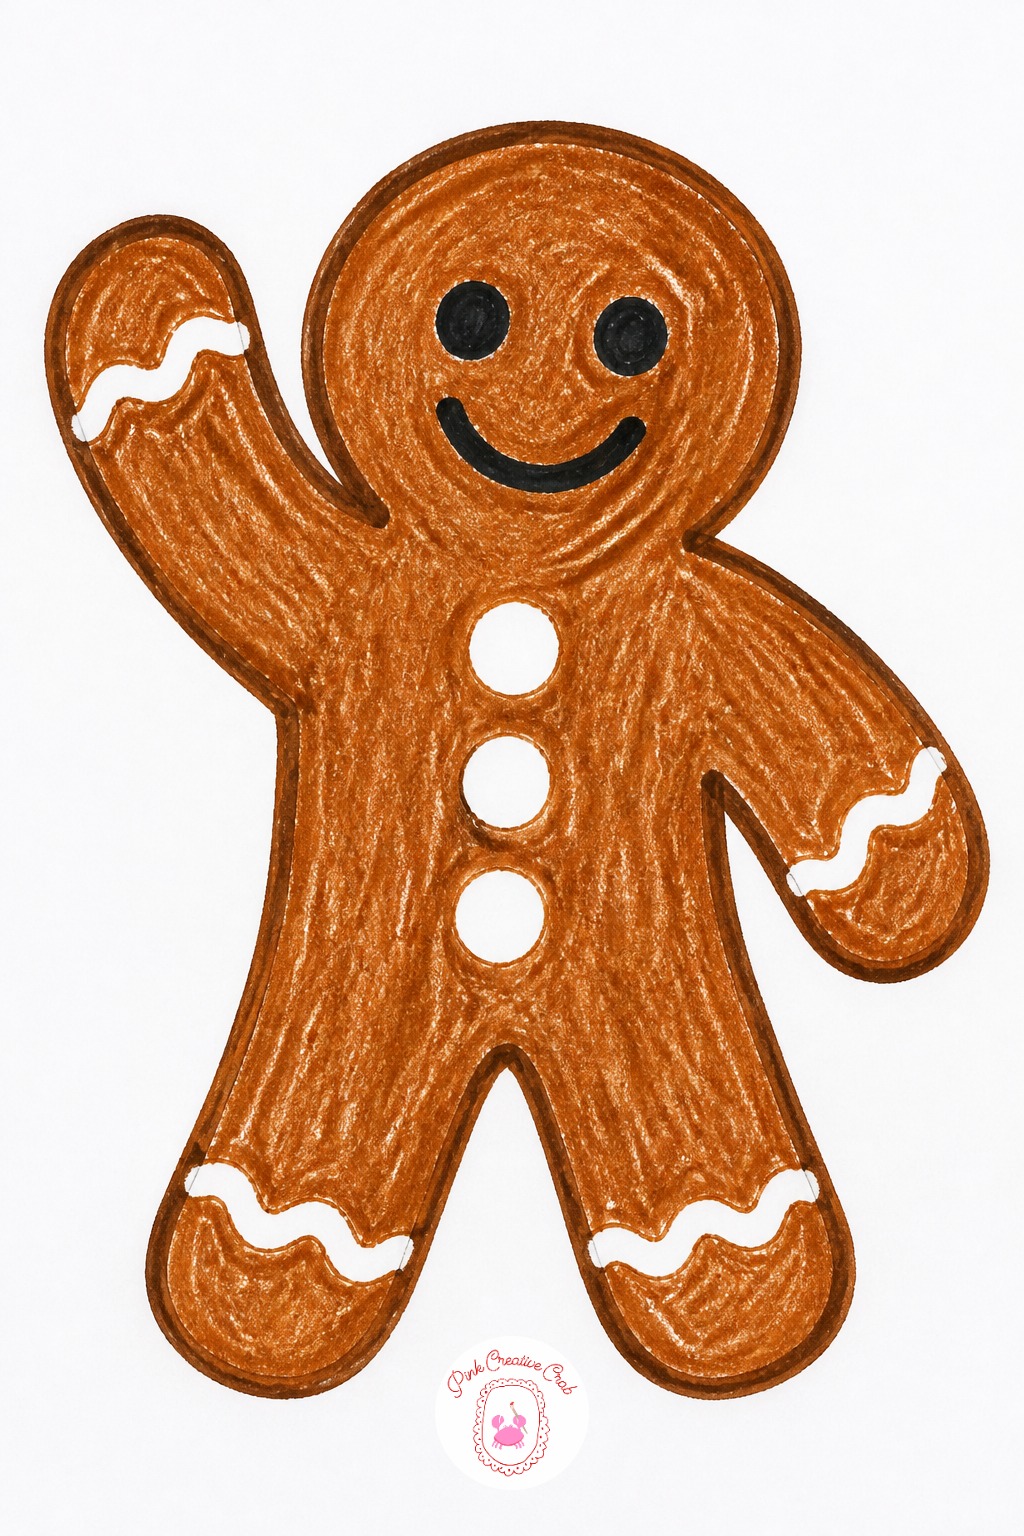
Press a white crayon hard along the edges of the arms, legs and head before adding any marker outline. That white crayon line resists marker ink later, so when icing trim goes on with a white gel pen, it stays bright against the brown body underneath.
Draw the gingerbread man with one arm raised high in a wave and the other arm down at his side, so the pose reads instantly even from far away.
Dot the icing buttons down the middle with small white crayon dots for a raised, bumpy look instead of flat circles.
Triangle Christmas Tree
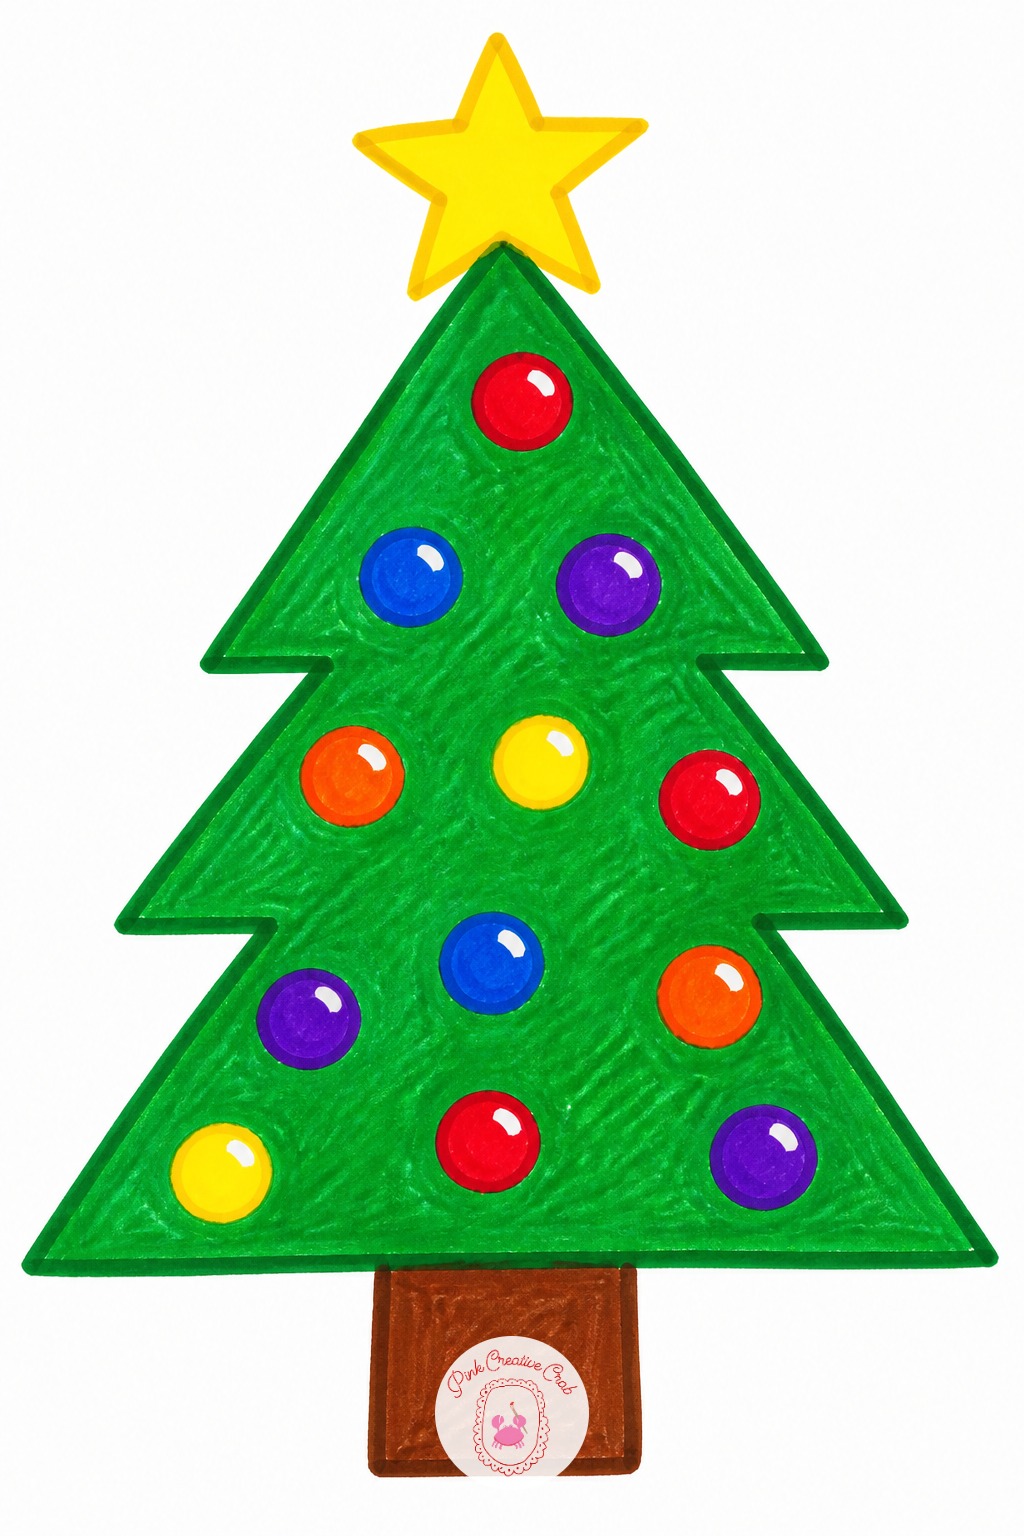
The most common slip with a Christmas tree is drawing one solid triangle with no break, which ends up looking like a plain party hat. Stop after the outline and add two or three horizontal notches along each side instead, so the triangle reads as stacked branches rather than one smooth cone.
Draw the trunk last, a short brown rectangle peeking out underneath, after the green shape is finished and feels right.
If the tree already looks too plain, fix it right there: scatter a handful of colored dot ornaments and a star at the very tip before moving on.
Santa Hat With Pom Pom
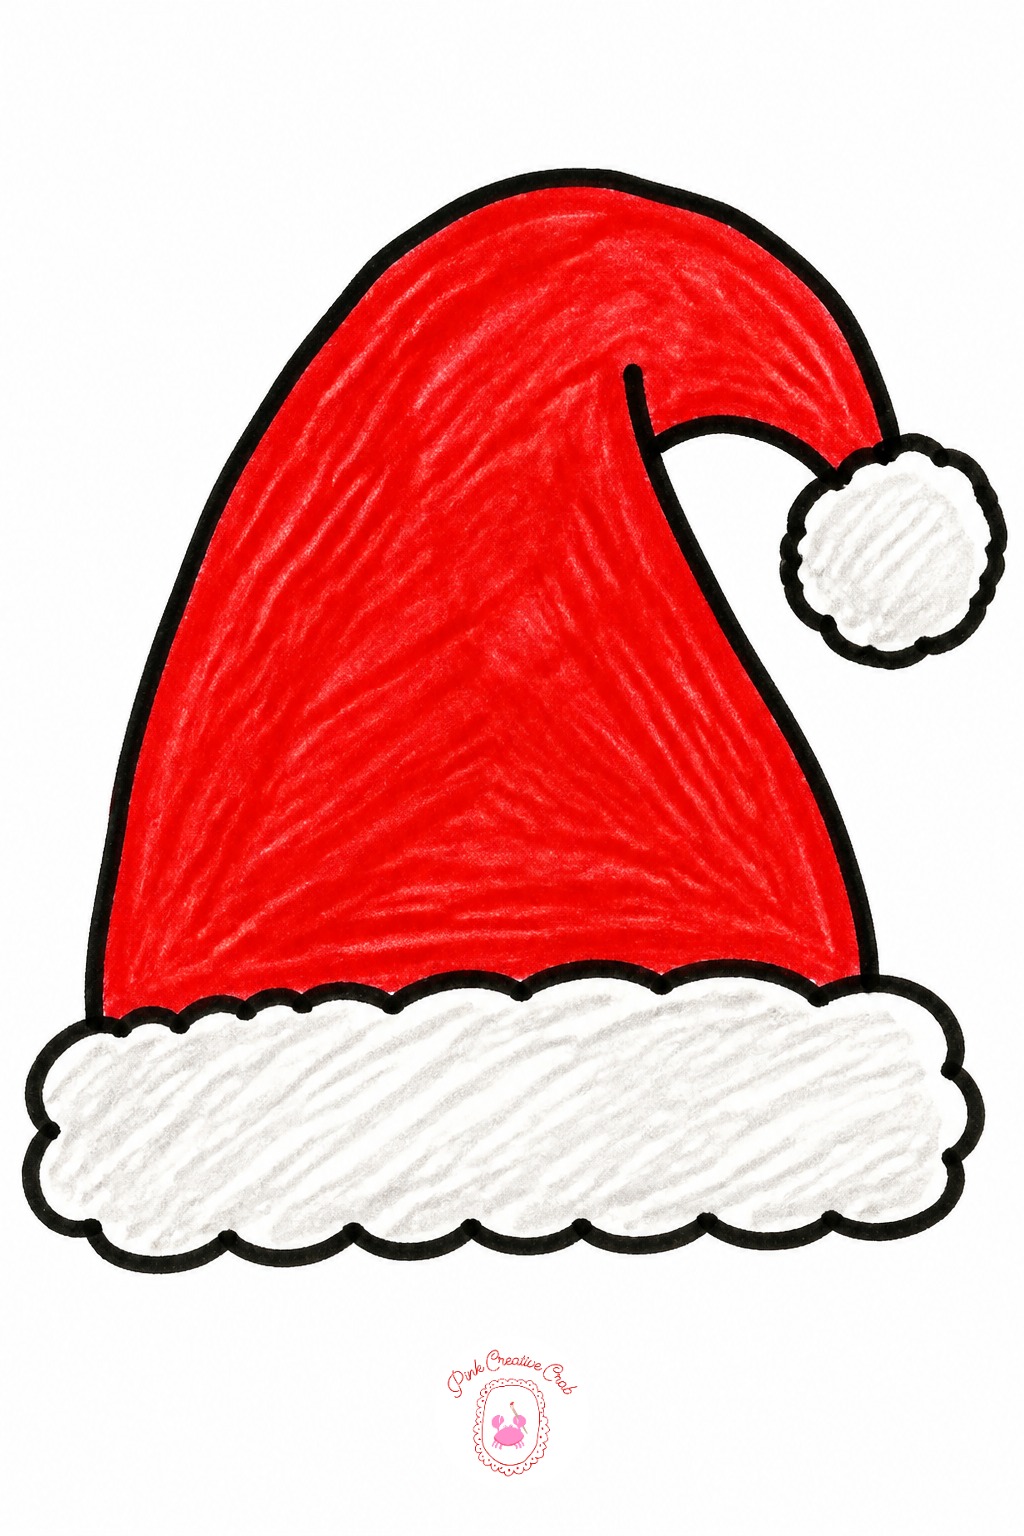
Ten minutes is enough for the basic shape: a triangle with a curved white brim along the bottom and a round pom-pom at the tip. Color it solid red with a white strip of fur trim, and the hat is done.
Give it forty minutes instead and the extra time goes into texture, not new shapes. Scribble small white loops along the brim and the pom-pom with a white crayon to suggest fuzzy fur, rather than coloring those parts flat.
Either version works on its own, but the longer one holds up better if the picture goes on display somewhere people look closely.
Holly Sprig With Berries
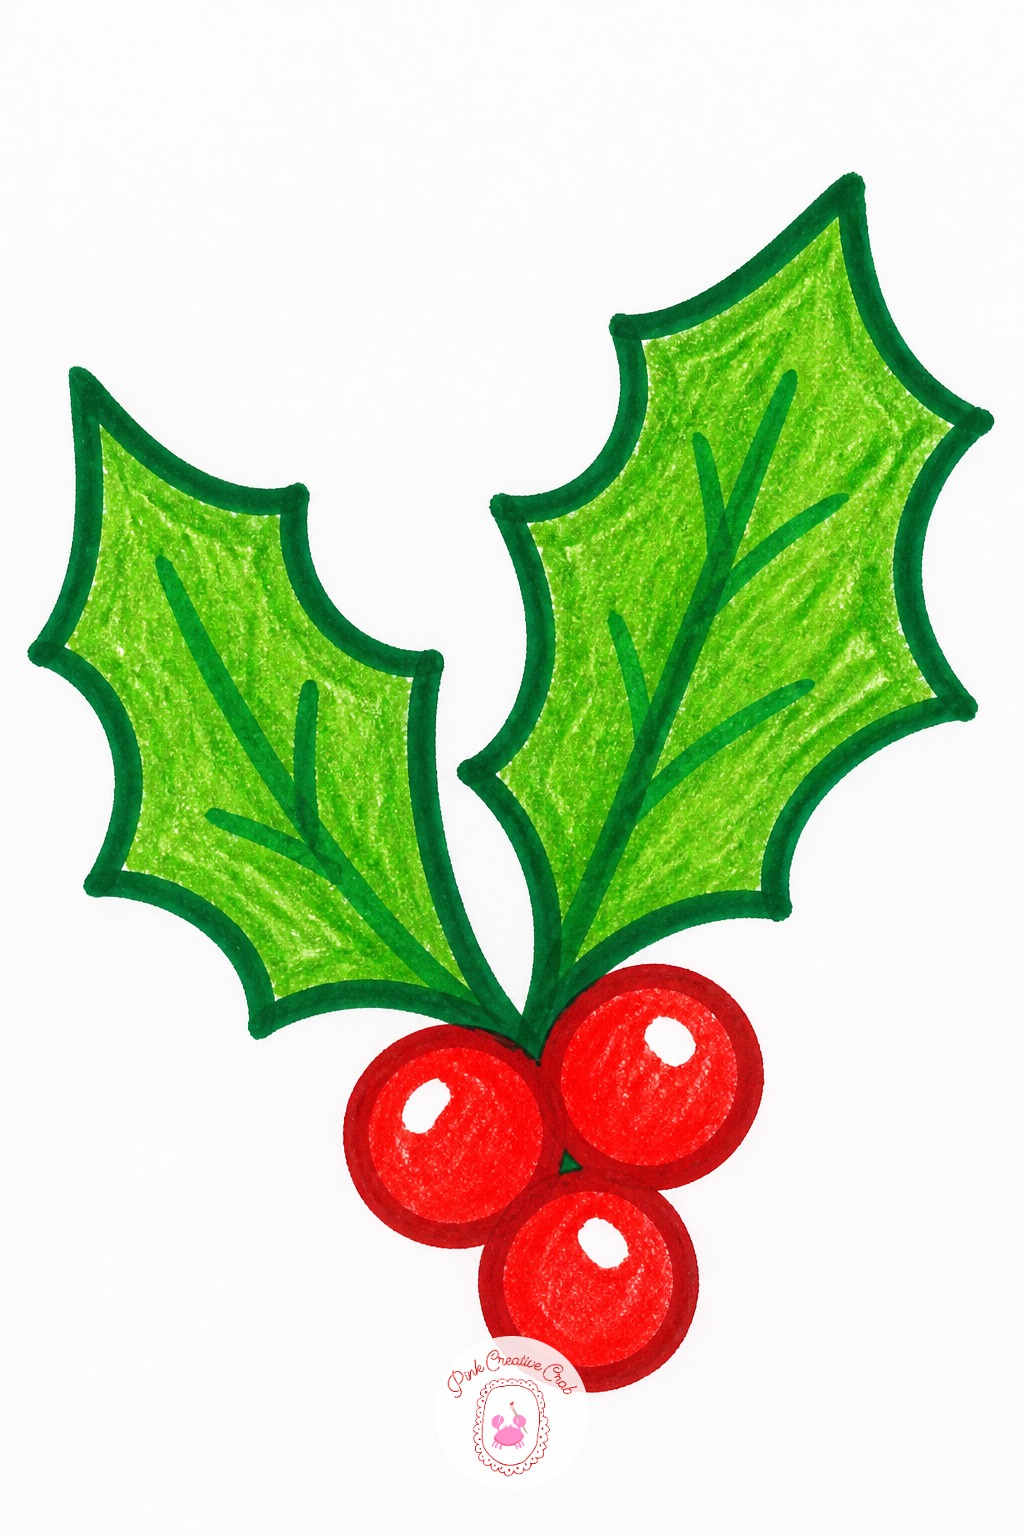
Once a basic holly sprig feels easy, two pointed leaves and three round red berries, try changing the leaf count next time instead of starting over with something new. Four leaves in a fan shape makes a fuller sprig, while a single leaf with one berry makes a small accent for a corner.
Swap the berry color too: white dots read as snowberries, and a cluster of small gold circles turns the same sprig into a different decoration.
Keep the leaf shape pointed with a visible center vein drawn in marker, since that detail is what makes it read as holly.
Reindeer Munching A Carrot
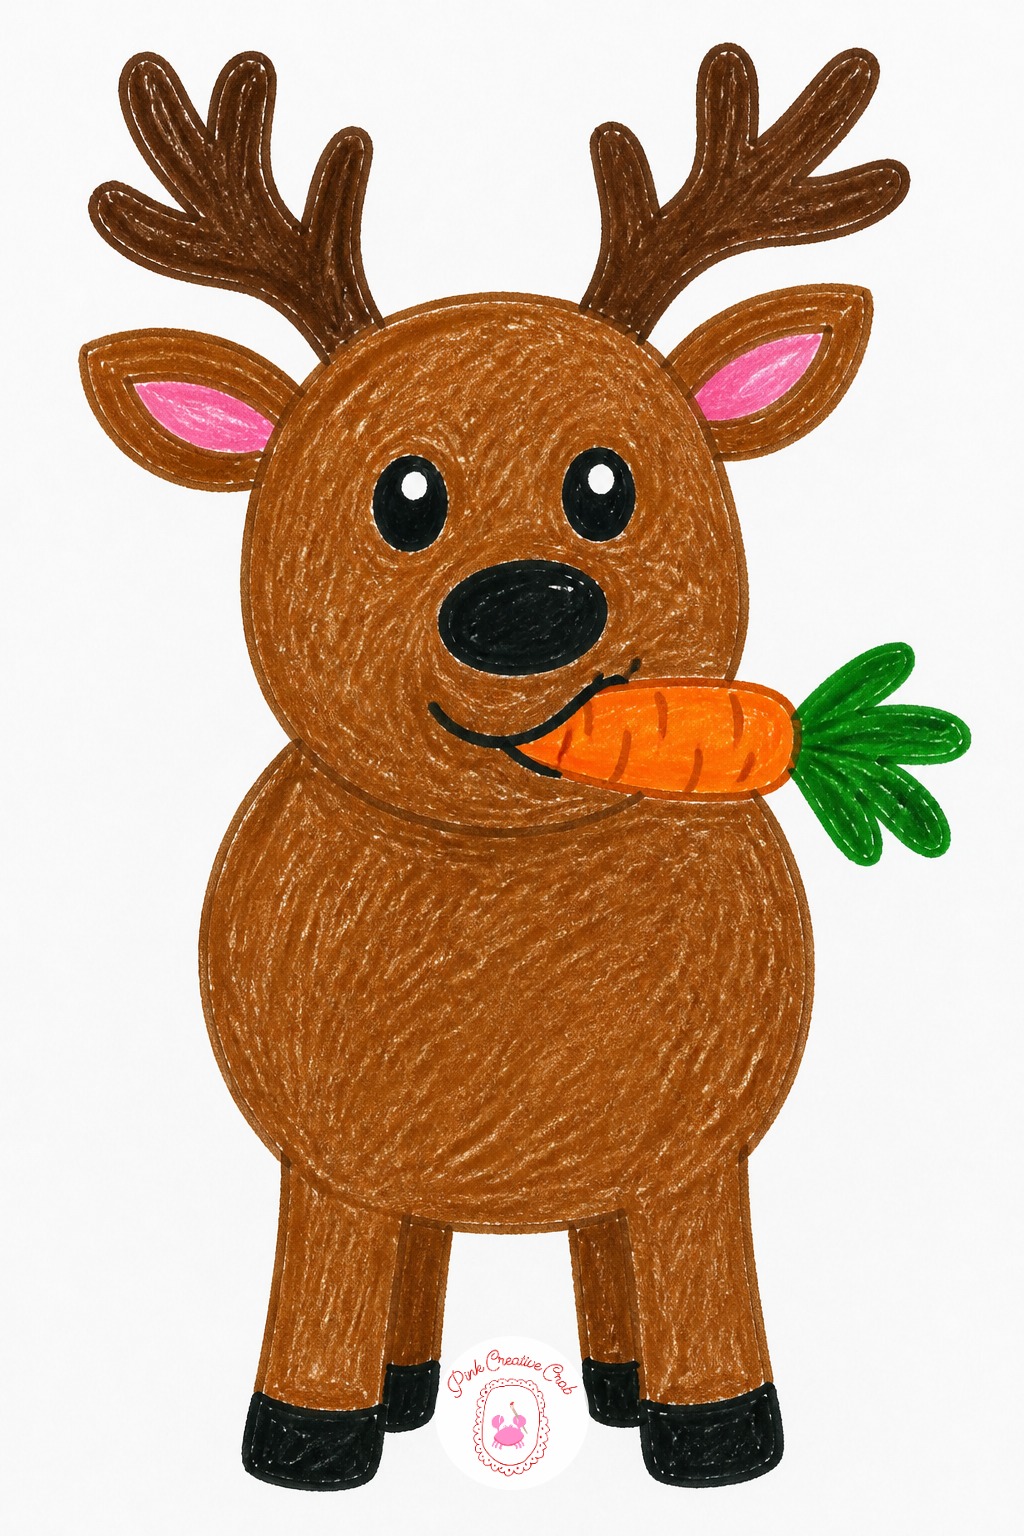
Switch to a brown crayon for the body and a thin black marker for the antlers, since antlers need clean branching lines that a thick crayon cannot make. Washable markers control exactly where each antler branch splits.
Draw the round head and body in crayon first, then let the marker take over for the antlers, eyes and the carrot the reindeer is chewing.
Color the carrot orange with a small green top, held right at the mouth, and add a few short marker lines around the mouth to show it mid-bite.
Six Pointed Snowflake
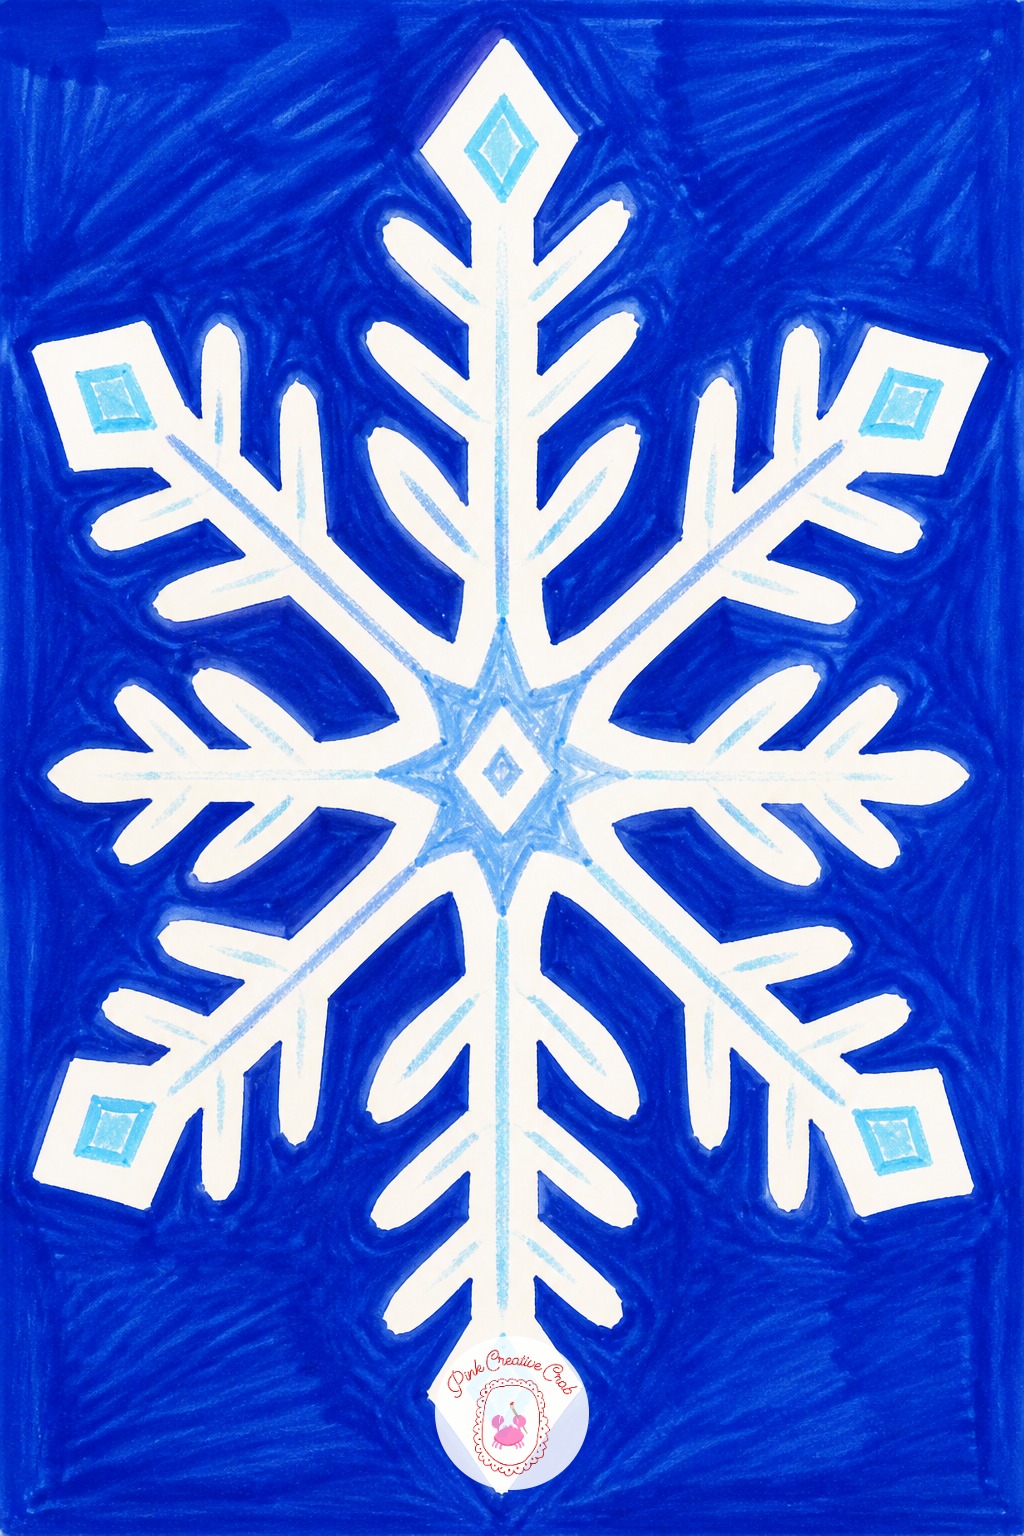
Start with one straight vertical line through the center of the paper, then cross it with a second line at an angle and a third crossing the other way, so six lines meet at one point like the hands of a clock.
Add small branches off each of the six main lines next, the same simple branch shape repeated six times, saving tiny dots or diamonds for last once the pattern already looks balanced.
Keep every arm the same length, since one long arm makes the snowflake look lopsided instead of frosty. It pairs nicely on the same page with a few winter doodles for beginners.
Pair Of Mittens
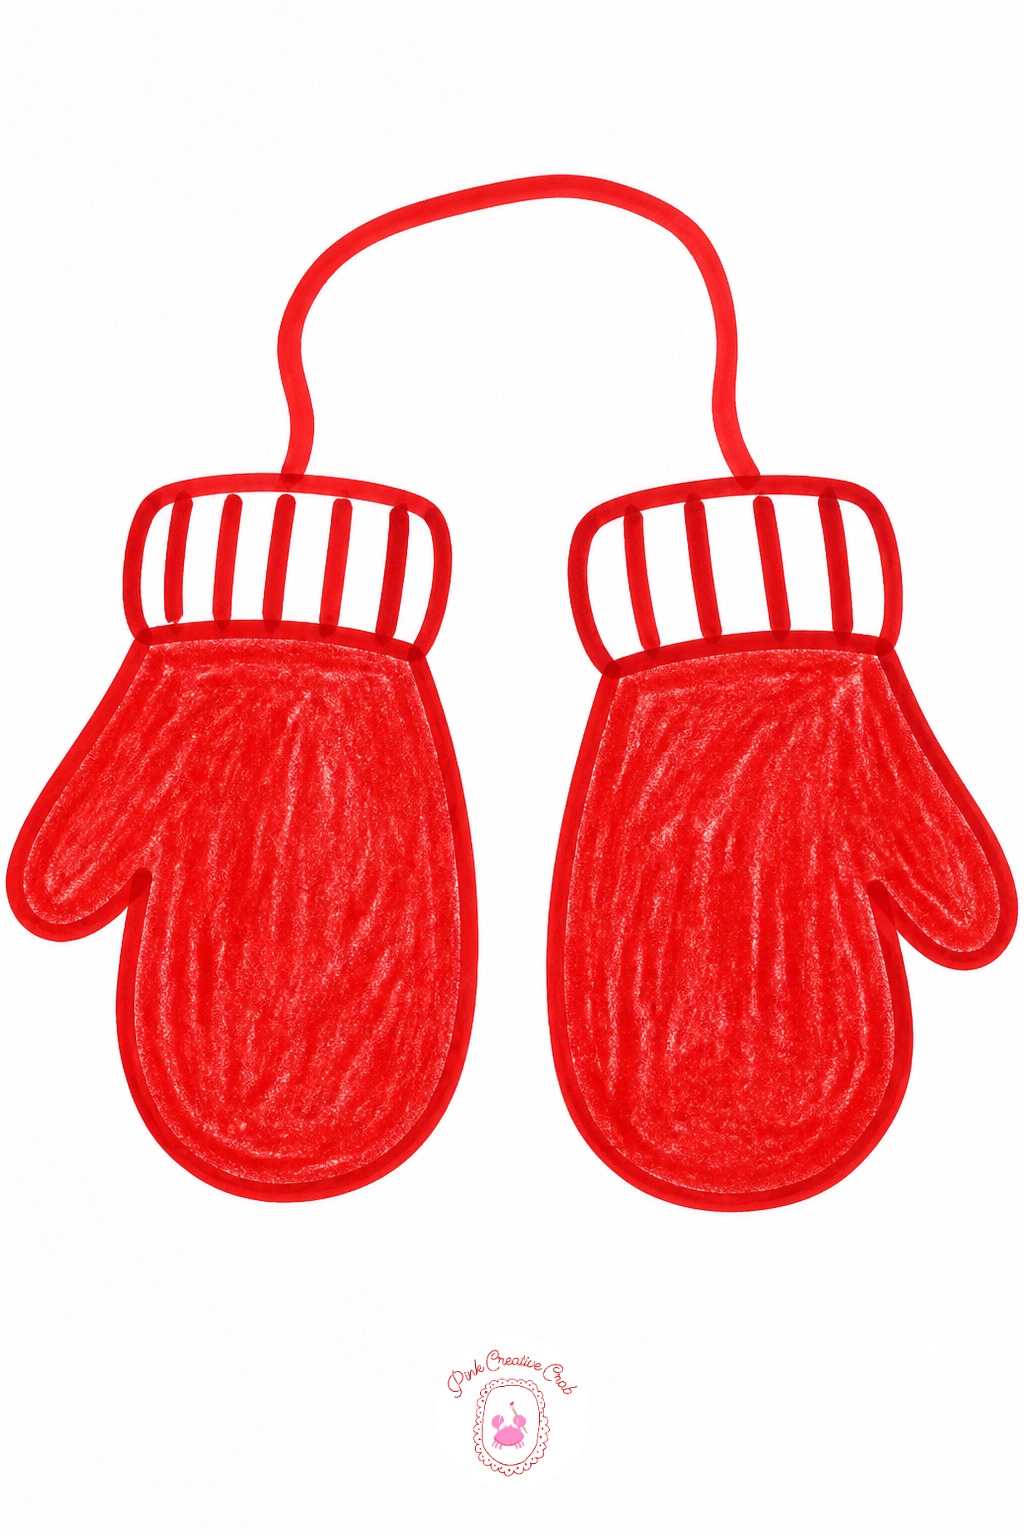
Measure the thumb against the rest of the mitten before drawing it: the thumb bump should be no taller than one quarter of the whole mitten’s height, set a little below the halfway point. A thumb that is too long turns the mitten into a glove by accident.
Draw both mittens the same size, side by side, with a small gap between them, and connect them with a single curved string across the top.
Color each mitten a solid color first, then add a plain cuff stripe in a second color along the open bottom edge.
String Of Christmas Lights
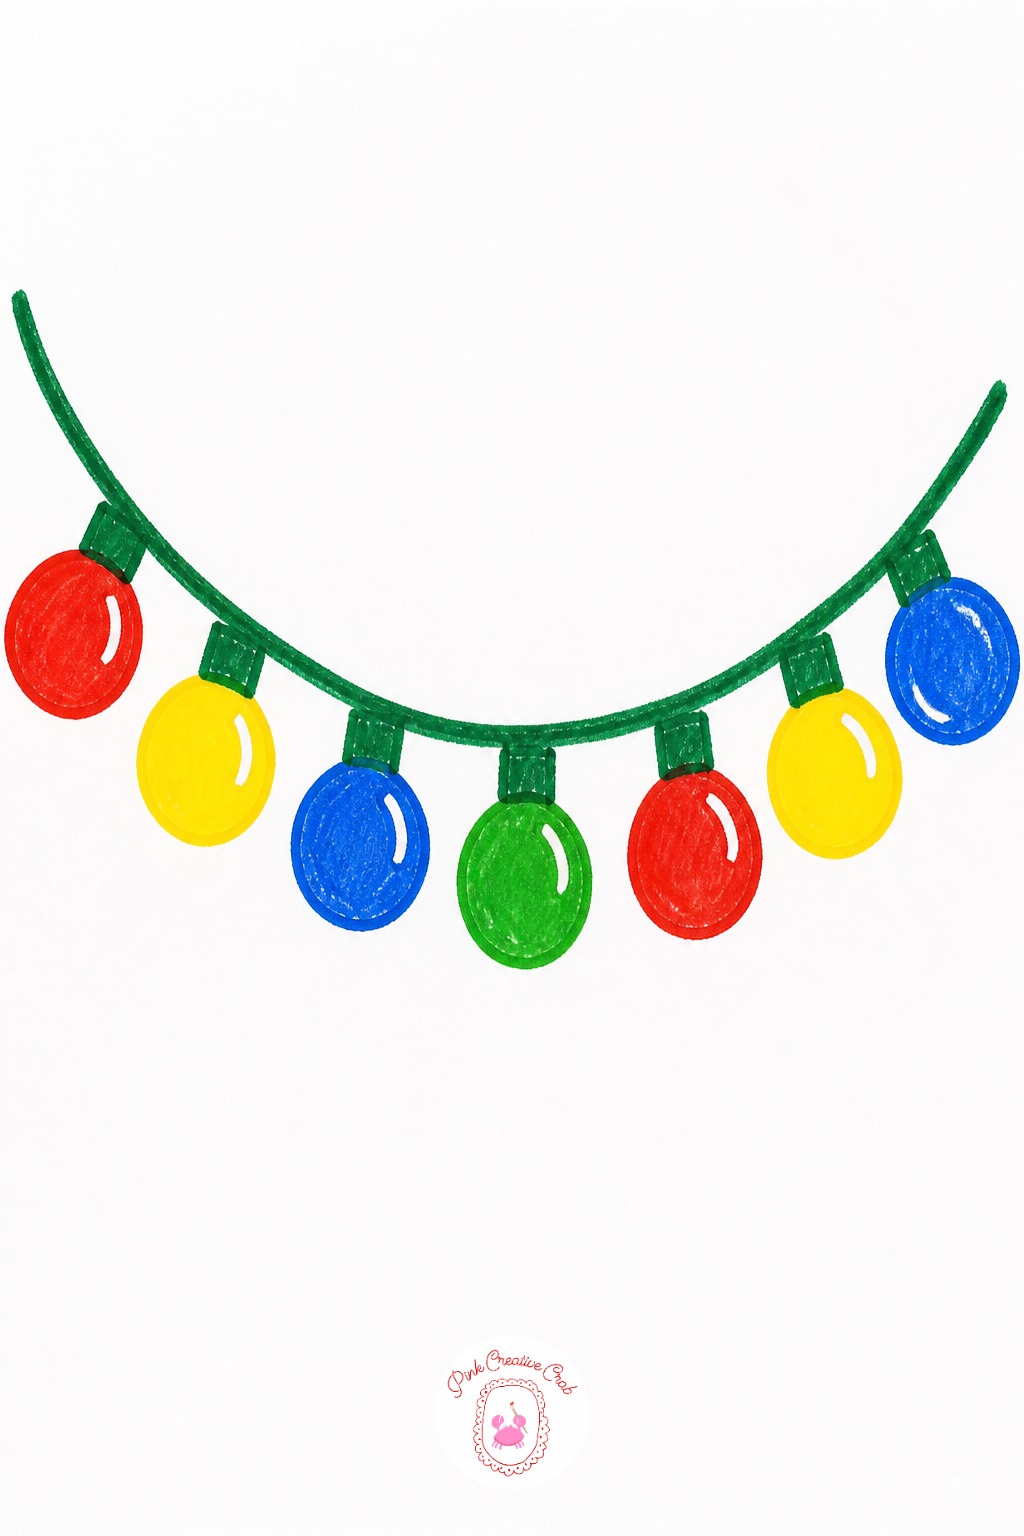
Run one gently curving line from one side of the page to the other first, dipping down between each bulb like a real string does under its own weight. That curve is what makes the lights look hung up rather than floating in a straight row.
Space the bulbs evenly along the dip, bulb shapes pointing down, and color them in a repeating pattern, red, yellow, green, blue, so the eye reads them as lit rather than just colored dots.
Add one small white crescent to the upper corner of each bulb for shine, always on the same side.
Snow Covered Pine Tree
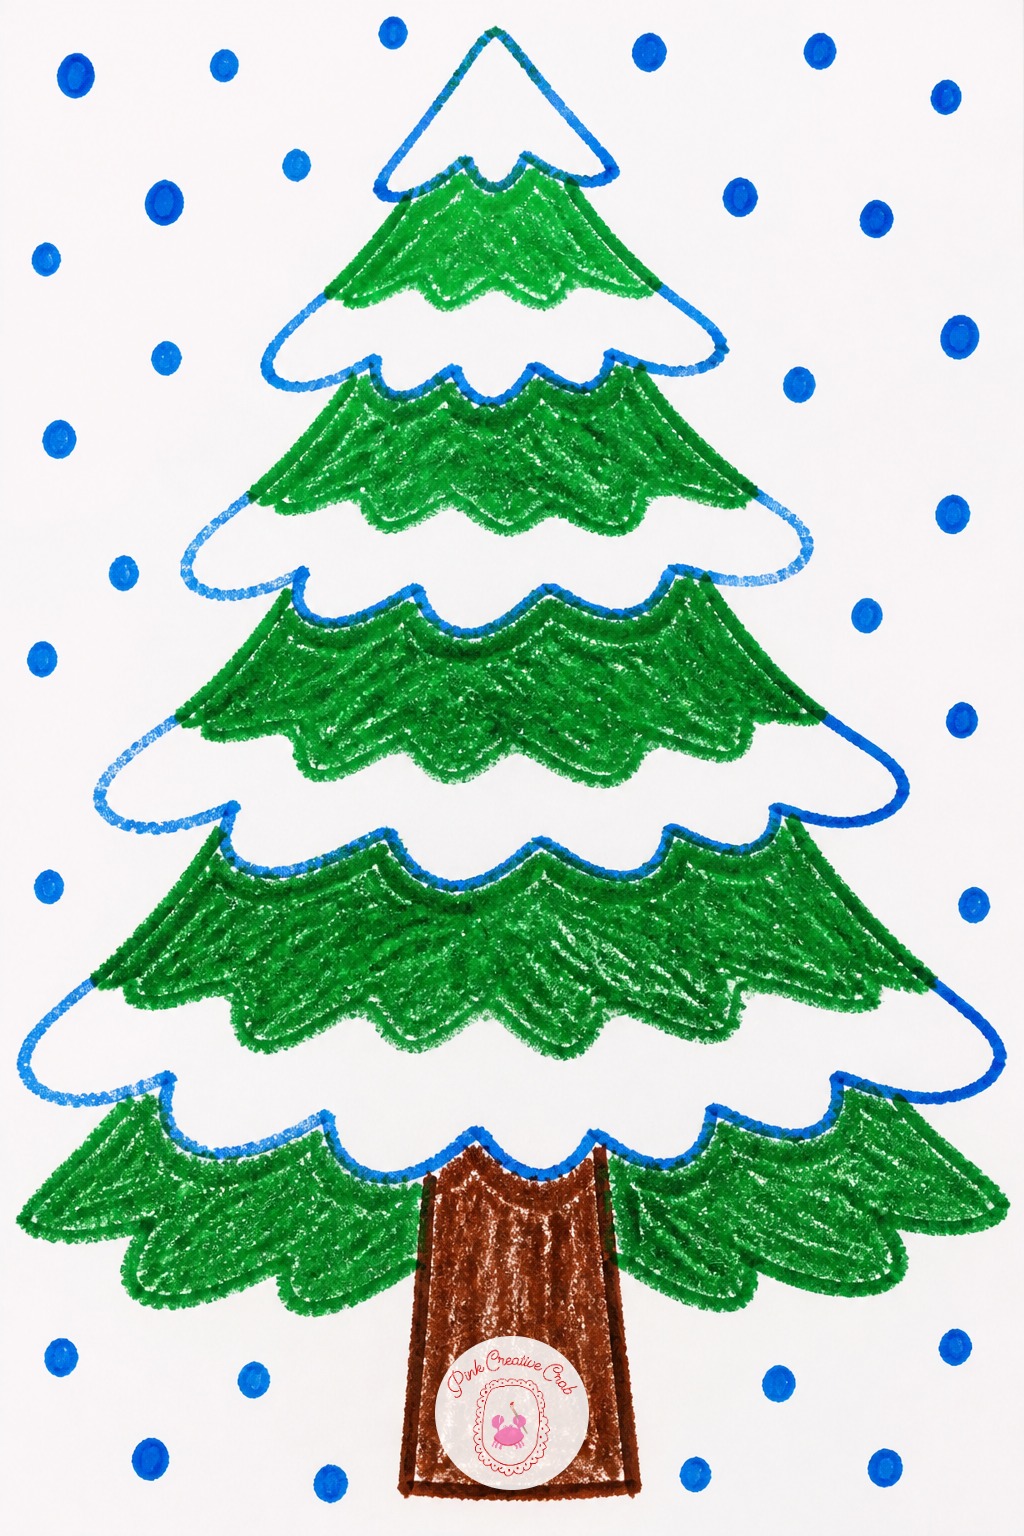
Draw the full green triangle first, then go back over the top portion of each branch line with white crayon, pressing lightly, so a soft white cap sits along the upper edge of every branch tier.
That light pressure is the trick: pressing hard would erase the green completely, while a light pass lets a little green show through the white, the way real snow never covers a branch all the way.
Finish with a scatter of small white dots across the background to show falling snow, and keep the trunk a plain brown rectangle.
Swirl Pattern Ornament Ball
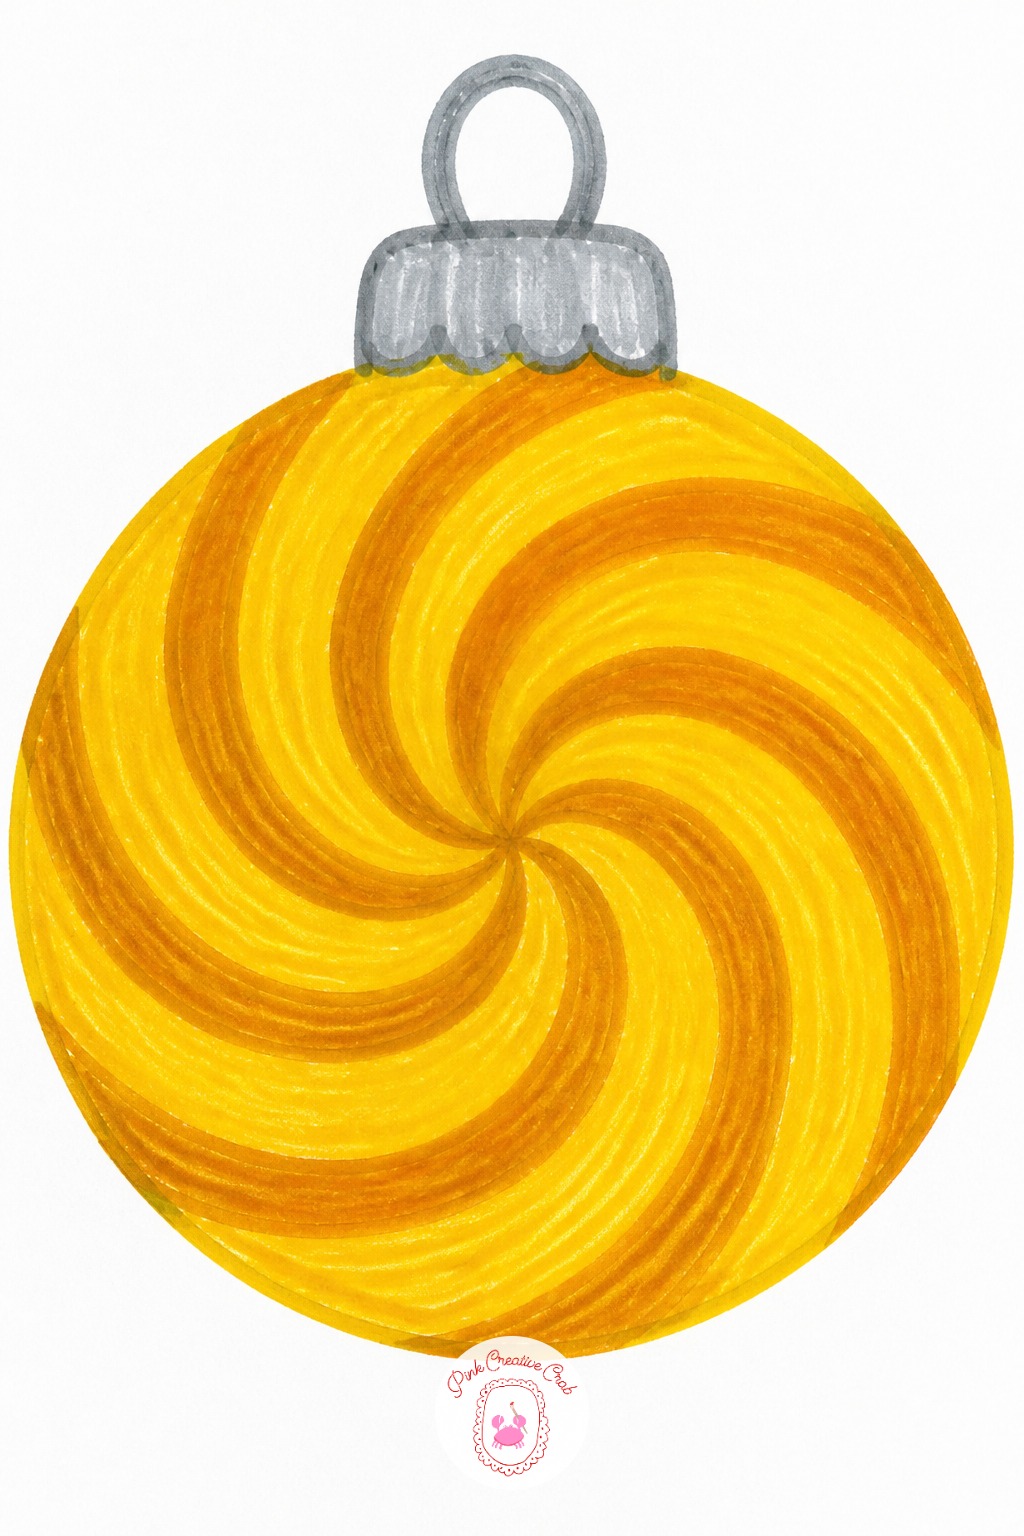
The usual mistake with an ornament ball is drawing the swirl pattern as a flat spiral that looks painted on top of a circle instead of wrapped around it. Curve the swirl lines so they bend slightly at the left and right edges, the way a stripe would if it followed a real round surface.
If the swirl already looks flat, fix it by adding a thin crescent of shadow along the bottom edge before moving on, which brings back the feeling of roundness.
Finish with a small silver or gold cap and loop at the top, drawn last.
Gingerbread House
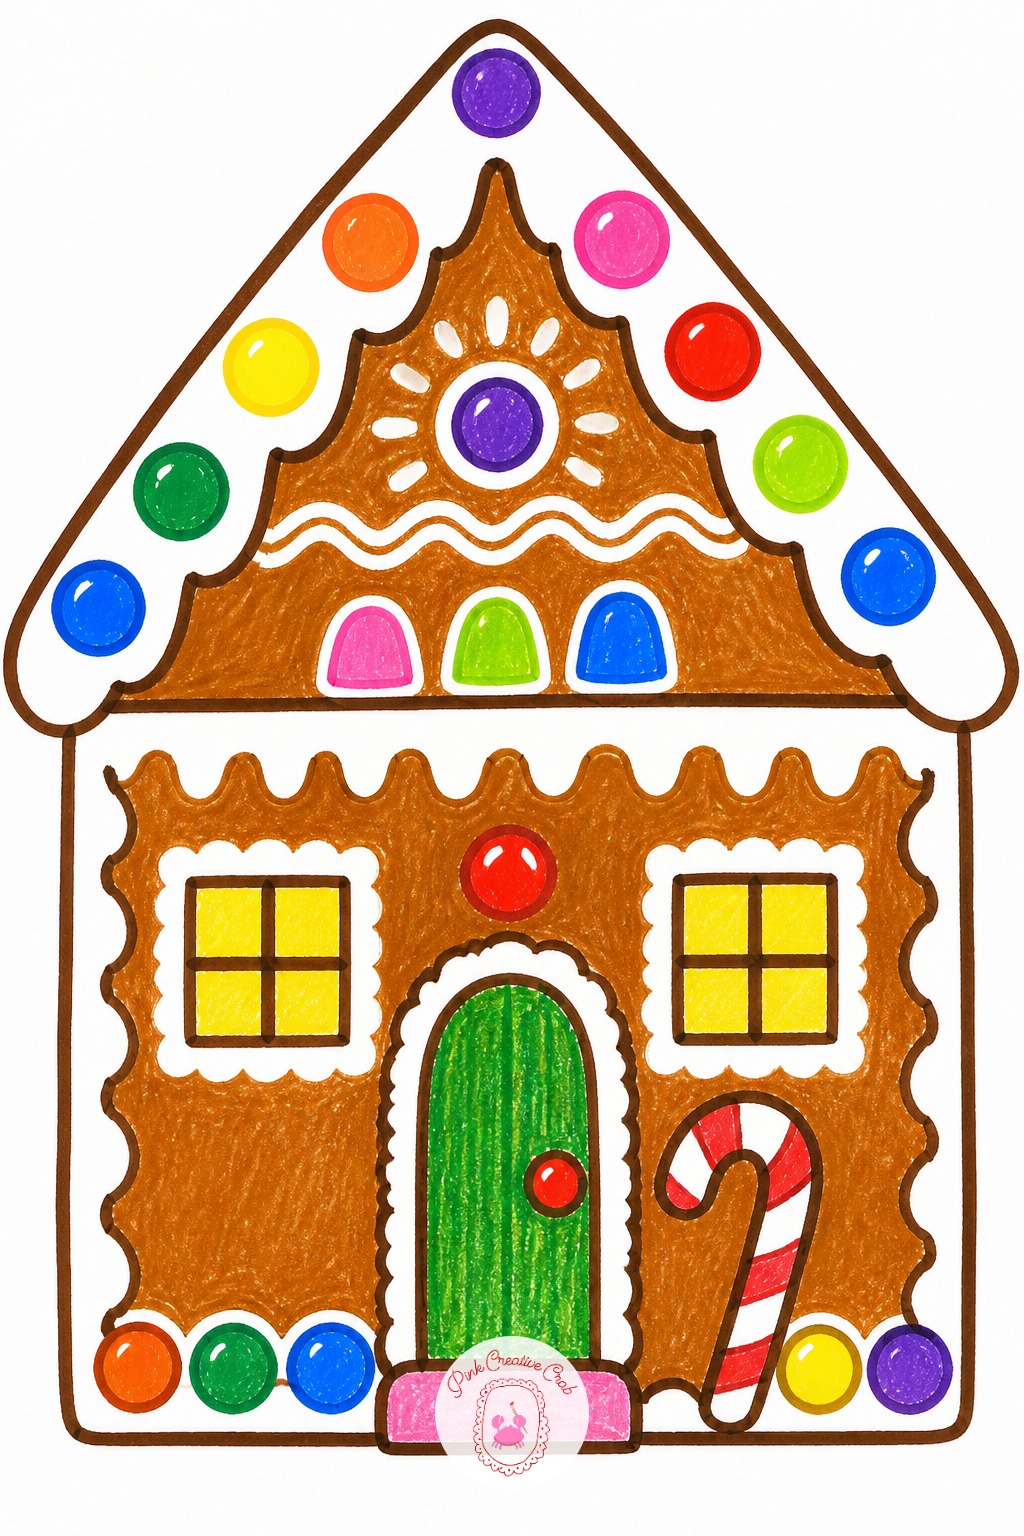
Ten minutes covers the basic gingerbread house: two shapes only, a square for the walls and a triangle roof on top, with a door and two square windows added inside the walls.
Forty minutes allows the fun part: icing details drawn in white crayon along every roof edge, dripping slightly down over the brown, plus round candy shapes along the roofline and a candy cane leaning against the door.
Either length makes a complete picture, so build the plain house first and only add icing drips once the shape already looks right.
Penguin In A Scarf
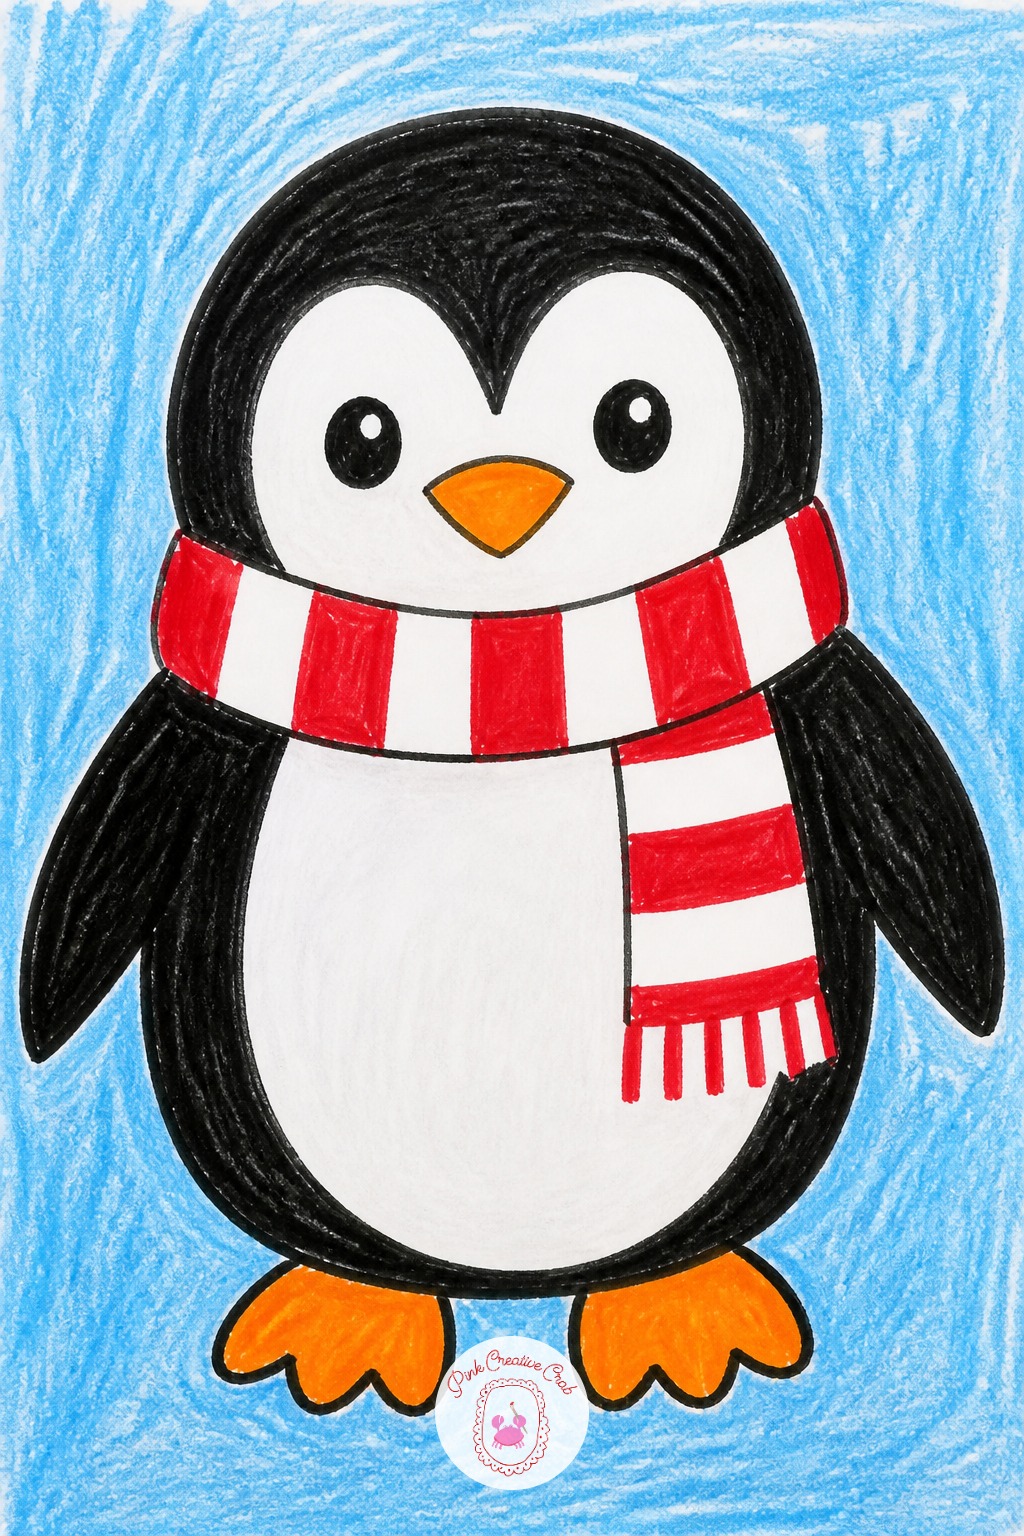
Once a standing penguin with a round belly and a striped scarf feels easy, change its pose next time instead of drawing the same stance again. Tip the body slightly to one side for a penguin mid-waddle, or draw the wings out to the sides for a penguin about to slide on its belly.
The scarf is the easiest part to vary too: swap the stripe pattern, make it longer and trailing in the wind, or tie it in a knot instead of letting the ends hang straight down.
Keep the belly white and the back black in every version, since that contrast is what reads as penguin at a glance.
Jingle Bell With Bow
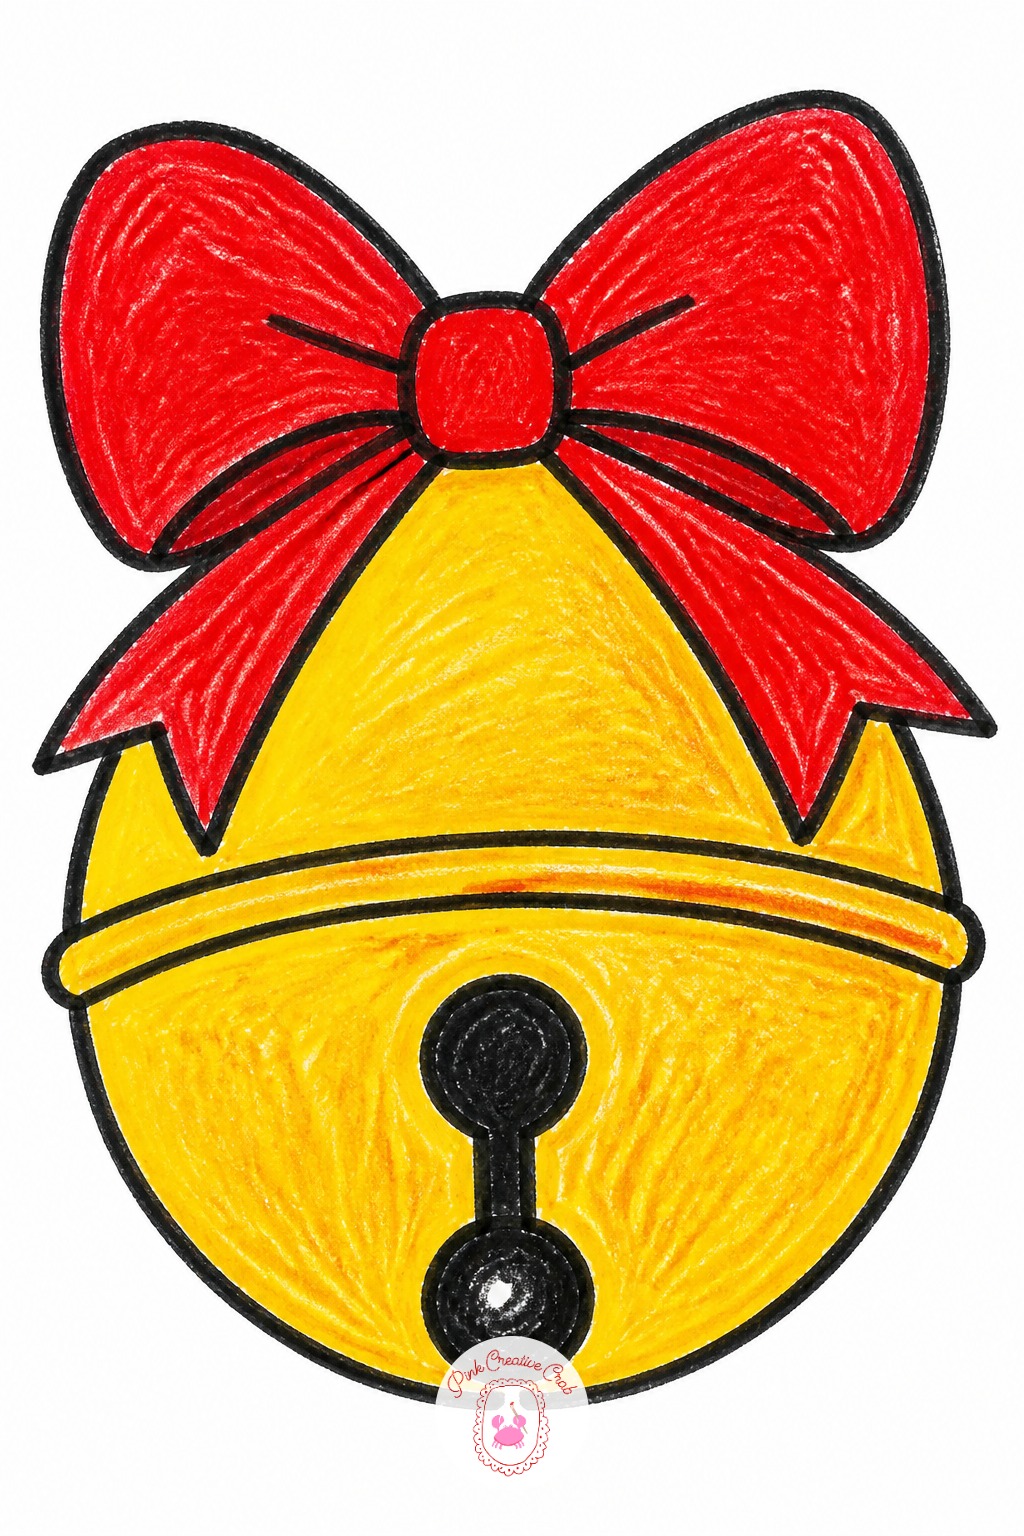
Pick a gold or yellow crayon for the bell itself, since warm metallic-looking colors read instantly as bell-colored even without real shine. Washable markers work better for the thin crack lines near the bottom opening and the small ball clapper peeking through the slit.
Draw the round bell body first in crayon, then switch tools for the fine details.
Add a bow at the top in red marker, with two loops and two trailing ribbon ends, drawn after the bell so the ribbon sits clearly on top of the round shape.
Mug Of Hot Cocoa With Marshmallows
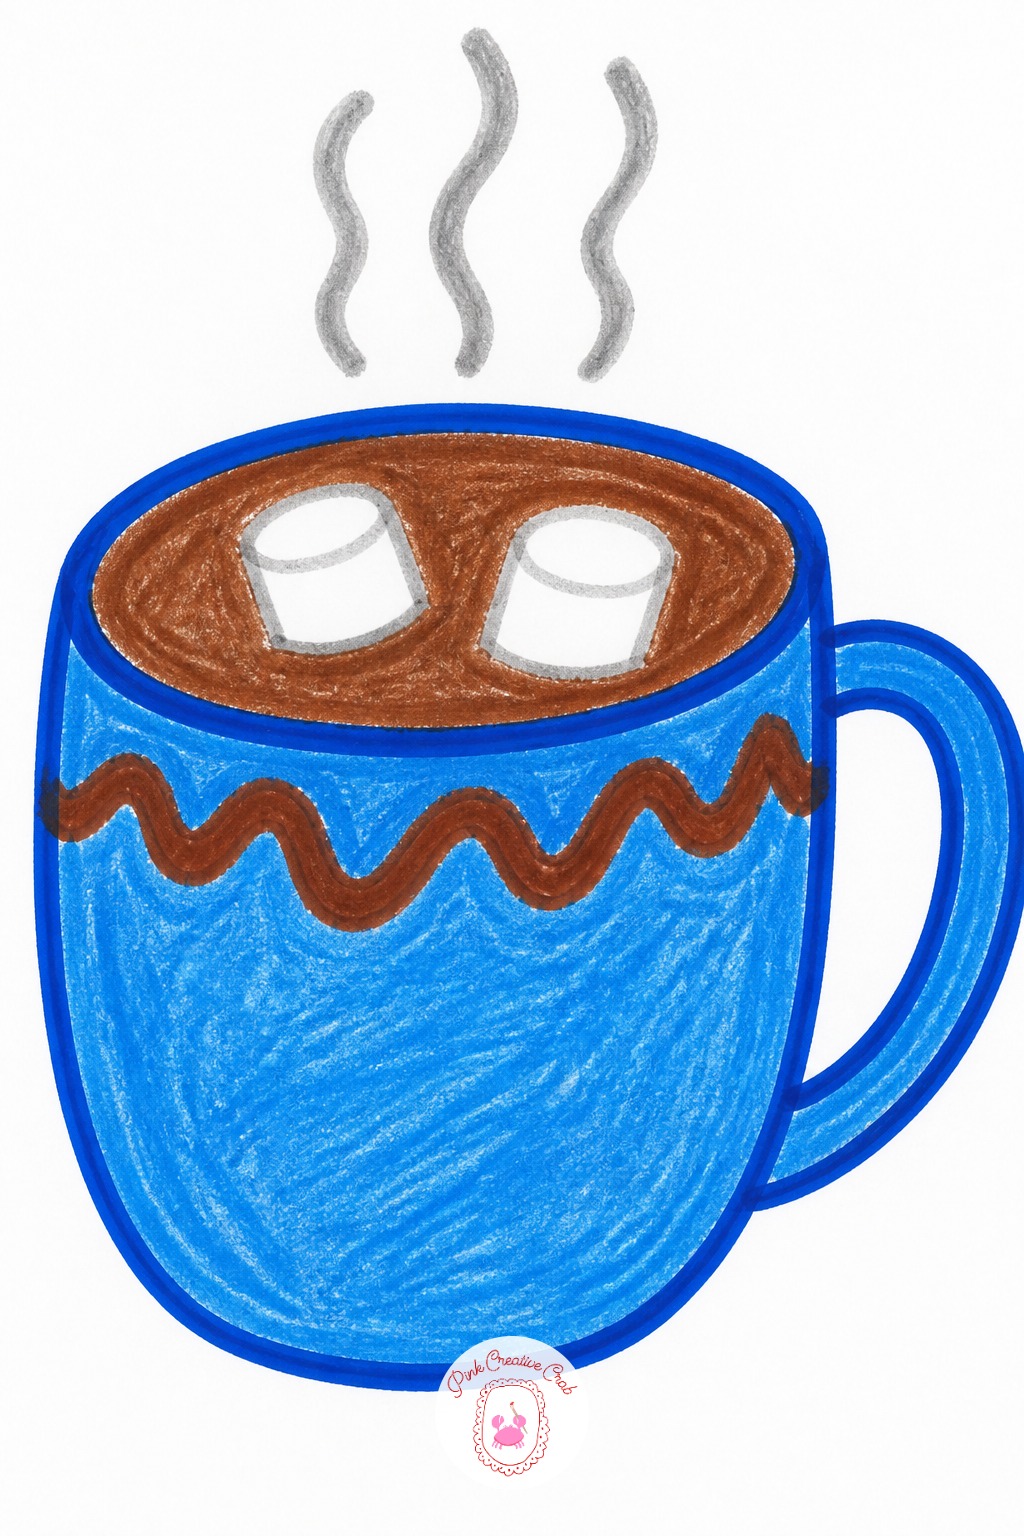
Draw the mug first, a simple rounded rectangle with one curved handle on the side, before anything goes inside it. Getting the mug shape settled first keeps the drawing from feeling crowded later.
Add a wavy line across the top for the cocoa itself, just below the rim, as the second mark, then draw two or three small circles floating on that line for the marshmallows.
Save the steam lines for last: two or three soft wavy lines rising up from the mug, drawn loosely so they look light and airy rather than stiff and ruler-straight.
Stack Of Three Gifts
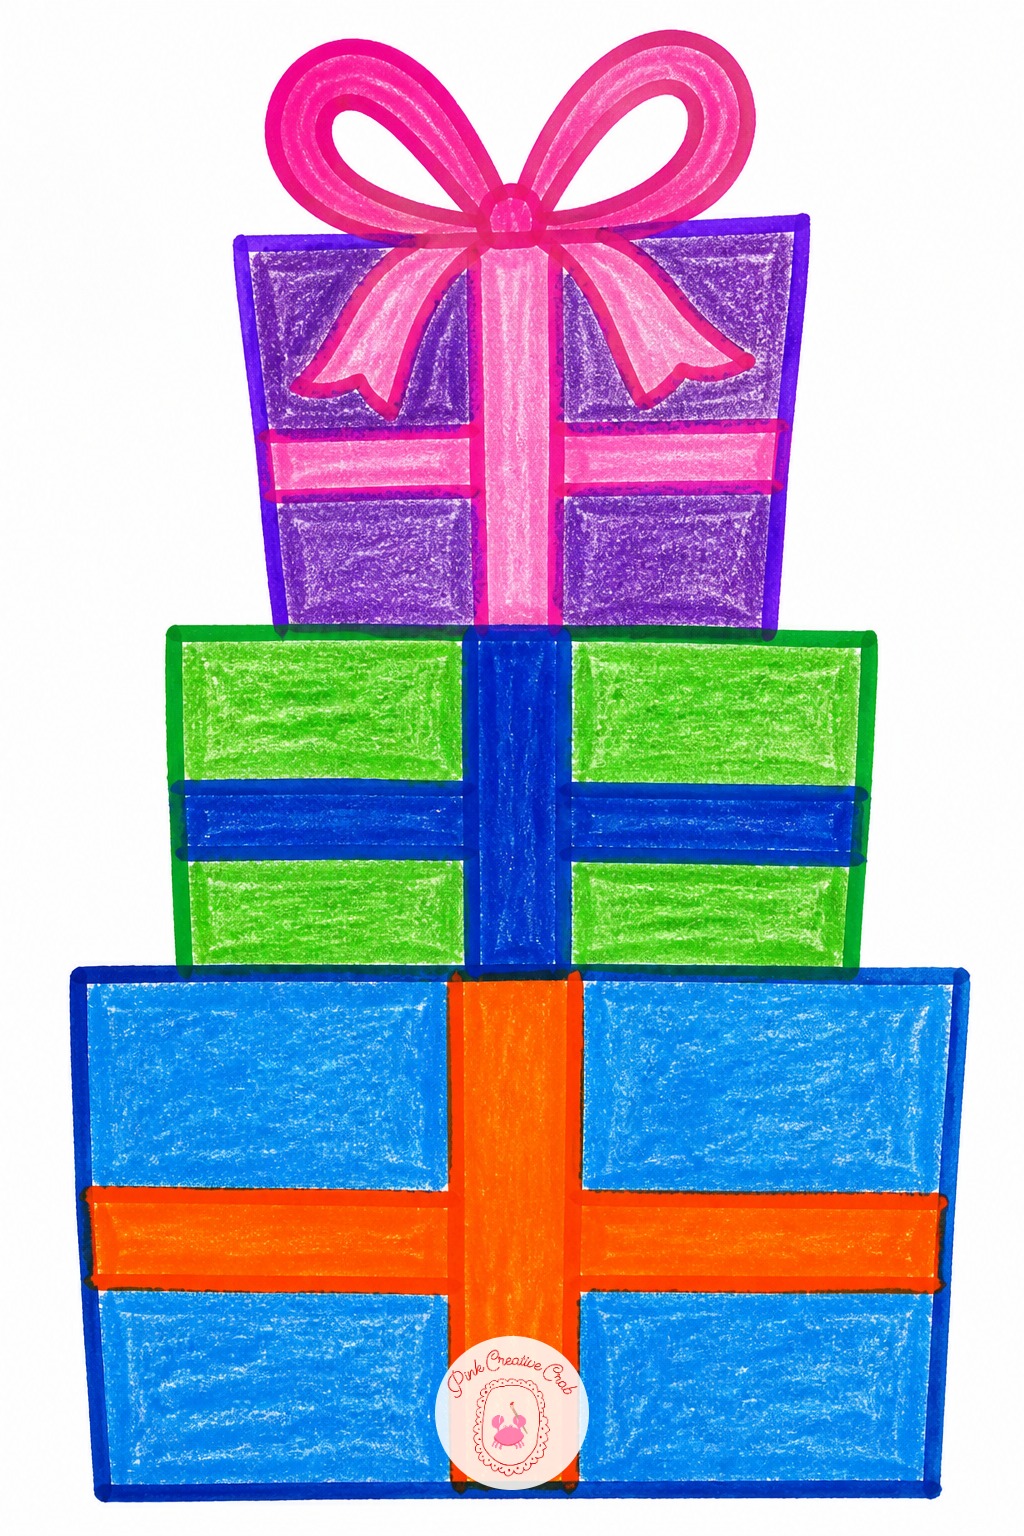
Build the stack from the bottom up and make each box noticeably smaller than the one below it, roughly three quarters the size, so the stack narrows toward the top instead of looking like three equal blocks glued together.
Center each box over the one underneath rather than lining up one edge, which keeps the stack looking balanced instead of ready to topple.
Give each box its own ribbon color so the three layers stay easy to tell apart, and add one bow on the topmost box only. For an extra touch, write the words Merry Christmas along the bottom the way a Merry Christmas drawing does, turning the greeting into part of the picture.
Glowing Star Tree Topper
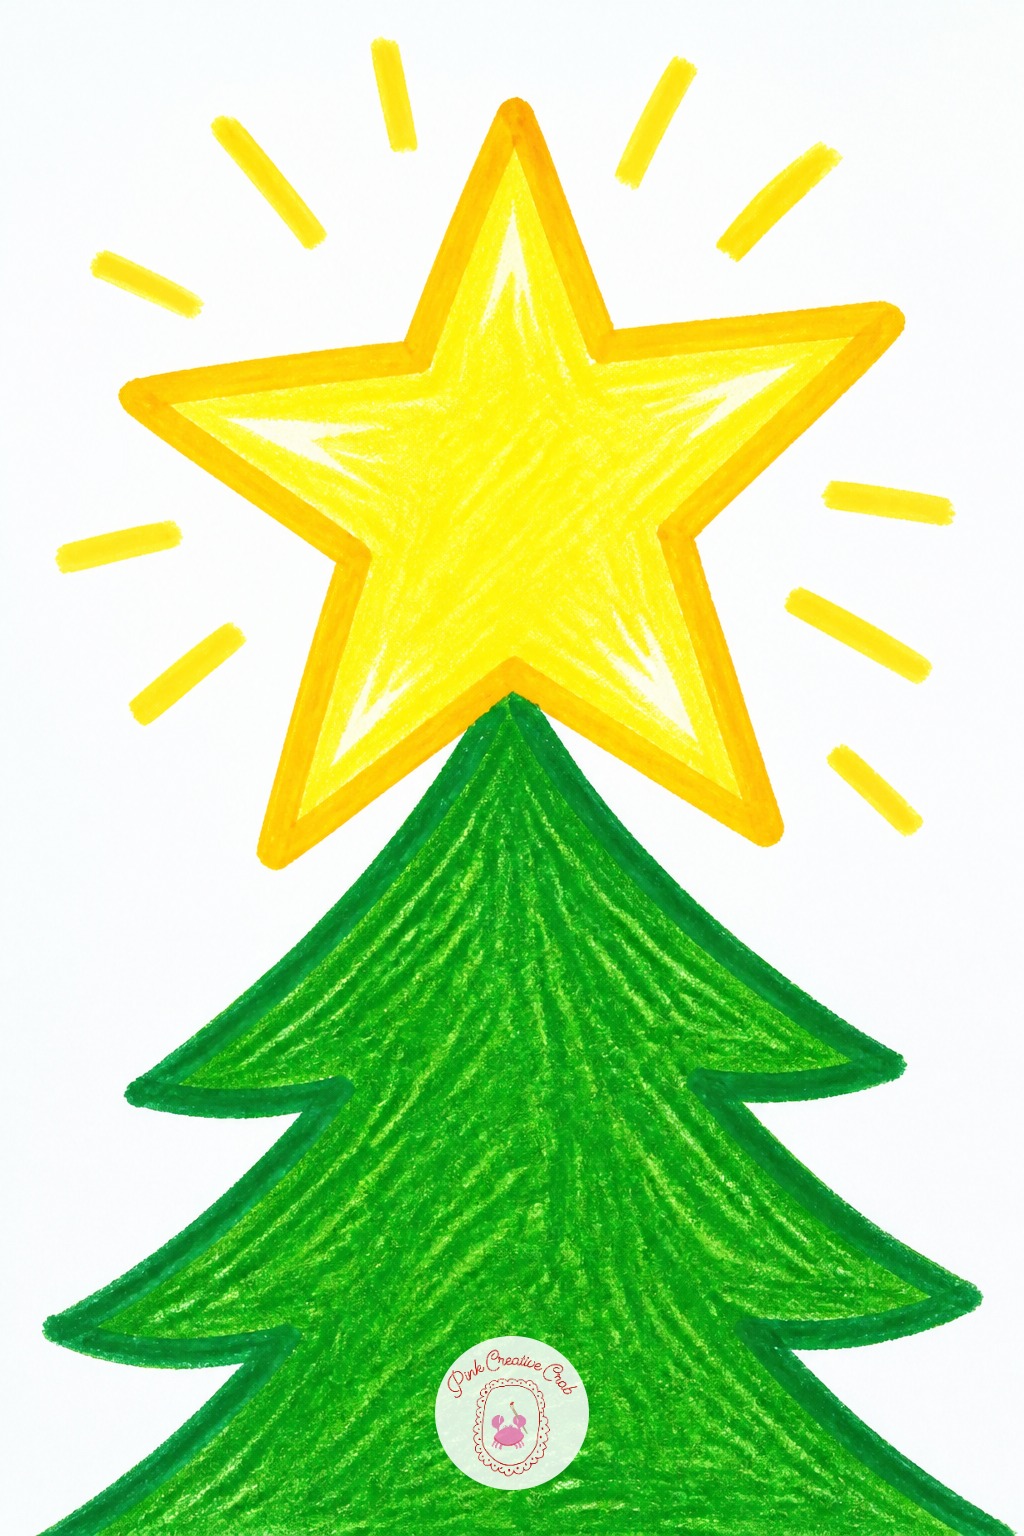
Place the star right at the eye level of someone looking at the tree from across a room, which for most child drawings means near the very top of the page rather than dead center. That placement alone makes the whole tree look taller.
Draw a simple five point star outline first, then surround it with short straight lines pointing outward in every direction, longer at the top and sides, to show it glowing.
Color the star yellow and the glow lines a paler yellow or white, keeping the lines shorter near the tree branches.
Snowman Family Trio
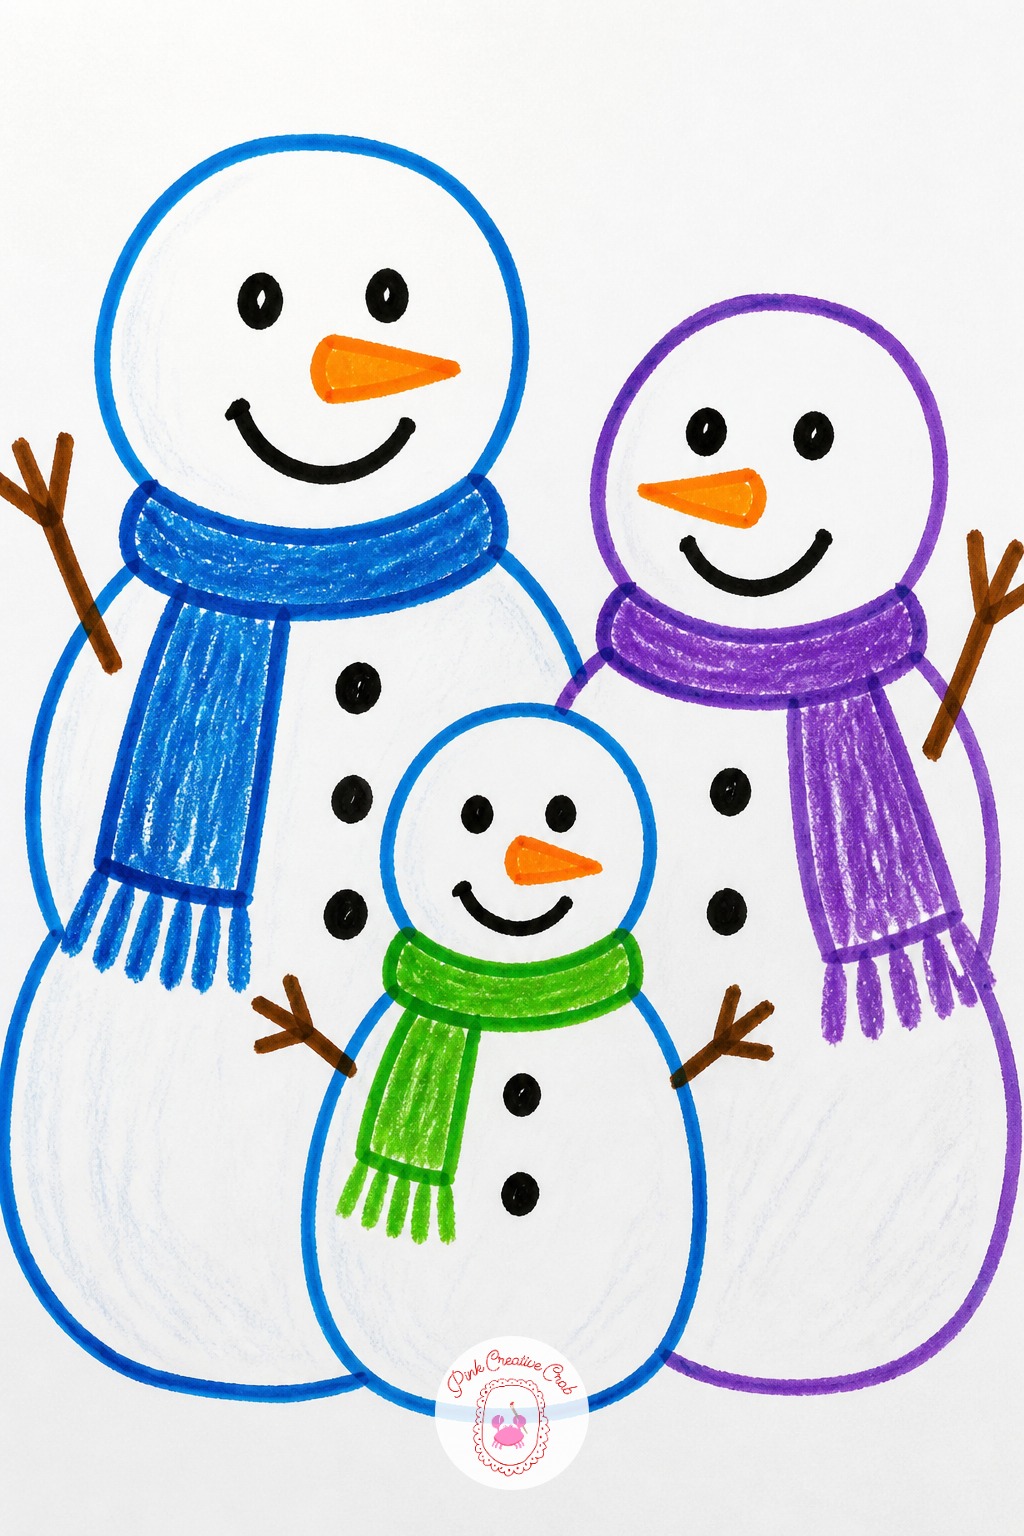
Vary the pressure of the crayon across the three snowmen instead of coloring all of them the same flat white. Press hard on the biggest one so it looks solid and packed, and press lighter on the smallest one so the paper shows through a little, like looser, fresher snow.
That pressure change alone makes the family look like three different snowmen rather than one shape copied three times.
Give each snowman its own scarf color and let the scarves overlap slightly where the snowmen stand close together.
Peppermint Swirl Lollipop
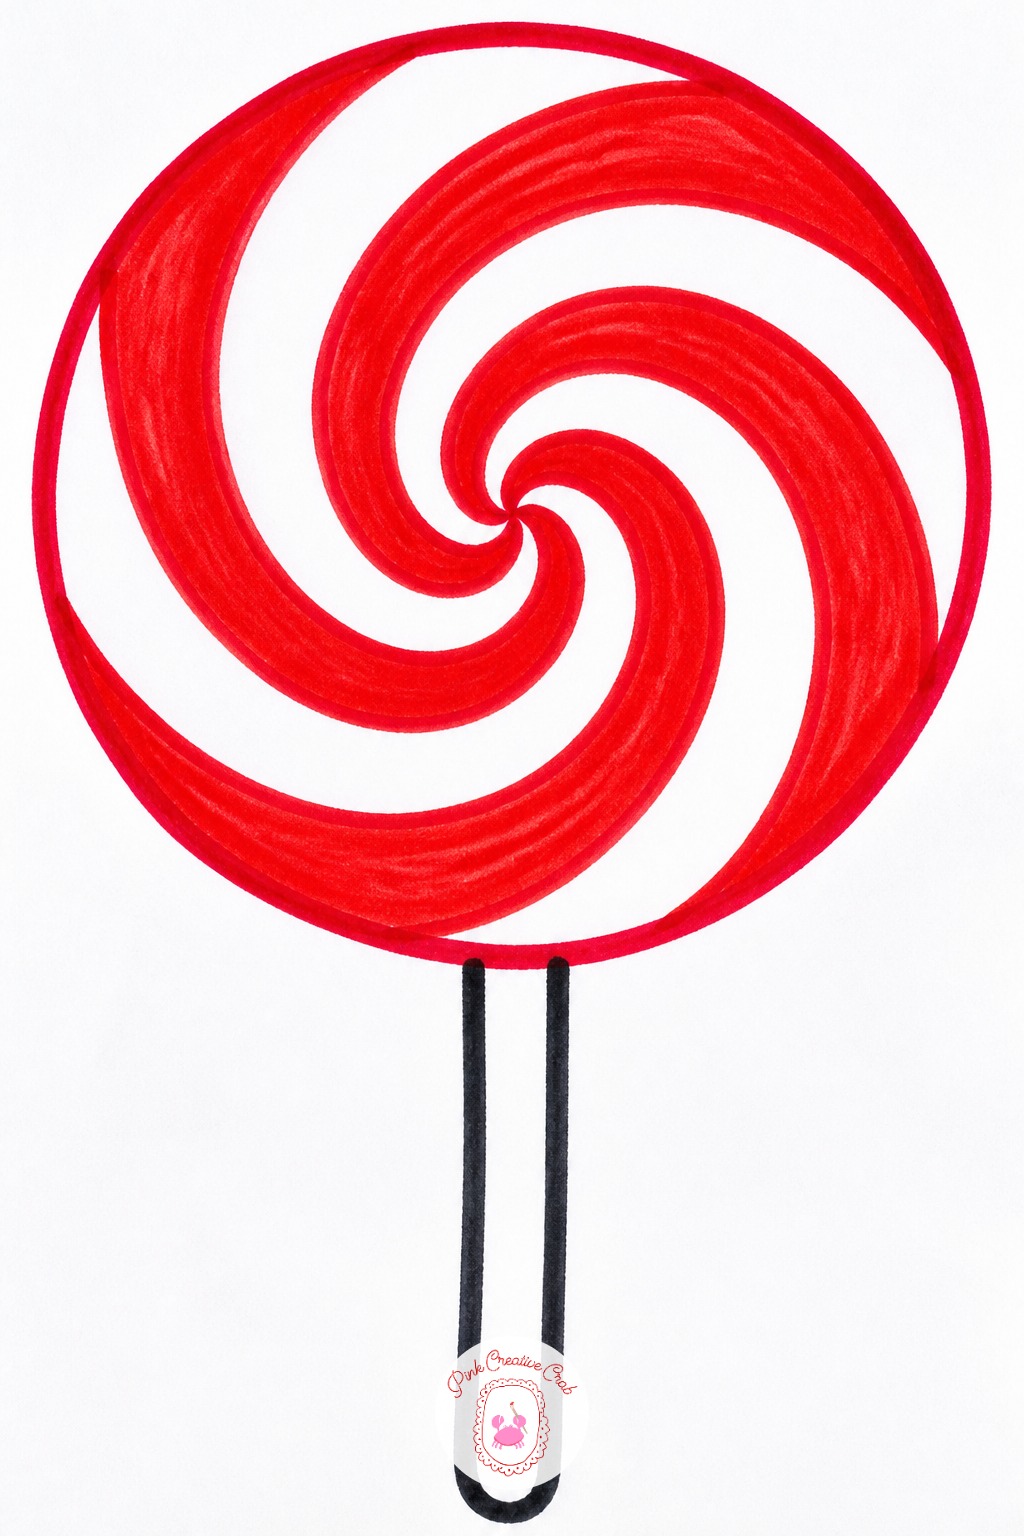
The swirl pattern is where most children go wrong, drawing straight spiral lines that meet in sharp points instead of one smooth curling line. Start the spiral from the center of the circle and let it curl outward in one continuous stroke until it reaches the edge.
If the spiral already has sharp corners, soften them halfway through by tracing back over each point with a rounded line rather than erasing and starting again.
Add the stick last, a single straight line coming down from the bottom of the circle, and keep it thin.
Wreath Of Circles
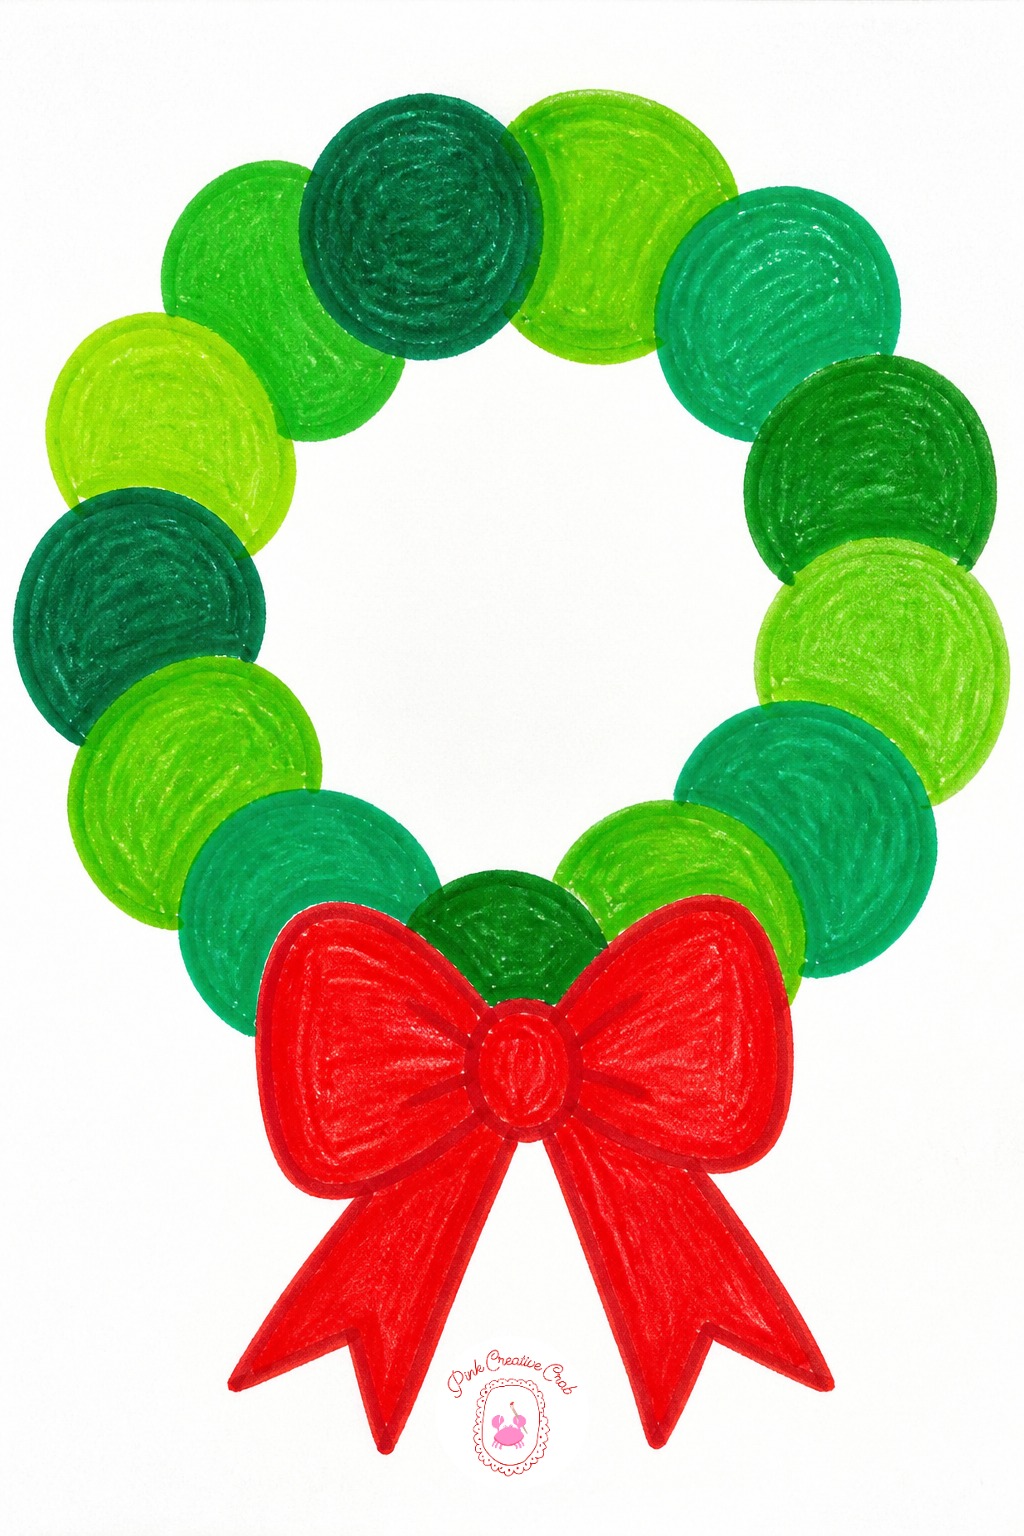
Ten minutes makes a simple wreath: one big green circle outline with a red bow sitting at the bottom where the two ends of the ring meet.
Forty minutes turns that same ring into a fuller wreath by adding a row of small overlapping circles around it instead of one flat band, each a slightly different shade of green so it looks bumpy and layered like real greenery.
Draw the bow last, once the ring already looks finished, and consider filling the rest of the page with a few more Christmas doodles for beginners to round out the picture.
Snowy Sledding Hill
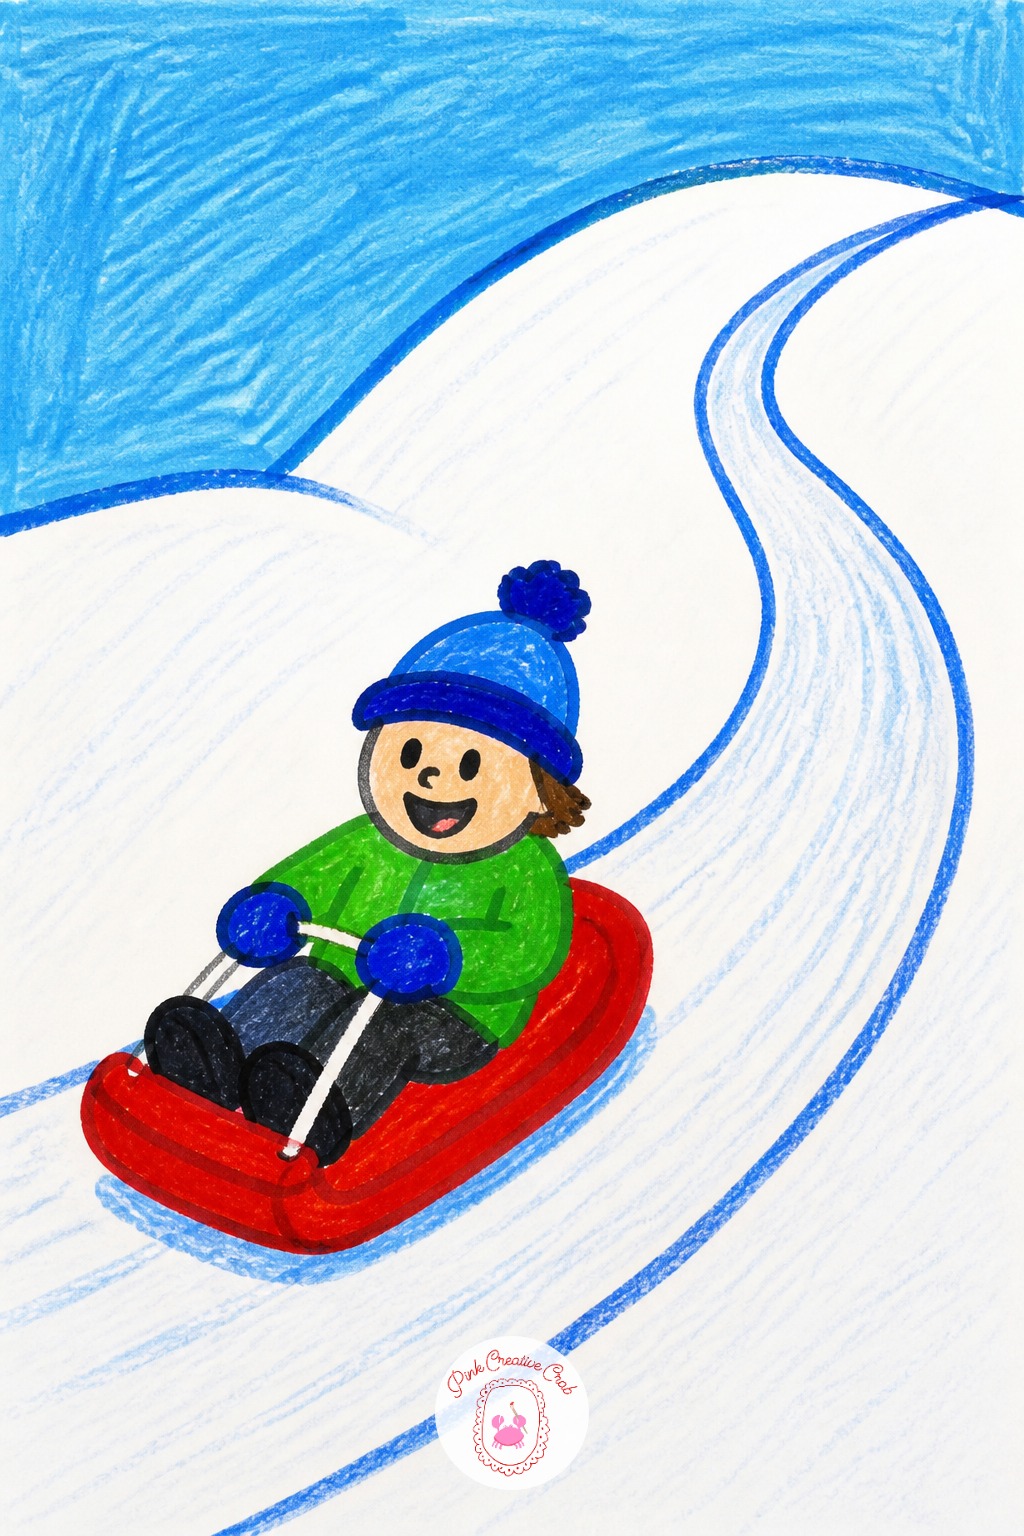
Once a basic hill with one sled works, change the camera angle next time instead of the scene itself. Draw the hill from the side for a sled racing downward, or draw it from above, a bird’s eye view, with the sledding path curving like a ribbon down the slope.
Swap the number of riders too, one child alone on the sled reads as calm, while two or three stacked on one sled reads as a chaotic, funny ride.
Keep the hill shape simple either way, one smooth curved mound of white with a single curving sled track.
Mouse Peeking From Stocking
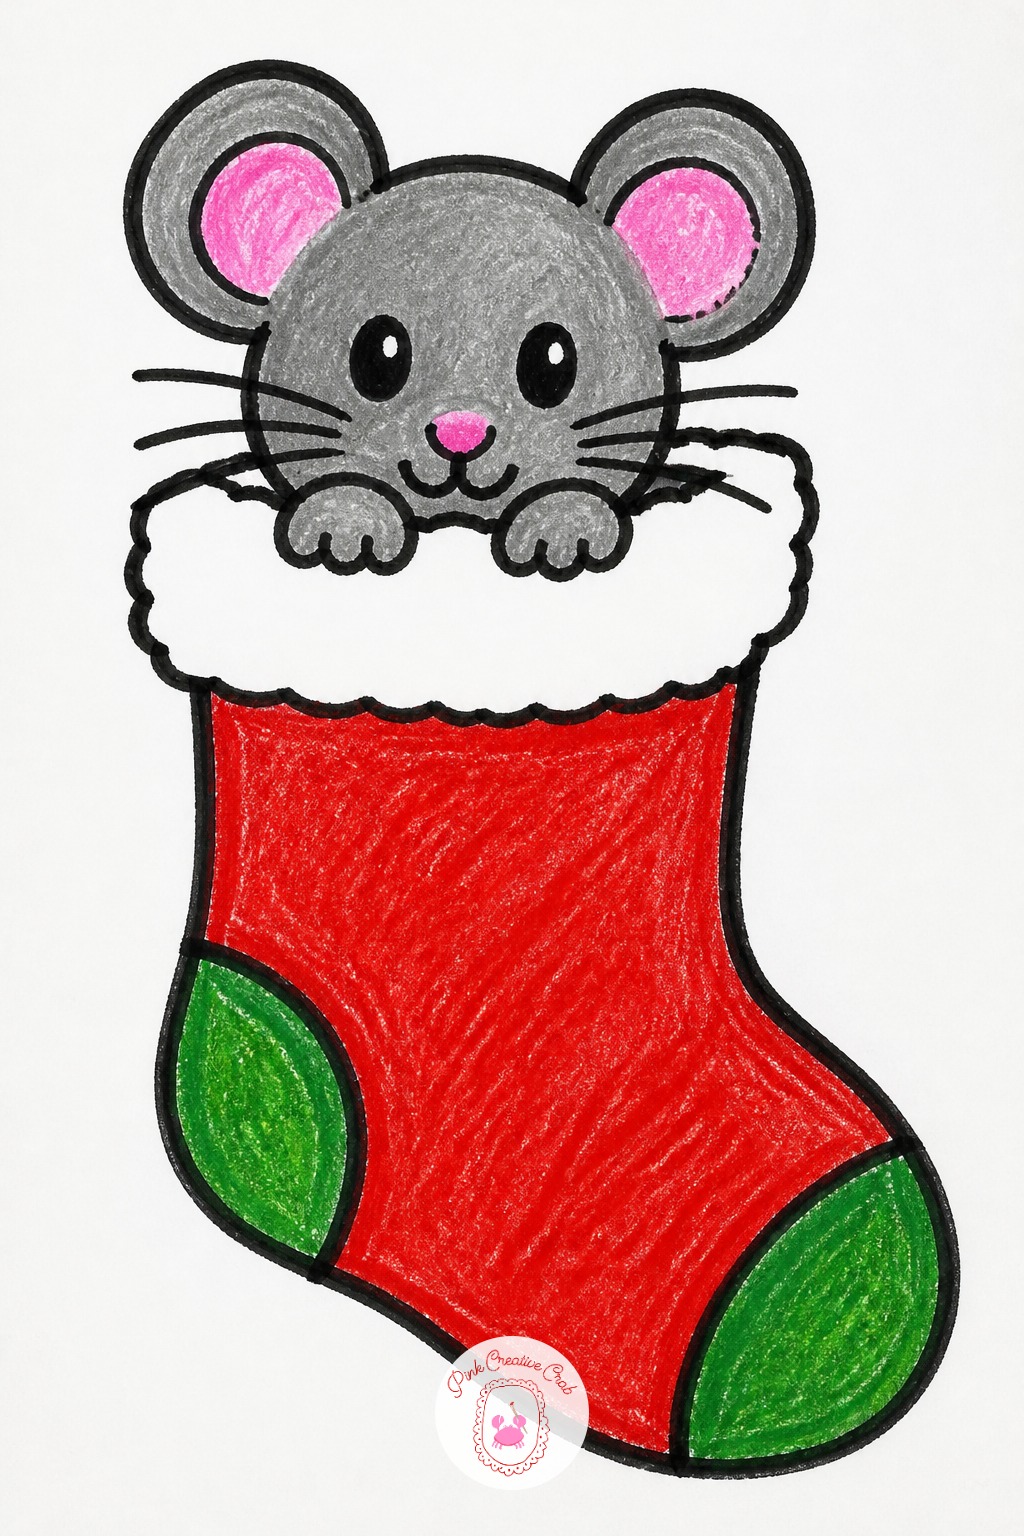
Use a gray or brown crayon for the mouse’s head and a pink marker for the small details, the ears, nose and tail tip, since pink marker shows up clearly against gray crayon in a way a pink crayon alone would not.
Draw just the head and two round ears poking out over the top edge of the stocking, with the rest of the mouse hidden inside, which is easier to draw convincingly than a whole mouse body.
Finish with two black marker dots for eyes and a few short whisker lines, drawn with a light touch.
Santa Boot By Chimney
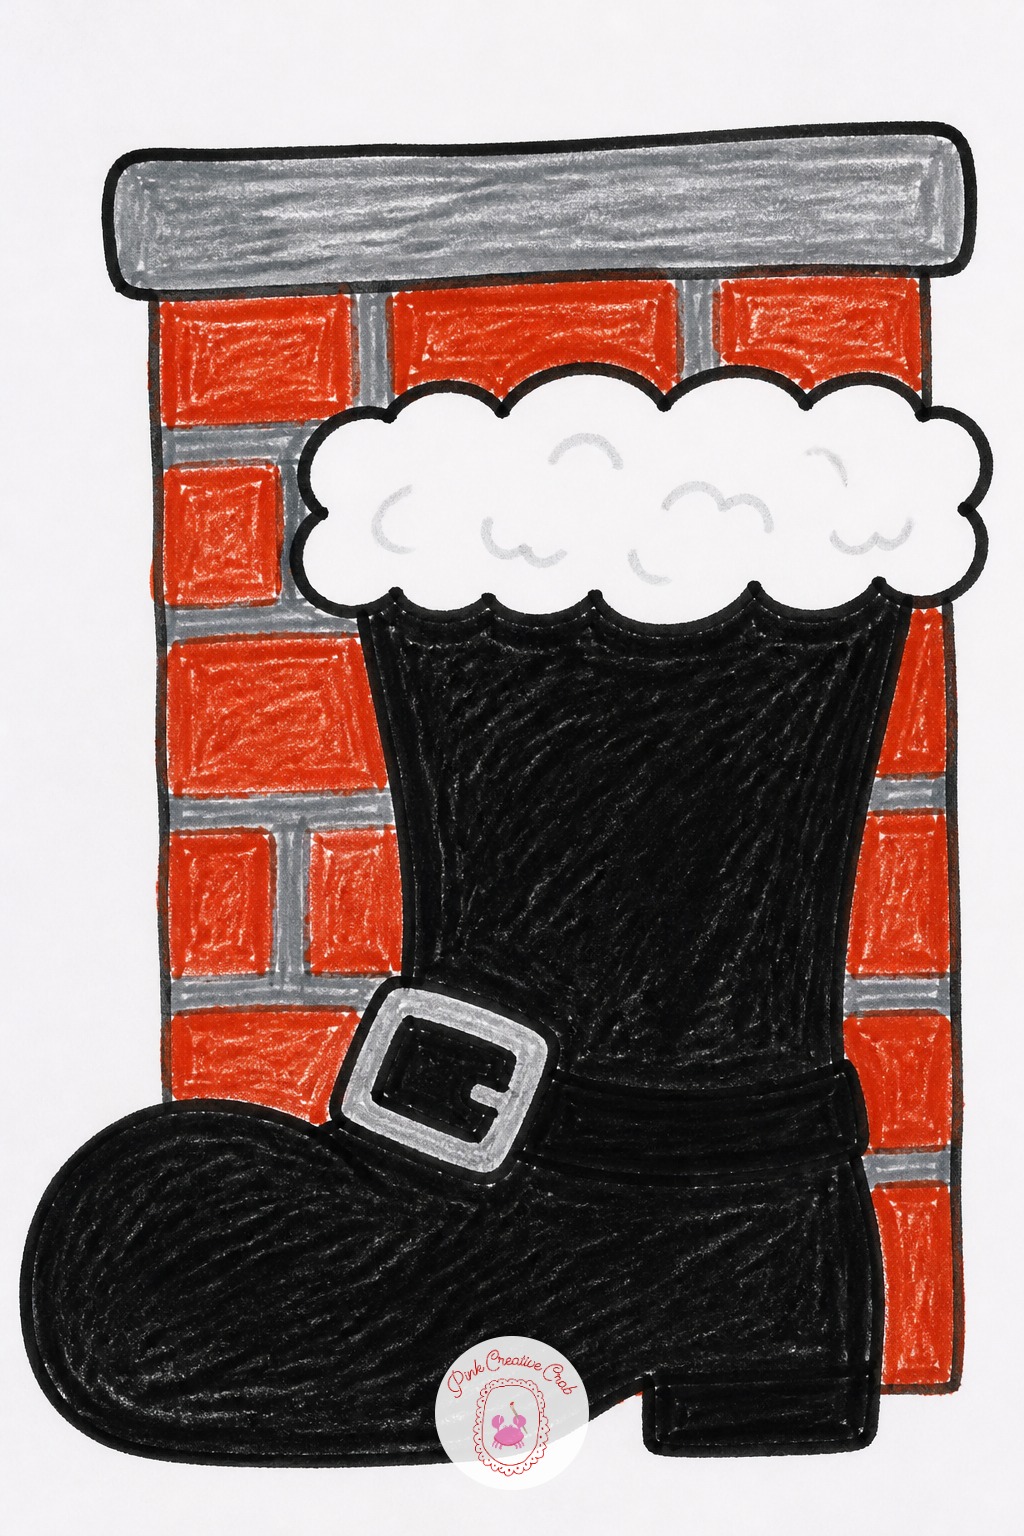
Draw the boot shape first, a tall curved cylinder with a wider foot at the bottom, sitting flat on the ground. That shape alone, in black, already reads as a boot before anything else gets added.
Next add the fur trim, a bumpy white line around the very top opening of the boot, as the second mark. Save the buckle or small bell detail on the side for last, once the basic shape and trim already look settled.
Place a simple brick chimney shape behind the boot, drawn smaller and lighter in color.
Simple Angel Shape
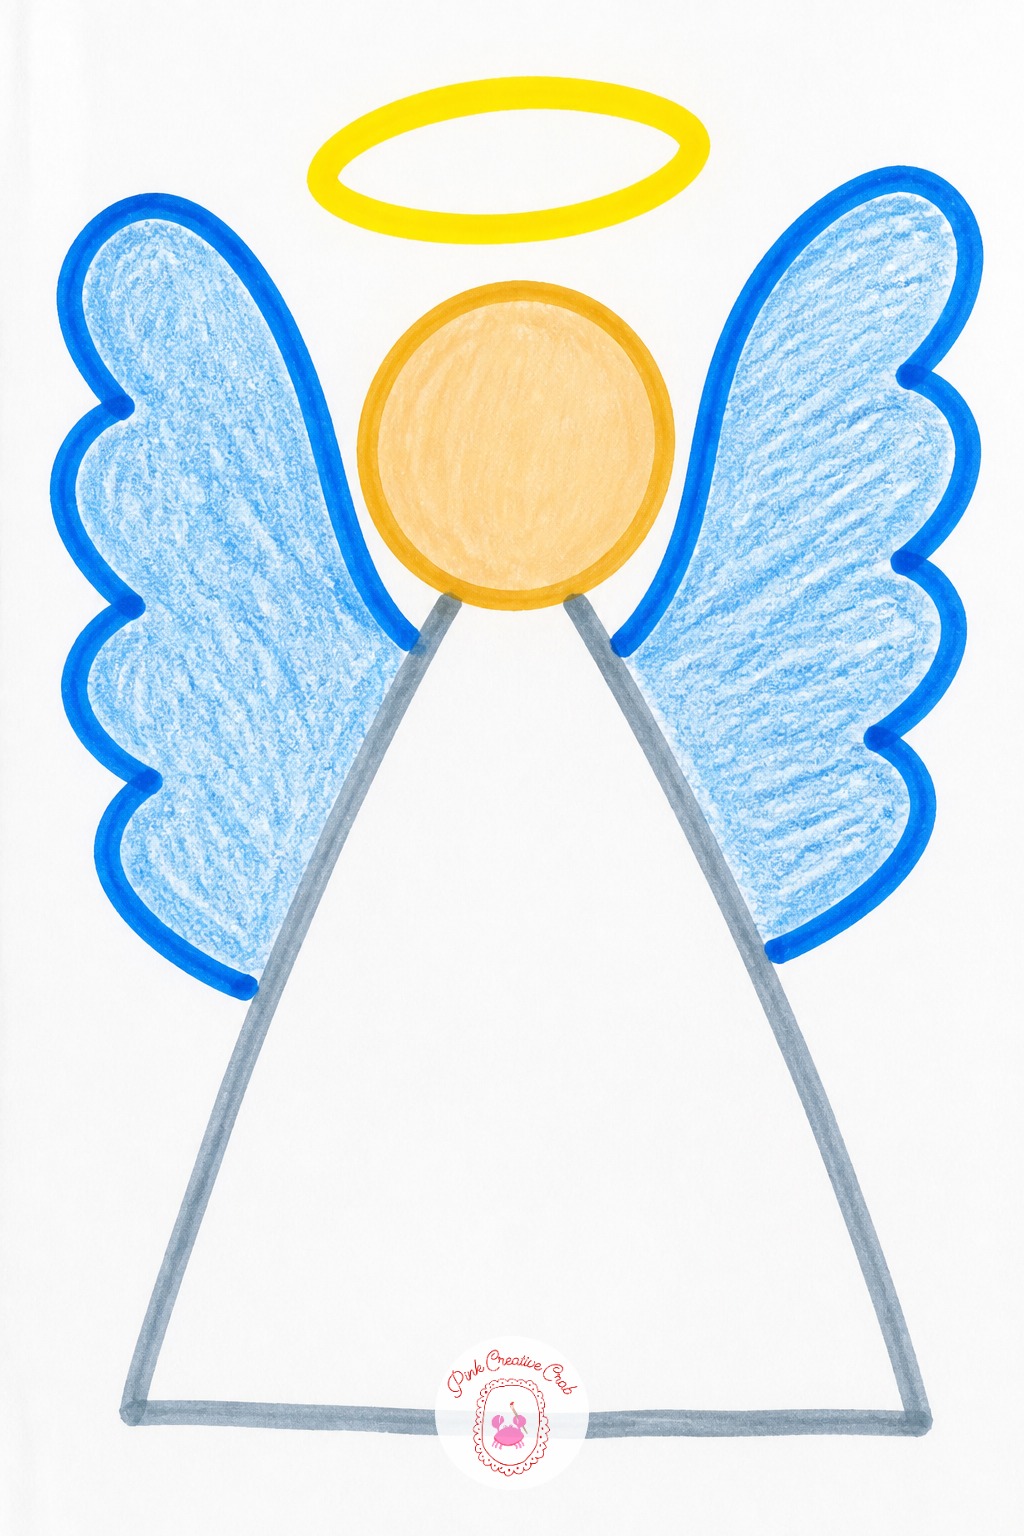
Build the angel from one triangle for the dress and one circle for the head, with the circle sized so it would fit inside the top point of the triangle about one and a half times. That ratio keeps the head from looking too big or too small for the body.
Add two wing shapes on either side, each about the same height as the triangle dress, so the wings do not dwarf the figure or disappear behind it.
Keep the arms simple, two short curved lines reaching outward, and save the halo for the very last mark.
Polar Bear Cub In Snow
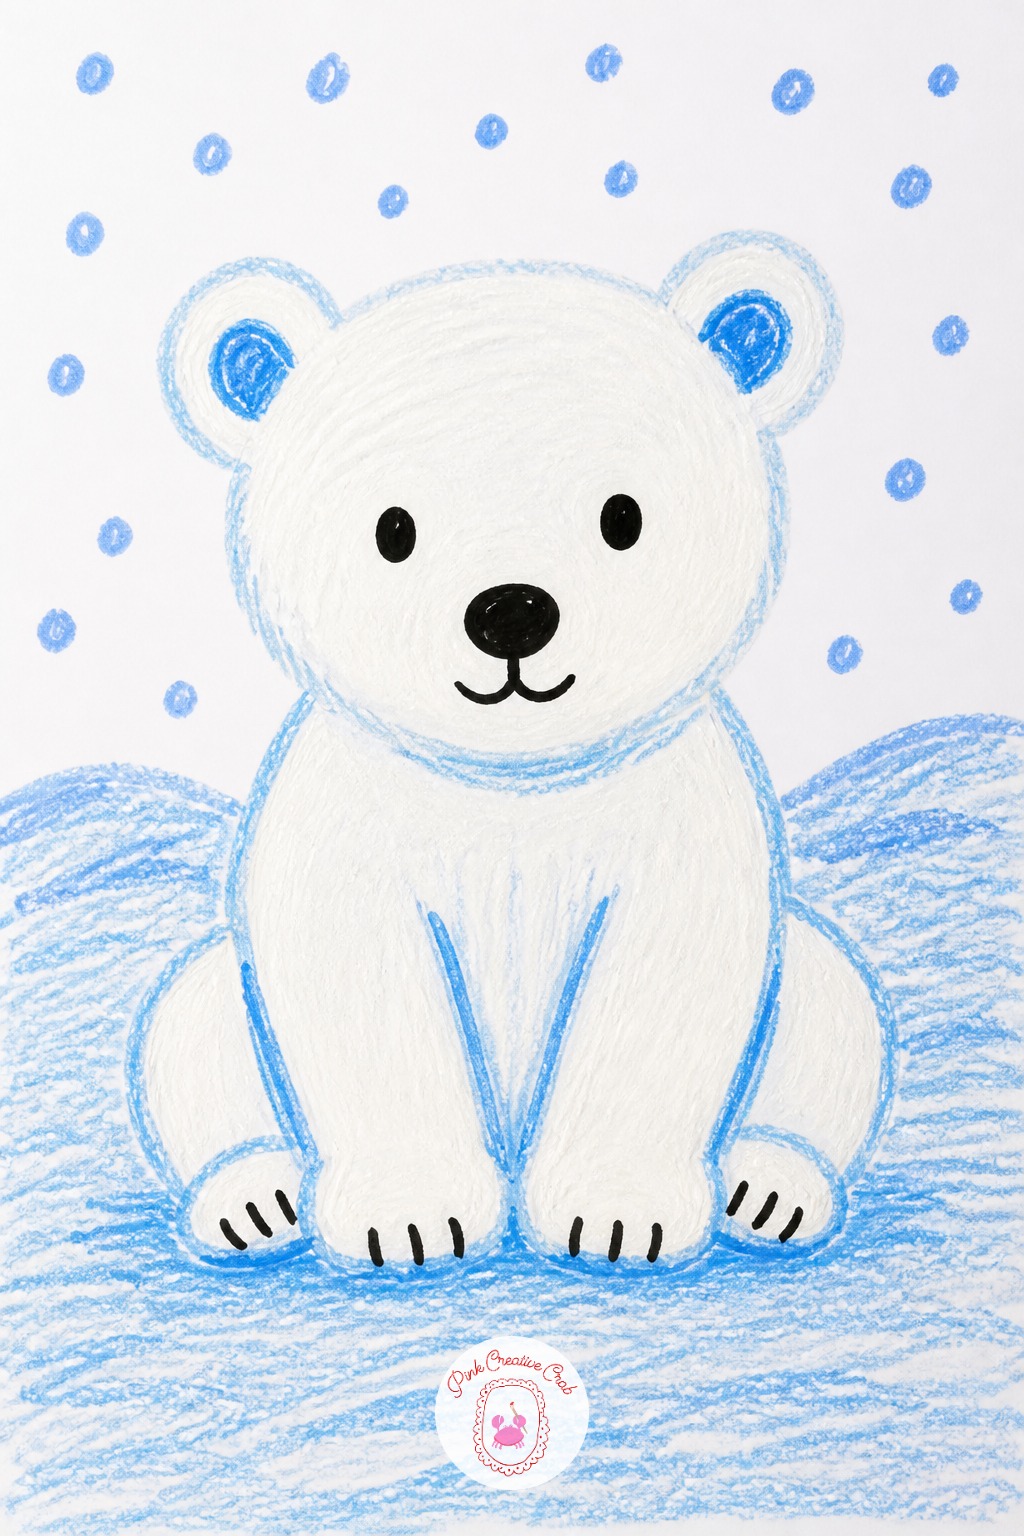
Keep the whole bear white or left uncolored against a pale blue background, since the contrast between the background and the bear’s outline is what carries the shape instead of shading. Add a few thin blue shadow lines along the belly and underside only, where the body meets the snow.
Draw the rounded head and body first, then the short legs tucked underneath, and finish with small black dot eyes and a black nose placed close together.
Keep the background simple, a few scattered white dots over pale blue for falling snow.
Star And Tree Cookie Plate
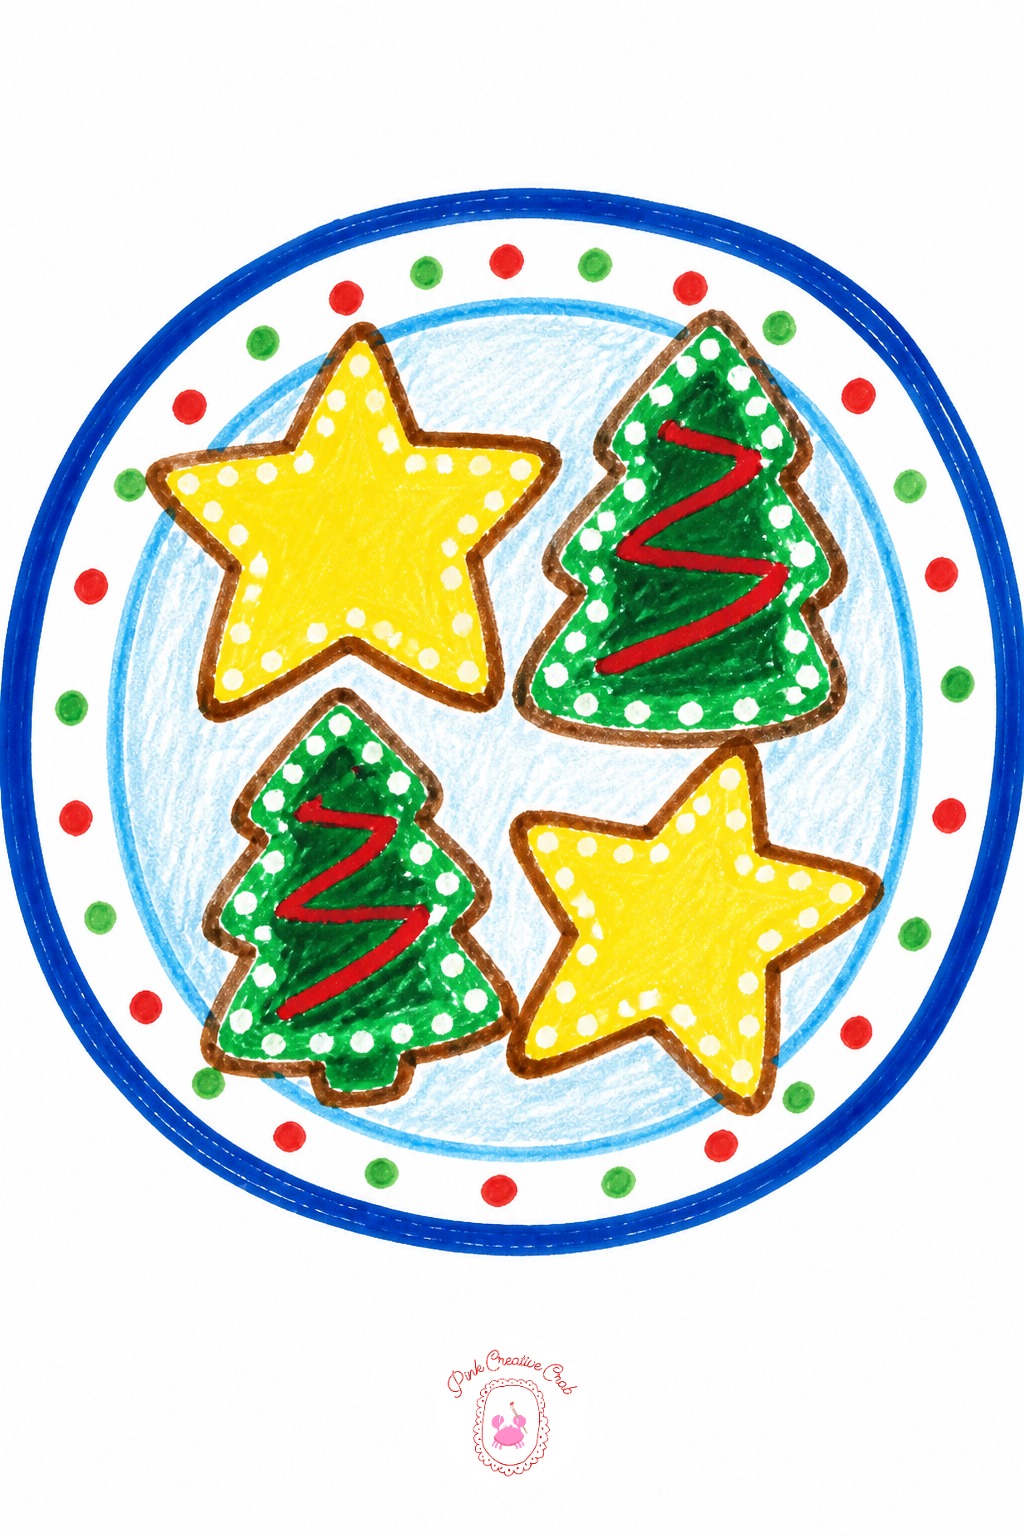
Draw each cookie shape first, a few stars and a few trees scattered across a round plate shape, before adding any icing. Getting all the cookie outlines down first keeps the icing details from feeling rushed.
Press small dots of white crayon or white gel pen along the edges of each cookie for sugar sprinkles, varying how close together the dots sit so some cookies look more heavily sugared than others.
Add one thin zigzag line of icing across two or three cookies in a different color, left plain on the rest.
Snow Globe With Tiny Tree
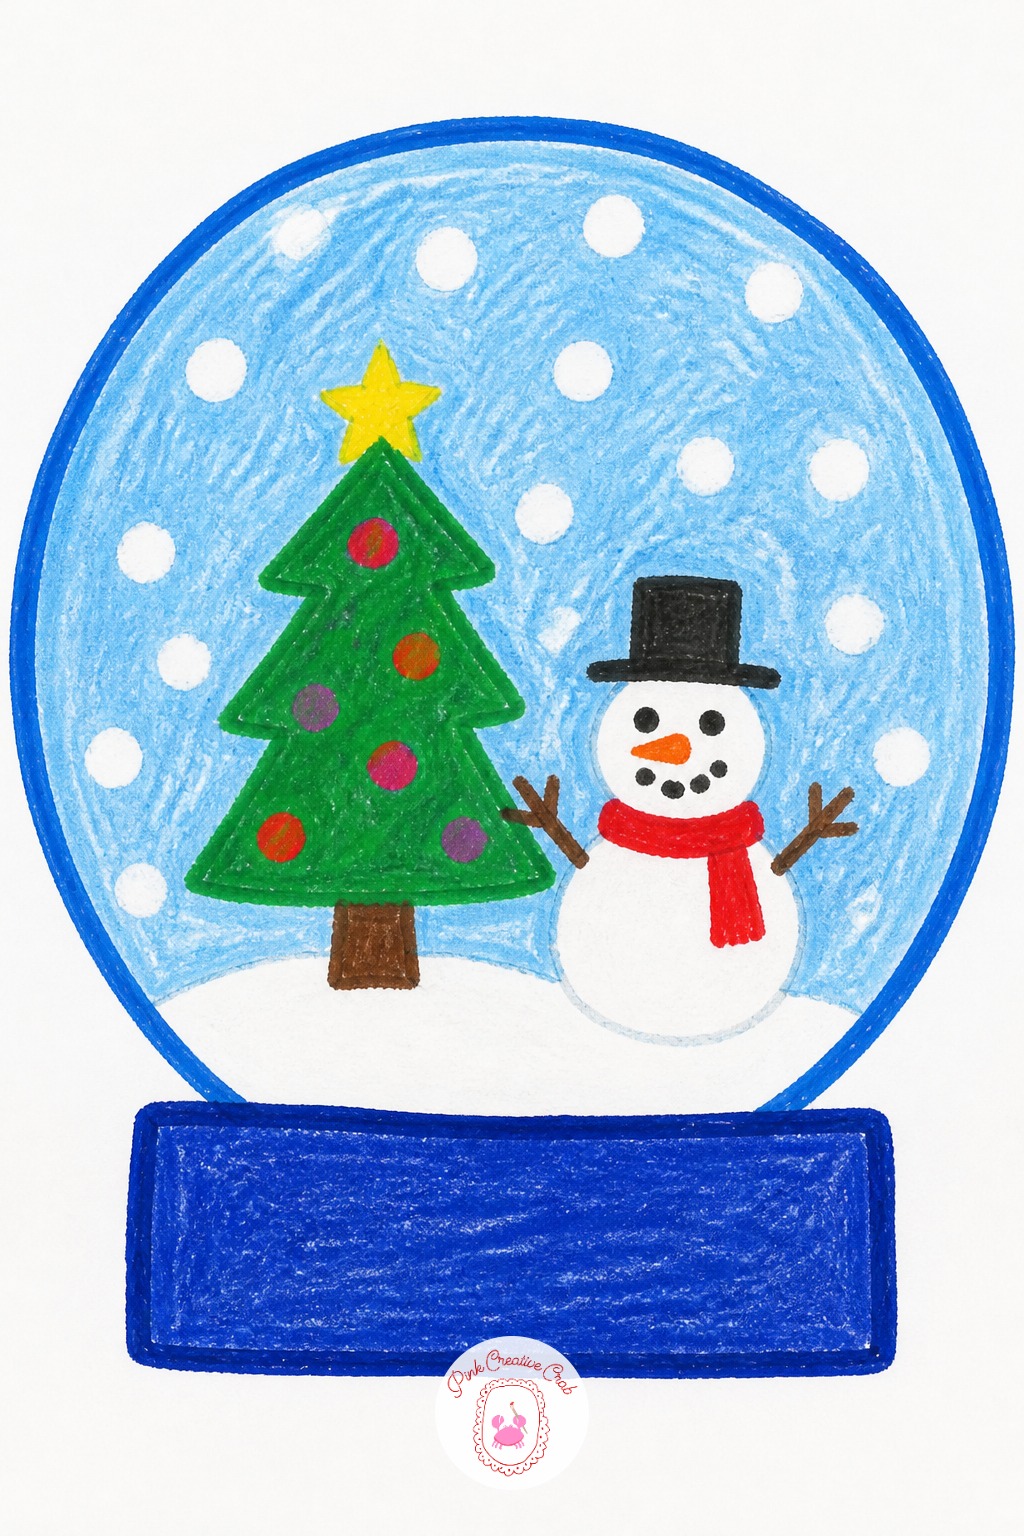
The easiest way to ruin a snow globe drawing is making the glass dome too small for the tree and snowman inside it, so everything feels cramped against the edge. Draw the round dome outline first, generously sized, and only then sketch a small tree and a tiny snowman well inside that boundary, leaving open space around them.
If the scene already looks crowded, fix it by shrinking one element rather than squeezing in a base right away.
Finish with a simple base and scatter small white dots floating inside the glass.
Sleigh Full Of Gifts
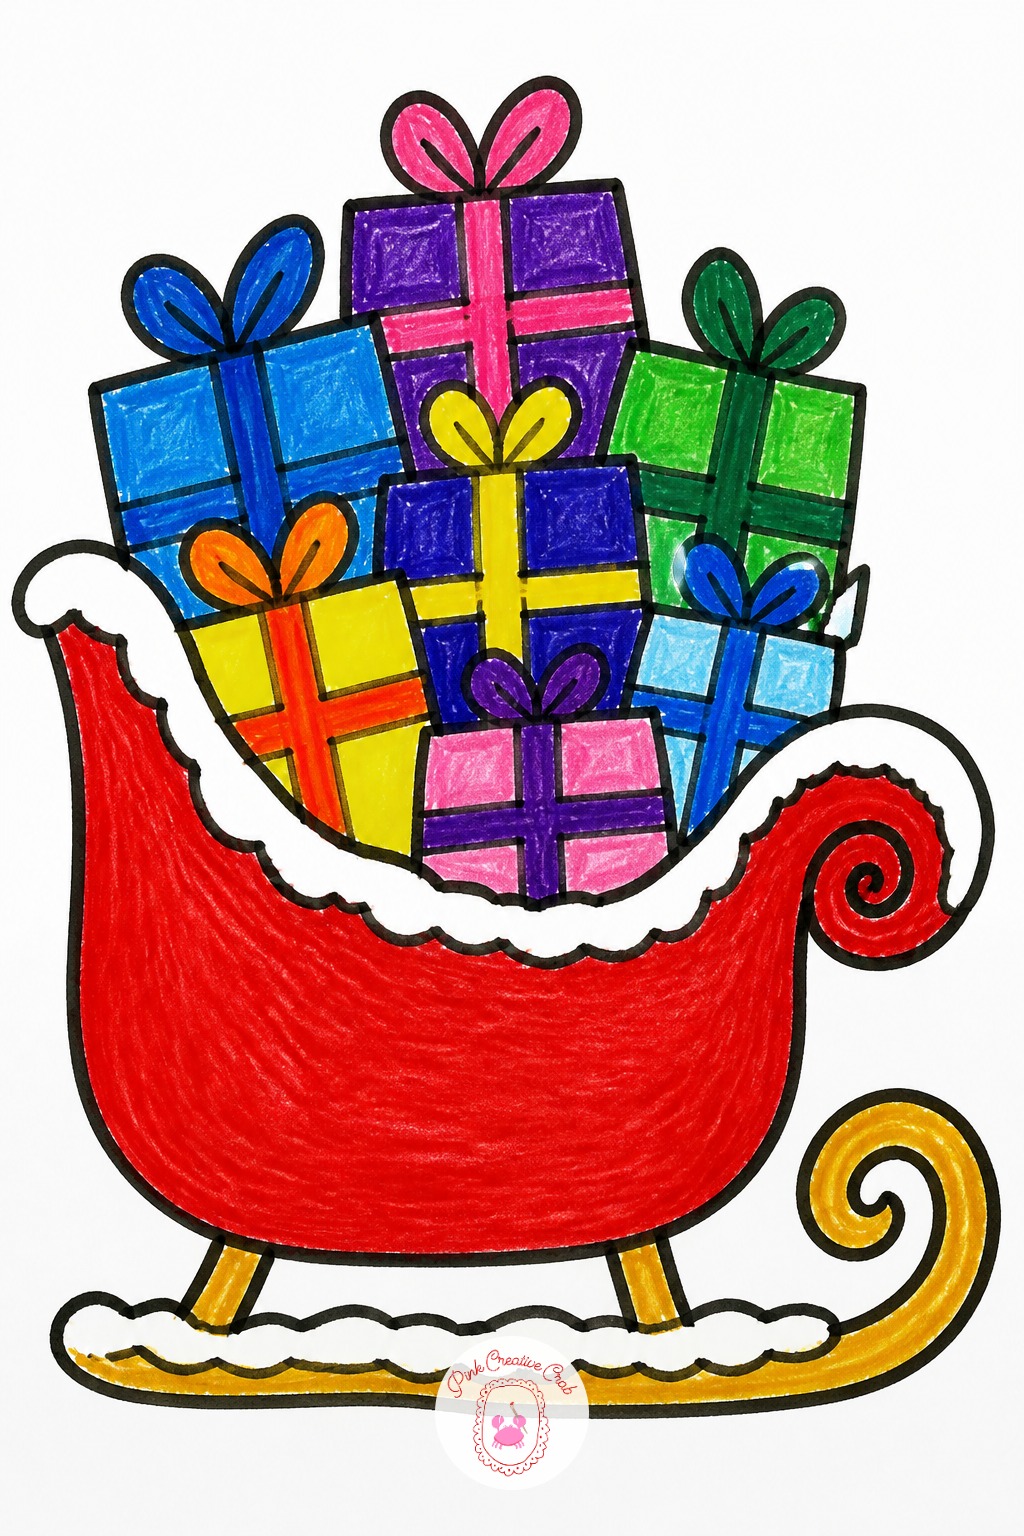
Ten minutes covers the basic sleigh: one curved boat-like body with a swirled front runner, filled with a few simple gift box shapes poking out over the top edge.
Forty minutes adds real detail to the same sleigh, a decorative swirl pattern along the side panel, wrapped texture and bows on each gift, and a sprinkle of snow settled along the runners and edges.
Keep the sleigh’s curved shape the star of the drawing in both versions, since an overly detailed sleigh with plain gifts looks unfinished.
Scarf Wearing Owl On Branch
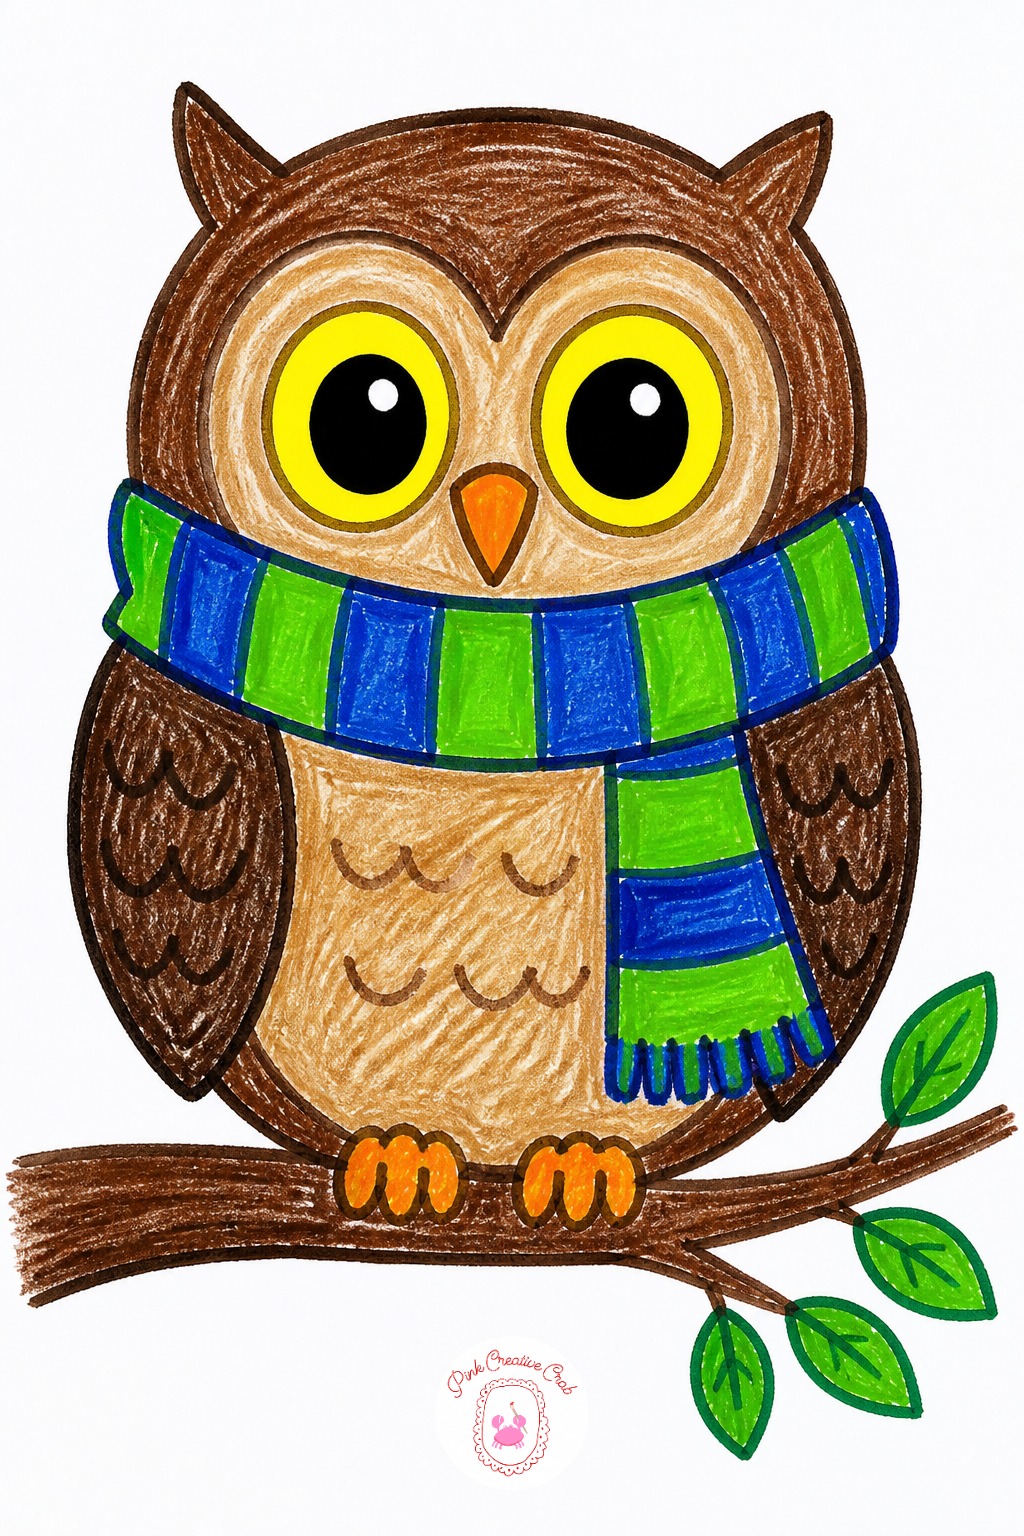
Once an owl made of one oval body and two round eyes feels comfortable, change the wing position next time instead of repeating the same still pose. Folded wings close to the body reads as resting, while wings open to the sides reads as an owl about to fly.
The scarf is easy to vary too: a striped scarf, a plain one, or a loose knot hanging down one side all change the feel of the same basic shape.
Keep the eyes big and round in every version, since that detail alone makes it read as an owl. Older kids who like this one sometimes move on to more detailed bird pencil drawing ideas with a pencil instead of crayon.
Lit Christmas Candle
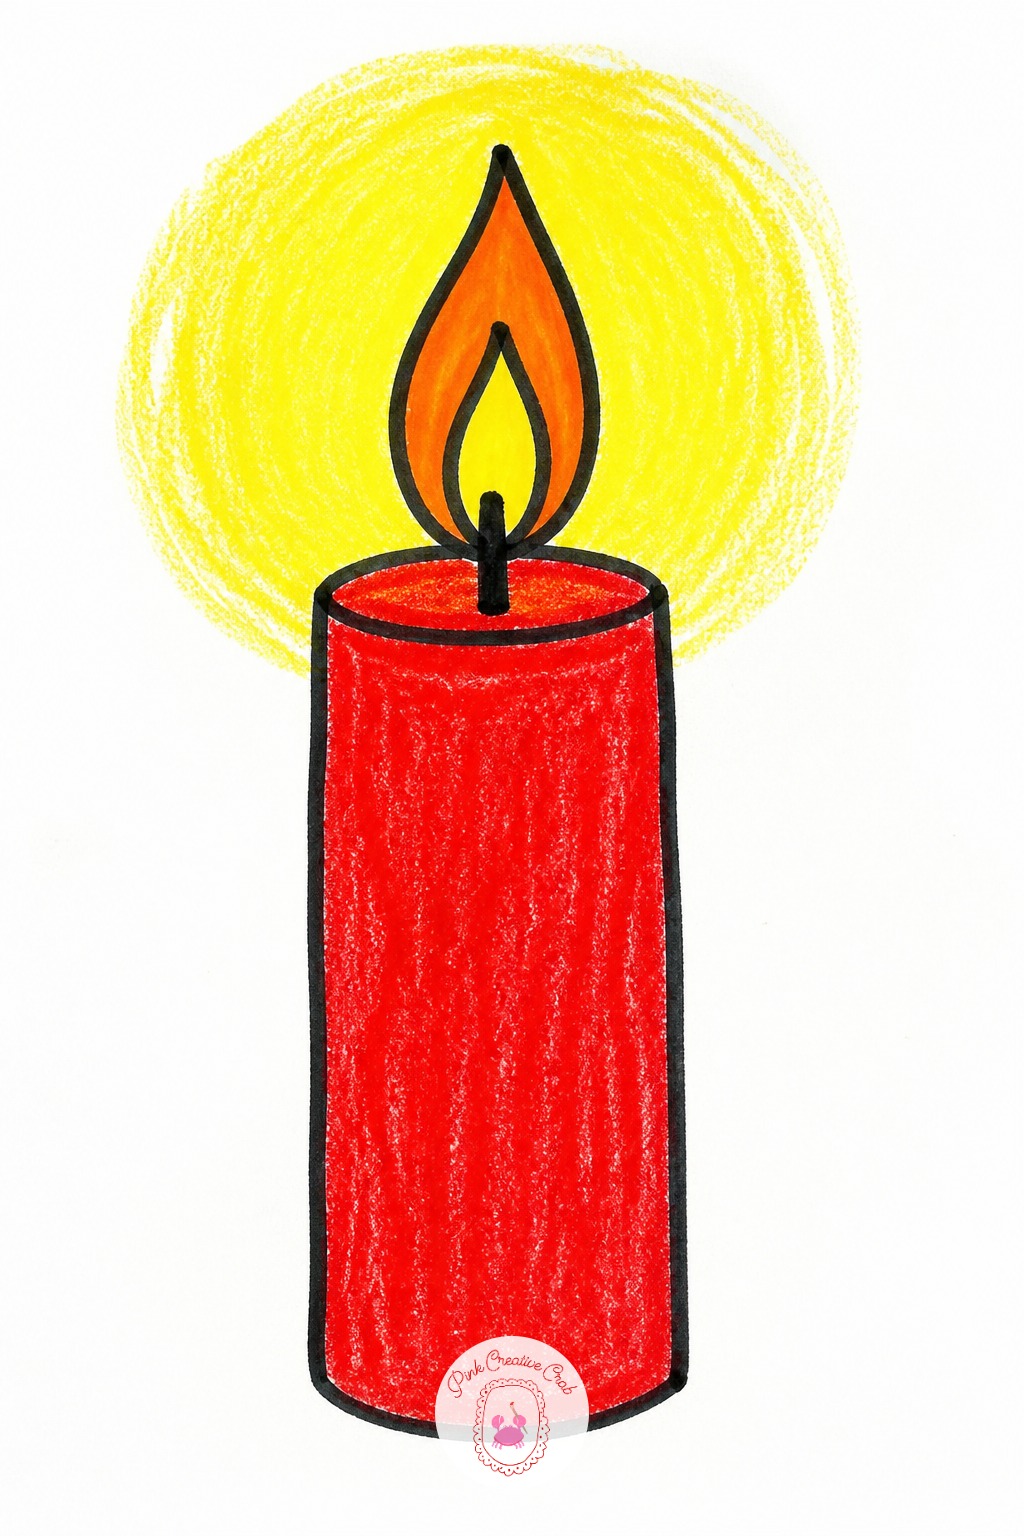
Switch to orange and yellow crayon for the flame and keep the candle body in a single solid color drawn with a marker outline, since the contrast between waxy crayon flame and flat marker candle makes the flame look like it is actually glowing.
Draw the candle body first, a simple tall rectangle, then the flame shape on top, teardrop-shaped and slightly flickering to one side rather than perfectly straight up.
Add a thin ring of yellow crayon glow around the flame’s base, blended lightly with a finger or a tissue.
What to Do Next
Pick one christmas drawing easy idea from the list above, pull out the crayon box and a stack of plain paper, and let her start with the snowman or the gingerbread man first, since both come together in just a few big shapes.
Frequently Asked Questions
What makes a christmas drawing easy enough for a five year old?
Big basic shapes do the work: circles, triangles and rectangles stacked together build a snowman, a tree or a gift box without any fine detail. Keep outlines thick and let her fill them in with solid color, since flat color reads clearly even with a shaky hand.
Do these ideas work with crayons, or do I need real markers too?
Crayons alone handle every idea on this christmas drawing easy list just fine. Washable markers help for thin lines, like antler branches or a mouse’s whiskers, because their tip stays finer than a crayon point, but they are not required to finish any drawing.
How long should each drawing take?
Most of these finish in ten to twenty minutes, which suits a child’s attention span during a busy winter break. A few, like the gingerbread house or the sleigh full of gifts, stretch to forty minutes with extra icing or wrapping detail, but nothing demands more than one sitting.
What paper and surface work best for a young child?
Plain drawing paper or a sturdy kids drawing pad works better than thin printer paper, since crayon wax and marker ink can bleed through flimsy sheets onto the table underneath. A pad with some texture also grips crayon color better than glossy paper.
My child draws the same snowman every time. How do I keep things fresh?
Pick a new christmas drawing easy subject from a different part of the list each time, moving from snowmen toward reindeer, stockings or treats instead of repeating the same one. The ordering above goes from simplest to more involved, so working down the list naturally introduces new shapes.
Have any thoughts?
Share your reaction or leave a quick response — we’d love to hear what you think!
-
 0
0 -
0
-
0
-
0
-
0
-
0


