

Studies show kids retain handmade cards THREE times longer than store-bought ones—and watercolor birthday cards? They’re pure magic. You don’t need fancy skills (trust me, my first unicorn looked like a purple blob). But here’s the thing: those “imperfect” brushstrokes and splattered colors are EXACTLY what makes these cards special. So which adorable creature will you paint first—a chubby rainbow unicorn or a frog prince wearing a tiny crown?
What Do You Need for Kids’ Watercolor Birthday Card Painting?
The beauty of watercolor birthday cards? You don’t need fancy supplies to create MAGIC with kids watercolor card painting!
Here’s what you’ll actually use:
- Watercolor paints (cheap sets work great—trust me, I’ve tried the expensive ones and kids can’t tell the difference)
- Thick cardstock or watercolor paper (regular paper turns into soggy disaster territory)
- Brushes (even foam brushes work!)
- Water cups (and maybe towels because spills WILL happen)
- Pencils for sketching (totally optional but helpful for nervous kids)
Idea #1: Easy Watercolor Birthday Card for Kids – Chubby Rainbow Unicorn Wearing a Party Hat
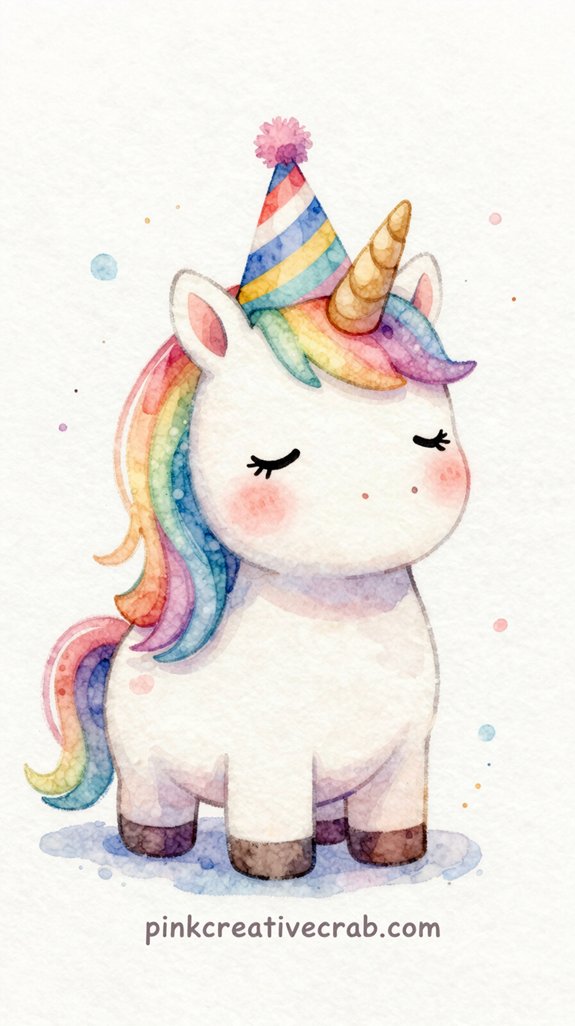
Because unicorns make EVERYTHING better, this chubby rainbow unicorn card is my go-to project for beginners—and by beginners, I mean kids who’ve never touched a paintbrush AND adults who think they can’t draw (spoiler: you totally can).
This adorable watercolor birthday card starts with simple shapes. Circle for the body. Smaller circle for the head. Done!
Here’s where the magic happens: let kids blob on rainbow colors while the paper’s still wet. The colors bleed together—that’s the POINT. No mistakes here, just happy accidents.
Add a wonky party hat using masking tape first (peel it off after painting for crisp edges). Draw on facial features with a fine-tip marker once everything dries.
These fun birthday card watercolor ideas prove that watercolor birthday cards for kids don’t need perfection. They need personality!
Idea #2: Three Baby Dinosaurs Hatching from Spotted Eggs Surrounded by Confetti
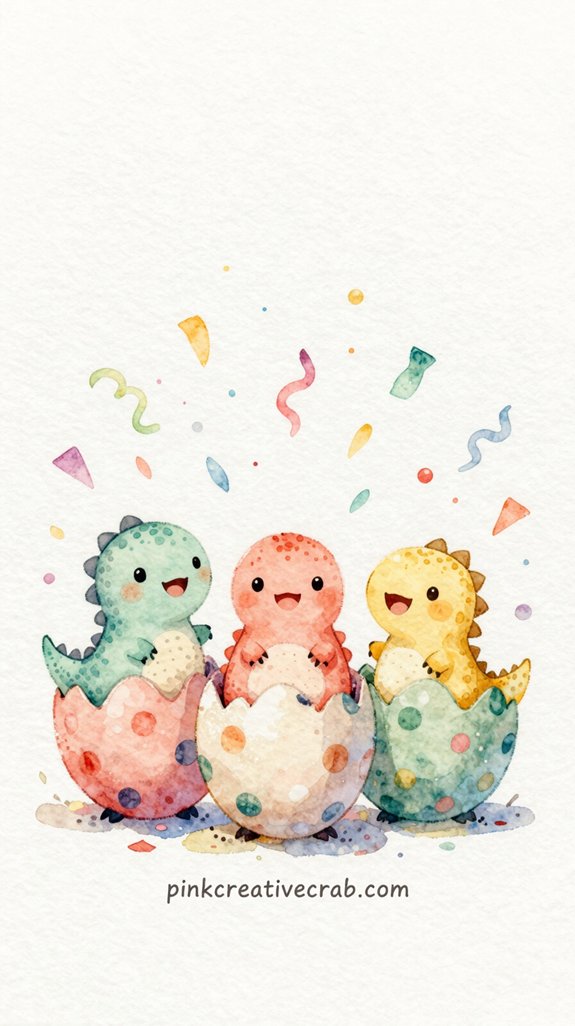
Kids obsessed with dinosaurs? This cute birthday card watercolor design is PERFECT for them! Three adorable baby dinos peeking out from cracked, spotted eggs—surrounded by colorful confetti dots.
Start with simple egg shapes. Paint them in soft pastels with darker watercolor spots (I always mess up making them too uniform—keep yours random!). Let that dry completely. So important!
Then add your little T-Rex, Triceratops, and Brachiosaurus heads popping out. Big eyes make them instantly lovable. The confetti? Just dab your brush around the eggs in bright colors—yellow, pink, orange, blue.
And here’s the thing: imperfection makes this one SHINE. Wonky eggs? Even better. The birthday kid won’t care about technique—they’ll just see their favorite creatures partying!
Idea #3: Watercolor Birthday Card Painting – Smiling Rocket Ship Zooming Through Colorful Planets
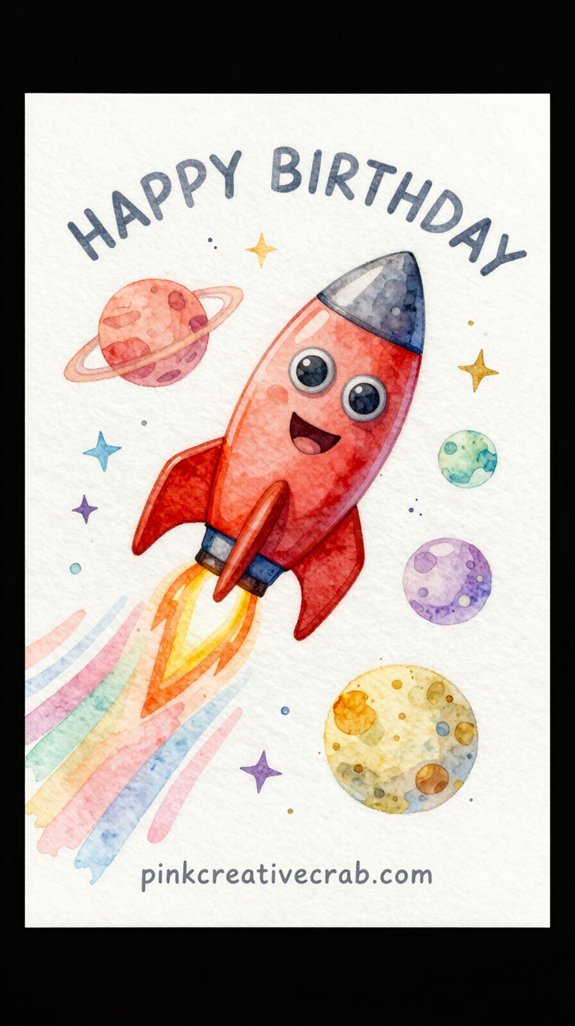
Here’s the thing about painting chunky cartoon characters—wobbly lines are actually your FRIEND! So stop stressing about making that rocket ship look perfect, because thick, uneven watercolor outlines give your painting personality (and honestly, they hide a ton of mistakes I make all the time).
The secret? Use a confident hand and embrace the wobbles—kids can tell when you’re having fun, and loose, bold shapes read as playful, not sloppy.
How to Paint Chunky Cartoon Characters Without Worrying About Wobbly Lines
Why do wobbly lines always show up at the WORST possible moments—like when you’re painting that perfect rocket ship for your nephew’s birthday card?
Chunky cartoon characters THRIVE on imperfect lines. That’s what makes them charming. So paint your rocket ship with thick, bold strokes. (I’m talking CHUNKY here—think marker thickness, not fine liner.)
And here’s the game-changer—wet your paper first. The water blurs everything beautifully, transforming shaky hands into “artistic style.” Genius, right?
But wait—there’s more! Add a thick black outline AFTER the watercolor dries. This hides every wobbly mistake underneath. Trust me, I’ve covered up disasters you wouldn’t believe.
Your rocket ship doesn’t need perfection. It needs personality!
Idea #4: Wide-Eyed Owl Perched on a Birthday Cake Holding Balloons in Its Wings
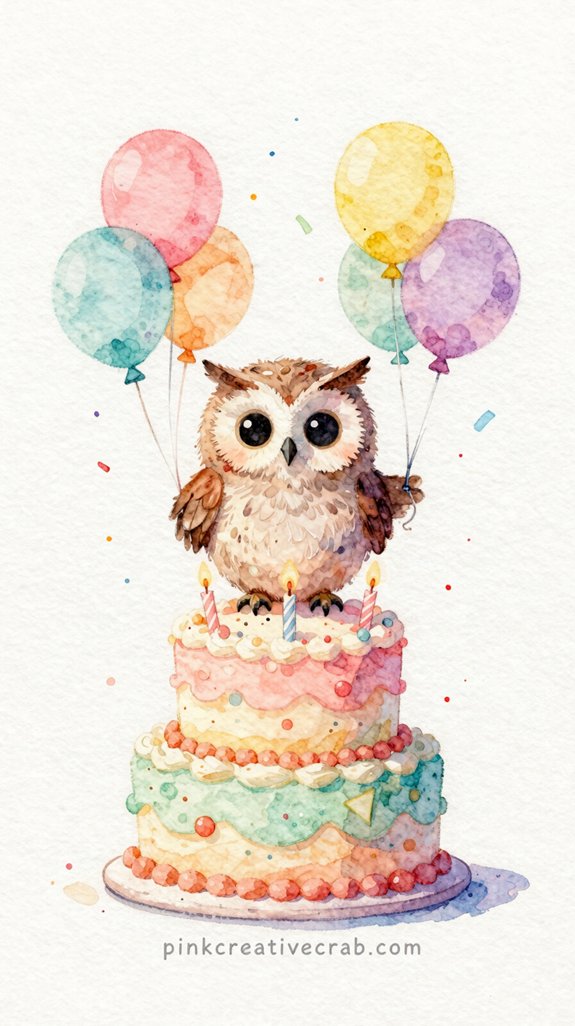
Although owls are traditionally nocturnal creatures, this wide-eyed birthday buddy is ready to PARTY at any hour of the day! Start with those signature enormous owl eyes—seriously, make them HUGE. I always sketch mine too small at first, then wonder why my owl looks grumpy instead of excited.
And here’s the fun twist: perch him right on top of a colorful birthday cake! Paint simple balloon strings coming up from behind his wings. (It looks like he’s presenting them—so cute!) Use brown and orange watercolors for the owl, then go WILD with cake colors. But keep backgrounds light—maybe just a few confetti dots. The contrast makes everything pop! Want innovation? Add tiny party hat.
Idea #5: Kids Birthday Card for Beginners – Cheerful Yellow School Bus Decorated with Streamers
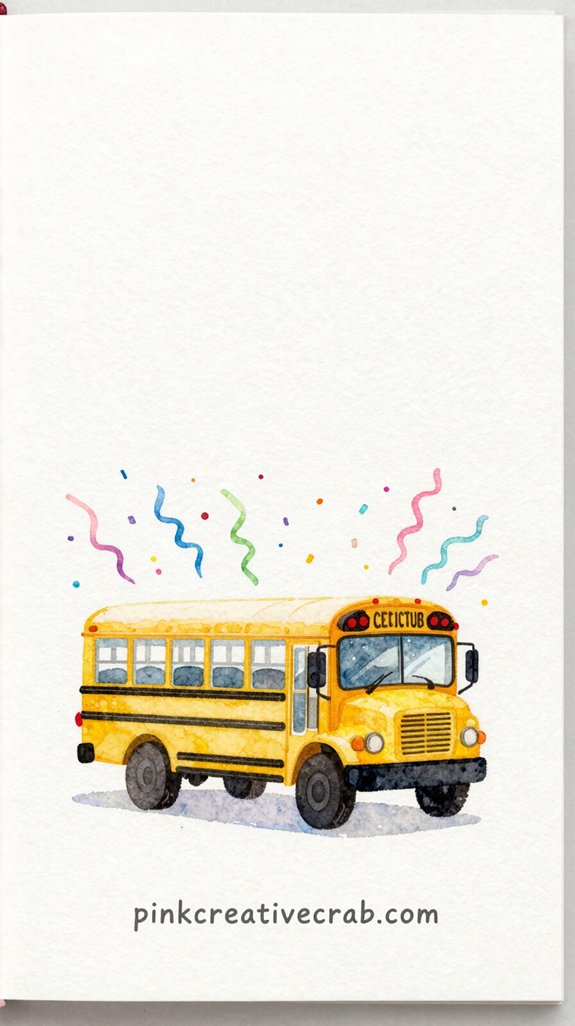
When it comes to beginner-friendly birthday cards, nothing beats painting a big yellow school bus—those simple rectangular shapes are SO forgiving! You’ll nail this even if you’ve never touched a brush before (trust me, I once turned my first bus into a misshapen lemon).
Start with a light pencil sketch. Two rectangles—body and windshield. Done! Mix cadmium yellow with a tiny dot of burnt sienna for that perfect school bus shade. And here’s the fun part: tape colorful streamers flowing from the windows using thin brushstrokes of pink, blue, and purple.
Want extra pizzazz? Add a birthday banner across the side. So simple! The boxy design means your lines don’t need to be perfect. Imperfections just add character here.
Idea #6: Happy Shark Wearing a Party Hat Swimming Through a Sea of Balloons
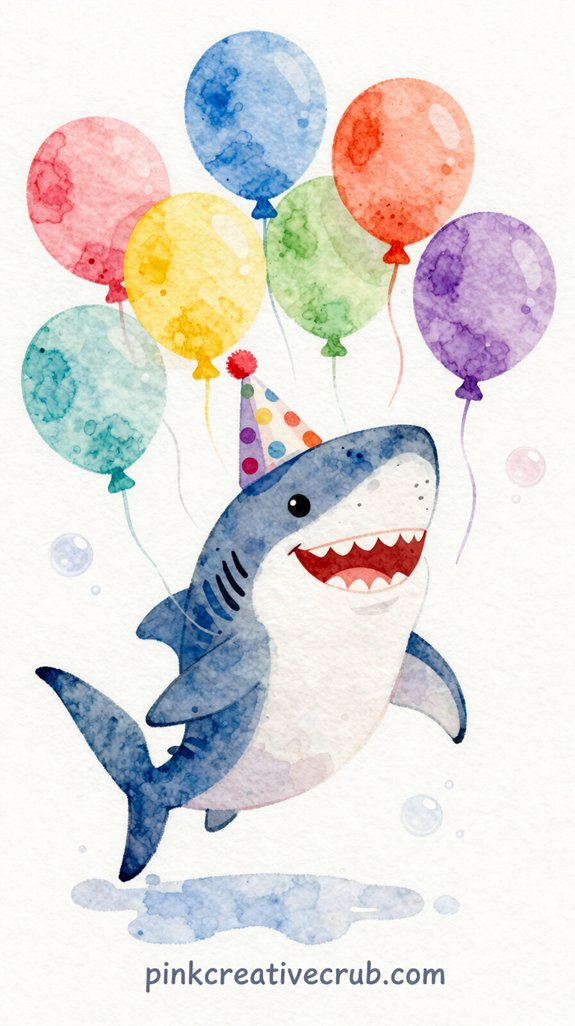
You’re about to paint a shark (stay with me here), and watercolor pencils are going to save you from the muddy mess I ALWAYS make when teaching kids regular watercolors. They give you control—like coloring with crayons—but then you swipe over them with a wet brush and BAM, instant watercolor magic!
No more “Oops, I added too much water and now my shark looks like a gray blob” disasters.
Why Watercolor Pencils Are a Game-Changer for Cards with Kids
Most kids struggle with traditional watercolors because—let’s be honest—they turn everything into a muddy puddle within thirty seconds. (Ask me how I know!) But watercolor PENCILS? They’re a total game-changer.
For that shark card? Let them sketch the shark and balloons in pencil first. Color everything in with watercolor pencils. Then help them blend with a damp brush. The best part? You can’t really mess it up. And trust me, that takes SO much stress out of the equation!
Kids can draw with them like regular colored pencils first. No pressure! Then—and this is the magic part—you add water with a brush to blend the colors. So they get all the control of drawing with the gorgeous, flowy look of watercolors.
Idea #7: Easy Elephant Watercolor Card – Baby Elephant Balancing a Cupcake on Its Trunk
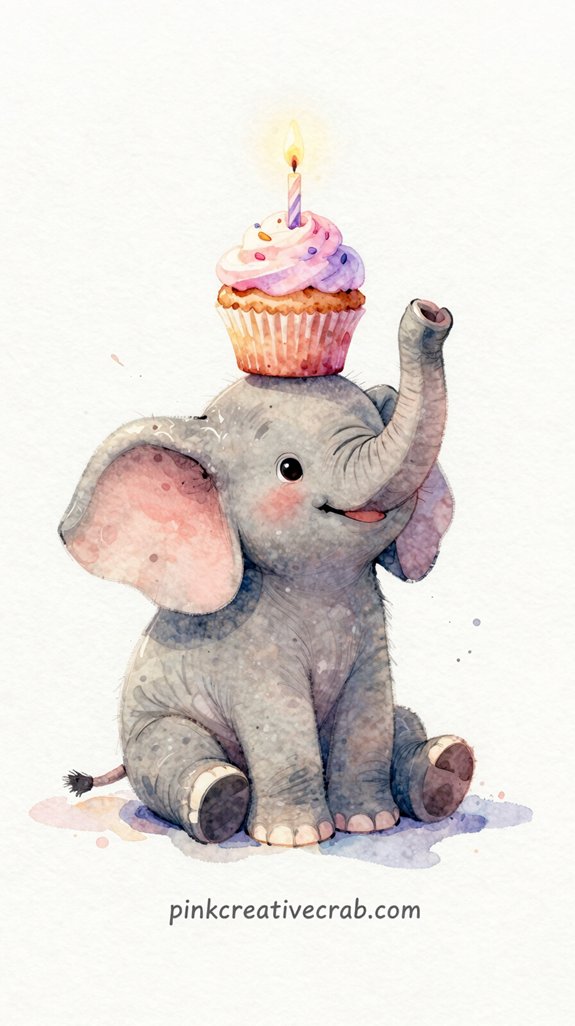
Although elephants might seem tricky to paint, this adorable baby elephant card is actually one of the EASIEST designs you can make. Seriously! The secret? Simple gray circles for the body and head—that’s it. Add two floppy ears, a curved trunk reaching UP, and dot eyes. Done.
Now here’s where it gets fun. Paint a tiny cupcake balanced right on that trunk! (I use pink or blue frosting with rainbow sprinkles.) The contrast is ADORABLE.
Pro tip: Let the elephant dry completely before adding the cupcake. Trust me—I’ve created muddy disasters by rushing this step!
And don’t worry about perfect proportions. Wonky elephants are actually CUTER. The birthday kid won’t notice if the ears aren’t identical. They’ll just see an elephant celebrating THEM!
Idea #8: Pile of Colorful Building Blocks Spelling Out “HAPPY BIRTHDAY” in Bright Colors
If your birthday kid loves building with blocks (and what kid doesn’t?), this card will absolutely THRILL them.
Here’s the fun part—you don’t need perfect lettering skills! Just paint each block as a wonky cube in different colors. Red, yellow, blue, green. Mix it up! Stack them however you want. I totally messed up my first attempt trying to make them too symmetrical—looked STIFF.
So instead, let them tumble and stack naturally. One letter per block. Maybe tilt a few for that “just built” look.
And here’s my favorite trick: add shadows under each block with diluted gray watercolor. Instant dimension! The birthday kid will recognize their favorite toy immediately, making this card super personal and memorable.
Idea #9: Tiny Hedgehog Carrying a Stack of Presents Tied with Polka-Dot Ribbon
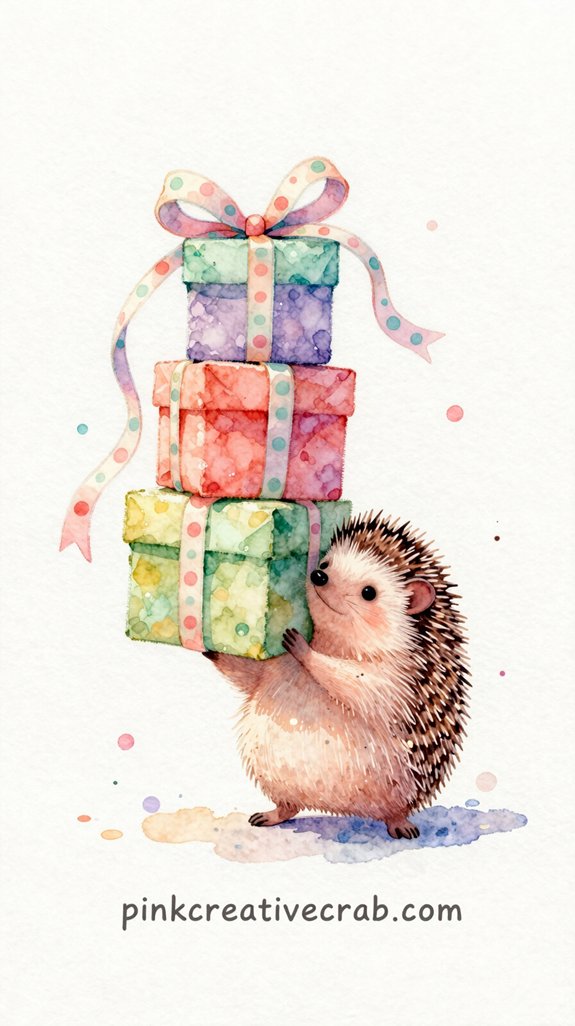
This adorable little hedgehog design will melt hearts—especially if the birthday kid goes CRAZY for cute woodland animals. You’ll paint a tiny hedgehog (those spiky quills are easier than you think—just short, quick brushstrokes!) carrying a wobbly stack of wrapped presents. The polka-dot ribbon adds that perfect whimsical touch.
Here’s my trick: paint the presents FIRST, then add the hedgehog underneath. I learned this the hard way after my first attempt looked like the poor guy was crushed! Start with light washes for the gift boxes—maybe pastels like mint green and lavender. Let them dry completely before adding those adorable dots.
And don’t stress about making it perfect. A slightly wonky present stack? That just makes it MORE charming and kid-friendly!
Idea #10: Kids Watercolor Painting – Cheerful Monster with Three Eyes Holding a Giant Lollipop
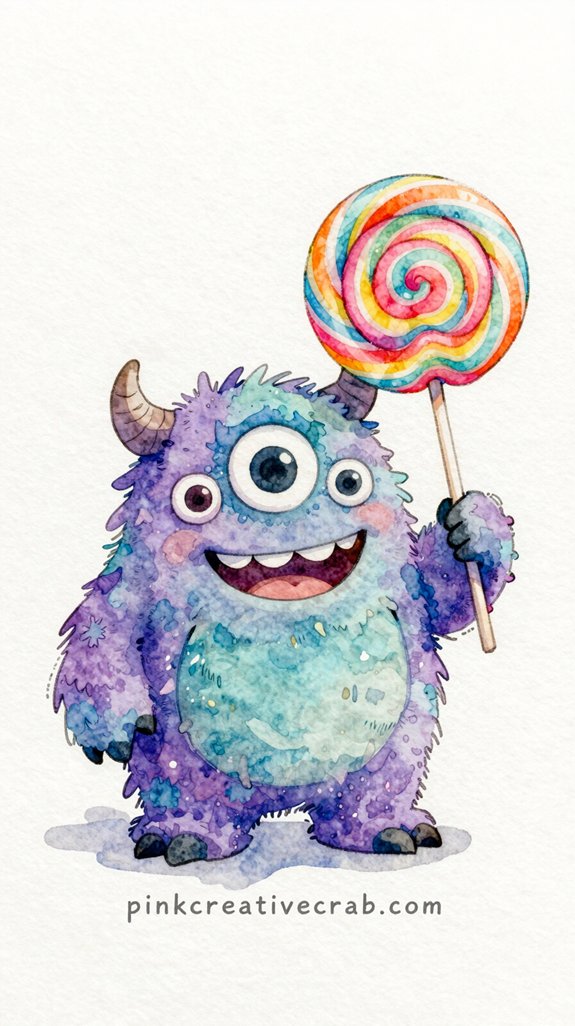
load your brush with paint first, then add just a tiny bit of water, and test it on scrap paper before you touch that birthday card!
Making Watercolor Look Bright and Not Muddy on White Card Stock
Bright watercolors pop off white card stock when you master one simple trick: let each layer DRY completely before adding the next. Seriously—this changed EVERYTHING for me after I ruined three monster cards in one afternoon (impatient much?). Want that lollipop to look candy-bright? Paint it first, then walk away. Grab a snack. Do a cartwheel. Whatever keeps your hands off that wet paint!
And here’s the magic: use LESS water than you think. I know, watercolors need water—duh. But too much turns your cheerful monster into a muddy blob. Start with just a damp brush, not dripping wet. You can always add more color, but you can’t take away brown-looking sadness. Trust me on this one!
##
When you’re planning a watercolor birthday party for kids, creating a comparison table helps you pick the perfect card style for YOUR specific celebration.
Here’s what works BEST:
| Card Style | Skill Level | Perfect For |
|---|---|---|
| Simple Balloons | Beginner | Ages 3-6 |
| Rainbow Animals | Intermediate | Ages 7-10 |
| Galaxy Designs | Advanced | Ages 11+ |
And honestly? I wish I’d made THIS table before my daughter’s party—would’ve saved me from those muddy disaster cards! (Still cringe-worthy.)
Idea #11: Bouncy Puppy Chasing a Birthday Balloon Through a Field of Flowers
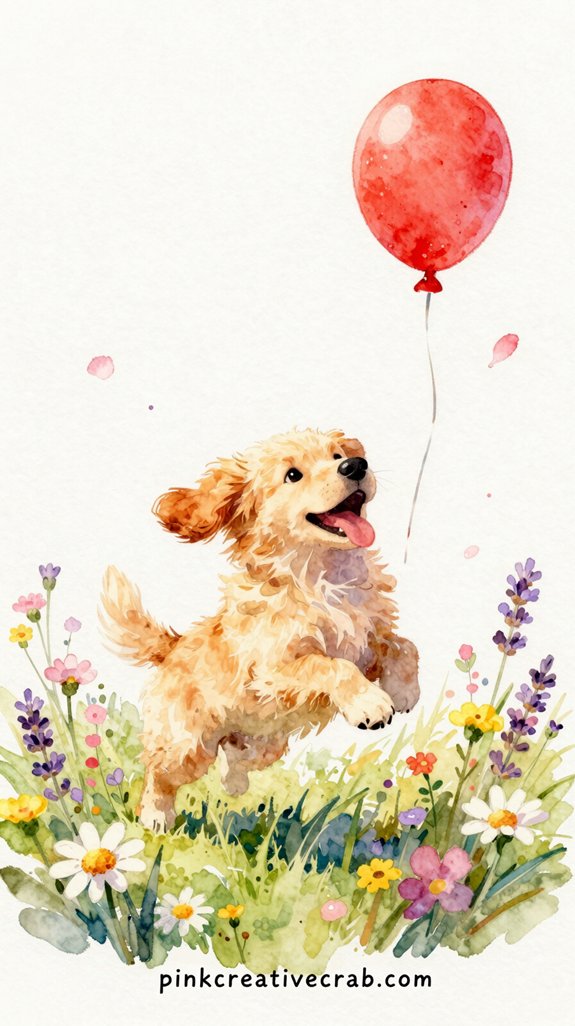
Start with loose, energetic brushstrokes for the puppy. Quick dabs, not perfect lines.
Then add a bright balloon string trailing behind—use a thin brush or just your pinky! Surround everything with simple flower shapes. Dots work. Circles work. Whatever!
The movement is what matters here. So tilt that puppy forward like he’s BOUNCING. Add motion lines if you’re feeling fancy. But honestly? The messier, the better.
Idea #12: Easy Mermaid Watercolor Card for Kids – Little Mermaid Sitting on a Rock Blowing Out Birthday Candles
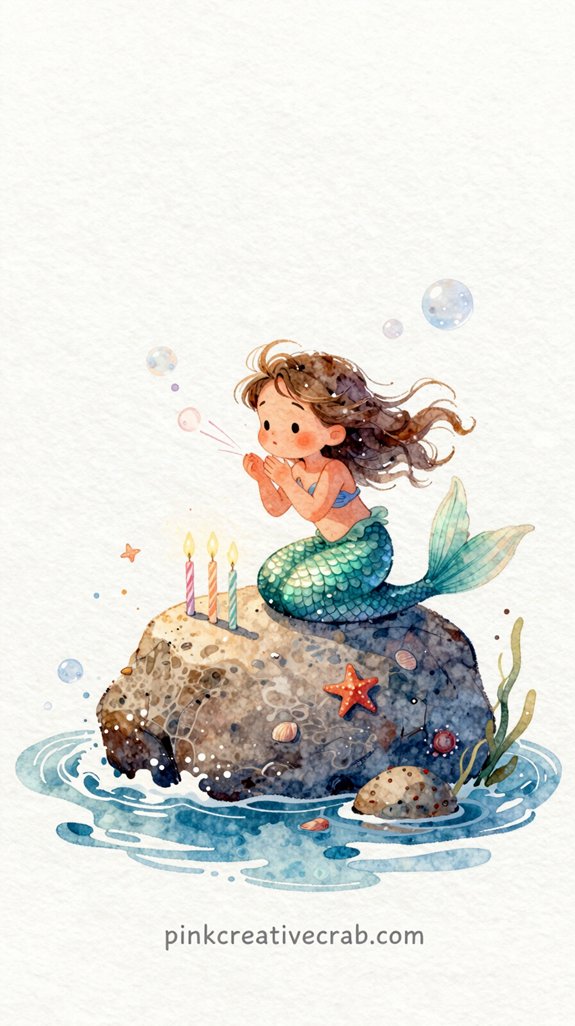
Okay, so here’s the thing about mermaids—they’re basically foolproof for kids’ watercolor cards. The colors just WORK together. Ocean blues, seafoam greens, sparkly tail purples—it all blends beautifully even when you mess up (trust me, I’ve tried).
Start with your rock using brown and gray watercolors. Keep it simple. Then add your mermaid—stick figure body, triangle tail, done. The birthday twist? Paint tiny candles on the rock beside her! So cute.
And here’s my favorite part: the tail becomes a gradient practice session. Wet your brush, start with purple at the bottom, fade to pink at the top. Kids LOVE watching those colors merge.
The background? Swirly blue water with white foam dots. Add some starfish if you’re feeling fancy!
Idea #13: Colorful Caterpillar Inching Across a Birthday Banner Between Two Flowers
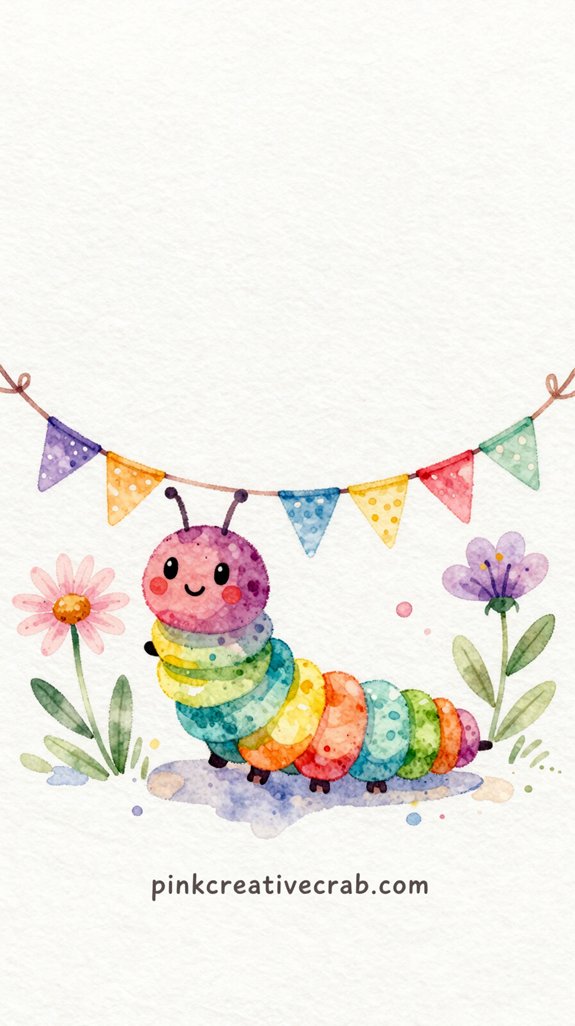
The secret to drawing a happy caterpillar face (not a creepy one that’ll haunt kids’ dreams—trust me, I’ve done it) is all about WHERE you place the features.
And here’s what most people get wrong: they make the eyes too close together or the smile too wide, which creates this unsettling stare that’s more horror movie than birthday card!
How to Draw a Cartoon Face That Always Looks Happy (Not Creepy)
When kids add faces to their watercolor creations, they often veer into accidentally-creepy territory—and trust me, I’ve created enough nightmare-fuel birthday cards to know! The secret? SPACING. Eyes too close together = instant villain vibes. Keep them far apart—like one eye-width between them. And here’s the game-changer: make the eyes BIGGER than you think they should be. Seriously! Cartoon faces live and die by oversized peepers.
But the real magic trick? Curved lines only. No straight mouths (creepy clown alert). Think U-shapes and gentle arcs. Add a tiny tongue peeking out for instant adorableness. So for your caterpillar—dot two big black circles, add white highlights, then swoop that smile wide. Boom! Friendly face achieved.
Idea #14: Tiny Bee in a Birthday Party Hat Flying Over a Sunflower Meadow
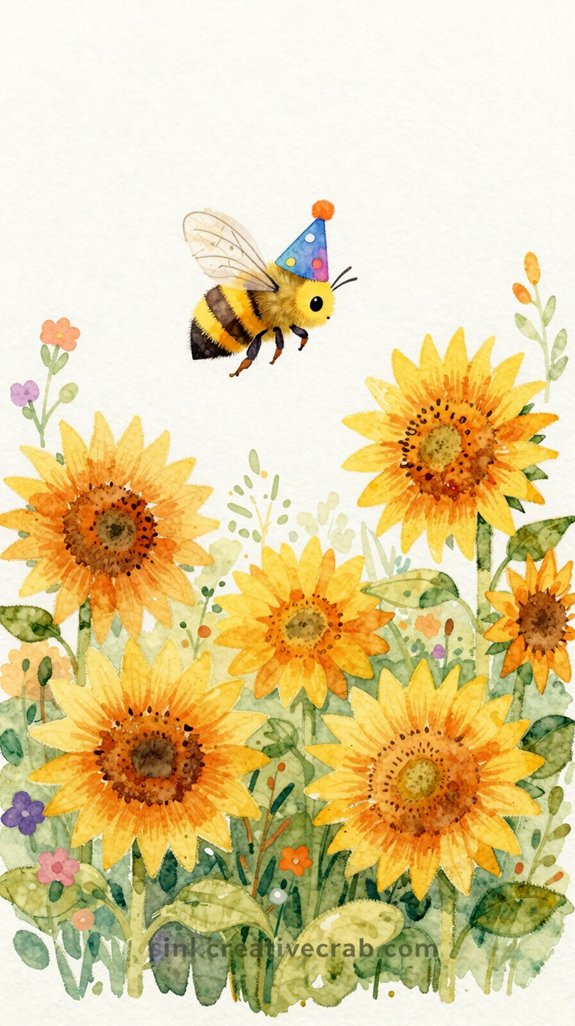
Buzzing with personality and pure whimsy, this little bee wearing a festive party hat brings instant charm to any birthday card! You’ll paint cheerful sunflowers first—big yellow petals that practically glow. And here’s the fun part: your bee can be TINY, making those sunflowers feel absolutely massive.
Start with a light pencil dot where your bee goes. Then add wings using barely-there blue watercolor (trust me, less is more here). The striped body? Yellow and black wet-on-dry for crisp lines. Now the party hat—I always go red with white polka dots because it pops against all that yellow.
Pro tip: Add a dotted flight path behind your bee! It shows movement and fills empty sky. So simple, yet it transforms everything into a proper celebration scene.
Idea #15: Friendly Lion Cub with an Oversized Mane Made of Birthday Streamers
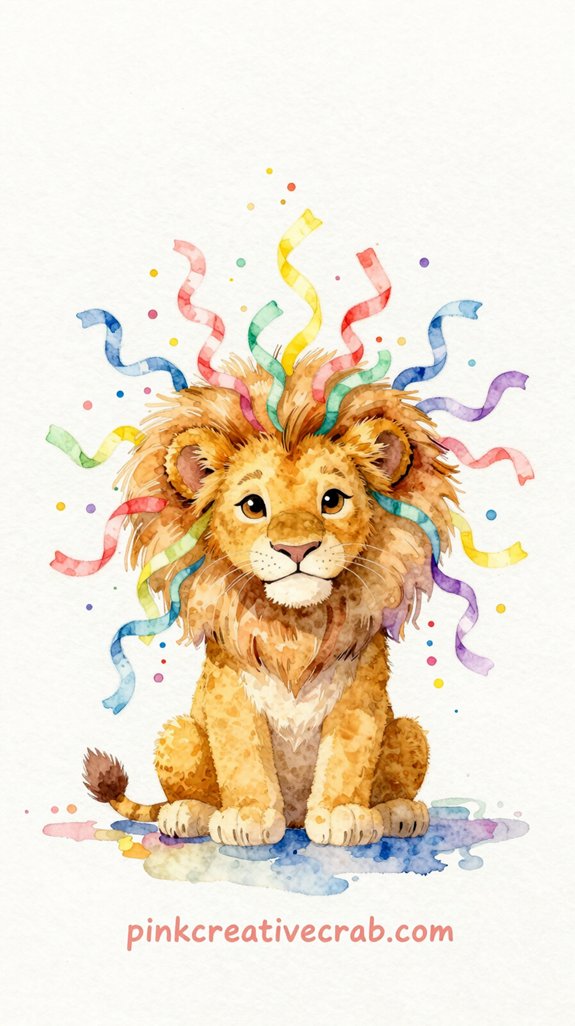
Imagine this: a lion cub so adorable you can’t help but smile, topped with a magnificent mane that’s not fur at all—it’s colorful birthday streamers flowing in every direction!
This card screams FUN and creativity. And kids absolutely love it.
Start with your lion’s face—keep those eyes big and friendly. (I once made mine too realistic and scared my nephew. Oops!) Then comes the MAGIC: paint those streamers in wild, flowing shapes. Think curly ribbons in pink, blue, yellow, and green.
Pro tip? Let the watercolors blend where streamers overlap—it creates gorgeous color mixing without extra work.
Add a tiny party hat between the ears and maybe some confetti dots floating around. So simple, yet the result? Absolutely show-stopping!
Idea #16: Watercolor Birthday Card Painting – Superhero Kid Flying Over a Cityscape with a Cape of Balloons
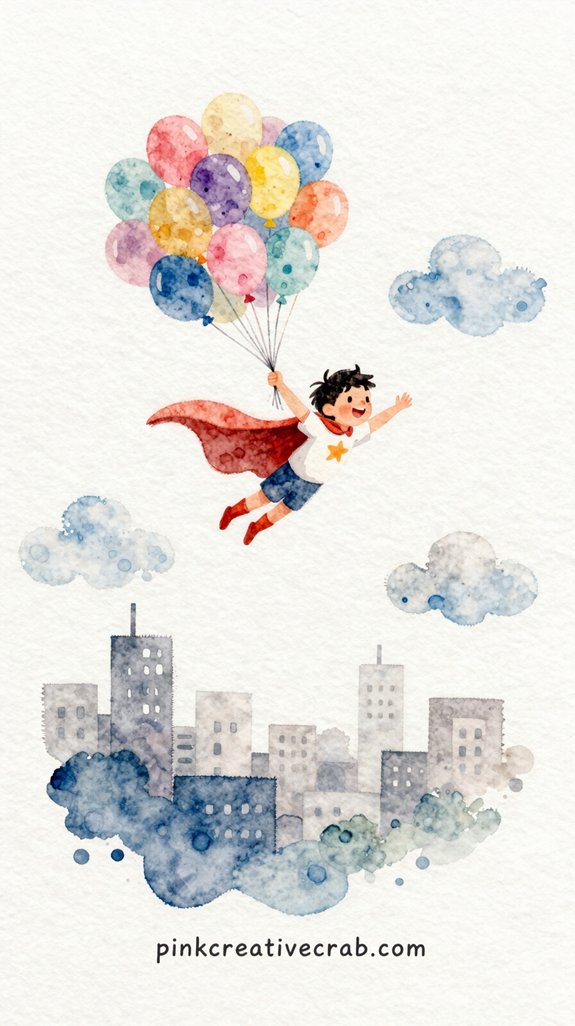
Want to add some serious PIZZAZZ to your superhero scene? Grab an old toothbrush, dip it in watered-down paint, and flick those bristles with your thumb to create a confetti explosion across your card (yes, it gets messy, but that’s half the fun)!
Kids go absolutely nuts for this technique.
Adding Confetti Dots with a Toothbrush Splatter (Kids Love This Trick)
How do you create that festive birthday party vibe on a card without painstakingly painting a hundred tiny dots? Grab an old toothbrush and prepare for MAGIC!
Load your brush with watered-down watercolor—not too thick or it’ll blob everywhere (trust me, I’ve ruined many cards this way). Hold it about six inches above your superhero scene. Run your thumb across those bristles and—BOOM—instant confetti explosion!
The splatter creates random, energetic dots that look like celebration itself. And kids absolutely LOVE doing this part. It’s messy. It’s unpredictable. It’s perfect.
Pro tip? Cover areas you want splatter-free with paper scraps first. But honestly? Those “accidents” often make the card even better. So embrace the chaos and let those colorful specks fly!
Idea #17: Easy Cat Watercolor Card – Sleepy Kitten Curled Inside a Gift Box with a Ribbon on Its Head
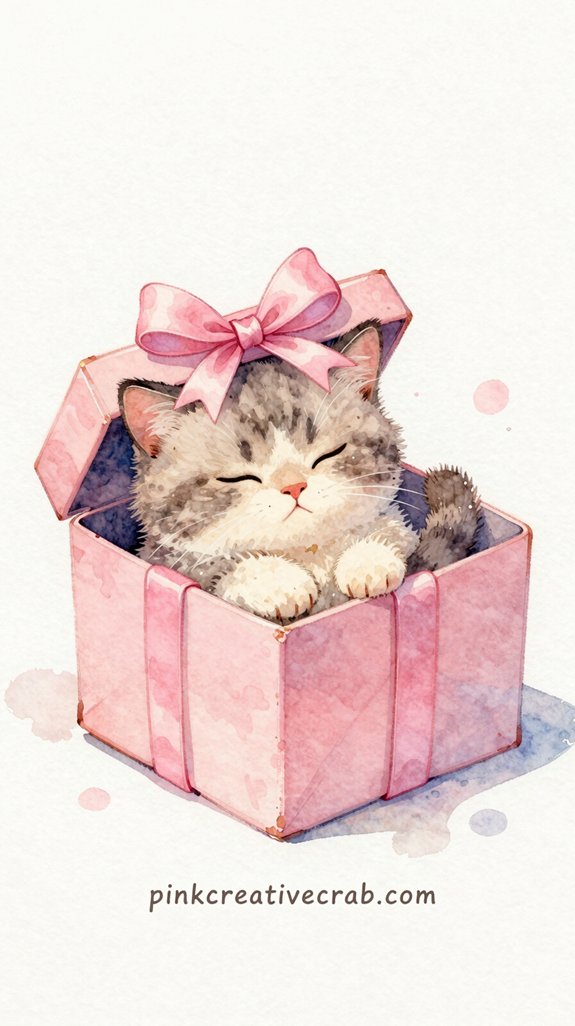
Kittens make everything better—especially birthday cards.
This sleepy kitty design is ADORABLE and surprisingly simple. Start by painting a wonky cardboard box in watercolor browns or pinks. Let it dry (I know, patience isn’t our strong suit).
Then add your curled-up kitten inside—just a C-shape with ears and a tiny nose. Easy!
But here’s the magic: paint a bright bow right on the kitten’s head. Makes it look like THEY’RE the gift. Genius, right?
I once forgot to let the box dry first. Total mud mess. Learn from my mistakes!
Add some polka dots on the wrapping paper and tiny z’s floating above for extra cuteness. Kids will absolutely melt over this one. And honestly? So will adults.
Idea #18: Colorful Hot Air Balloon Carrying a Little Bear Up to the Stars
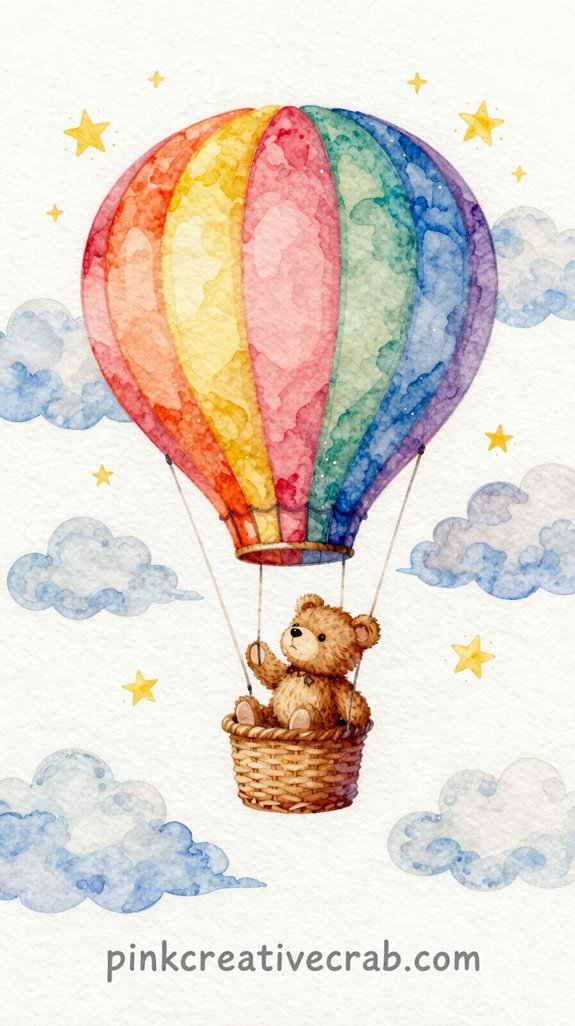
From adorable sleeping animals, let’s float UP into the sky with something magical. This hot air balloon card is pure WONDER—and surprisingly forgiving for beginners.
Paint your balloon in rainbow stripes (I always mess up keeping them even, but honestly? The wobbliness adds charm). Let each color dry before adding the next. So satisfying!
The basket comes next—just simple brown crosshatching. Then your little bear passenger, waving up at golden stars.
Here’s the trick: Use a white gel pen for star highlights AFTER everything dries. Game-changer! I spent years trying to preserve white space and failing miserably.
And the sentiment? “Adventure awaits!” or “Reaching for the stars on your birthday!” Both work perfectly.
This card screams possibility and dreams—exactly what birthdays should celebrate.
Idea #19: Bright Cupcake with Sprinkles and a Number Candle Floating in a Watercolor Sky
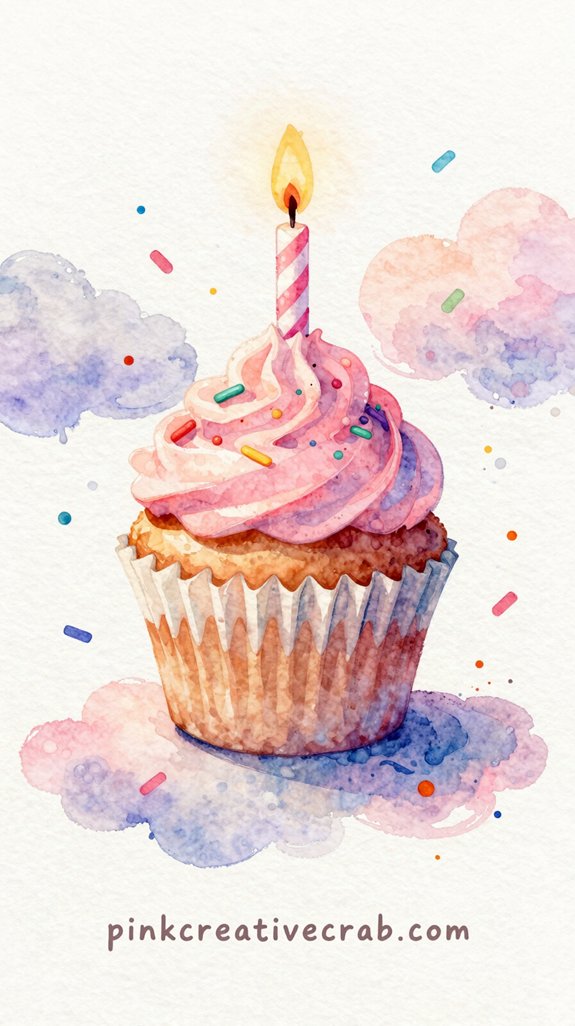
While hot air balloons take us skyward, this next card brings the PARTY straight to the clouds.
Picture a giant cupcake—complete with swirls of frosting and rainbow sprinkles—just floating through a dreamy watercolor sky. Add a number candle on top (because age MATTERS when you’re turning six!).
The magic here? That soft, blended background makes your cupcake POP.
Start with wet washes of pink, purple, and blue for your sky. Let them blend naturally—no control needed. Then paint your cupcake once everything dries. I used to rush this step and ended up with muddy browns instead of cheerful colors. Not cute!
Add sprinkles with tiny dots of bright paint. And that flickering candle flame? Pure gold watercolor does the trick perfectly.
Idea #20: Easy Frog Watercolor Card for Kids – Frog Prince Sitting on a Lily Pad Wearing a Tiny Crown
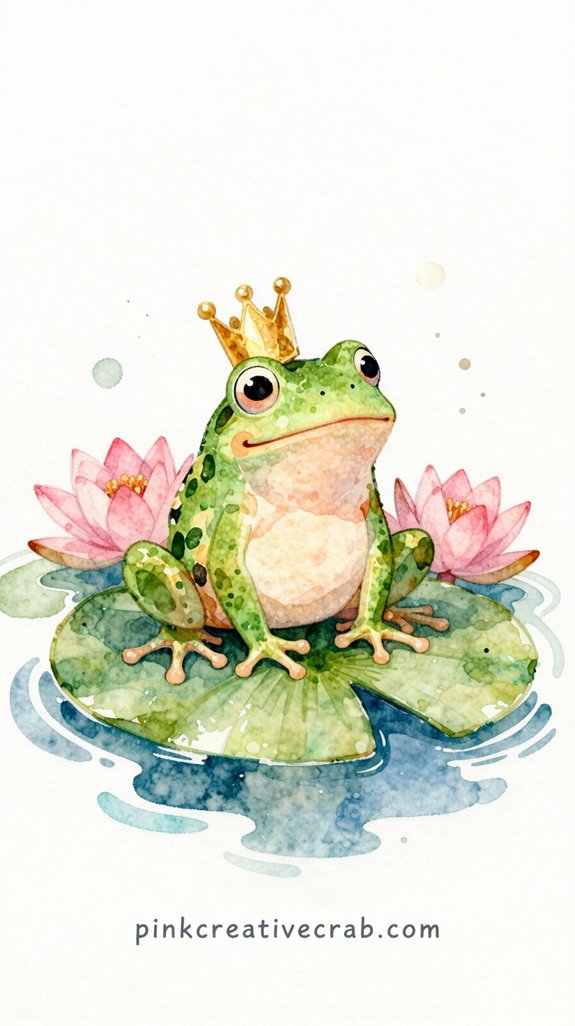
Moving from desserts to amphibians might seem like a leap, but trust me—this frog prince card is ADORABLE and surprisingly easy for kids to paint.
Start with a simple green blob for the body. Seriously—it doesn’t need to be perfect! Add two bulgy circles on top for eyes (the goofier, the better). Then comes the fun part: a teeny gold crown. Just three triangular points will do.
The lily pad? Paint a wonky green circle underneath. Done.
And here’s my favorite trick: use a toothpick dipped in black paint for the eyes and smile. So much easier than brushes for tiny details!
This card works PERFECTLY for kids who love fairy tales. Plus, who doesn’t want to receive a royal frog on their birthday?
Which creature would your kiddo most want to find on their birthday card — unicorns, dinosaurs, or silly monsters?
Speaking of creatures kids go crazy for—let’s talk about the BIG three: unicorns, dinosaurs, and silly monsters. Each one’s got serious birthday card potential!
Unicorns? They’re pure MAGIC. Sparkly horns, rainbow manes—total win for the fantasy-loving crowd. I once tried adding glitter to mine (huge mistake—it went EVERYWHERE), but watercolor shimmer works perfectly.
Dinosaurs bring the roar factor. T-Rex with a party hat? Classic. And kids who love prehistoric stuff will flip over a pterodactyl delivering presents.
But silly monsters? That’s where you can get wonderfully weird. Three eyes, polka dots, striped tentacles—anything goes! Let your kiddo’s personality shine through. Which speaks to them?
The answer tells you EXACTLY what’ll make their birthday card unforgettable.
Frequently Asked Questions
What Age Is Appropriate for Kids to Start Making Watercolor Cards?
You’ll find most kids can start creating watercolor cards around age 4 or 5. They’ll experiment with color mixing and brush techniques, developing fine motor skills while expressing creativity through this accessible, forgiving medium.
How Long Does a Watercolor Birthday Card Take to Dry Completely?
You’ll wait forever if you’re expecting instant gratification—watercolor cards typically dry in 15-30 minutes. For cutting-edge results, you can accelerate the process using a hairdryer or explore quick-drying watercolor innovations.
Can You Use Regular Paper Instead of Watercolor Paper for Cards?
You shouldn’t use regular paper—it’ll buckle and warp when wet. Watercolor paper’s designed to absorb water without distorting, giving you crisp, professional results. Invest in quality materials to create truly stunning cards that’ll impress recipients.
What Do You Do if Watercolor Paint Bleeds Outside the Lines?
You’ll embrace the bleed as part of watercolor’s charm. Let colors flow naturally, or use a damp brush to lift excess paint. Don’t stress—imperfections create unique, artistic effects that’ll make your cards stand out.
How Do You Preserve Watercolor Cards so They Don’t Fade Over Time?
You’ll preserve watercolor cards by storing them in acid-free sleeves away from direct sunlight. Frame them using UV-protective glass, or spray with archival fixative. Keep humidity levels stable and avoid high-moisture environments for longevity.
Have any thoughts?
Share your reaction or leave a quick response — we’d love to hear what you think!
-
 0
0
-
0
-
0
-
0
-
0
-
0


