

Table of Contents
A winter junk journal needs more than one snowy scene to feel like a real season on paper. This kit gives you 25 scene pages, 5 seamless background pages and 6 lined writing pages, each one a different corner of a cold, quiet world: village streets, frosted windows, skating ponds, cabins, mittens drying by the stove.
Print the whole set on matte cardstock heavy enough to take glue without buckling, run your printer on its best photo or highest quality setting so the washes stay soft, then trim each sheet to the trim marks or straight edge before you glue anything into your journal.
Using these images: free for personal projects such as printing, coloring, cards, journals and gifts. Handmade items that include them may be sold up to 30 pieces per design. More than that is commercial use and is not permitted, and neither is selling or sharing the images themselves or passing them off as your own. Please ask before any other use.
Village and Street Pages
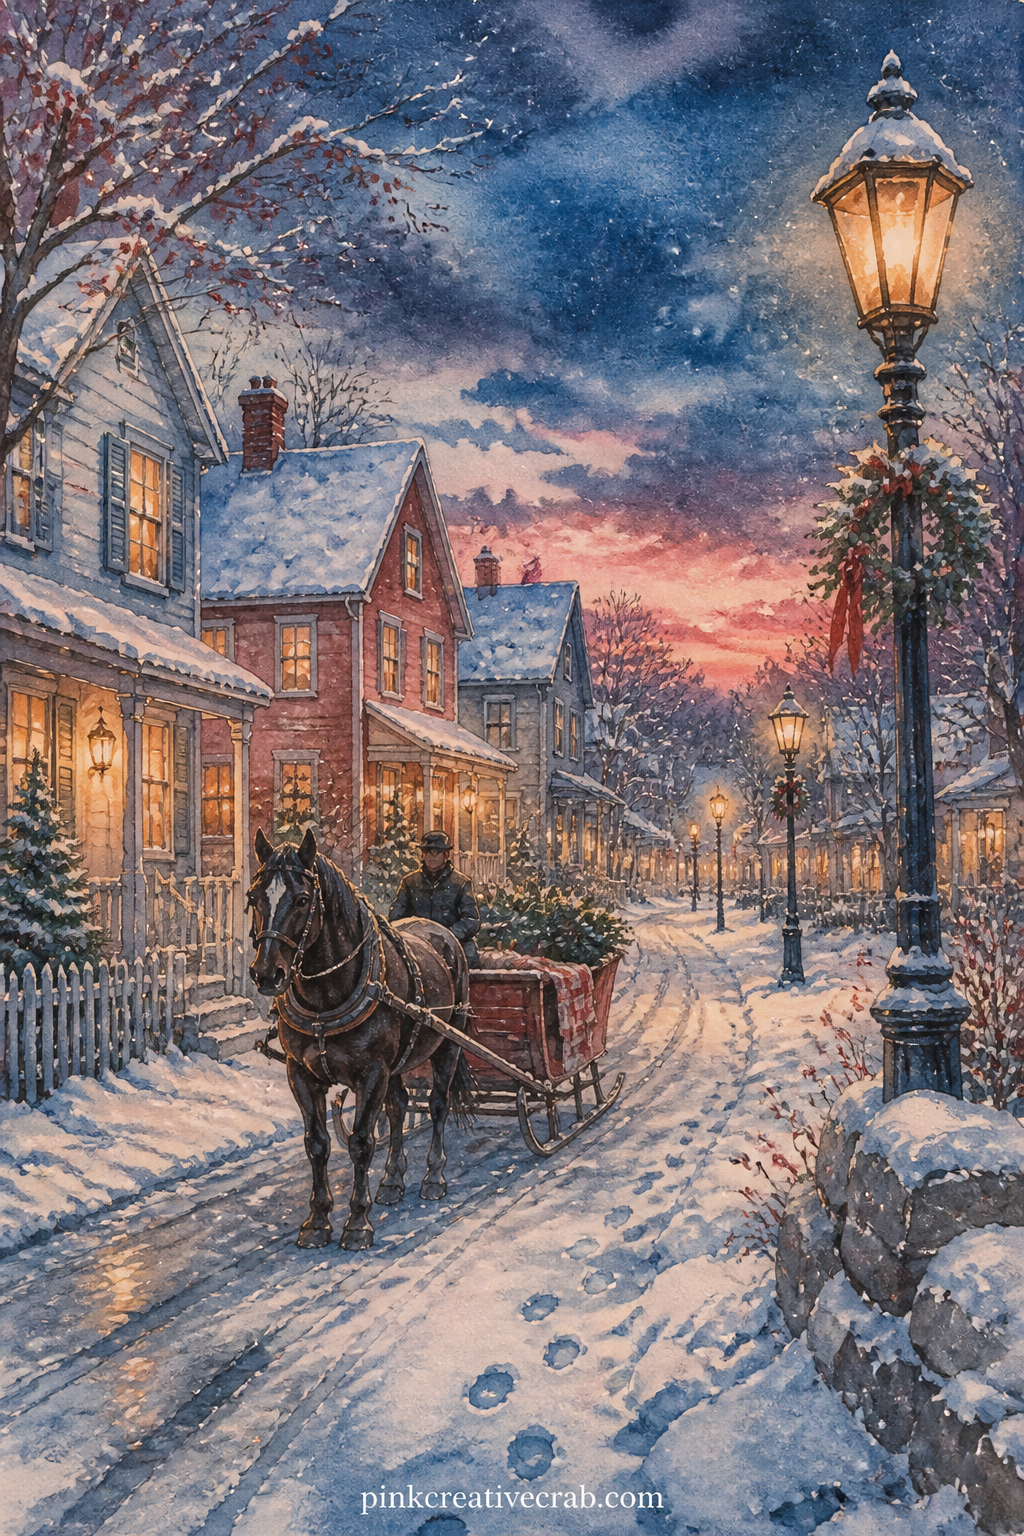
Lamplight, falling snow and a row of close houses fill this page, the kind of scene that anchors the first spread of a winter journal.
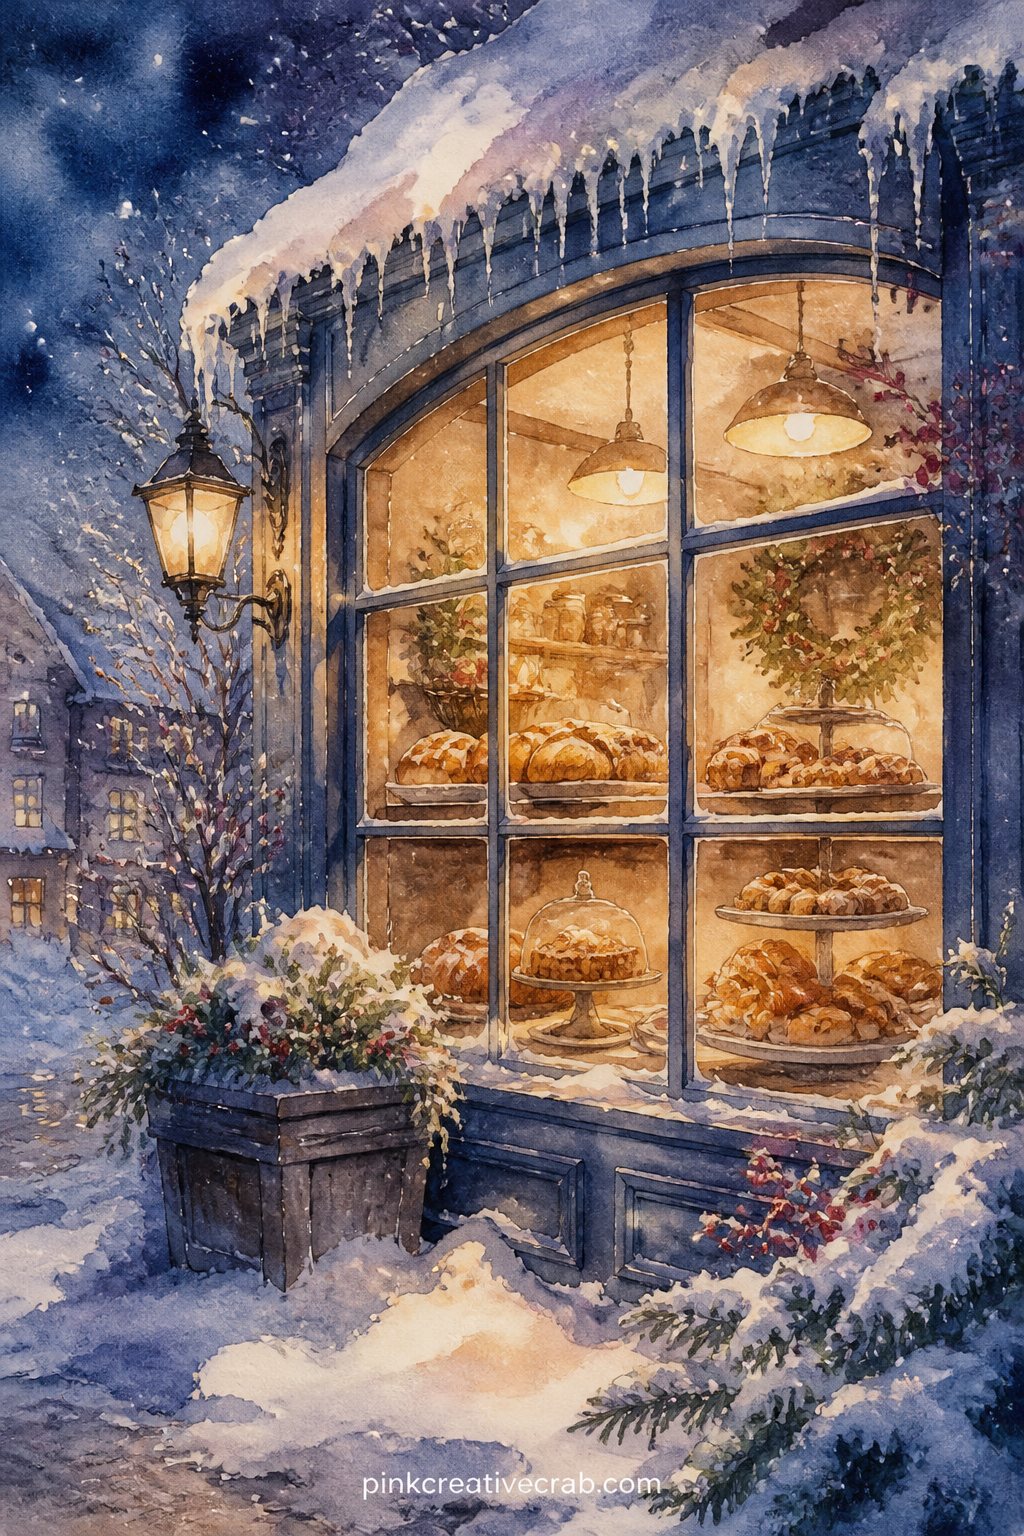
Pair this page with the knitted mittens background later in the set, tucking a strip of the pattern behind the window as a glimpse of the shop’s curtain.
The glow from the panes should feel warmer than the street outside it, so keep the surrounding snow cool and pale by comparison.
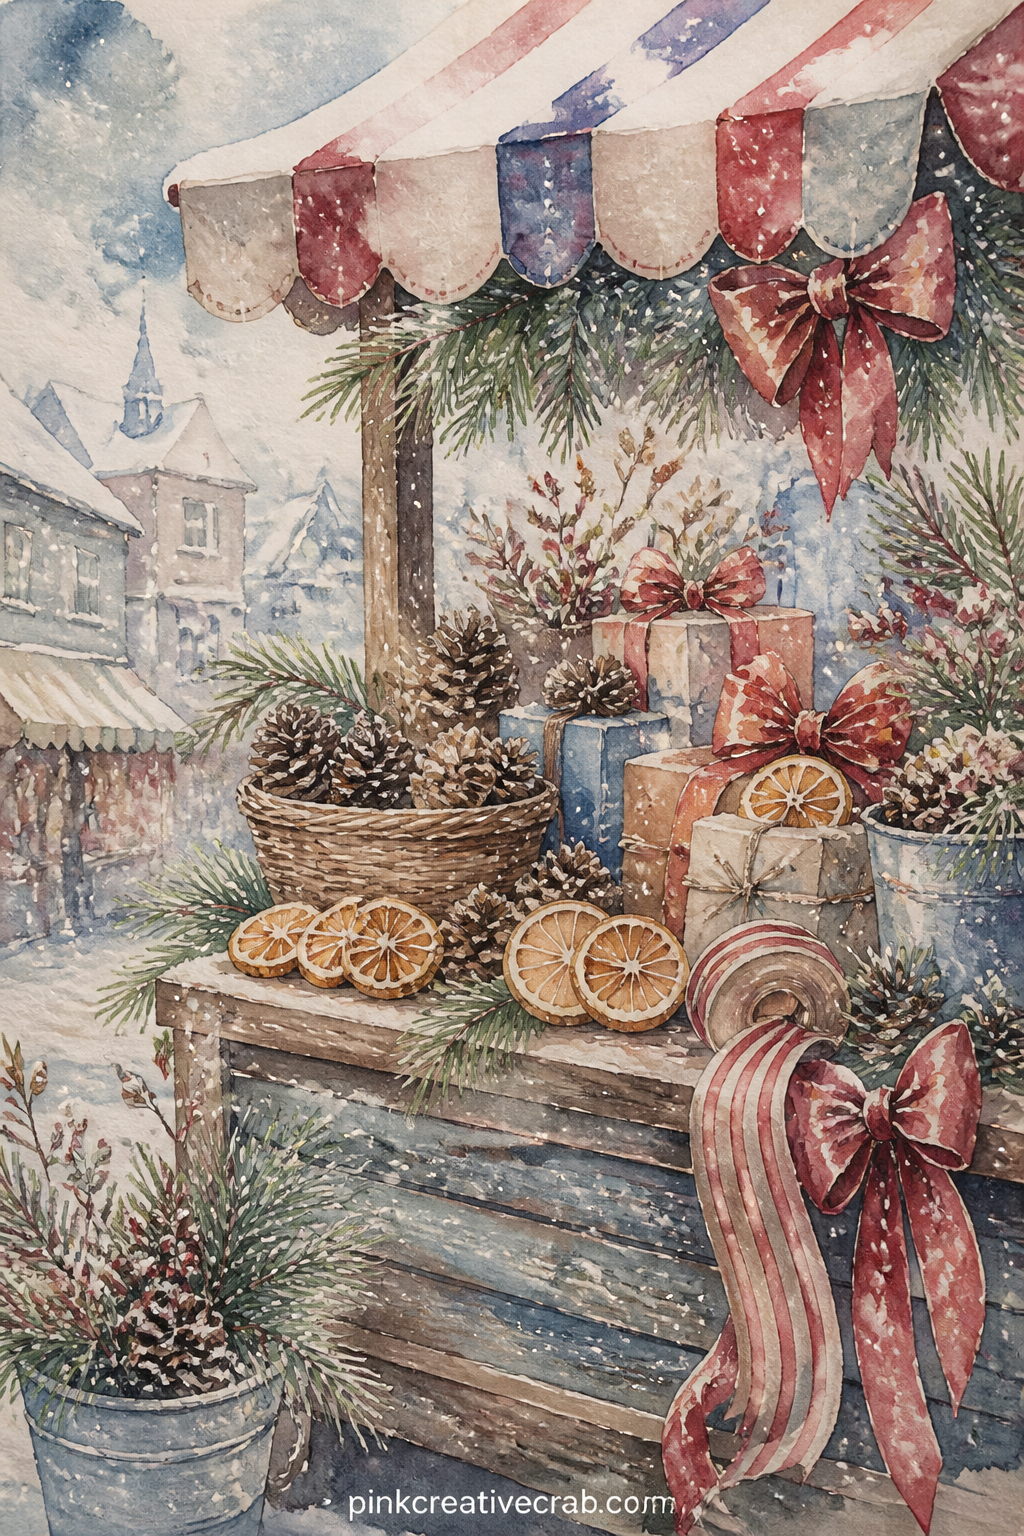
A common mistake here is cramming the stall with too many items, so keep it to pinecones, a few wrapped parcels and one bundle of dried oranges, then let the snowy backdrop carry the rest of the page.
Outdoor Winter Pages
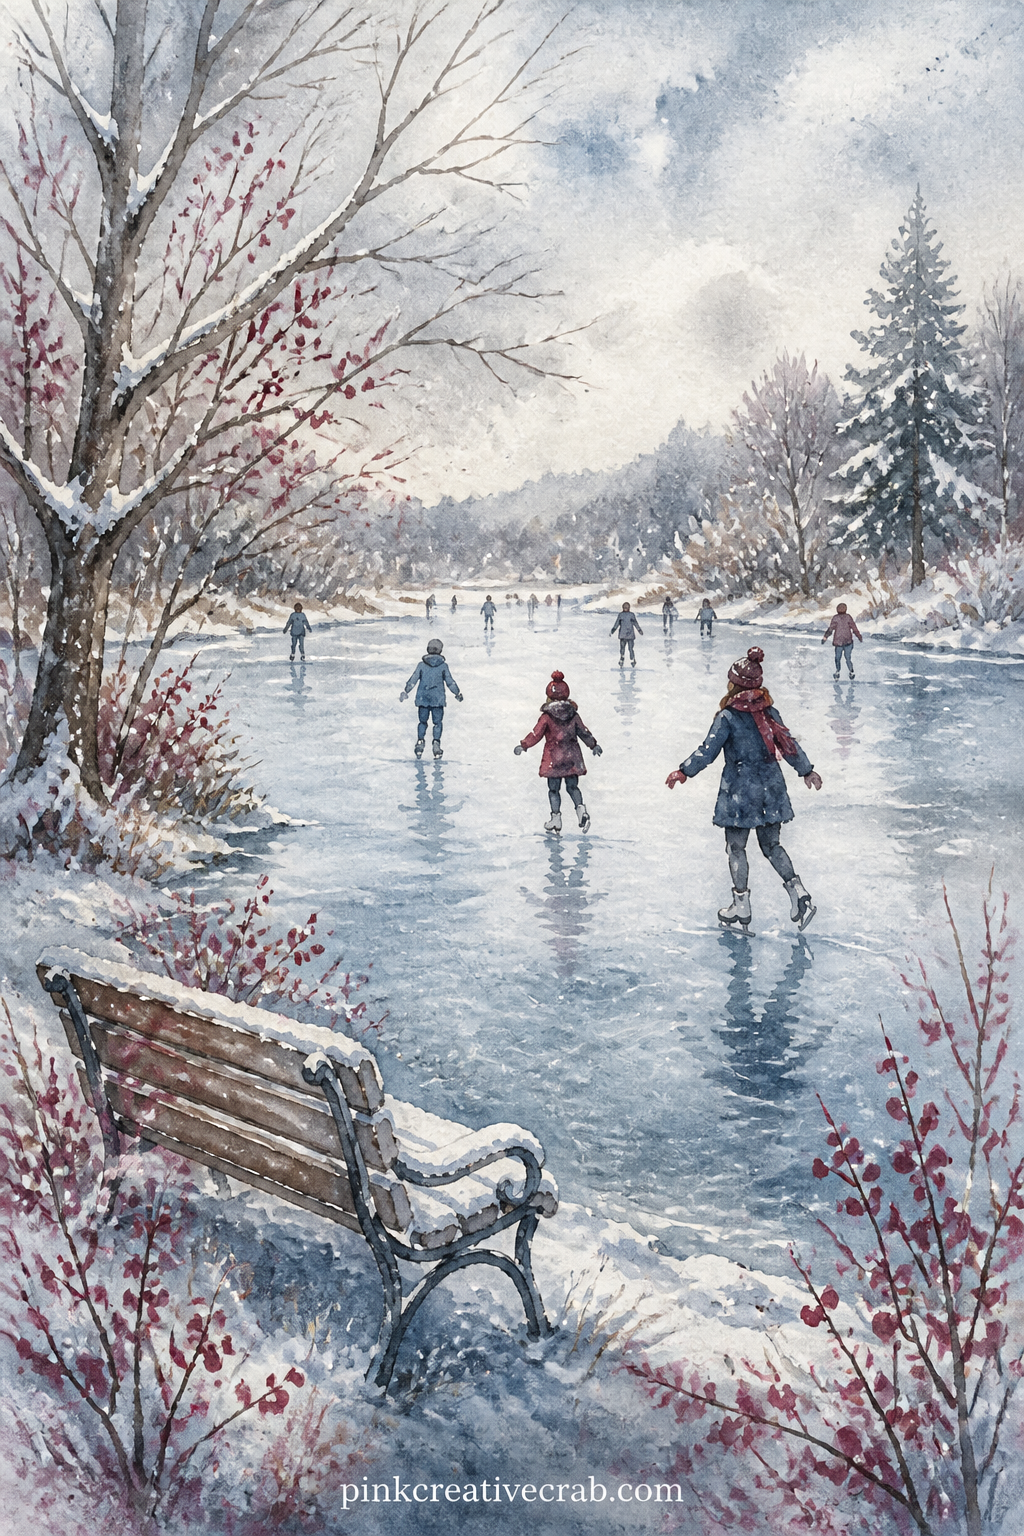
Write the date of your first real snow of the season along the bottom edge of this page, right under the pond.
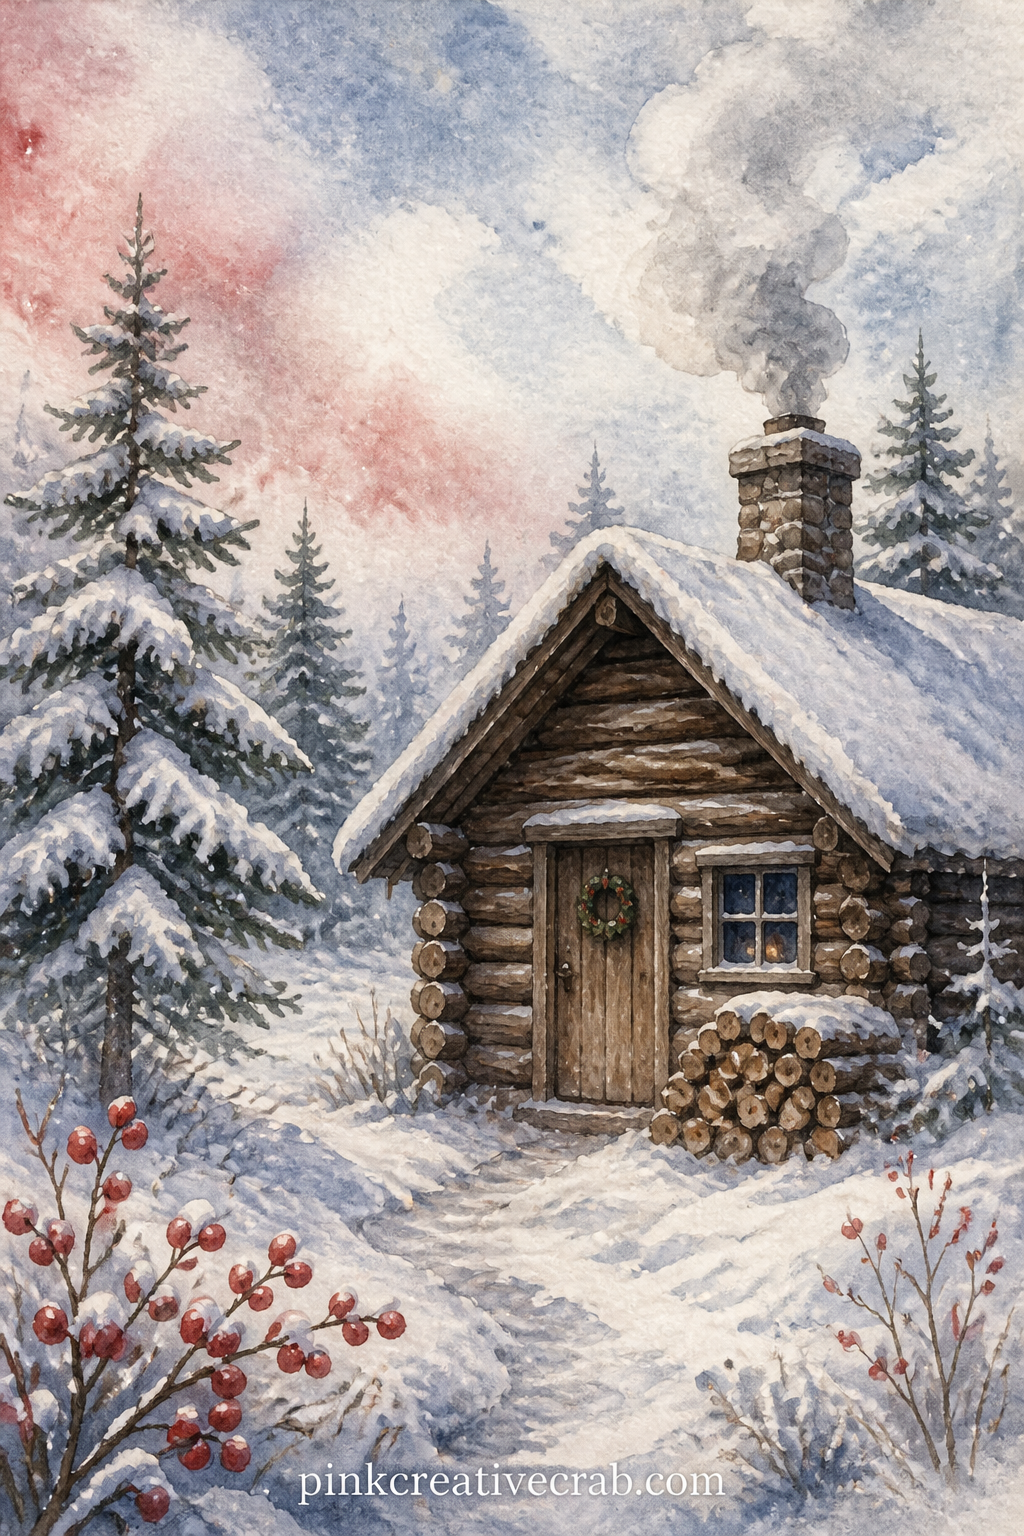
This is the five-minute version of a woodland page: one cabin, one column of smoke, a few trees and a snowy clearing, nothing more to paint or glue.
Keep the smoke a soft grey-white so it reads against the sky rather than disappearing into it.
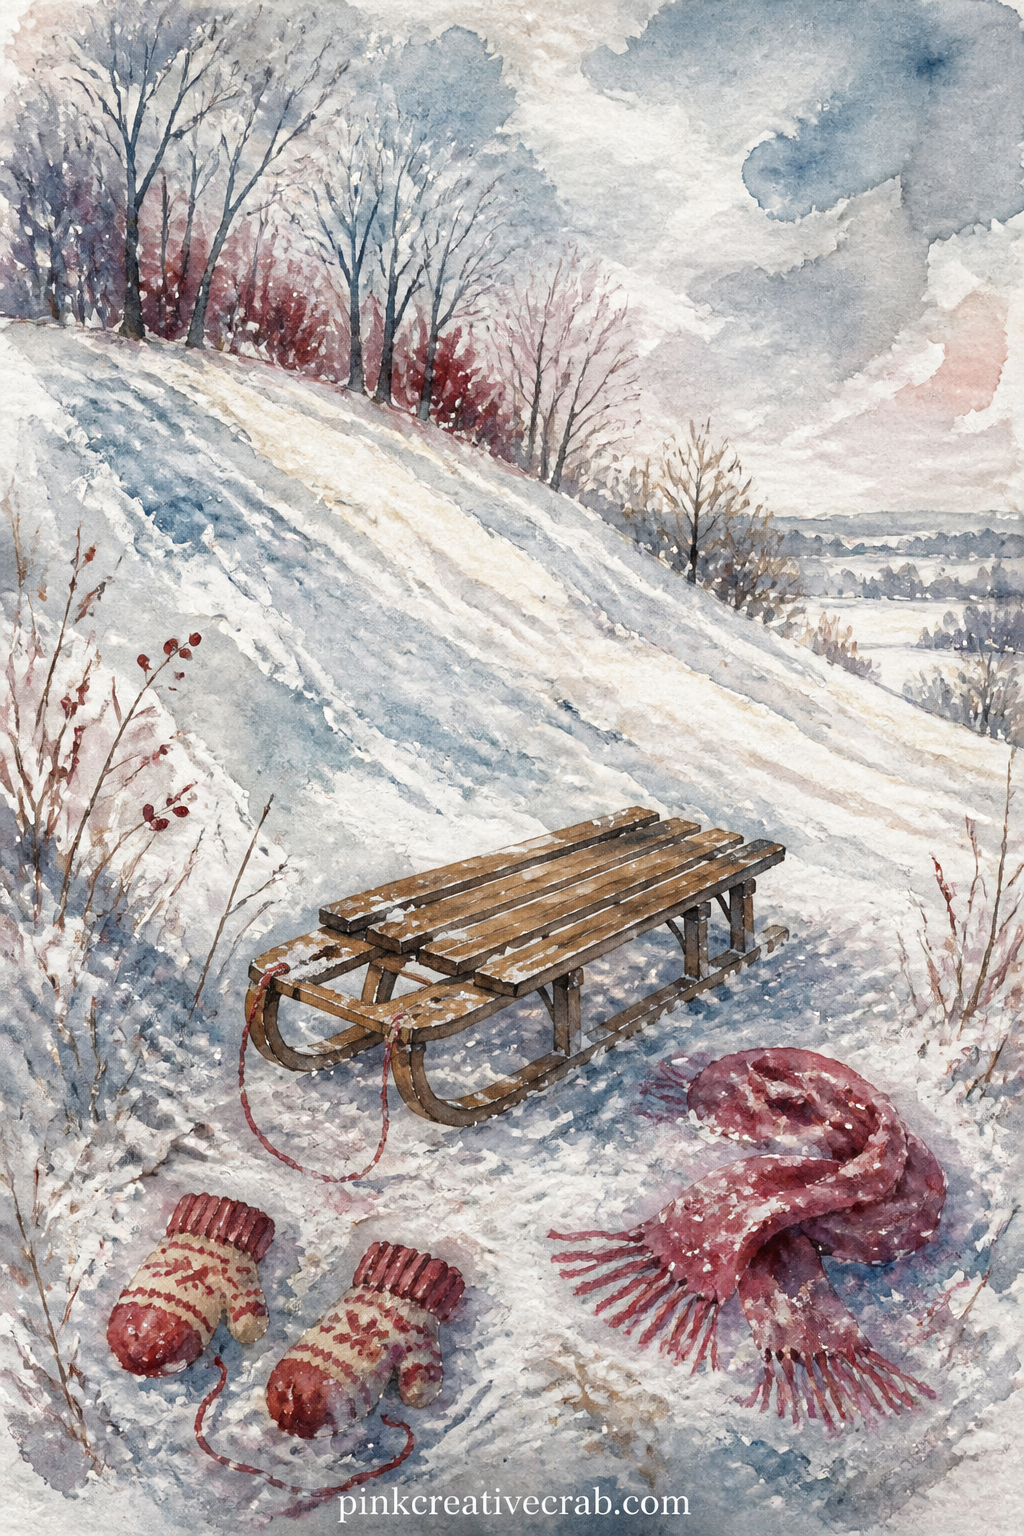
Glue a small torn photo of your own winter walk onto the open hillside here, or leave it bare if you would rather just look at the painted snow.
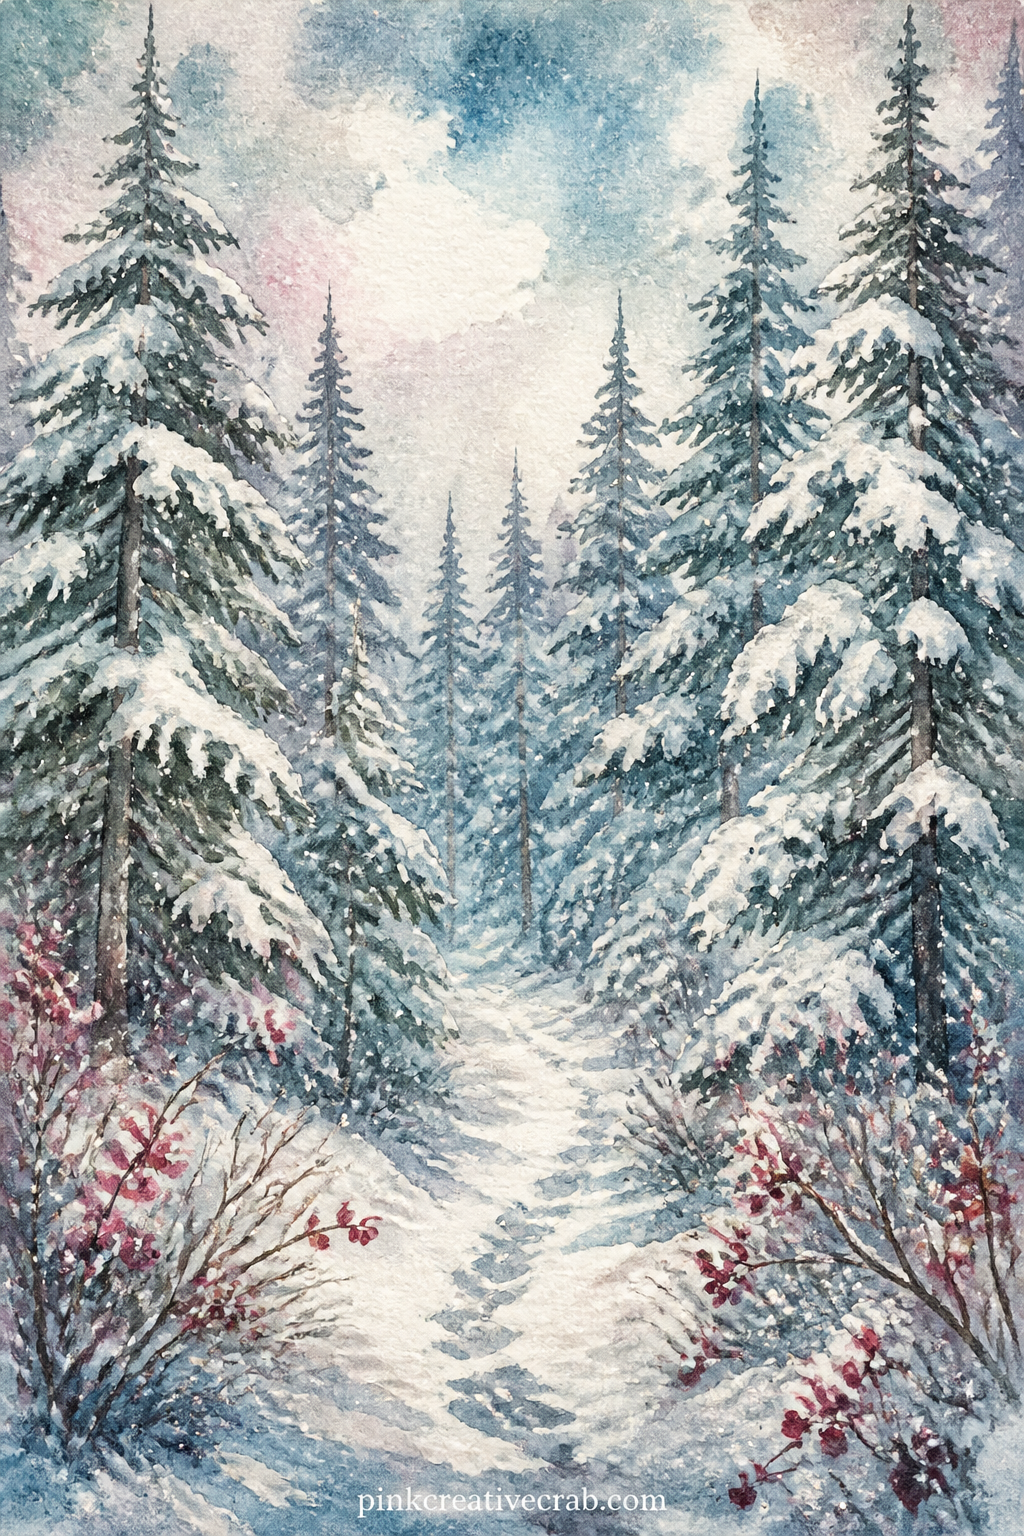
Rows of heavy-laden pines stretch back into a pale, quiet winter sky, the whole page given over to that hush.
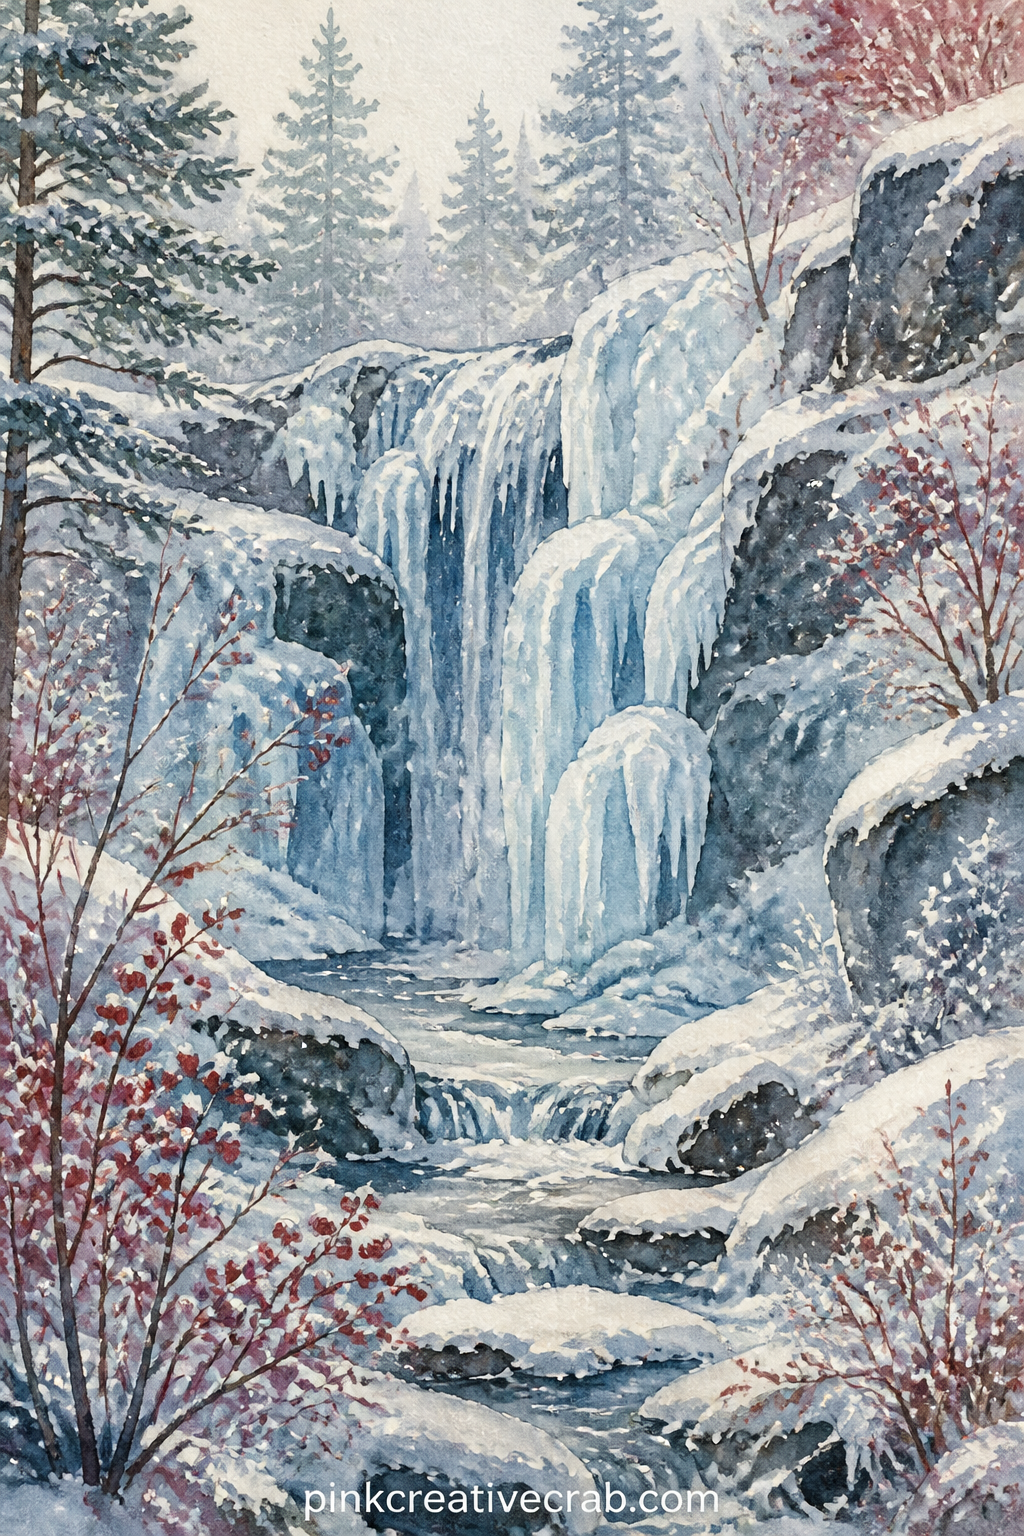
A frozen waterfall works well beside the pond skaters page in a spread, so the two cold-water scenes sit across from each other rather than apart in the journal.
Window and Hearth Pages
Frost patterns creep across the glass while a single candle burns on the sill, the view outside reduced to soft blurred shapes of snow and rooftops.
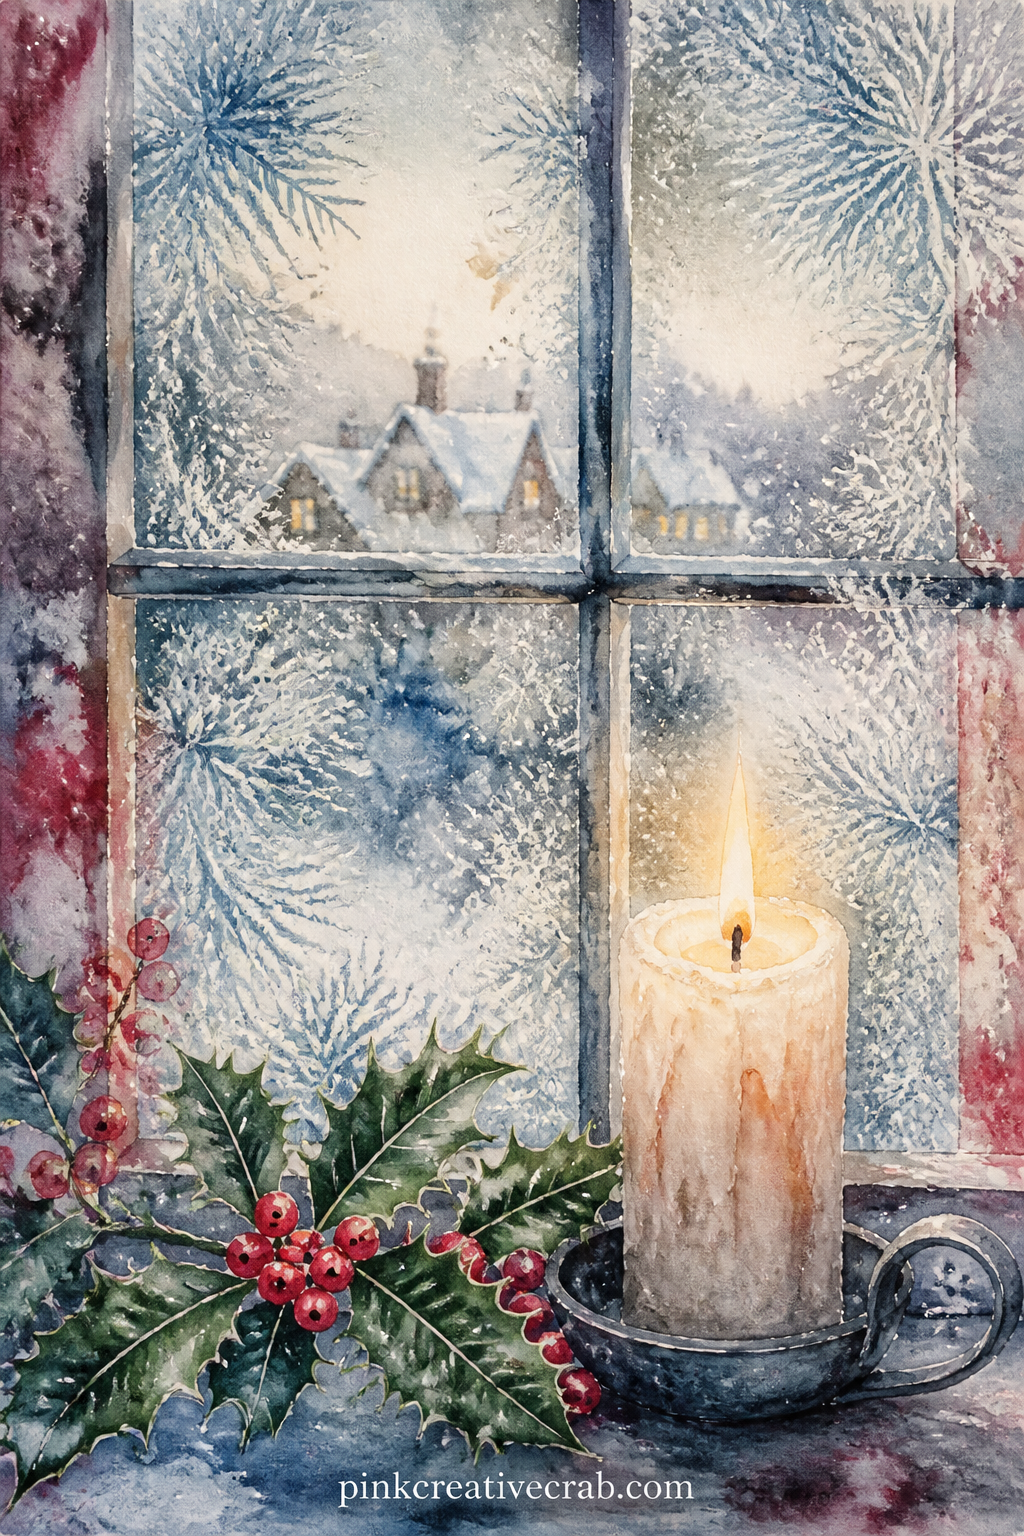
Write the names of everyone who will visit this winter along the mantel in this page, one name tucked beside each stocking.

Tear the edge of this page roughly by hand before gluing it in, so the torn line echoes the soft blanket draped over the window seat.
A ragged edge also makes a good spot to tuck a pressed leaf or a dried sprig saved from autumn.
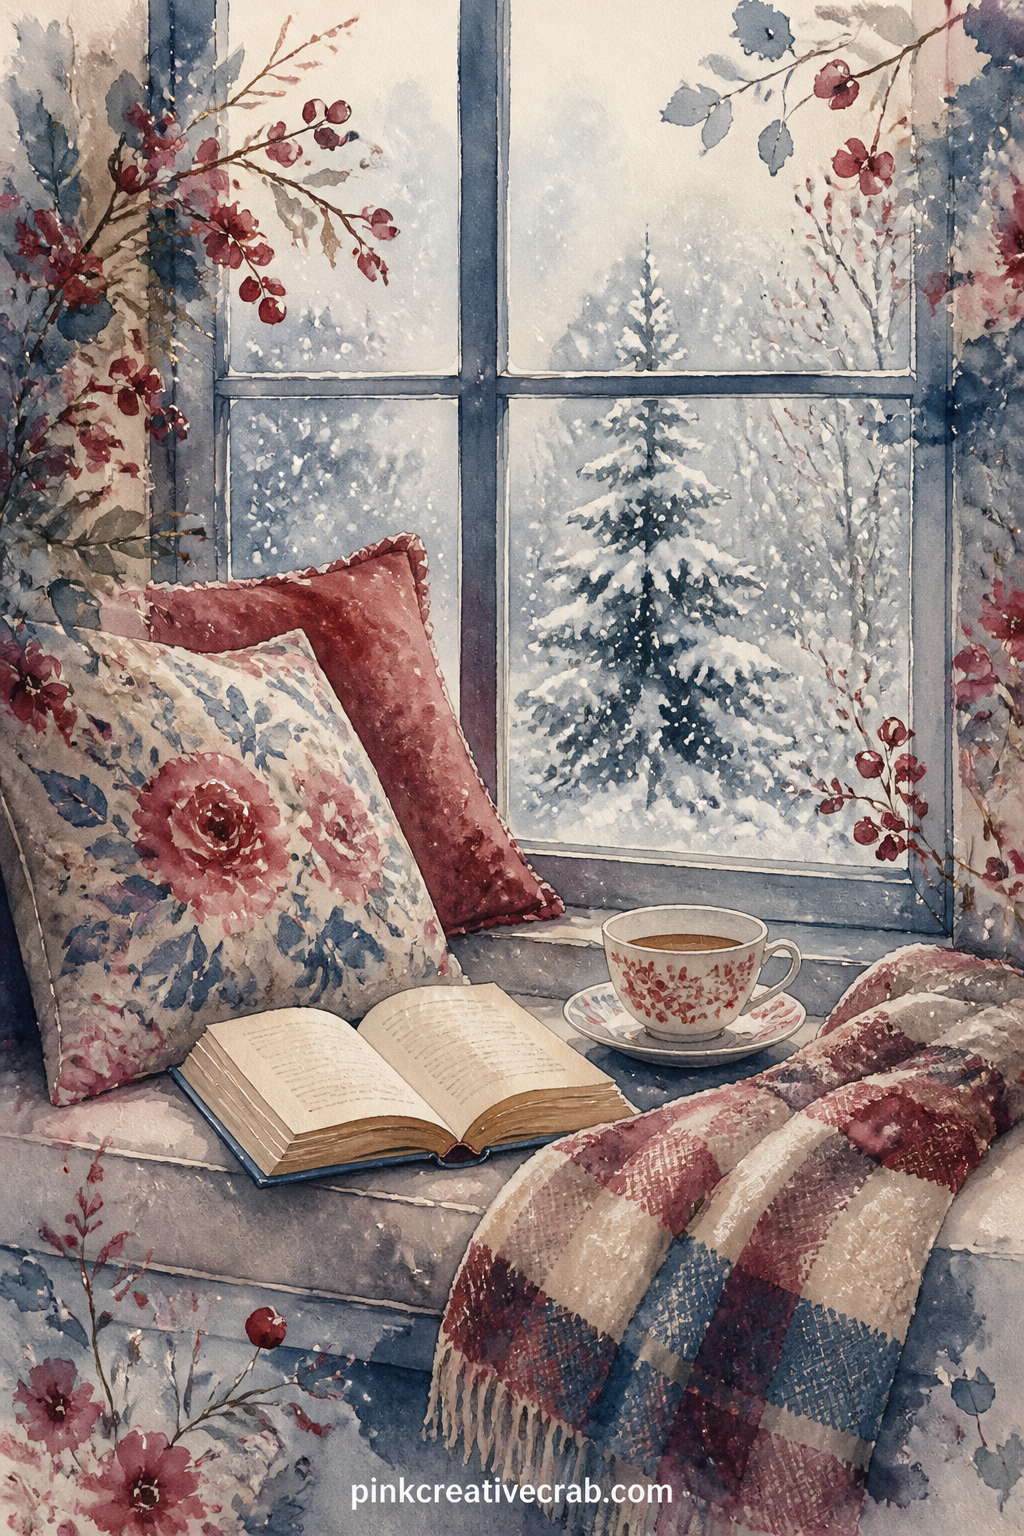
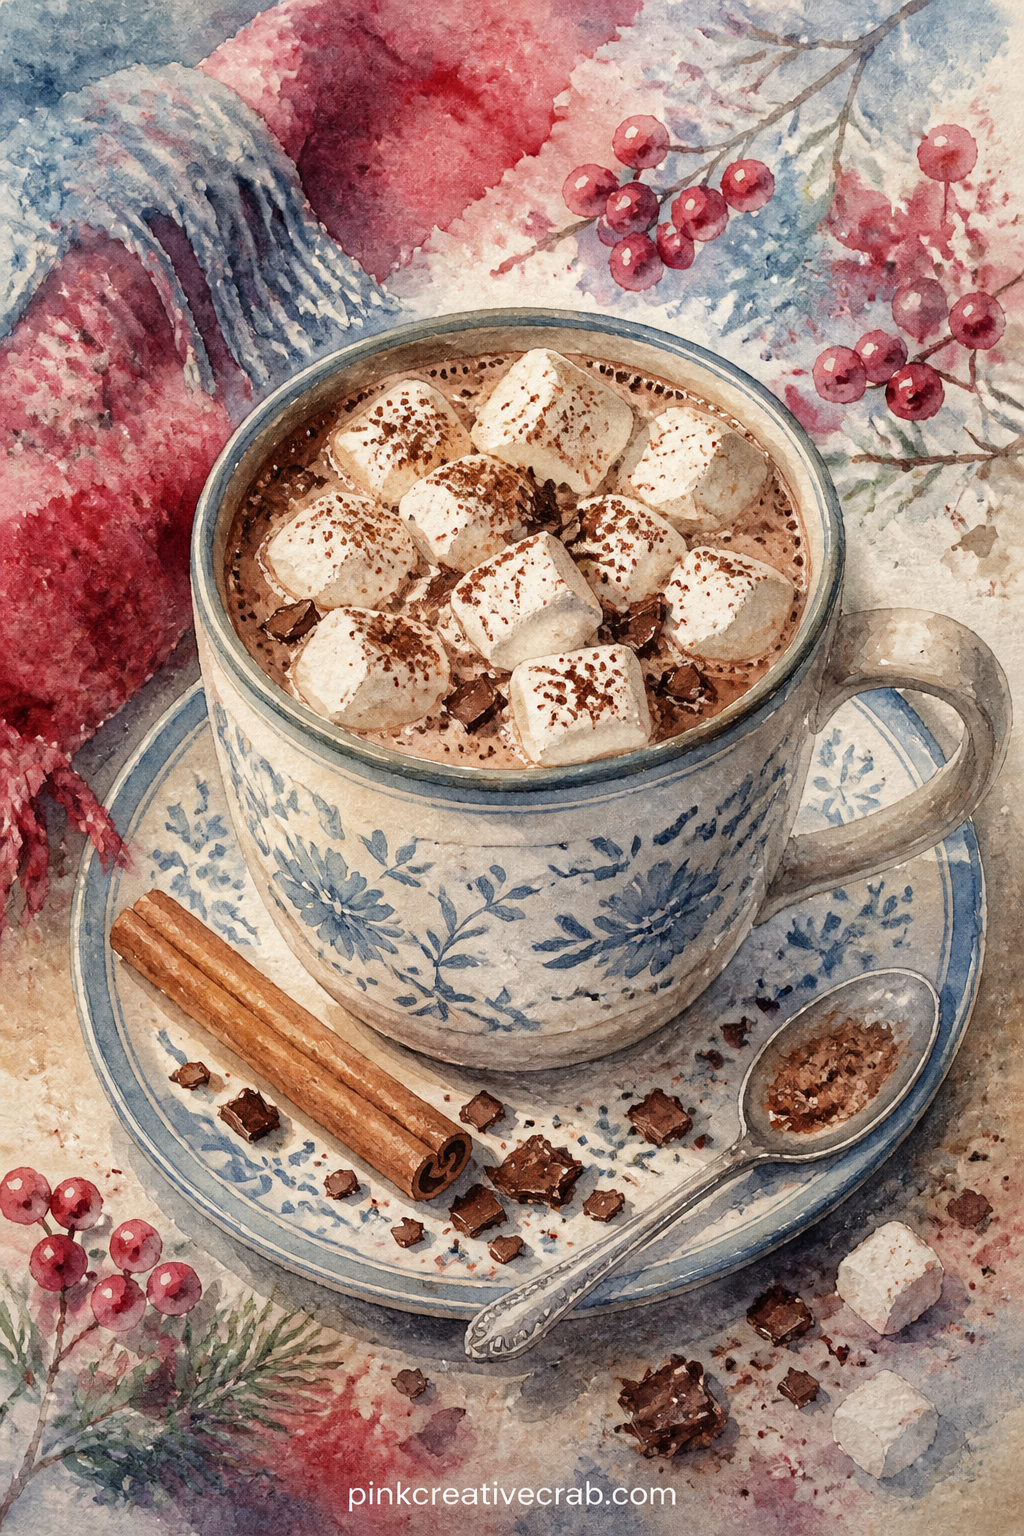
This page suits a reader who journals about food and small daily comforts, since it holds a mug, a saucer of biscuits and a cinnamon stick without crowding the table.
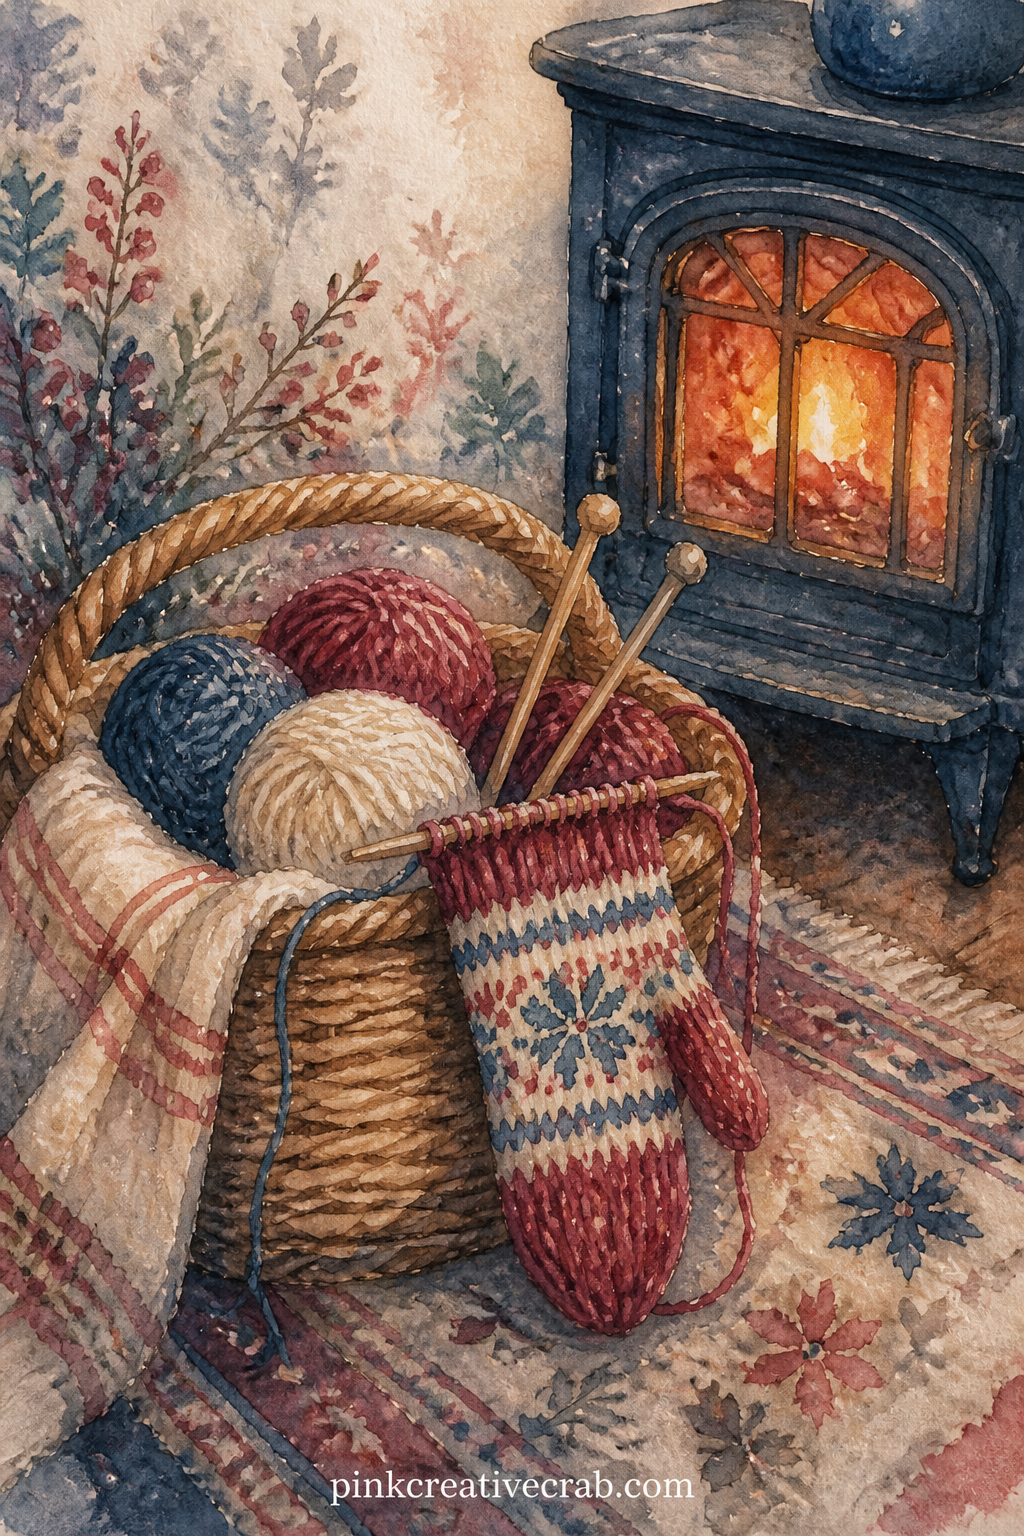
Balls of yarn, half-finished mittens and a pair of wooden needles rest in a basket beside the glowing stove, the whole corner wrapped in warm low light.
Use this page for a short prompt: what do you want next winter to feel like, and what from this one do you want to keep doing again
Outdoor Figures and Animals
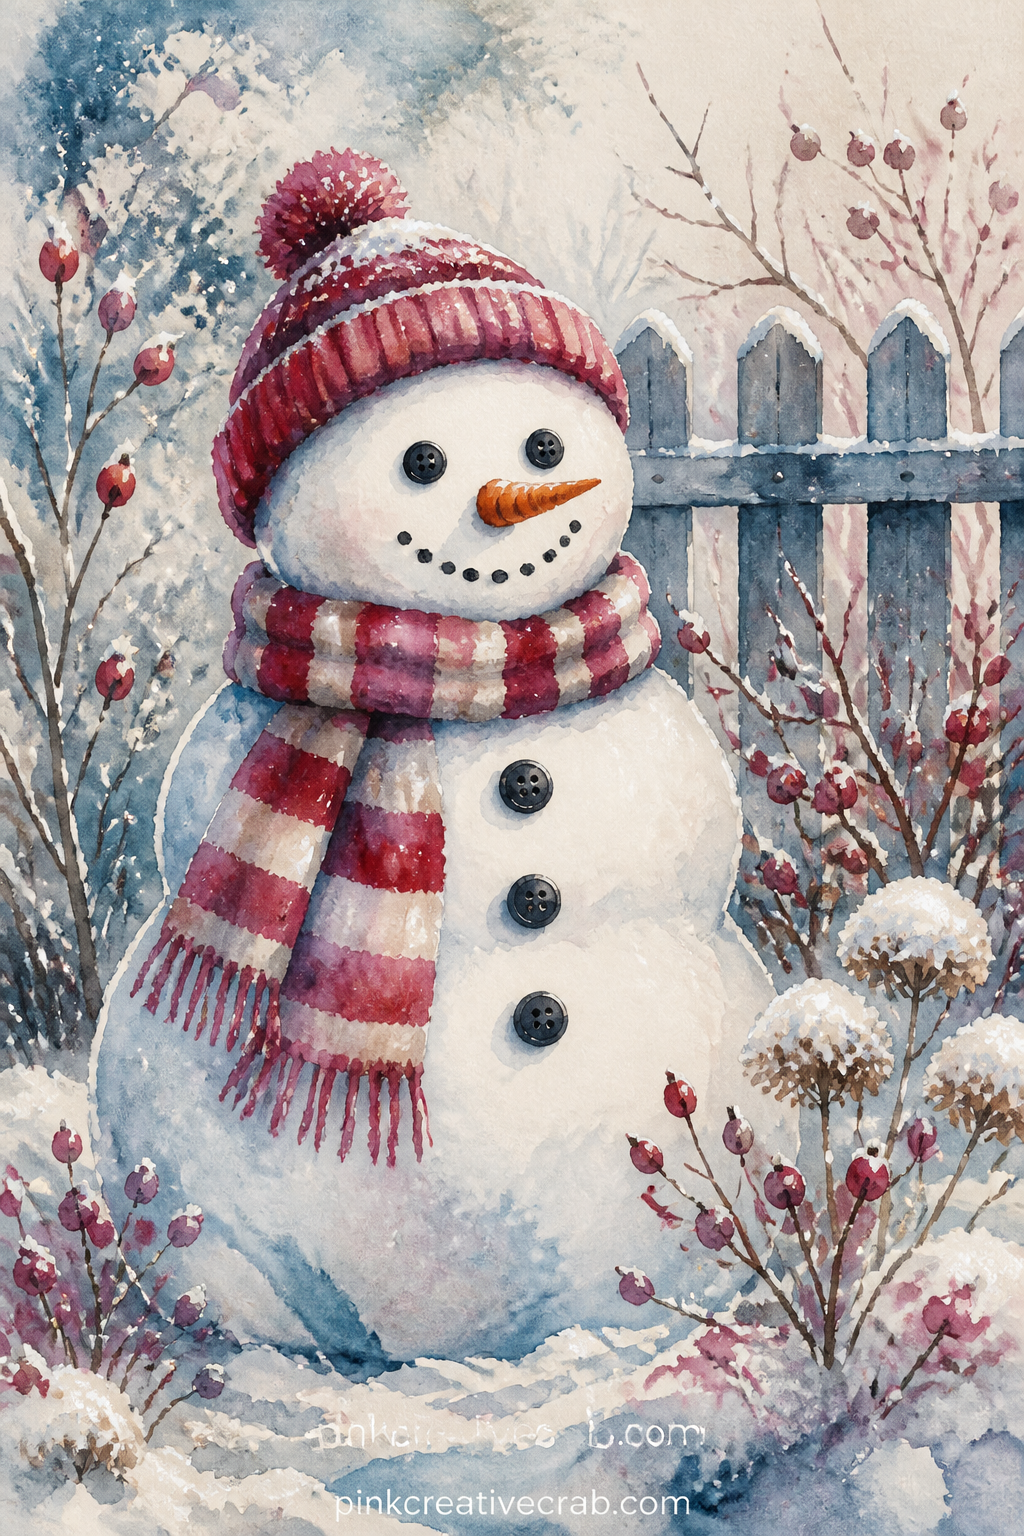
Buttons, a carrot nose and a crooked scarf give this snowman his character, standing alone in a quiet snow-covered garden.
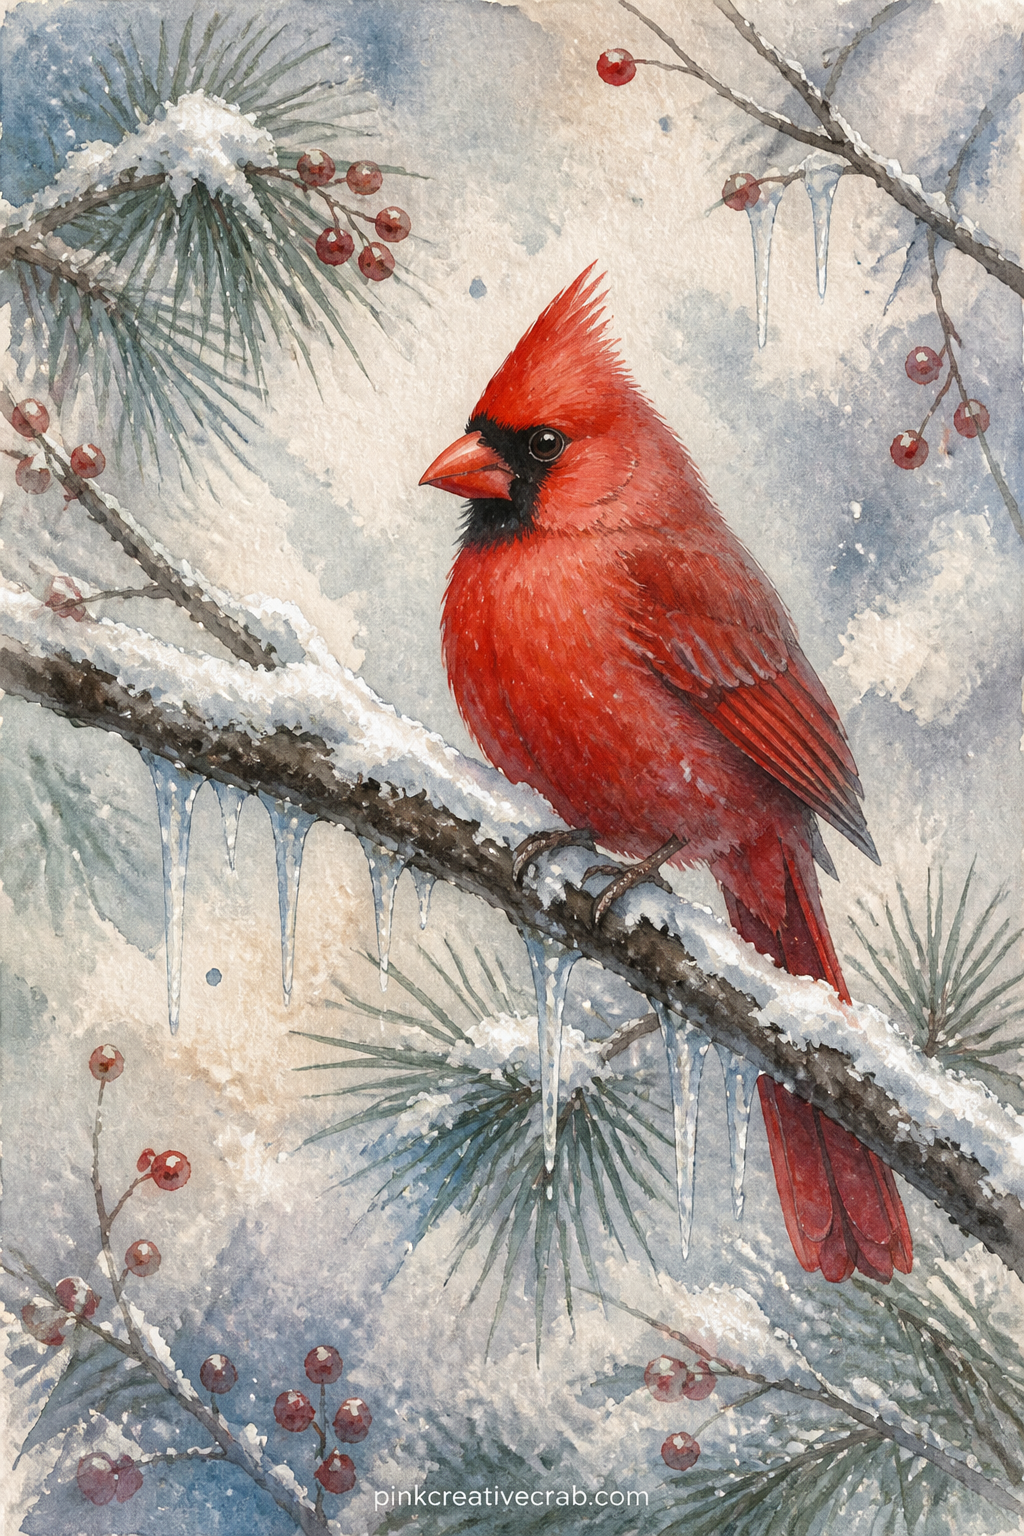
The usual mistake with a single bird page is leaving too much blank sky around it, so bring the branch close to one edge and let snow texture fill the rest.
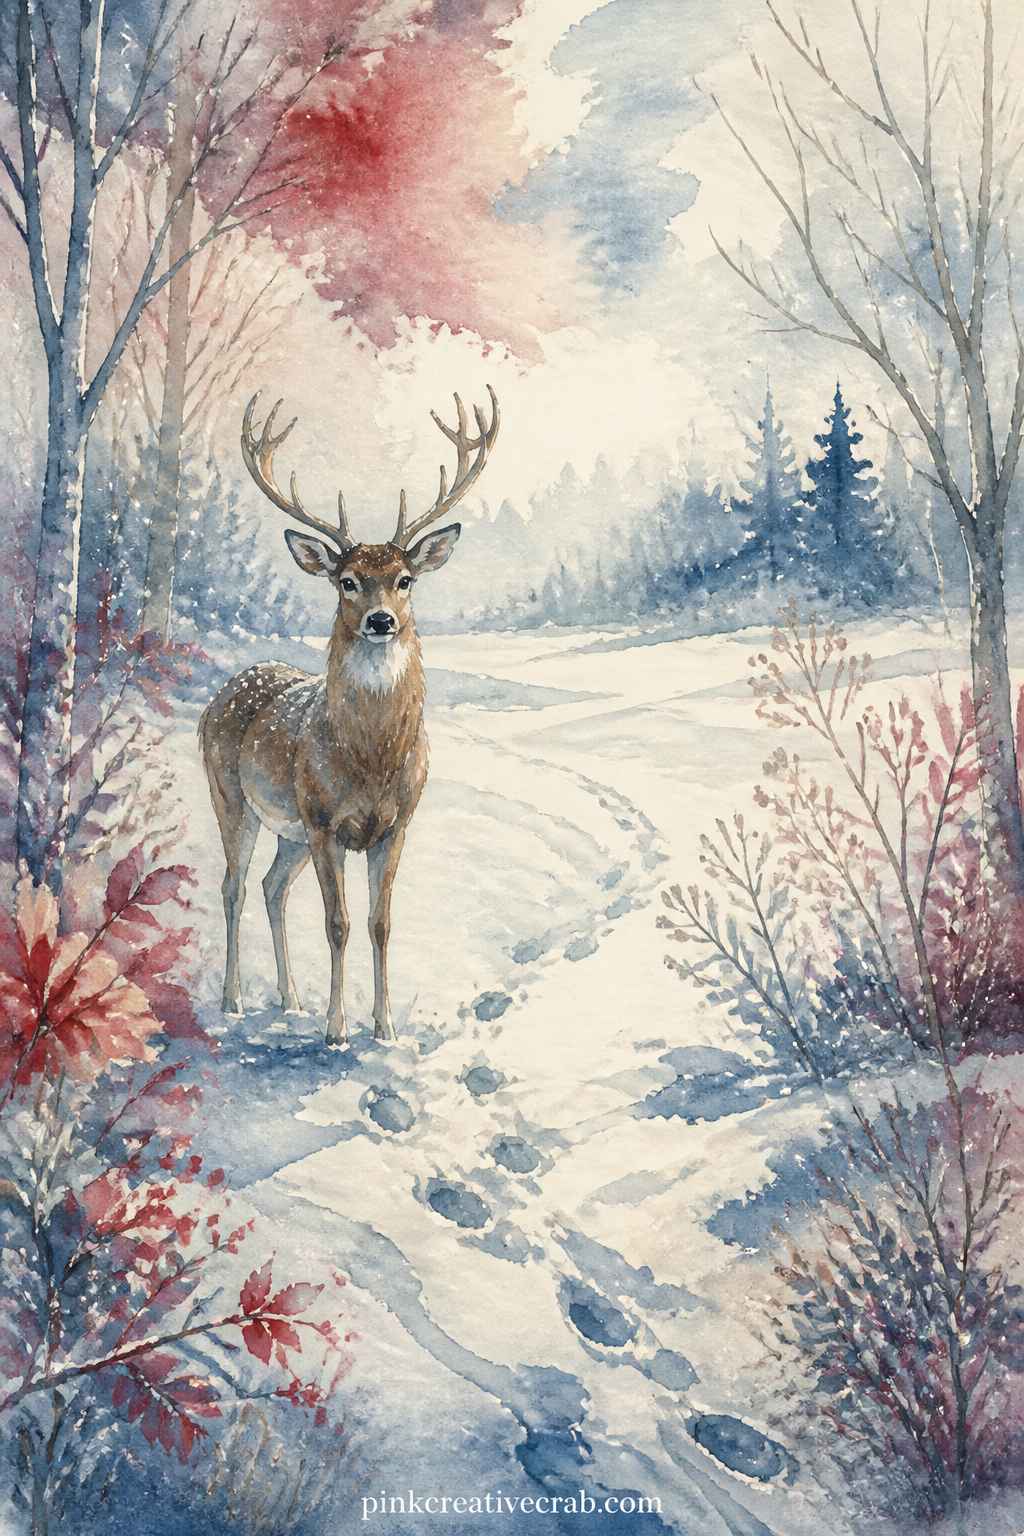
Pair this page with the pine forest scene earlier in the set, placing them on facing pages so the deer seems to step out from those same trees.
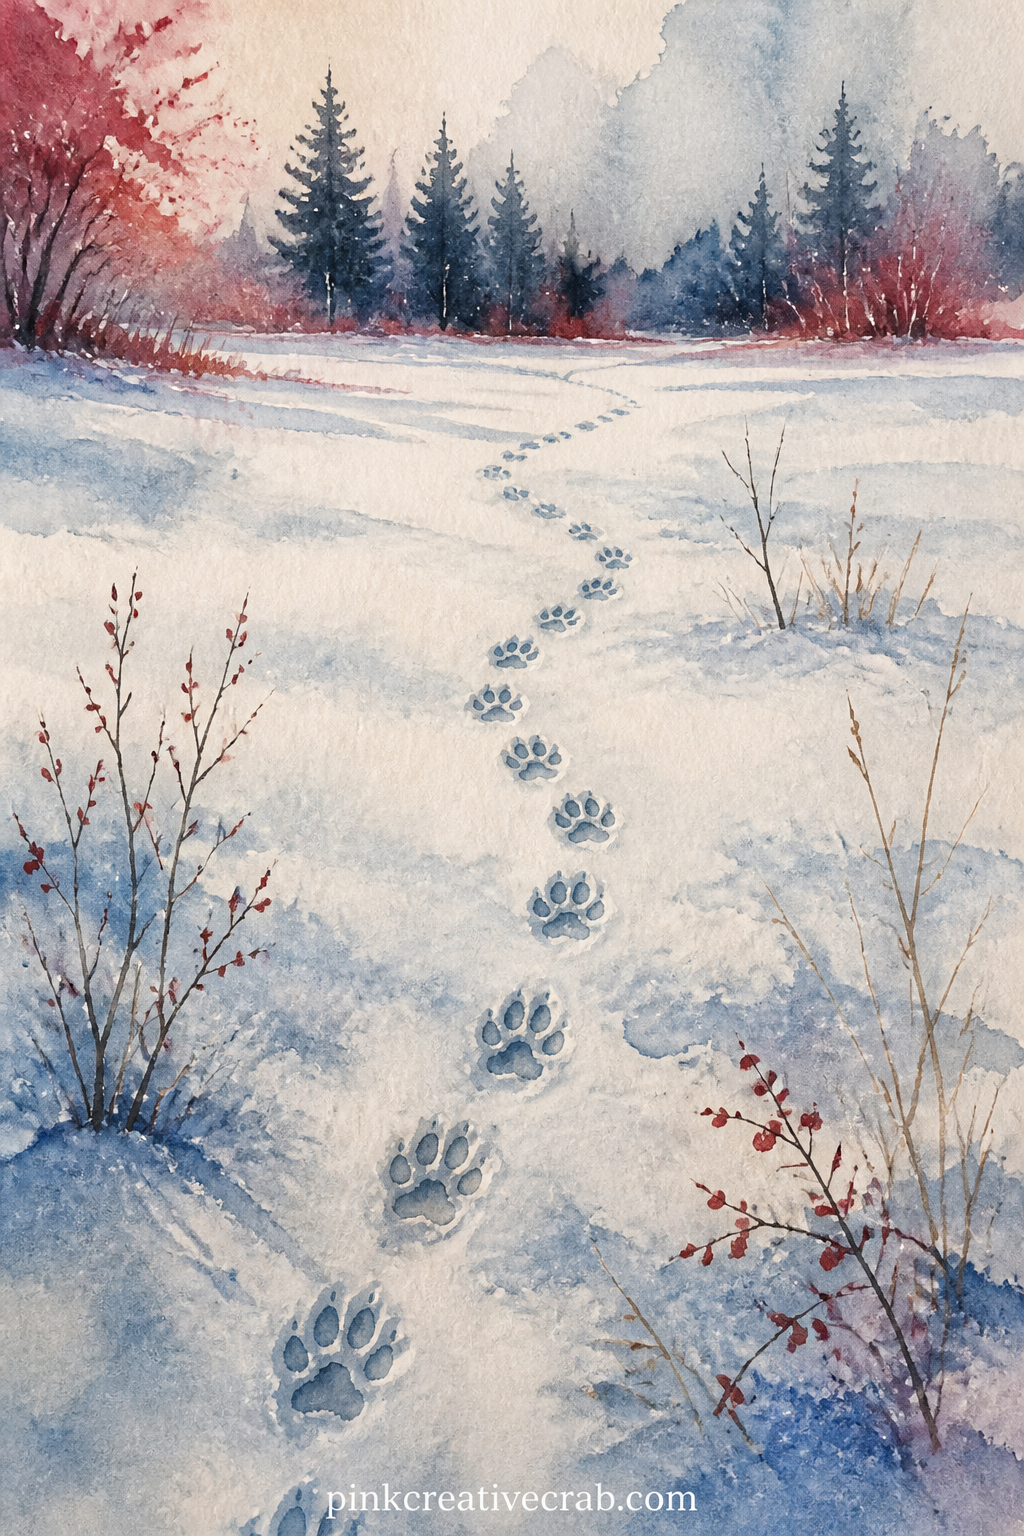
A trail of fox prints winds across an open snowfield, with a few bare twigs and a distant treeline the only other marks on the page.
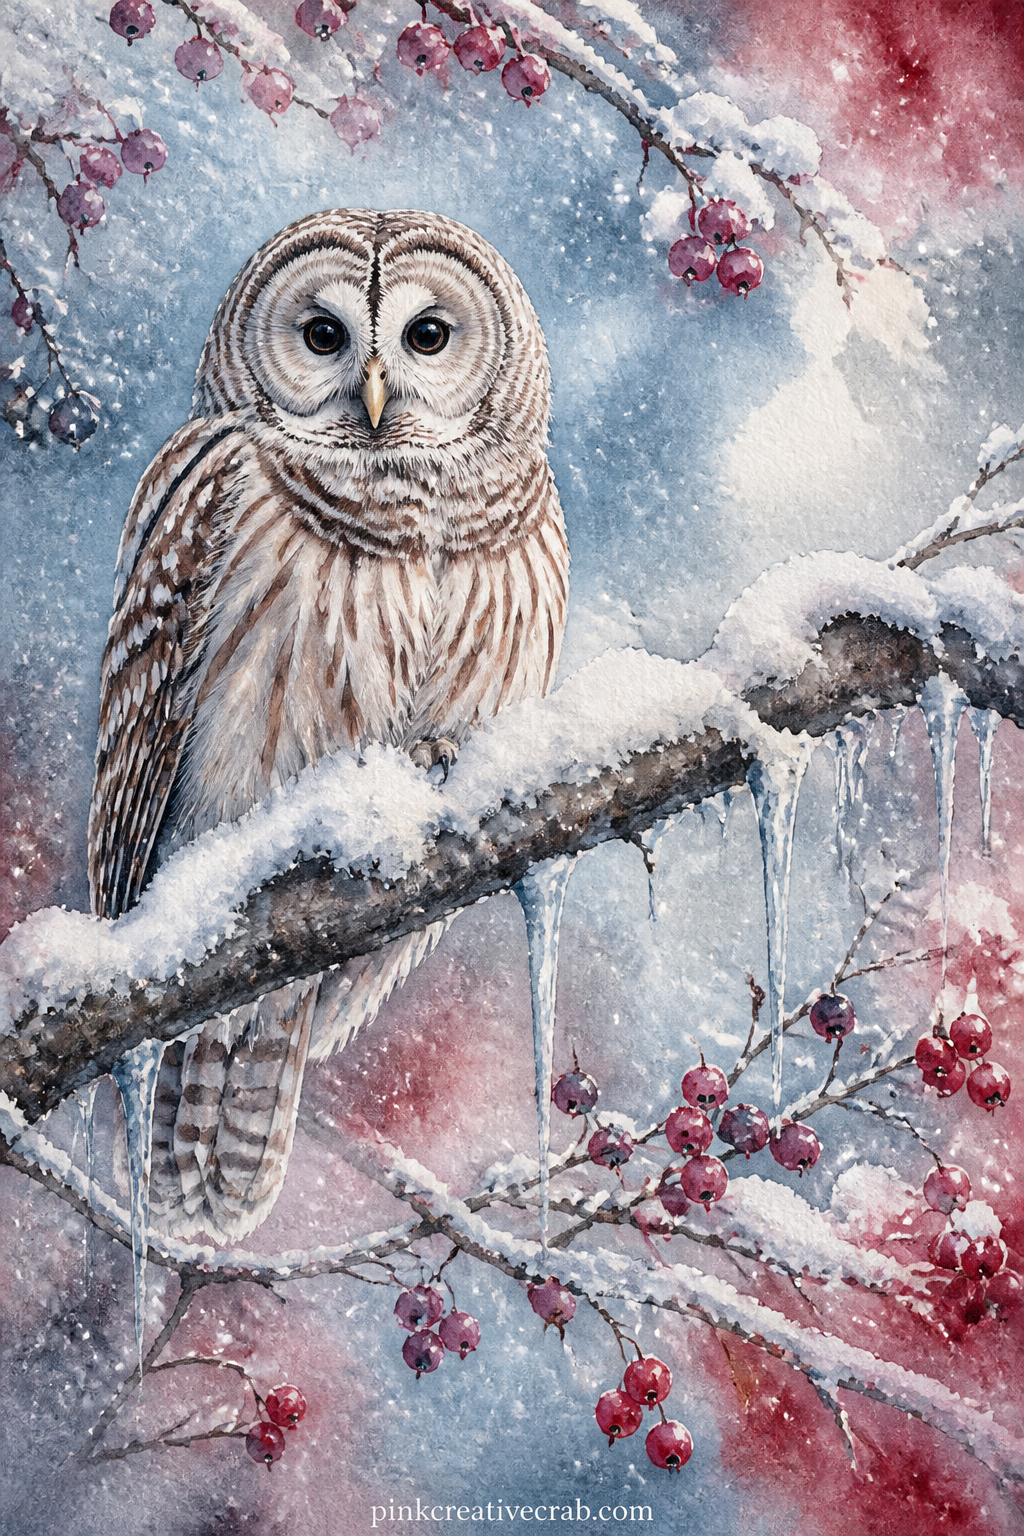
Fold this page in half down the middle before gluing it, so the owl appears to peek out from a gatefold rather than lying flat against the journal page.
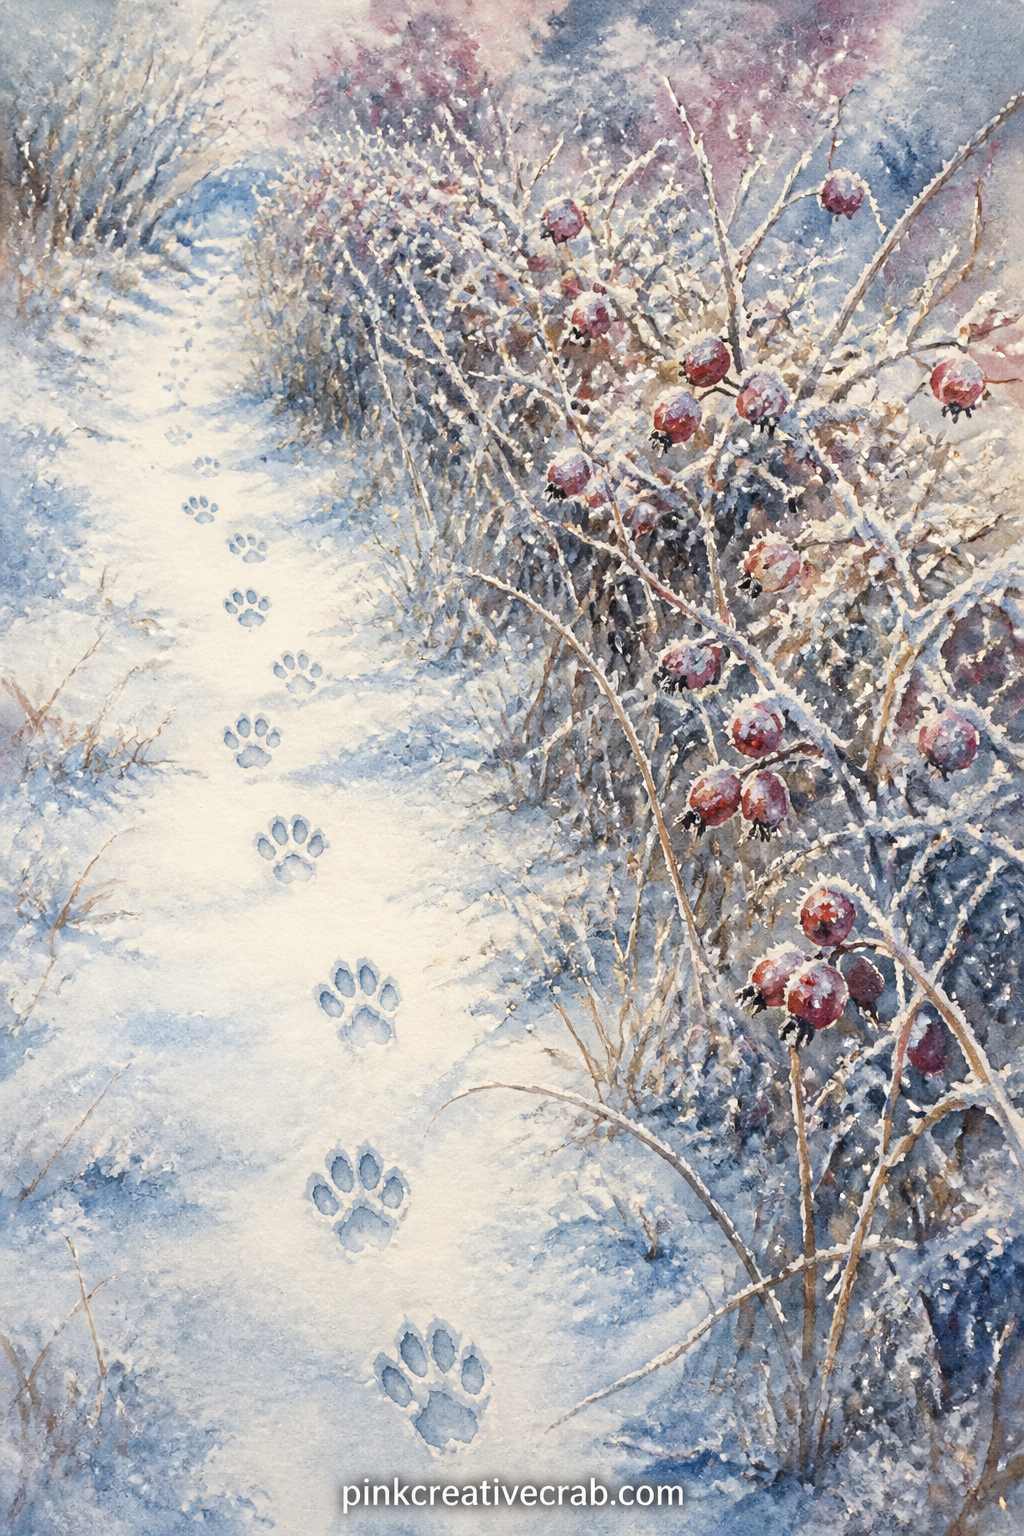
Small paw prints dot the snow beside a low frosted hedge, the page otherwise given over to soft drifted texture.
Still Life and Comfort Pages
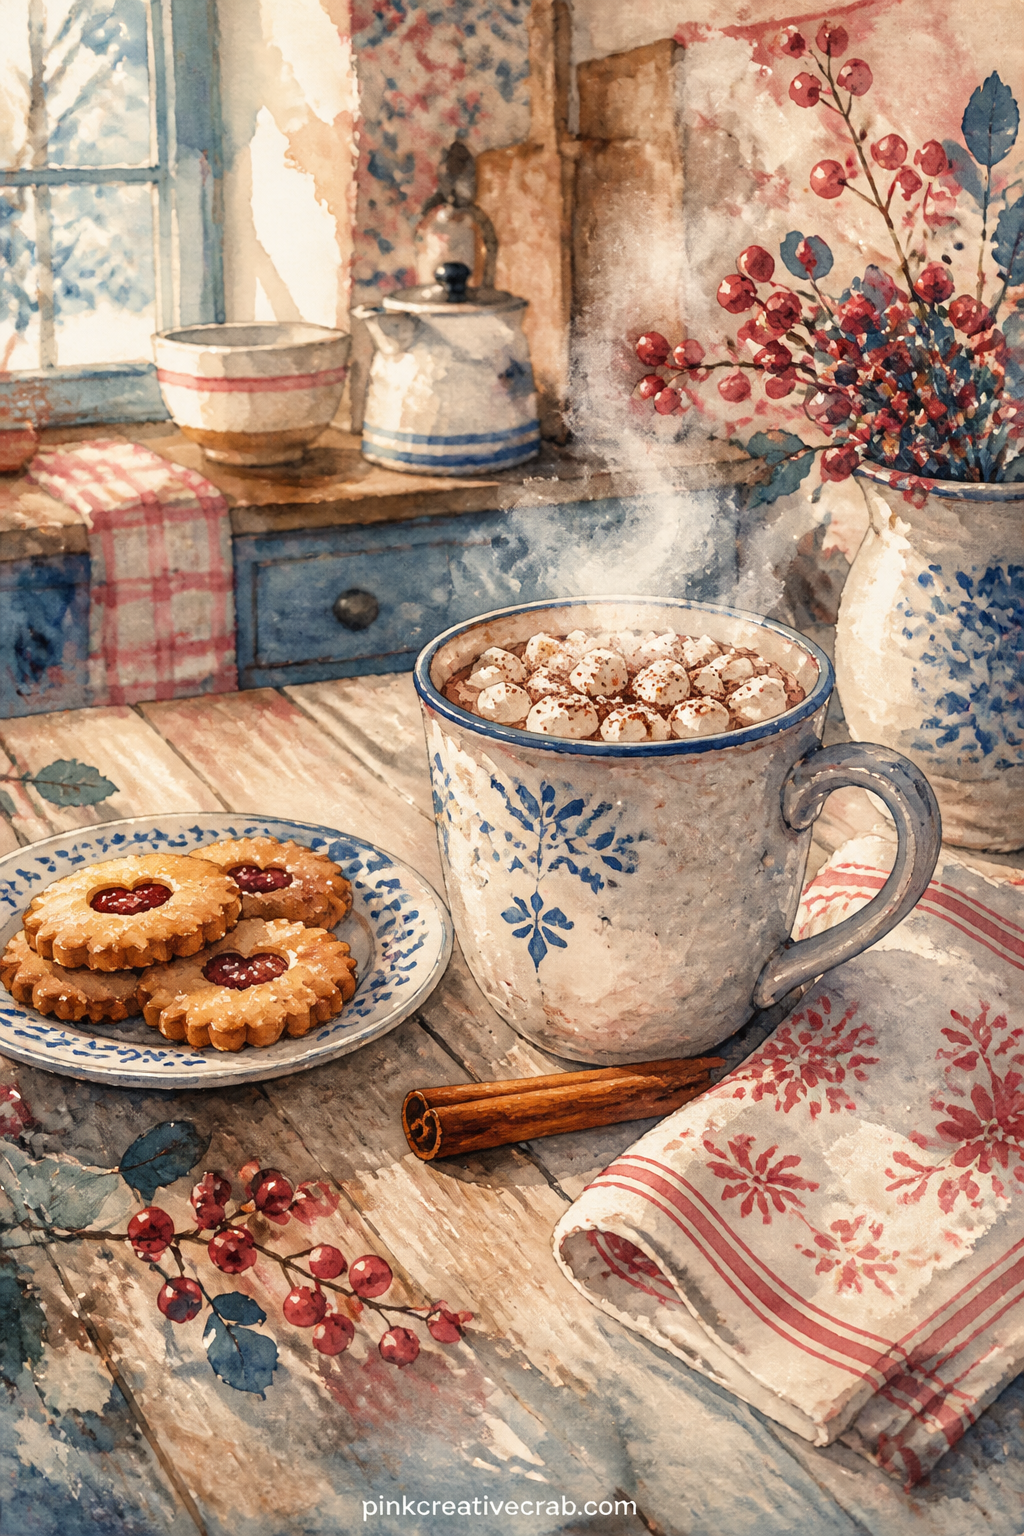
Glue a real cocoa packet label or a torn recipe card onto this page, right beside the painted mug, if you want a kitchen keepsake rather than a blank scene.
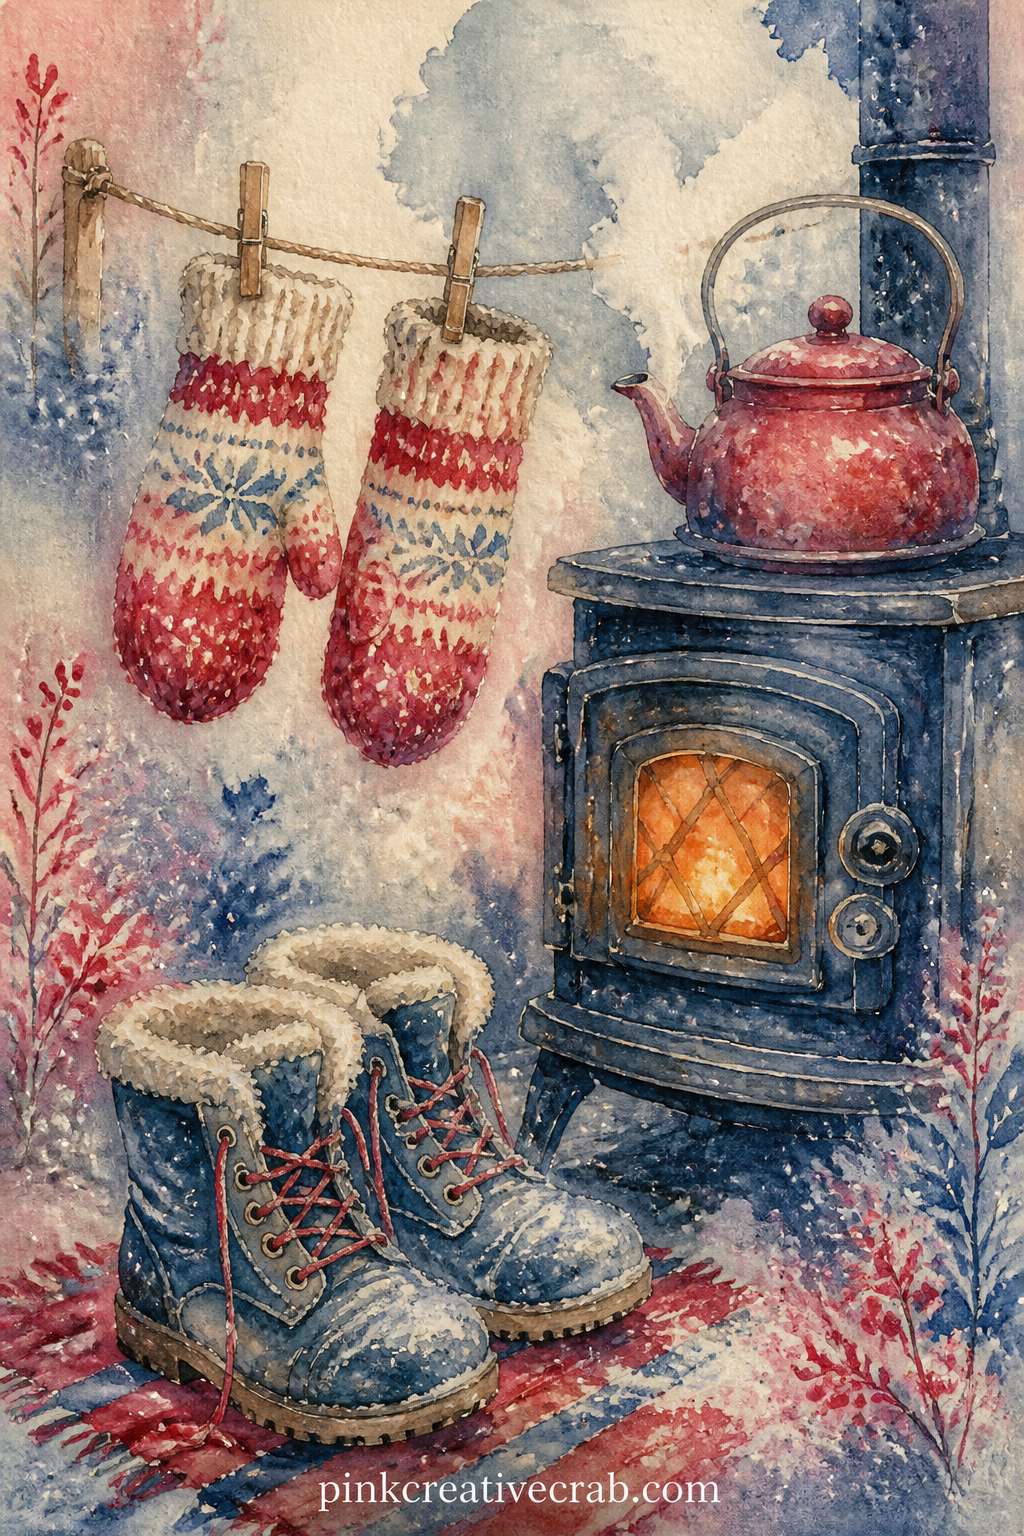
A pair of damp knitted mittens hangs on a line above the stove, steam rising faintly as snow boots sit drying below.
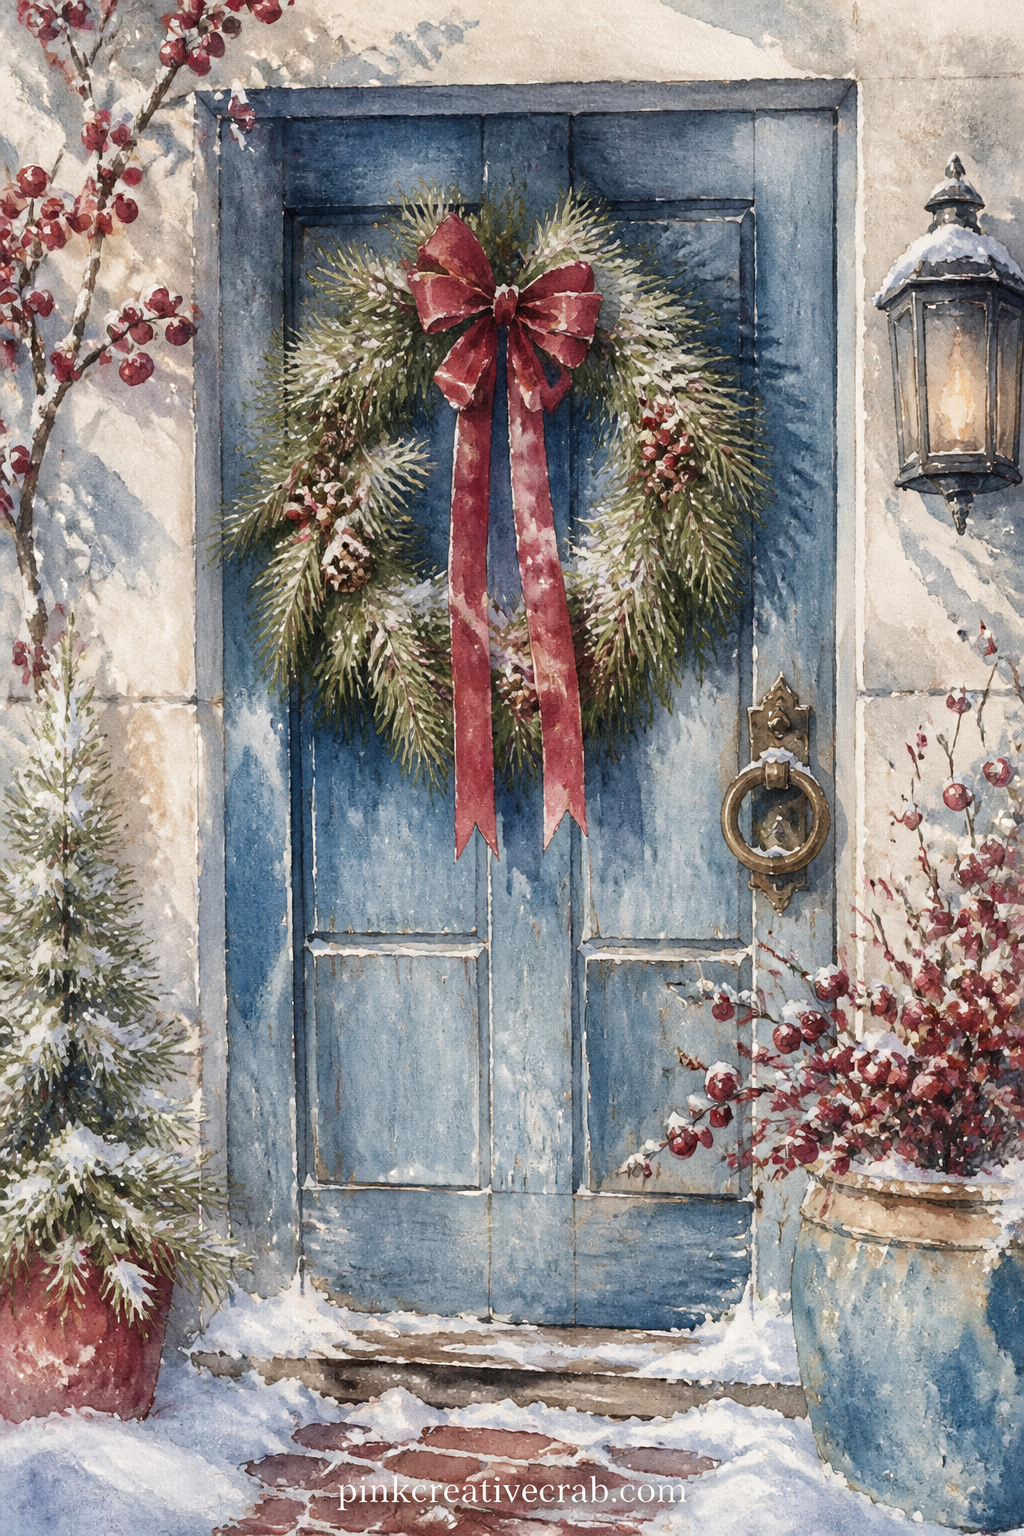
This page suits anyone making a gift journal for a grandmother or an aunt who always hangs the same wreath every year, since the plain red door says home without naming a place.
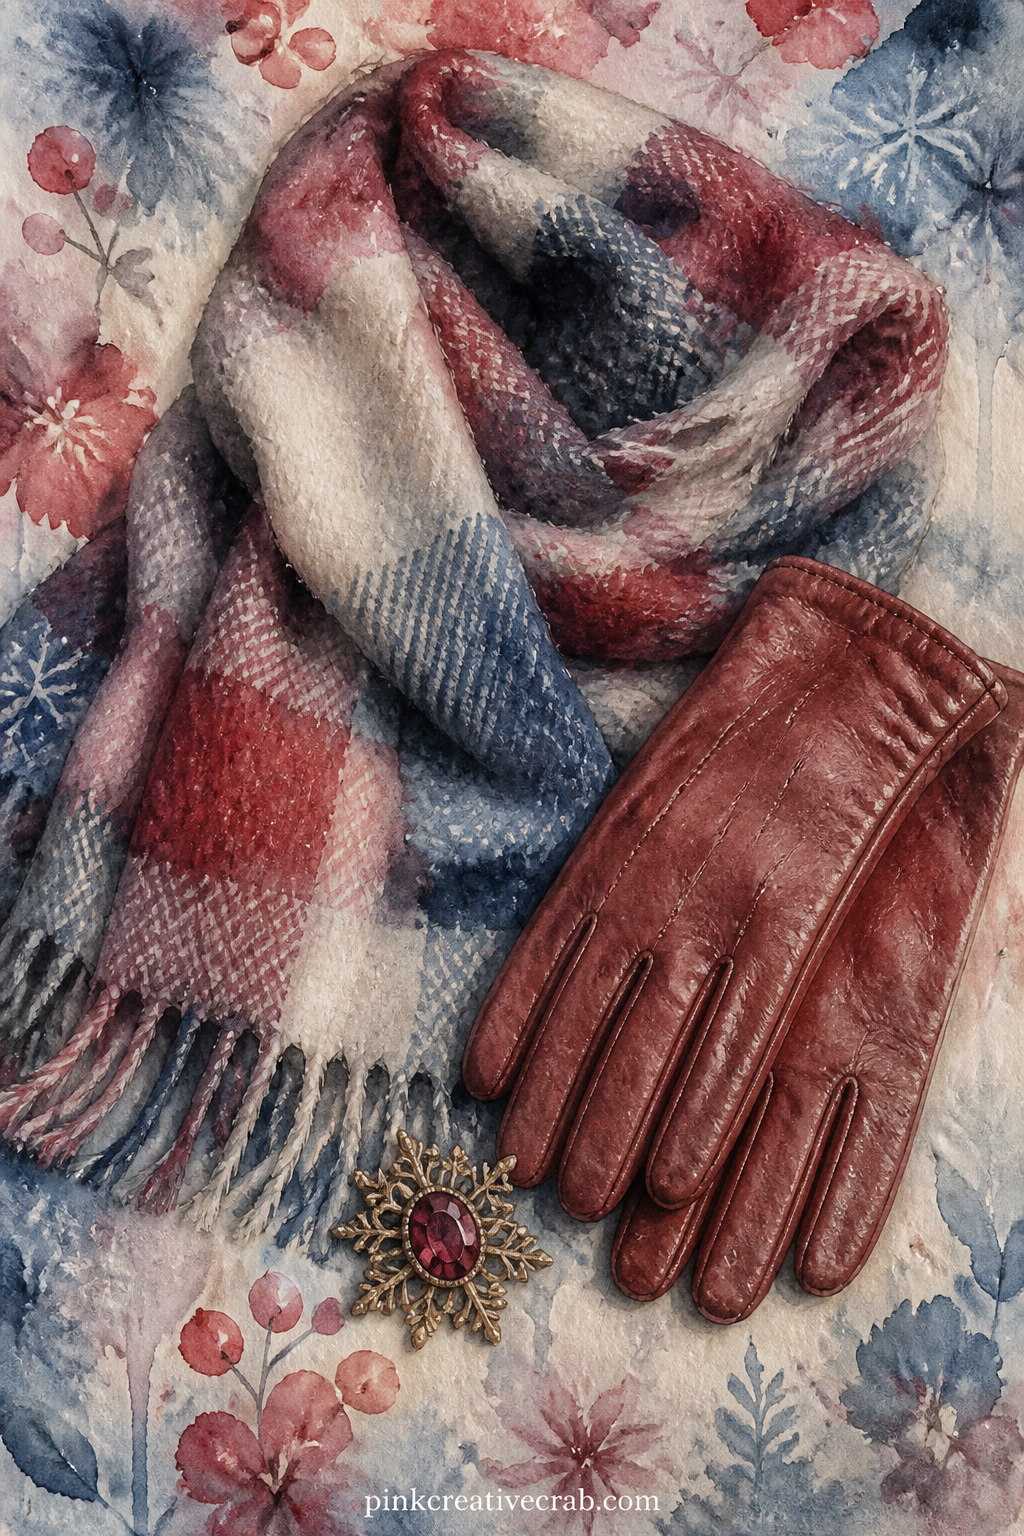
A folded wool scarf, a pair of leather gloves and a small brooch sit together on a plain surface, ready to be described in a single line of writing beside them.
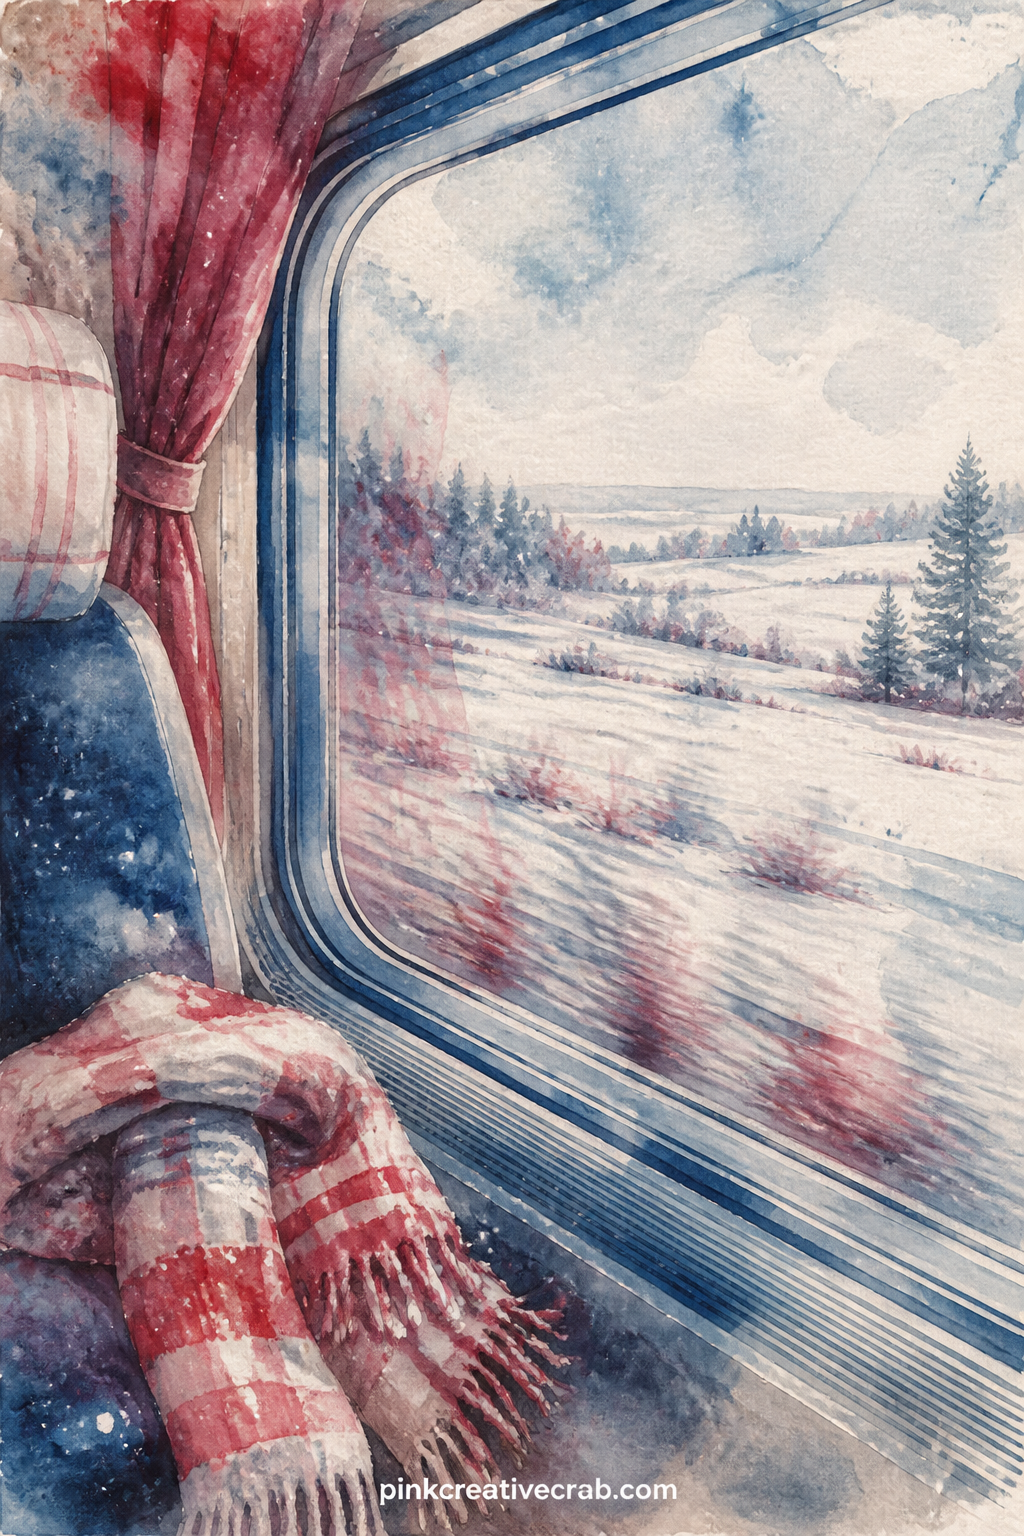
What to write here: a line about a winter trip you took or wish to take, since the view through the glass leaves room for either memory or wishing. Readers planning an actual trip page might also like this travel journal kit for the rest of the album.
Background Papers
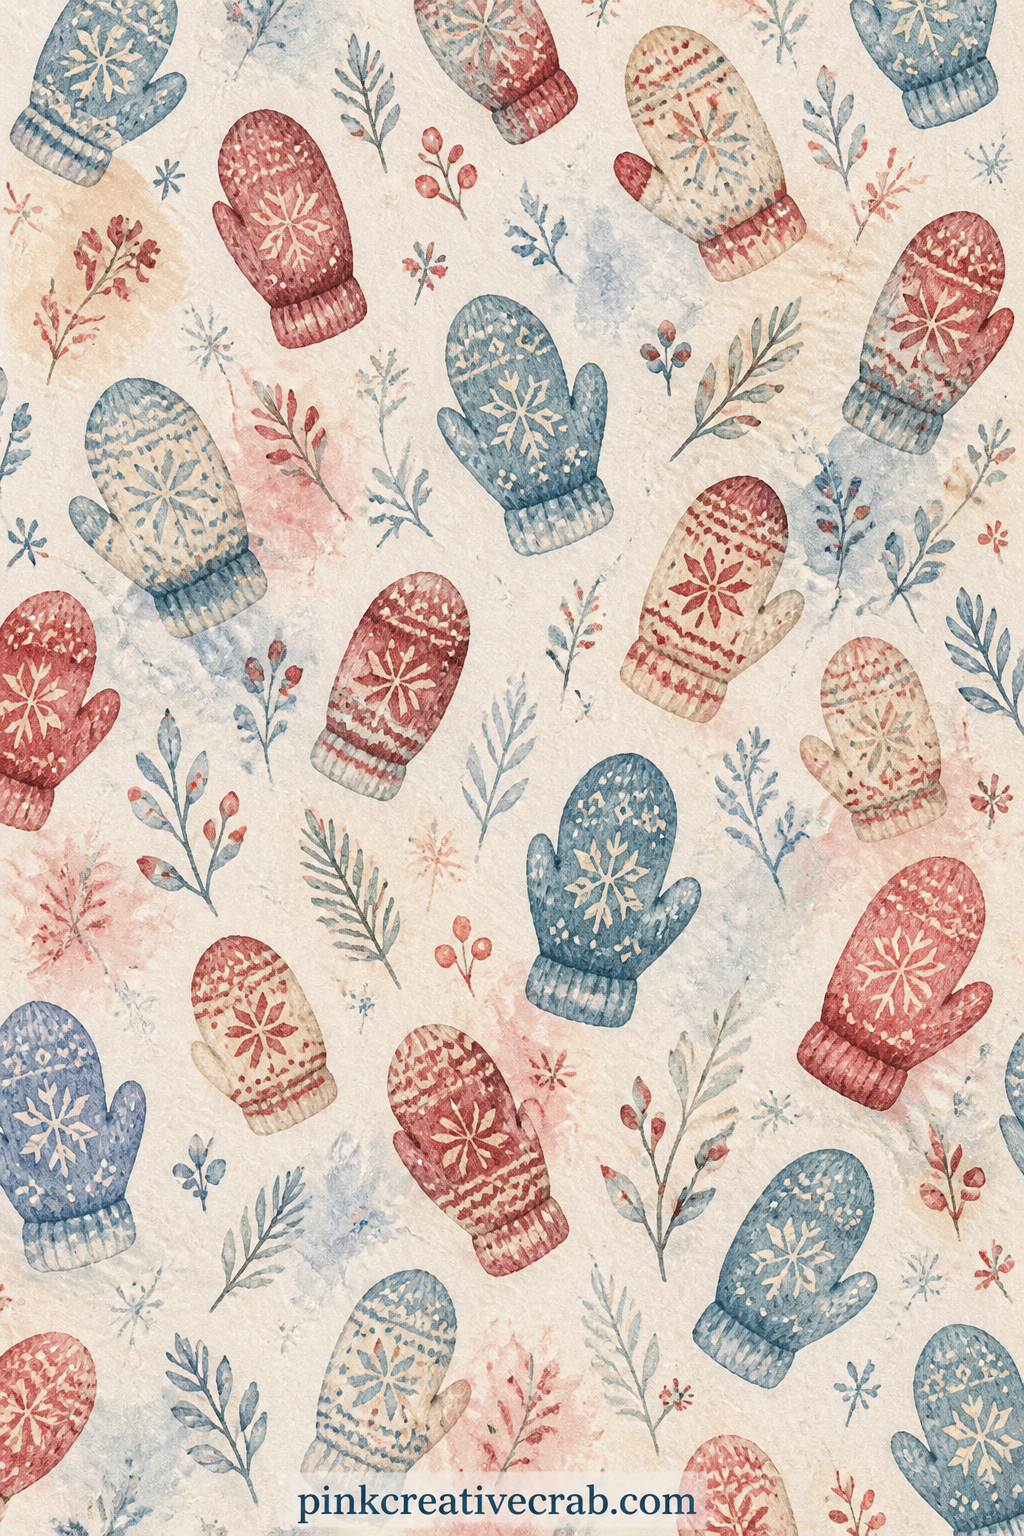
Small knitted mittens scatter in rows across the sheet in dusty blue and cranberry red, useful under a mitten photo, as a pocket lining for keepsakes, or folded into a simple cover.
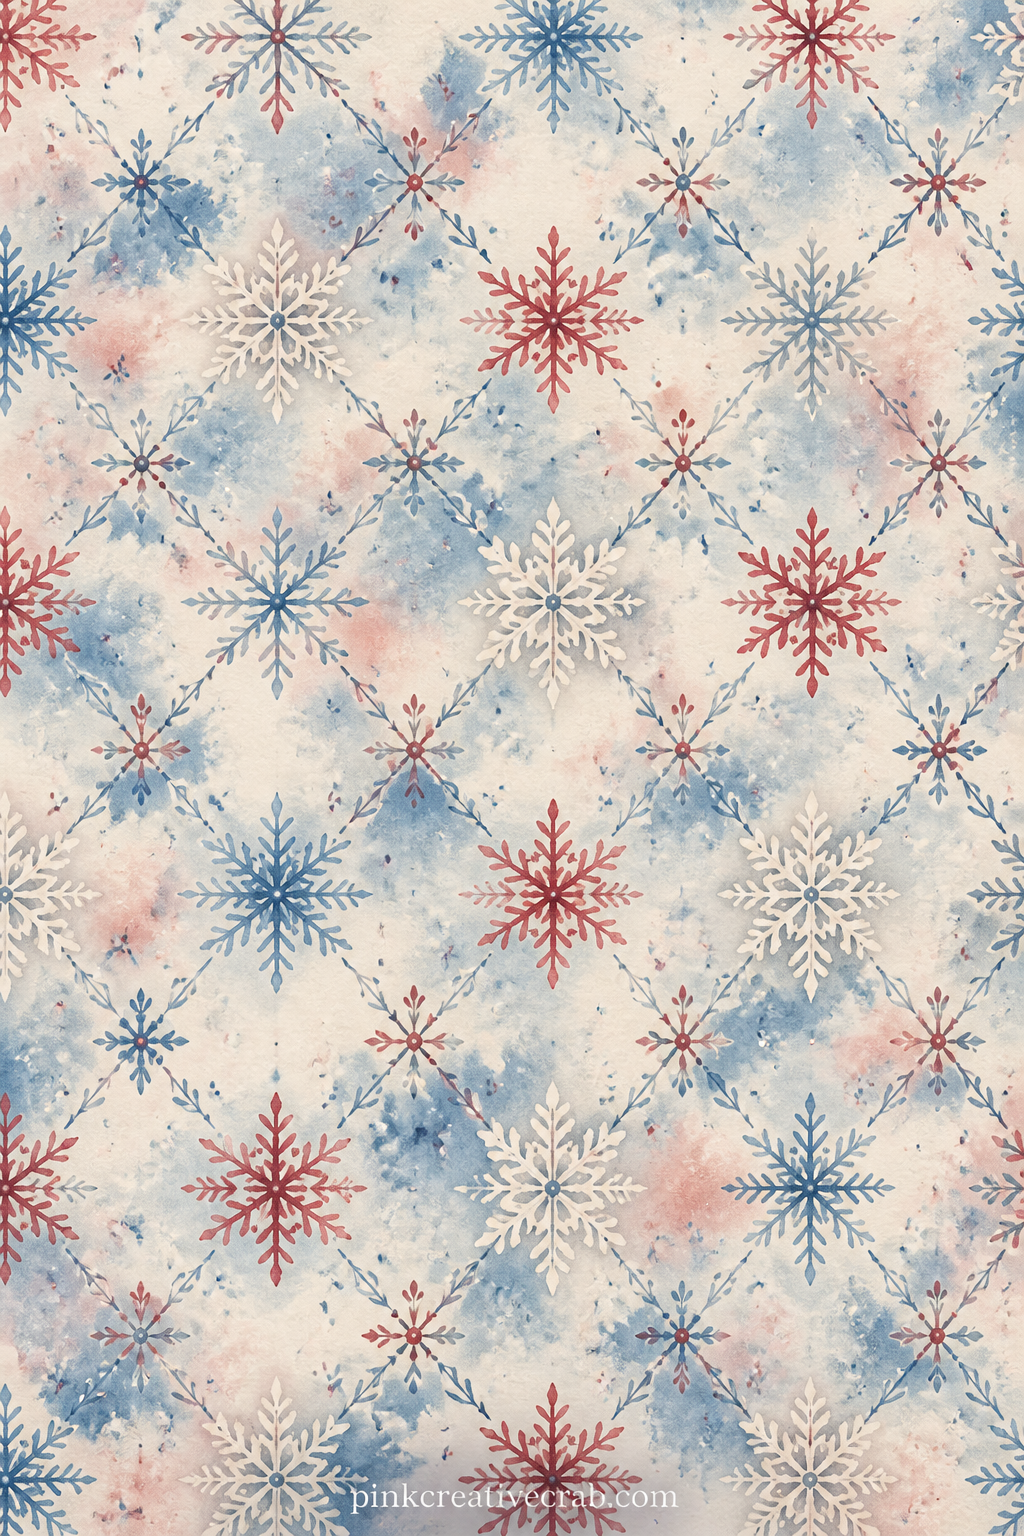
Fine snowflakes interlock in a quiet lattice across the page, suited to a cover sheet, a background behind a winter photo, or a lining for the back of the journal.
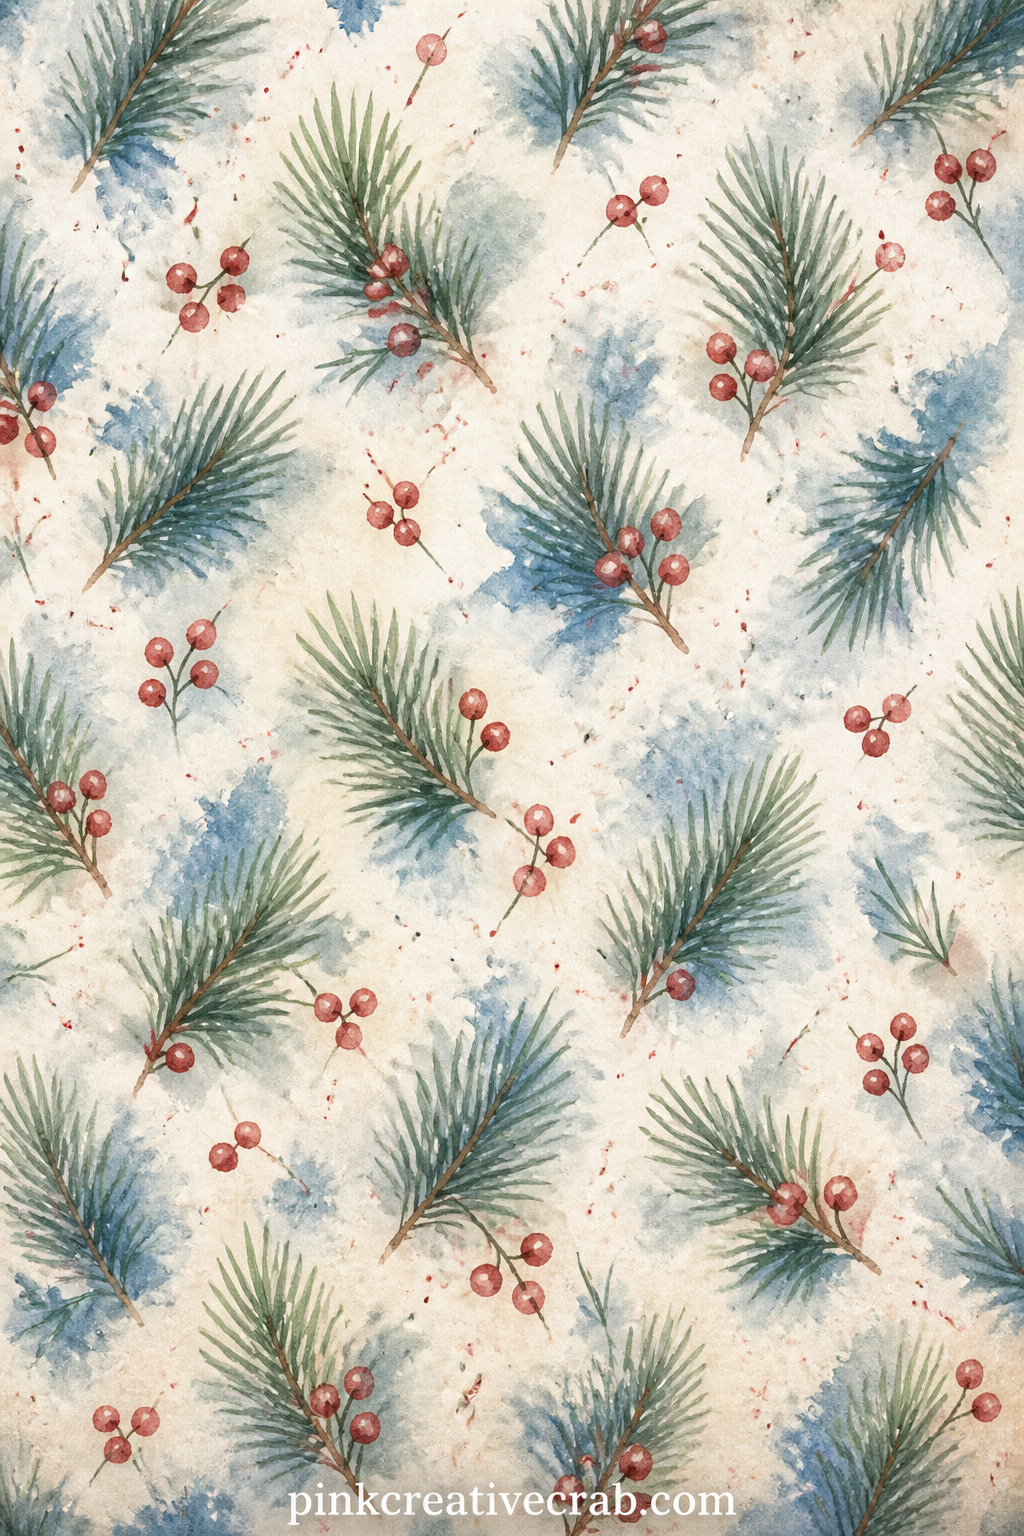
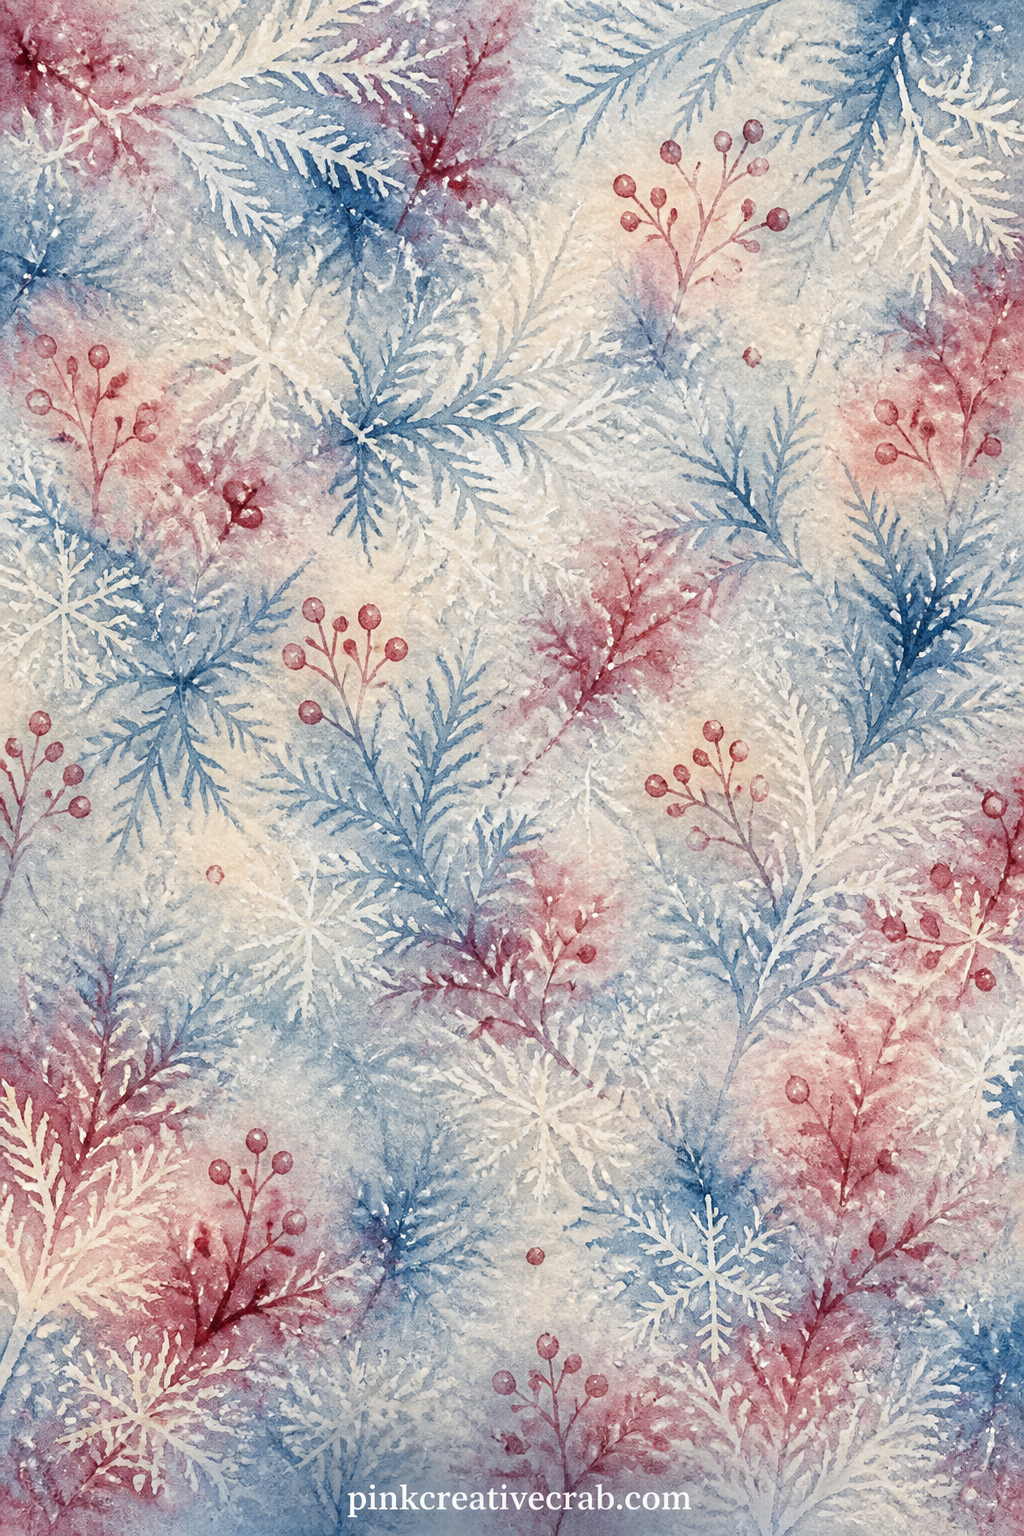
Short sprigs of pine with small red berries repeat in a loose diagonal across the sheet, good under a holiday photo, as a pocket lining, or wrapped around a gift tag.
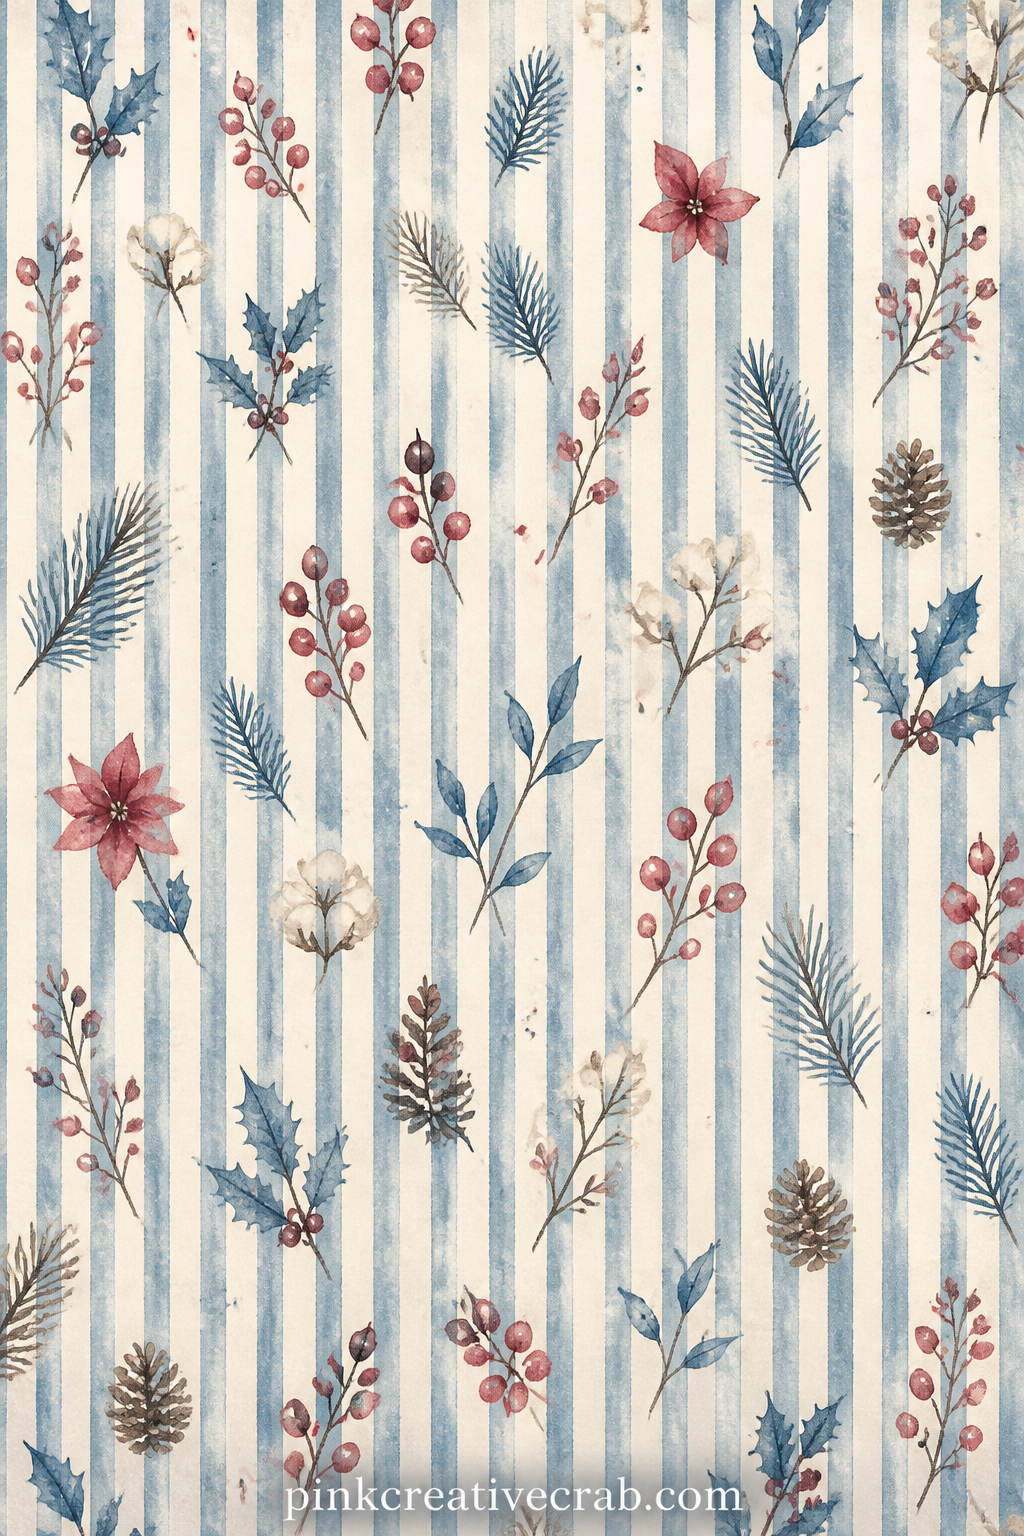
Narrow vertical stripes in soft dusty blue and cream run the length of the page, ideal as a plain cover, a lining behind a pressed sprig, or a calm backdrop for a photo corner.
A soft all-over texture mimics frost crystals spreading across glass, fitting behind a window-themed photo, as a journal cover, or lining a page pocket.
Lined Writing Pages
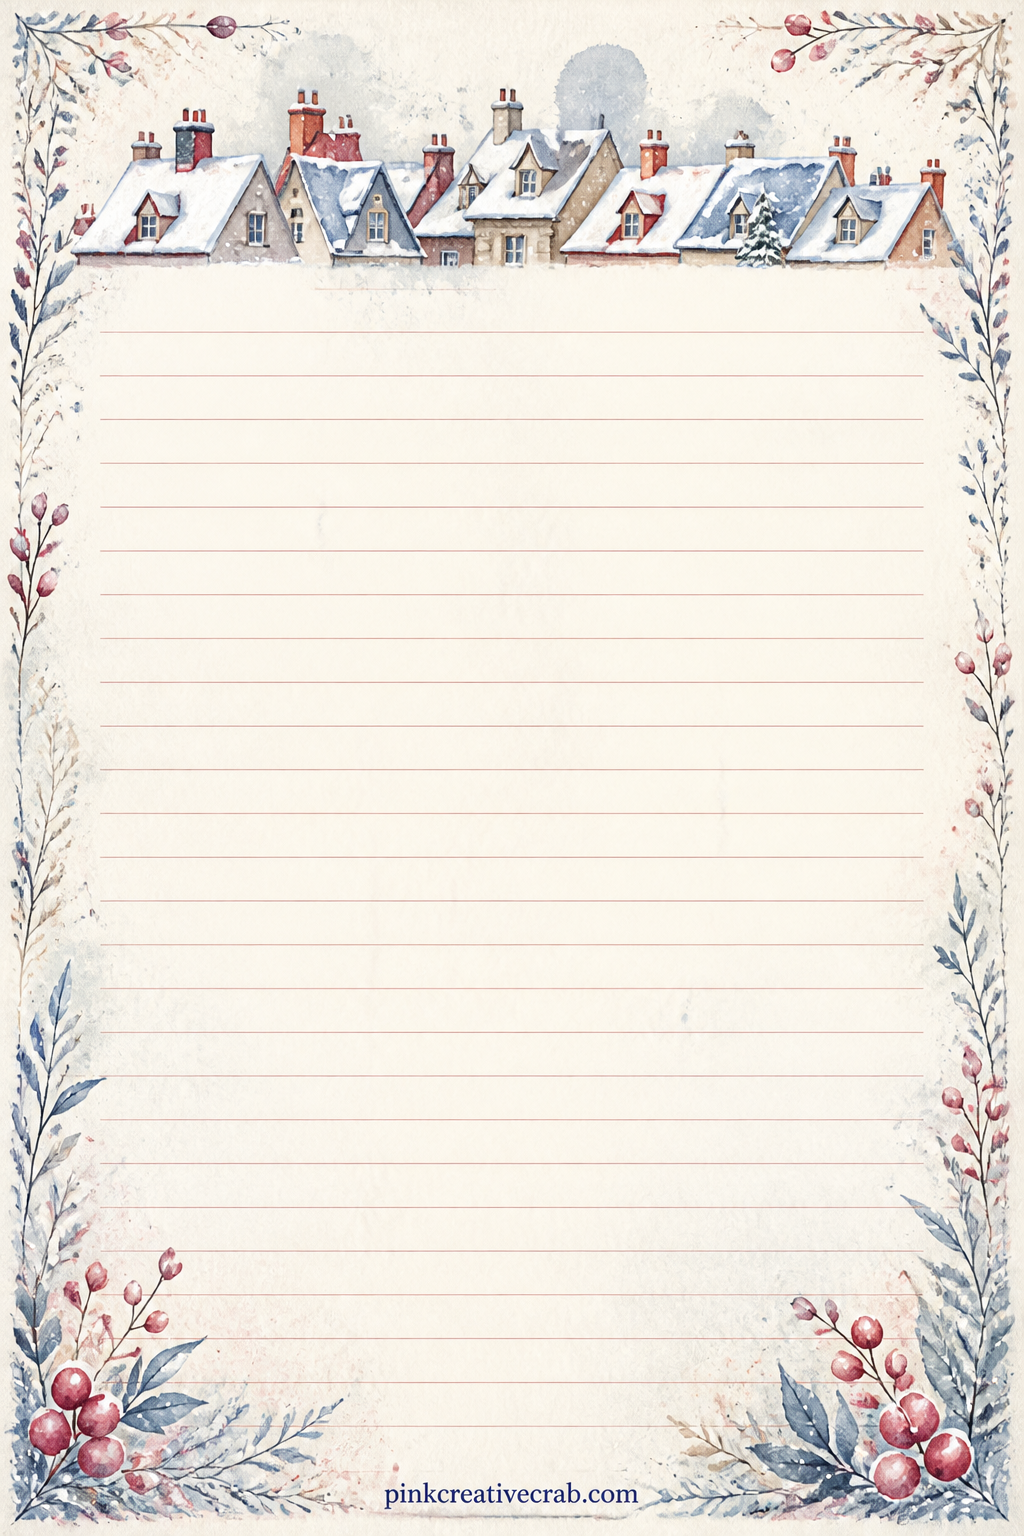
A row of small snow-capped rooftops runs along the top border, leaving faint ruled lines beneath for a gift list, a holiday menu or a letter to next winter.
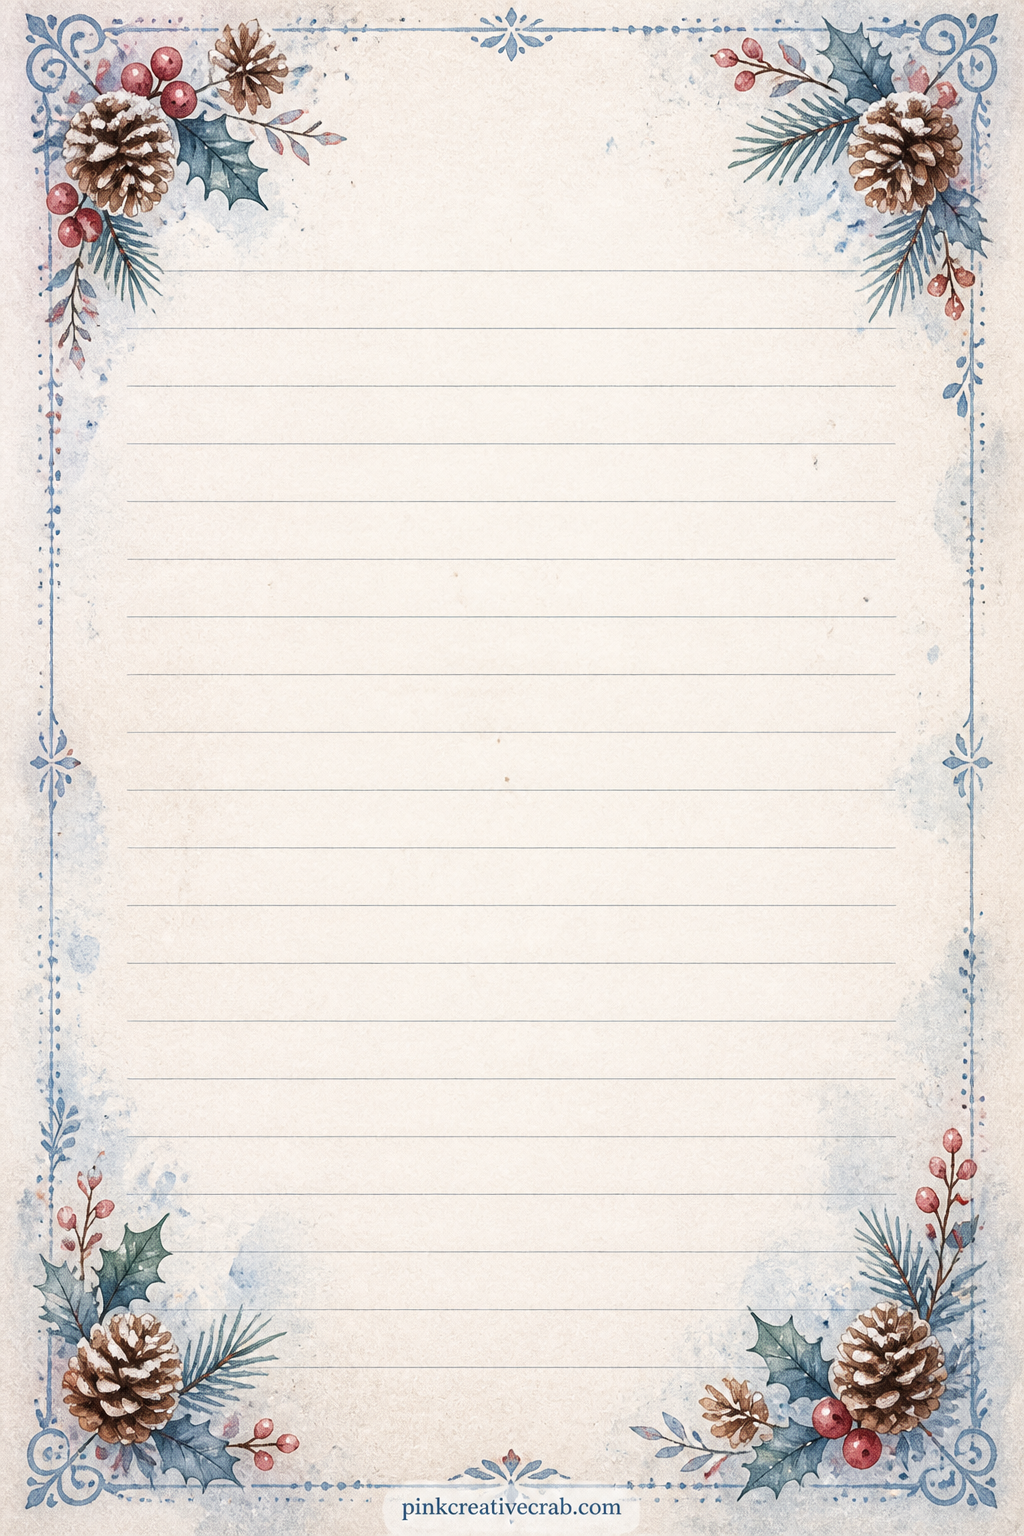
Pinecones and a sprig of holly fill each corner, framing faint ruled lines in the middle for a packing list, a recipe or notes from a cold walk.
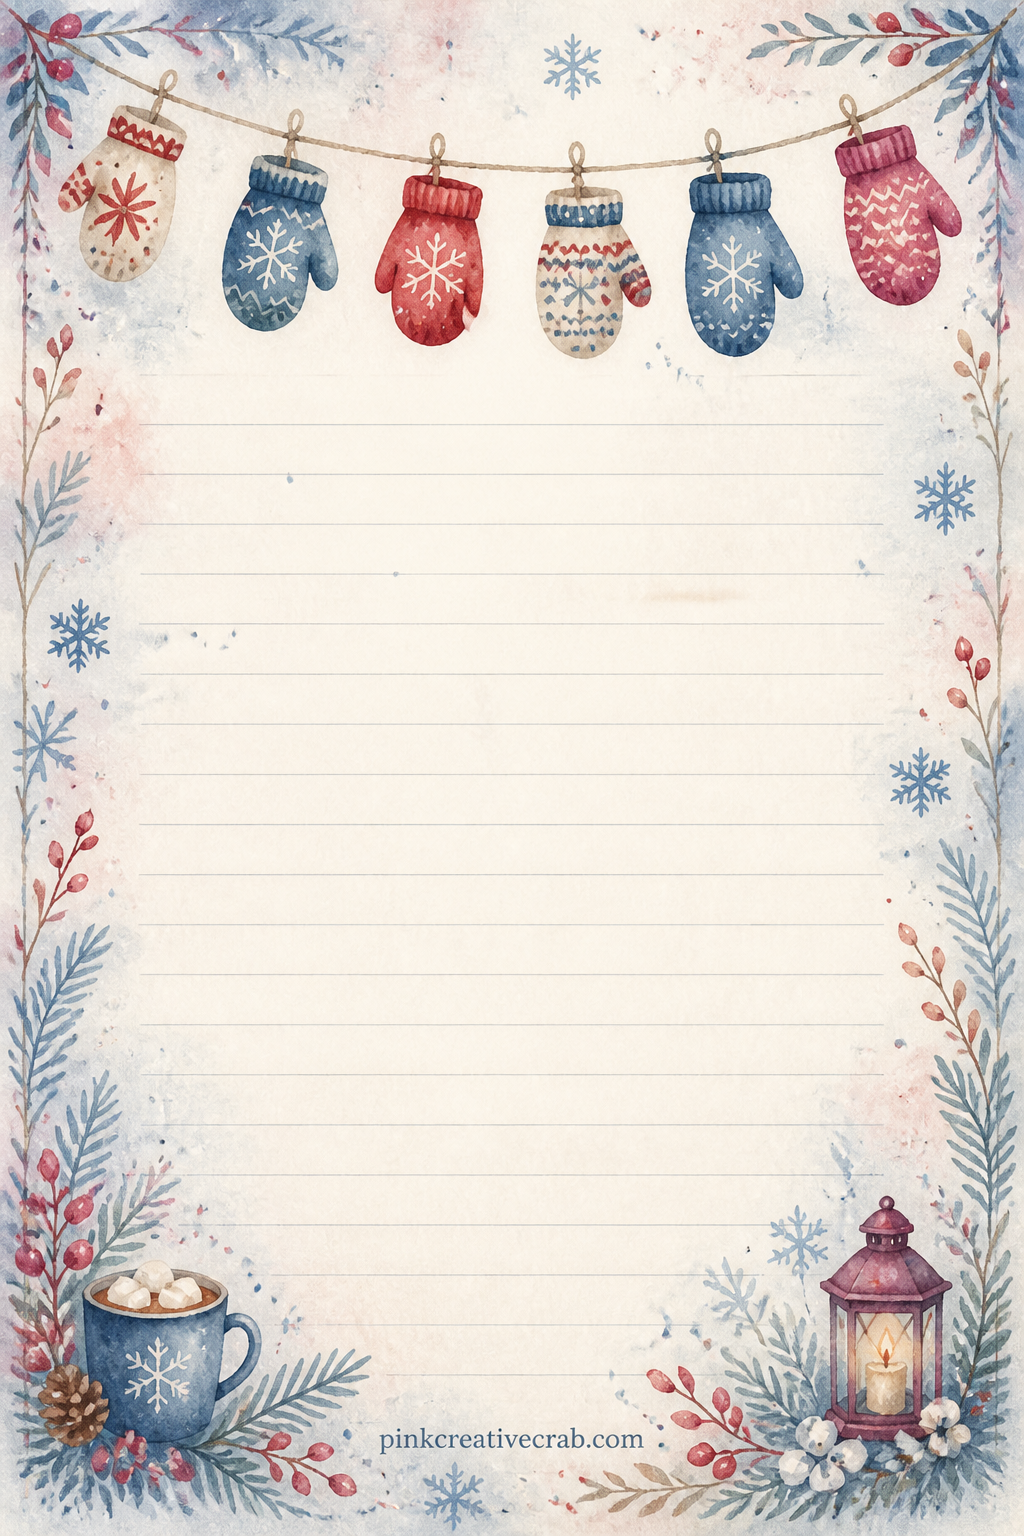
A row of tiny mittens strung along a thread runs across the top like a garland, with plain ruled lines below for a diary entry or a short letter.
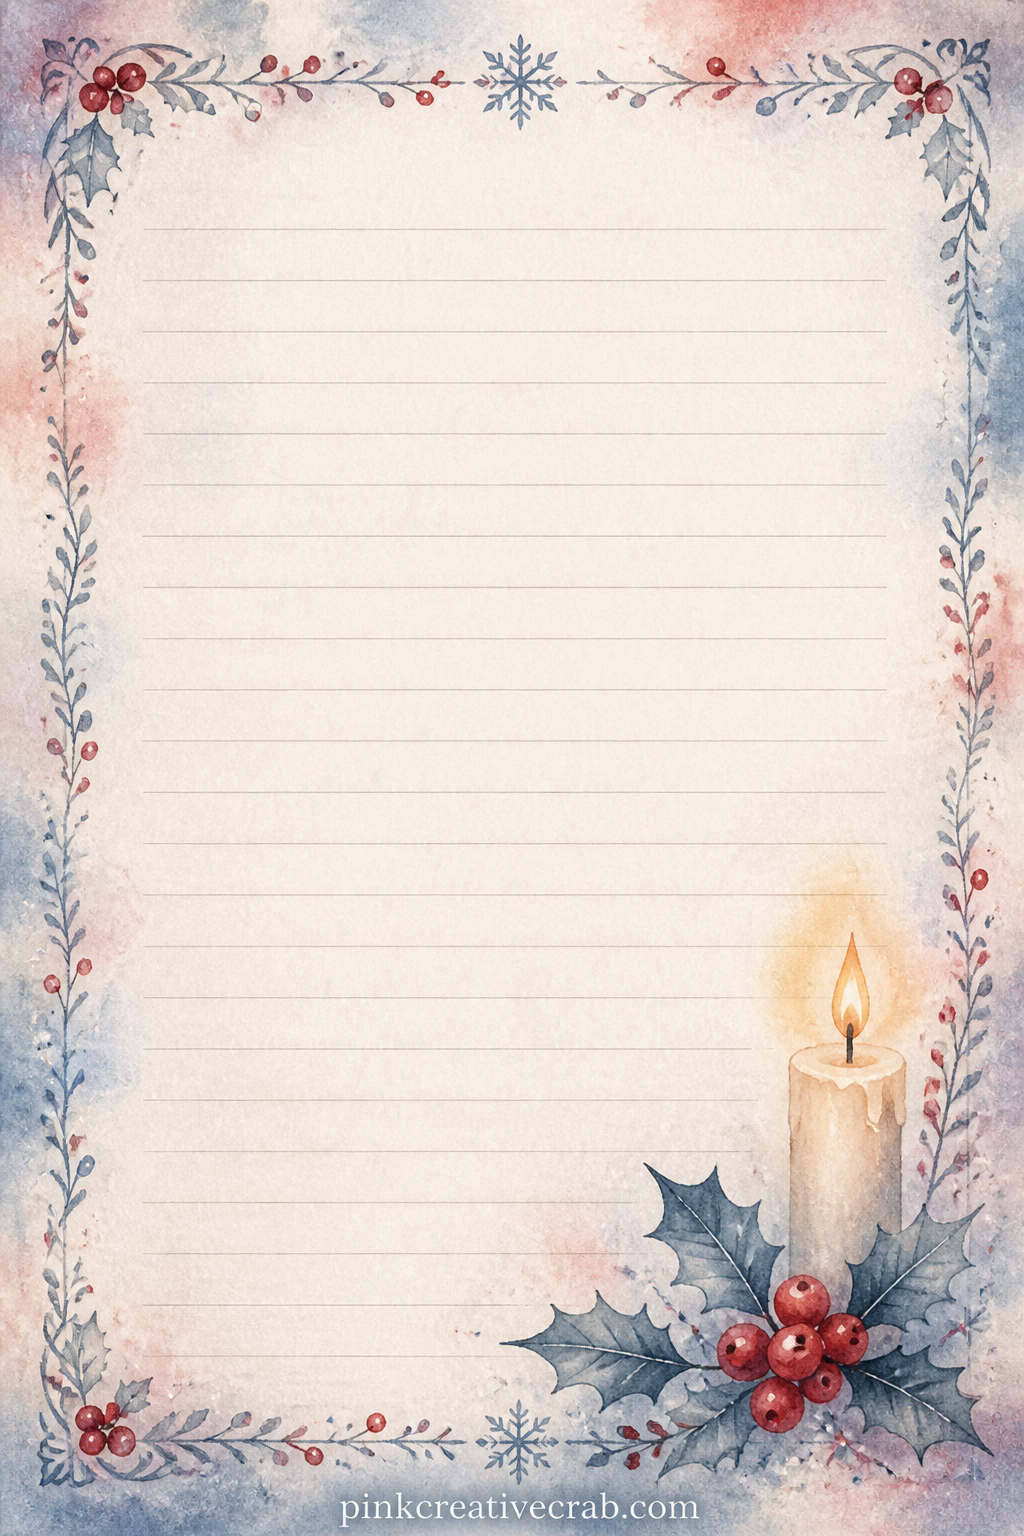
A single candle and a sprig of holly sit in one corner, with faint ruled lines stretching across the rest of the page for a short evening journal entry.
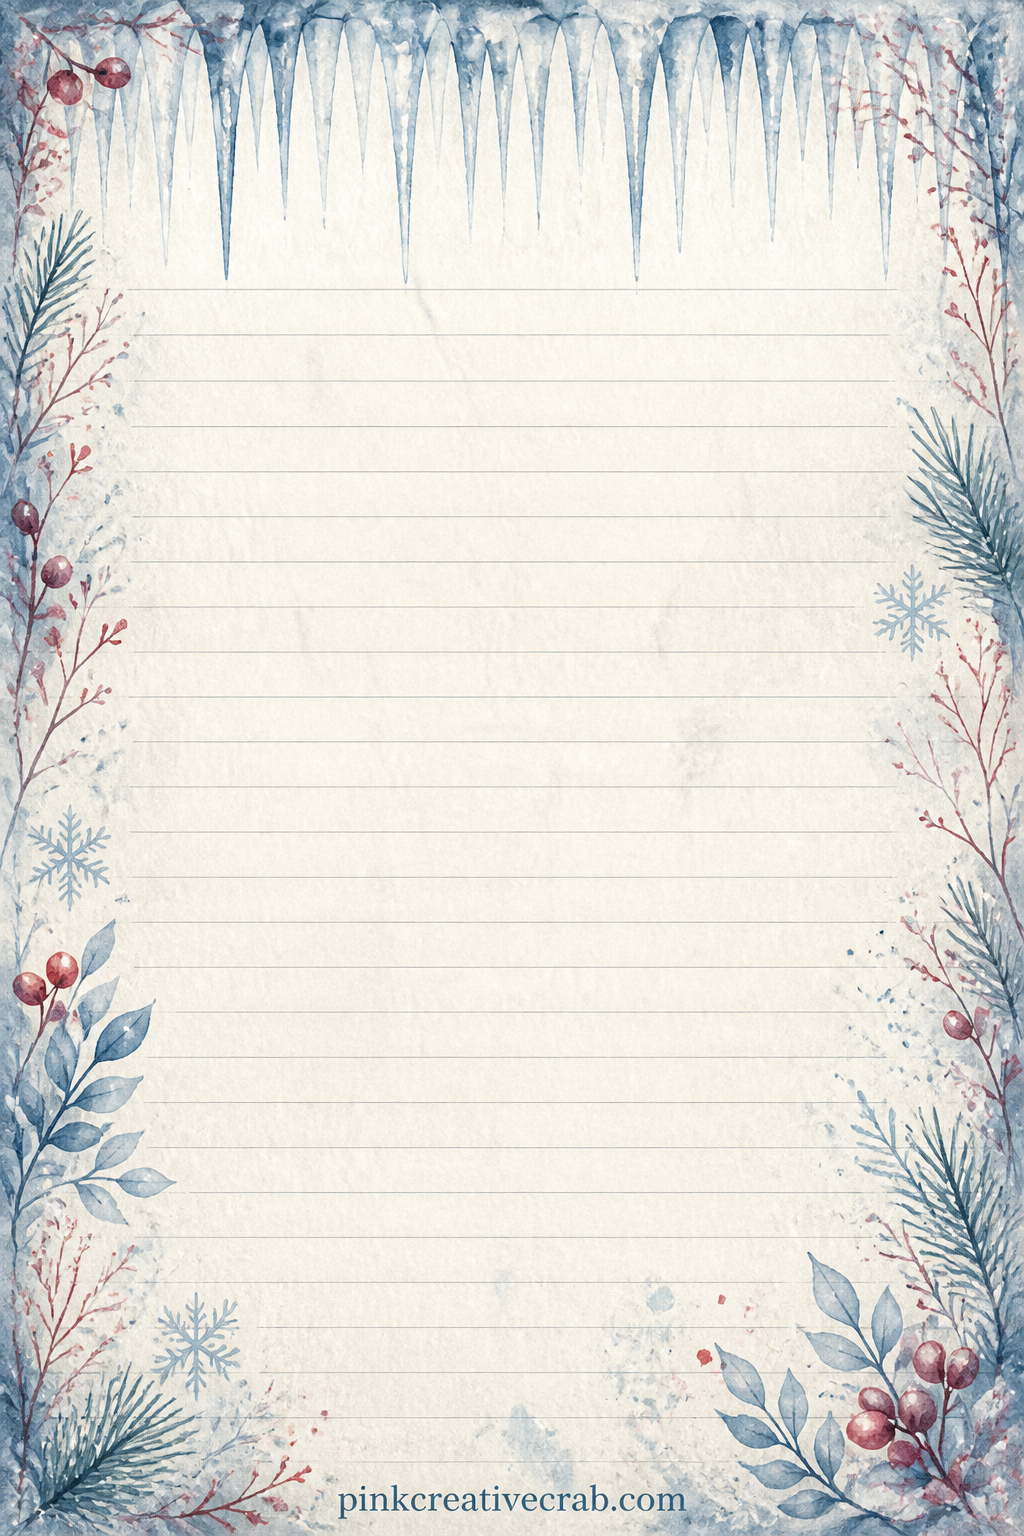
Thin icicles hang along the top edge like a fringe, leaving faint ruled lines below for a weather log, a packing list or notes on this year’s first snowfall.
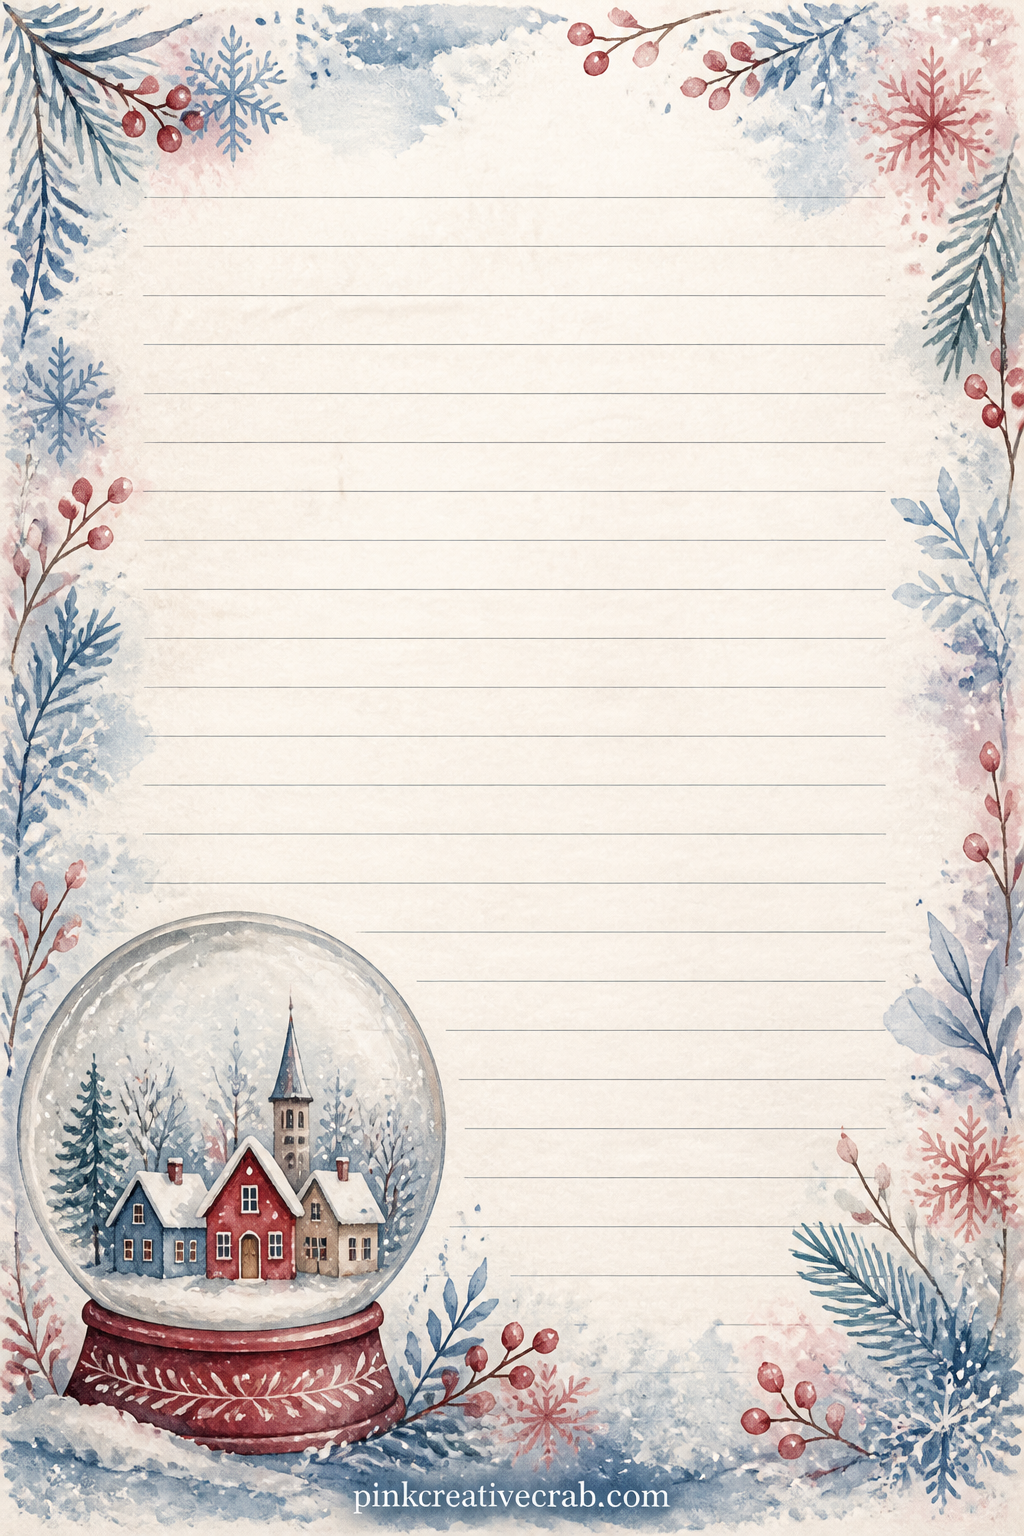
A small snow globe sits in one corner holding a tiny painted village, with faint ruled lines across the page for a wish list or a note to open next winter.
What to Do Next
Print the full set at once so the pages stay together, then start gluing from the first village scene and let the rest of your winter journal build spread by spread around it.
Frequently Asked Questions
What paper works best for a winter junk journal kit like this one?
Matte cardstock around 65 to 90lb handles glue and folding without buckling or curling. Plain printer paper works for a quick test print but feels thin once it is glued into a journal, so cardstock is worth the extra cost for the pages you plan to keep.
What printer settings keep the watercolor washes looking soft?
Choose your printer’s best or photo quality setting rather than draft or normal, since lower settings can make soft washes look banded or patchy. If your printer offers a matte photo paper profile, select it even when printing on plain cardstock for smoother color.
What size should I print these pages at?
Standard US letter or A4 suits most junk journals and binds easily with any cover size you already use. If your journal runs smaller, scale the pages down in your print dialog rather than resizing the files, so borders and lines stay proportional.
Do I need to color or finish these pages before using them?
No, every page prints fully finished and ready to glue in as is. You can still add torn edges, a little tea staining or a layer of washi tape along the borders if you want extra texture, but nothing further is required.
What do I use to put the pages into my journal?
A fine tip glue pen or a thin layer of craft glue stick keeps pages flat without wrinkling the cardstock. Scissors or a small paper trimmer handle any trimming, and a bone folder helps if you choose to fold a page in half for a gatefold effect.
Have any thoughts?
Share your reaction or leave a quick response — we’d love to hear what you think!
-
 0
0 -
0
-
0
-
0
-
0
-
0


