

A northern lights painting gives you permission to go bold with color before you have even picked up a brush: deep teal sky, electric green, a wash of violet, and one small shape on the ground to hold it all together. That ground shape is what keeps each of these from being just a sky study. A cabin, a sled dog, a lone pine, a hot tub with someone soaking in it under the glow: something to anchor the eye before it drifts up into the ribbons of light.
Below you will find 31 night scenes built the same simple way every time, dark sky first, aurora blended in next, the subject saved for last. Work through them in order if you like, from the easiest cabin-by-a-lake to the busier reindeer herds and village shorelines, or jump straight to whichever one matches the mood you are in tonight.
Using these images: free for personal projects such as printing, coloring, cards, journals and gifts. Handmade items that include them may be sold up to 30 pieces per design. More than that is commercial use and is not permitted, and neither is selling or sharing the images themselves or passing them off as your own. Please ask before any other use.
Start the whole series with a red wooden cabin by a frozen lake, the simplest shape on this list and a good way to learn the order you will use again and again. Block in the sky first with a deep teal, working wet so the color stays smooth, then blend in bands of green aurora with a soft flat brush while the paint is still workable.
Once the sky is dry to the touch, paint the frozen lake as a pale grey-blue plane that takes up the lower third of the canvas. Measure the cabin against the lake before you commit to it: it should sit no taller than a third of the canvas height, or it starts to fight the aurora for attention. Paint the cabin as two or three flat red shapes, a darker roof, then add one small warm yellow window last.
If the red looks too flat against the teal, warm it slightly with a touch of orange so it glows rather than sits dead on the surface. Add a thin line of white reflection under the cabin on the ice. No red on hand works too, a deep rust or barn brown reads just as well against a night sky.
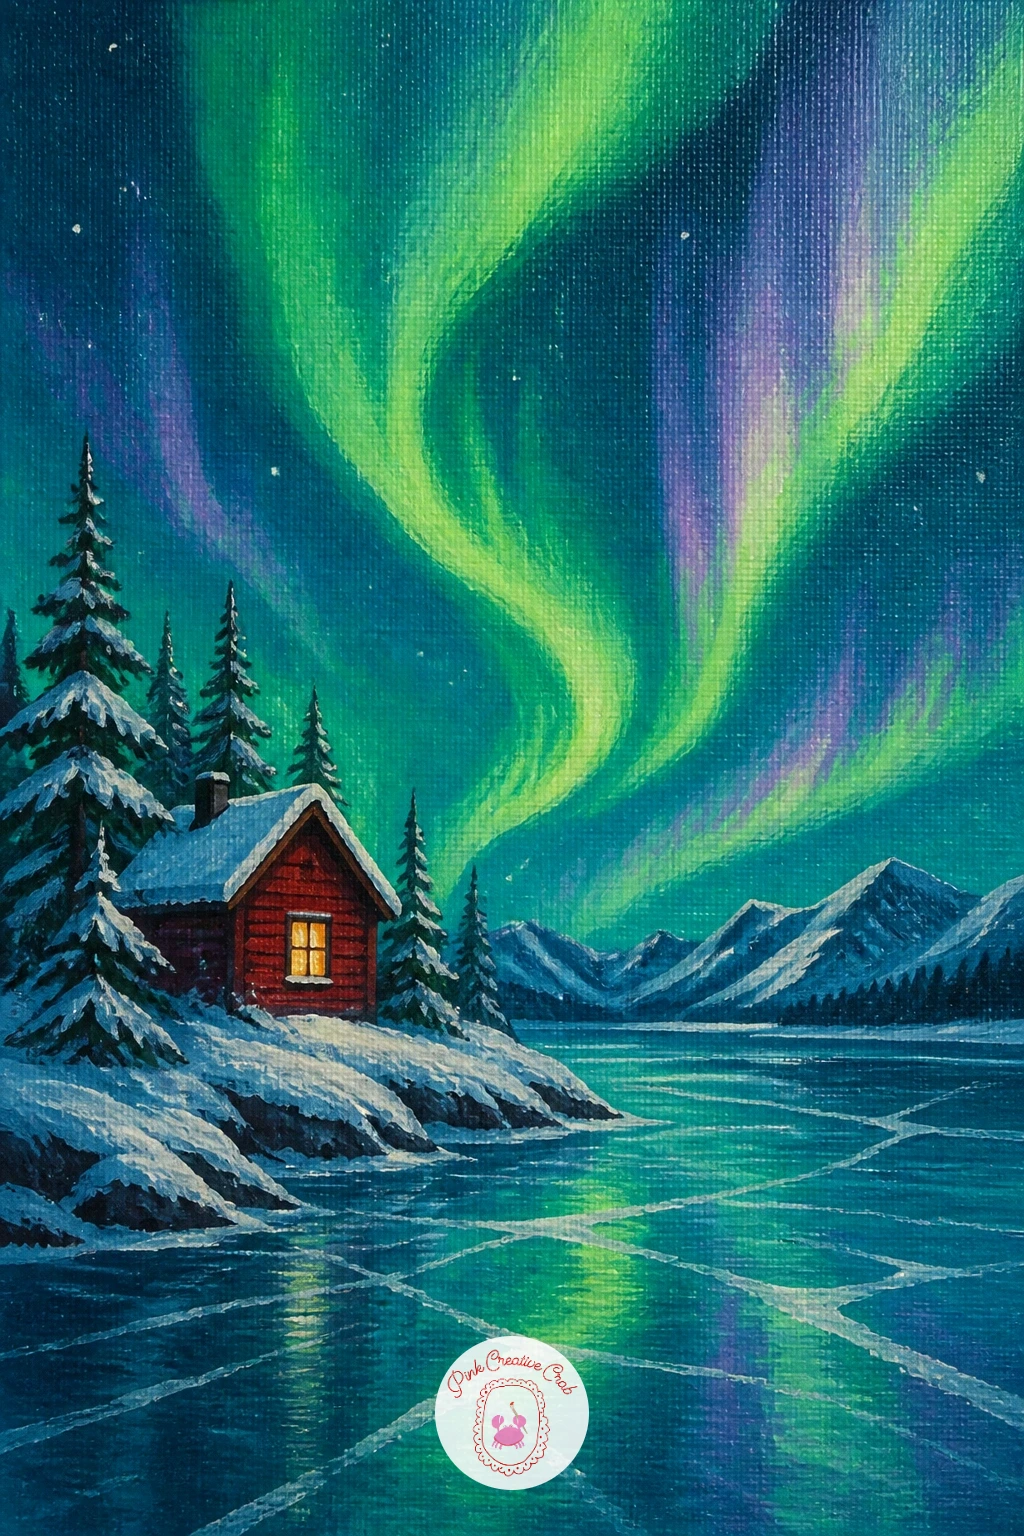
Palette: Deep Teal, Sap Green, Cadmium Red, Titanium White
Move from a building to a tent and the proportions change completely: a small orange tent glowing on a snowy ridge reads best when it stays tiny against the sky, no more than a tenth of the canvas width. That contrast in scale is the whole point of this one, so resist the urge to paint it bigger just because it carries the warm color.
Paint the teal sky and green aurora first as before, then lay the ridge in as a simple sweeping snow shape with a dry brush dragged lightly over the surface to catch some texture in the white. Drop the tent in last as a small triangle of warm orange with a soft glow painted around its base using a lighter, almost yellow-orange.
The common mistake here is making the glow too sharp-edged, which flattens the whole scene. Soften the edge of that glow with a clean damp brush before it dries so it melts into the surrounding snow. If orange is not in your set, a warm coral or even a soft red-pink works for the tent fabric.
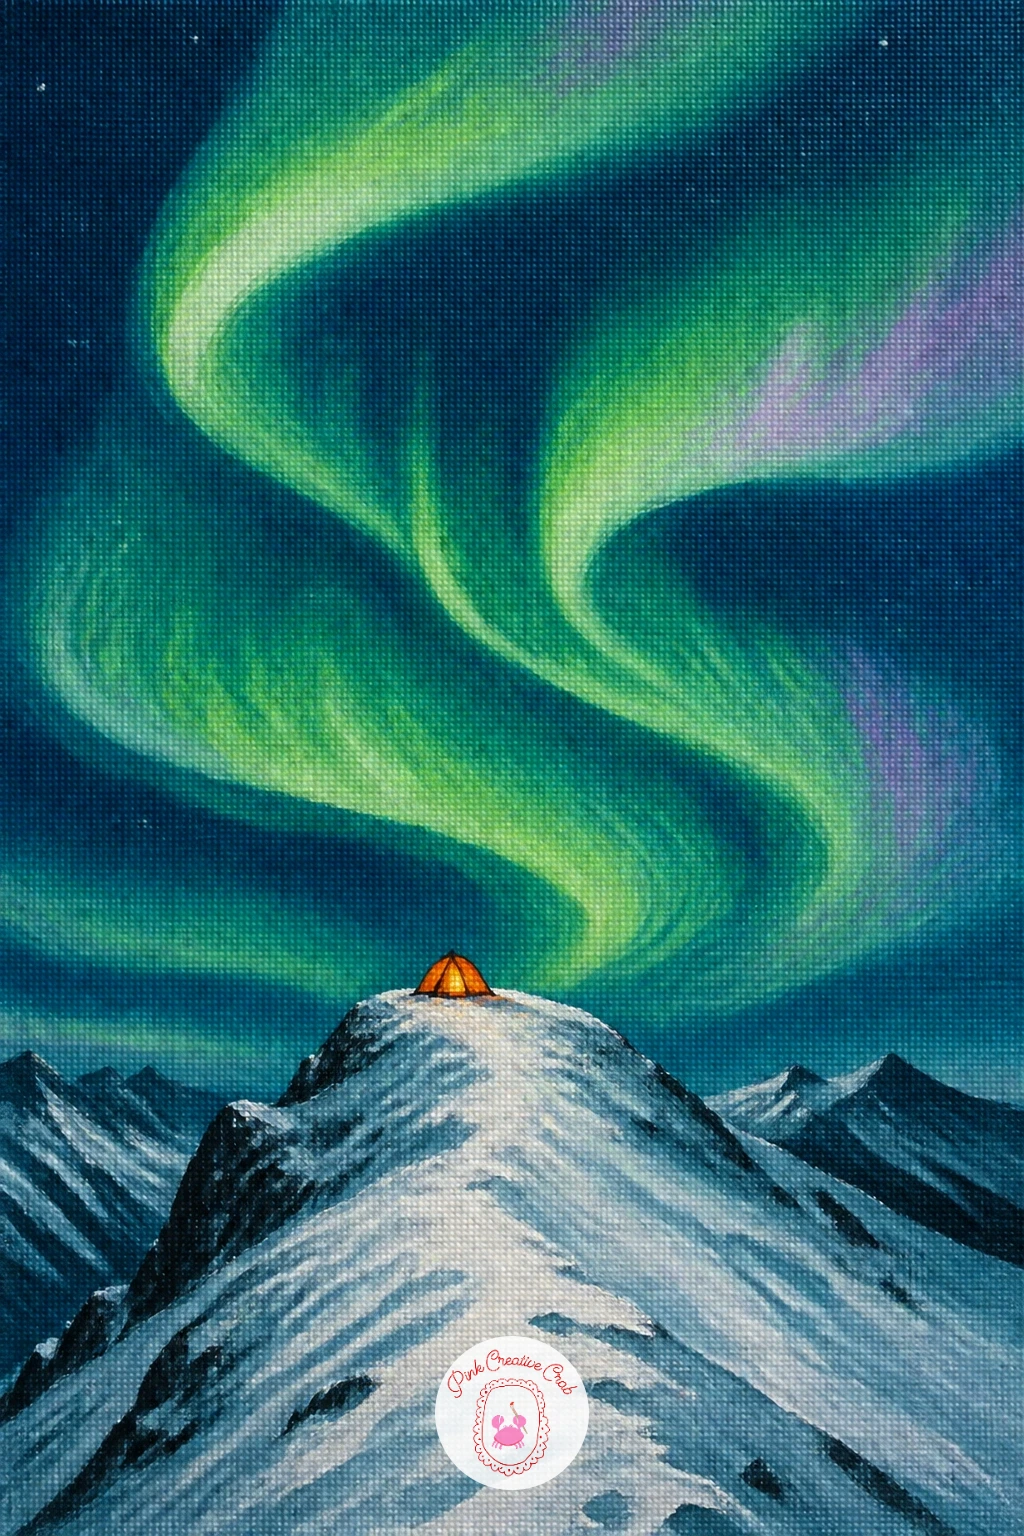
Palette: Deep Teal, Viridian, Cadmium Orange, Titanium White
Try this one at ten minutes flat: sky, ridge, tiny tent, done. The forty-minute version adds a scatter of stars with a toothbrush flick of white before the tent goes in.
A reindeer herd crossing the frozen tundra is the first busier scene on this list, so keep every animal as a simple dark silhouette rather than trying to paint detail into each one. Lay the sky and swirling green aurora first, broad and loose, then paint the snowy tundra plane in cool whites and pale violet shadow.
Compare the reindeer to each other before you paint a single one: pick one size for the nearest animal, then make every other shape a little smaller and a little higher on the canvas to suggest distance without any real perspective drawing. A small round brush loaded with near-black or deep brown paint can block in each body and a pair of antler lines in two or three quick strokes.
It goes wrong when the herd turns into a tidy row. Stagger the animals, overlap a couple of them, and leave gaps so the eye reads a moving group rather than a lineup. If brown feels too flat, mix a little violet into your dark for a cold, moonlit shadow color instead.
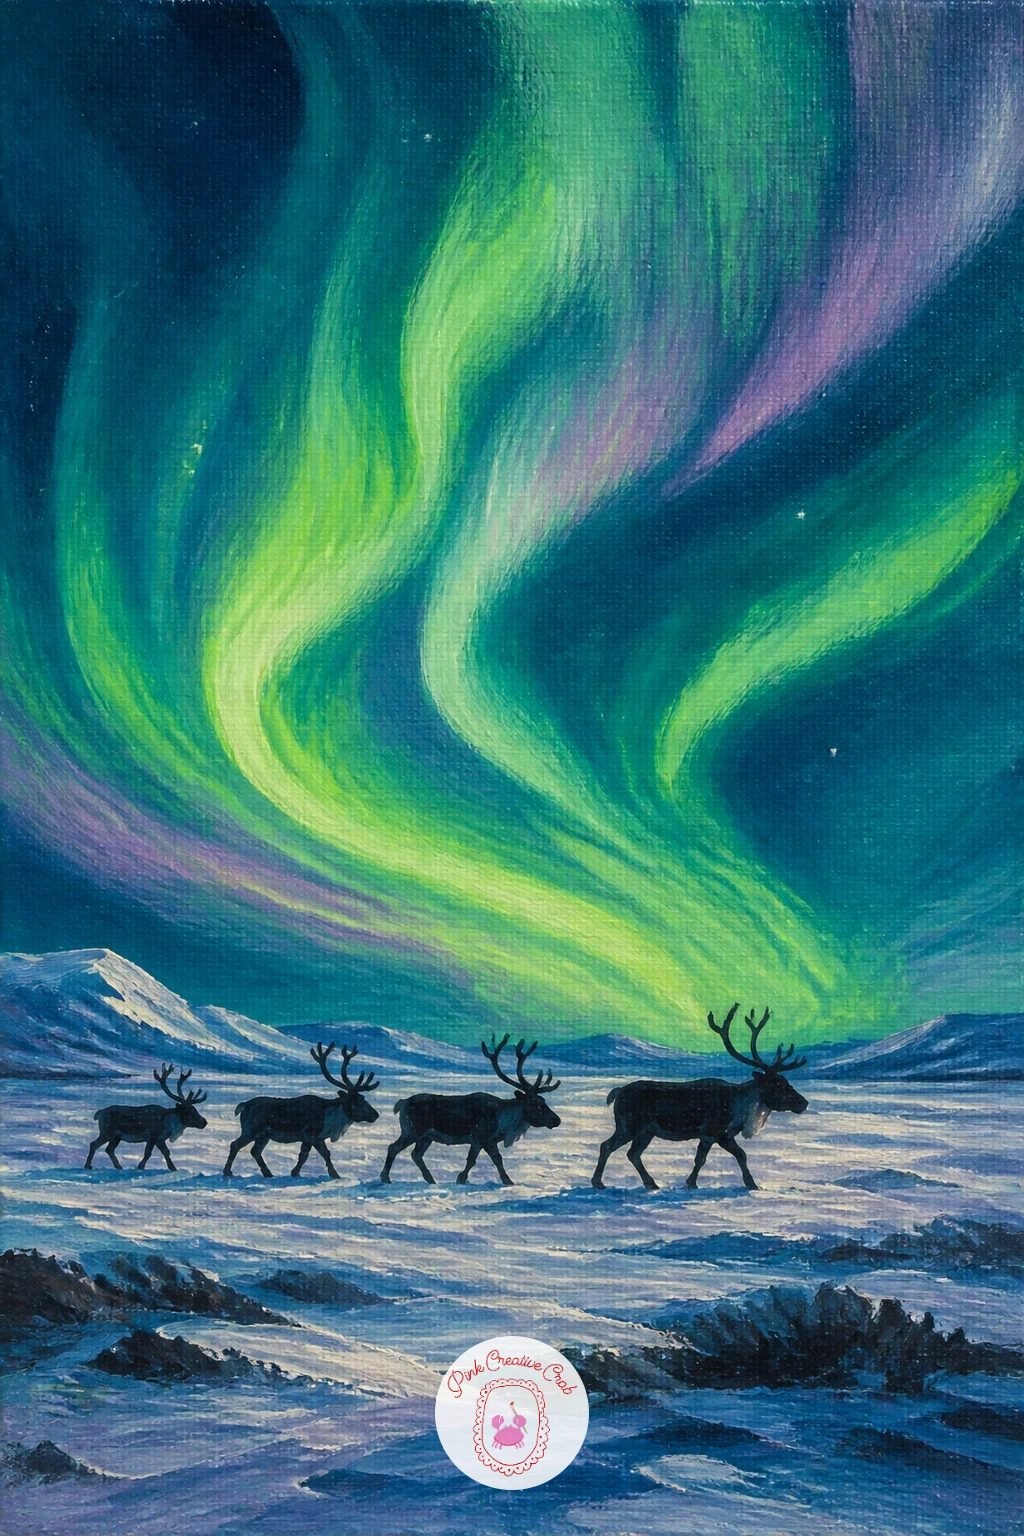
Palette: Payne’s Grey, Emerald Green, Van Dyke Brown, Dioxazine Violet
A glass igloo hotel with a couple watching the aurora from bed gives you a dome shape and a hint of interior glow, two new problems to solve at once, so take them one at a time. Paint the sky and aurora first as always, then build the dome as a pale curved shape with a slightly darker line marking its ribs so it reads as glass rather than a plain hill.
Inside the dome, keep the bed and the two figures as simple flat shapes, almost silhouettes, lit by a warm interior glow that you paint as a soft yellow-orange halo behind them before the figures themselves go on top. This is where eye level matters: paint the dome low in the frame and the aurora will seem to arch right over it, which is the effect you want.
If the glass dome starts looking like a solid white igloo, add a thin rim of sky color bleeding through the curve to suggest transparency. No warm yellow on hand, a pale cream works nearly as well for that interior light.
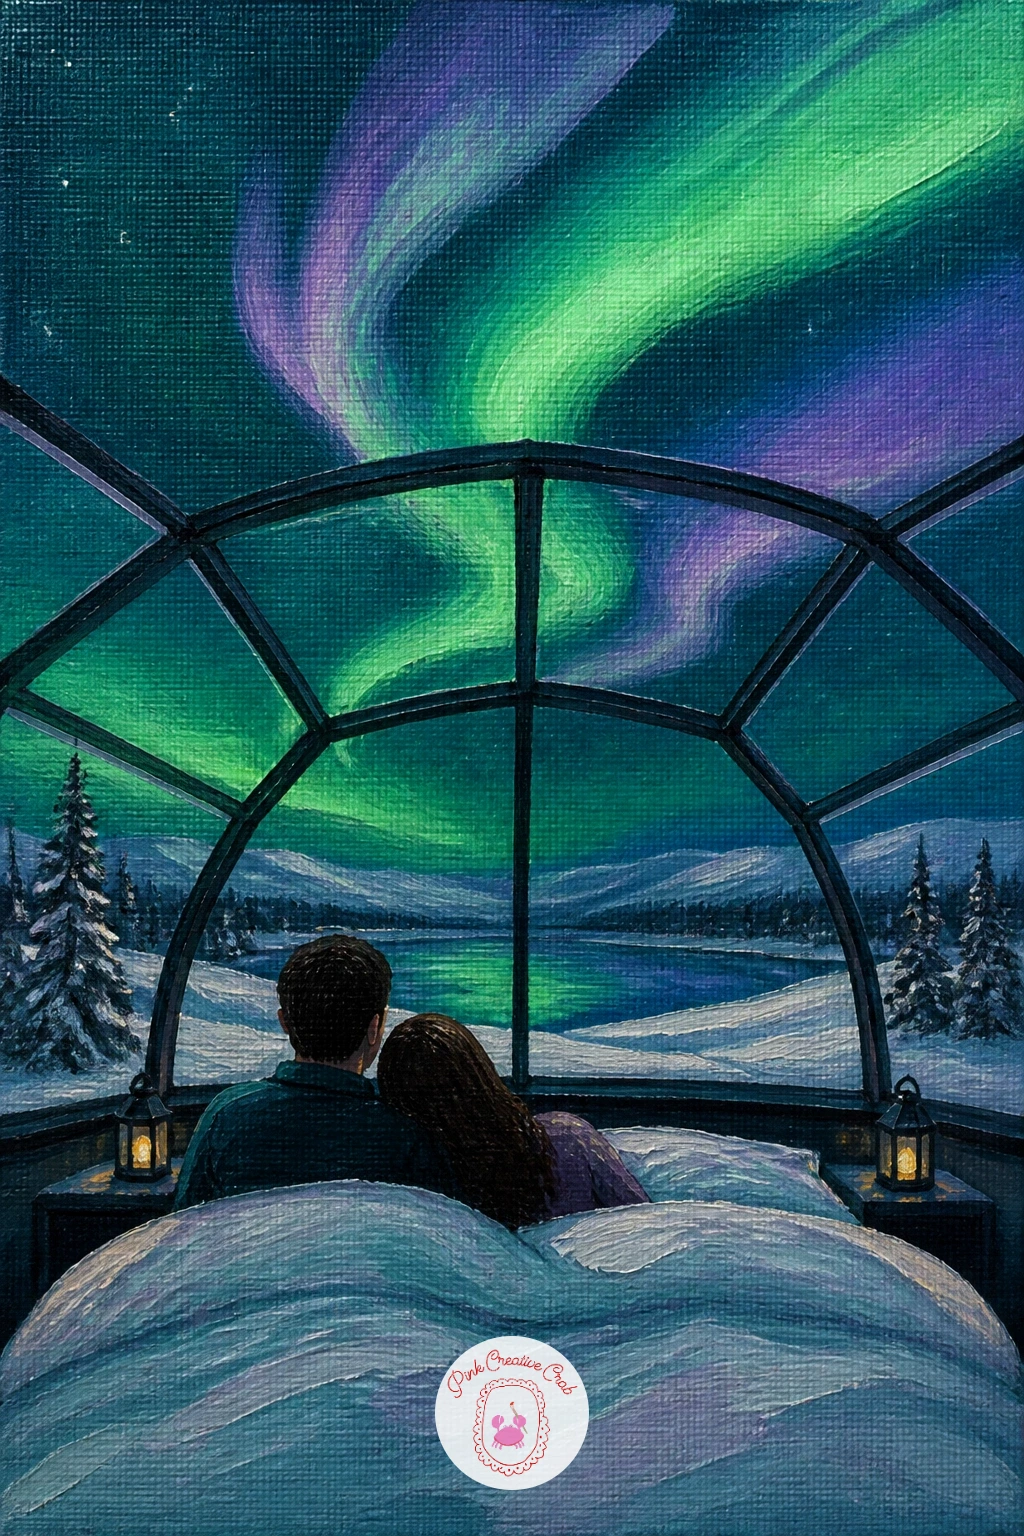
Palette: Deep Teal, Aurora Green, Violet Grey, Warm Yellow
Bring the scene down to ground level with a girl in a sage knit hat lying in the snow watching the aurora, a quiet single-figure piece that leans entirely on silhouette. Block the sky and aurora first, loose and soft, then paint the snow beneath her as a pale sweep with a touch of violet shadow where her body will sit.
Paint the figure as one dark flat shape lying on her back, knees slightly bent, arms resting at her sides, and only then add the sage hat as a small patch of muted green-grey on her head. Keep her small against the sky, no more than a fifth of the canvas width, so the aurora stays the real subject.
The tricky part is the angle of her body reading clearly as lying down rather than standing. Keep the shape wide and low, closer to a long oval than a tall one, and that alone will sell the pose. If sage green is not in your set, a dusty blue-grey hat works just as well against the snow.
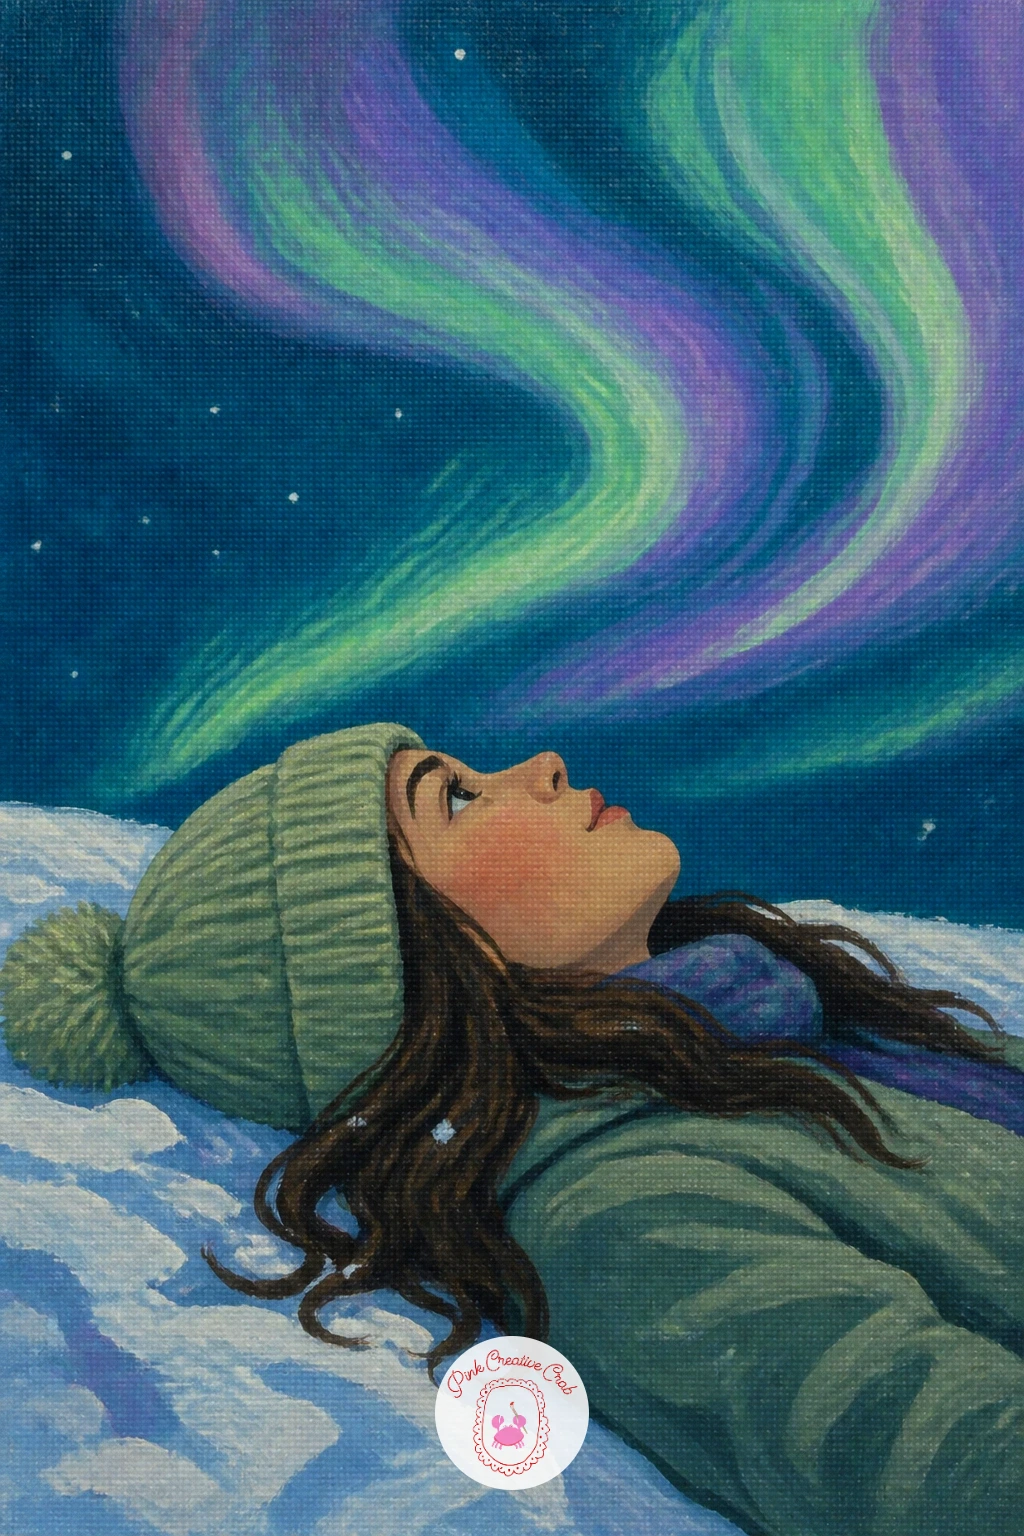
Palette: Deep Teal, Aurora Violet, Sage Green, Titanium White
A wooden jetty on a still fjord reflecting green and violet light is the first reflection piece on this list, and reflections are easier than they look if you build them in the right order. Paint the sky and aurora as usual, then paint the fjord water as a near mirror of that sky, slightly darker and with the aurora bands softened and stretched vertically underneath.
Once the water is blocked in, paint the jetty as a simple line of dark wooden planks running from the foreground toward the horizon, narrowing as it goes to suggest distance. A straightedge or the edge of a palette knife held against the canvas helps keep those receding lines honest if freehand feels shaky.
Reflections go wrong when they look too crisp, which breaks the illusion of water. Drag a dry brush horizontally through the wet reflection colors to blur them just slightly before anything dries. If you do not have violet, a cool blue-grey in the reflection still reads as still water under aurora light.
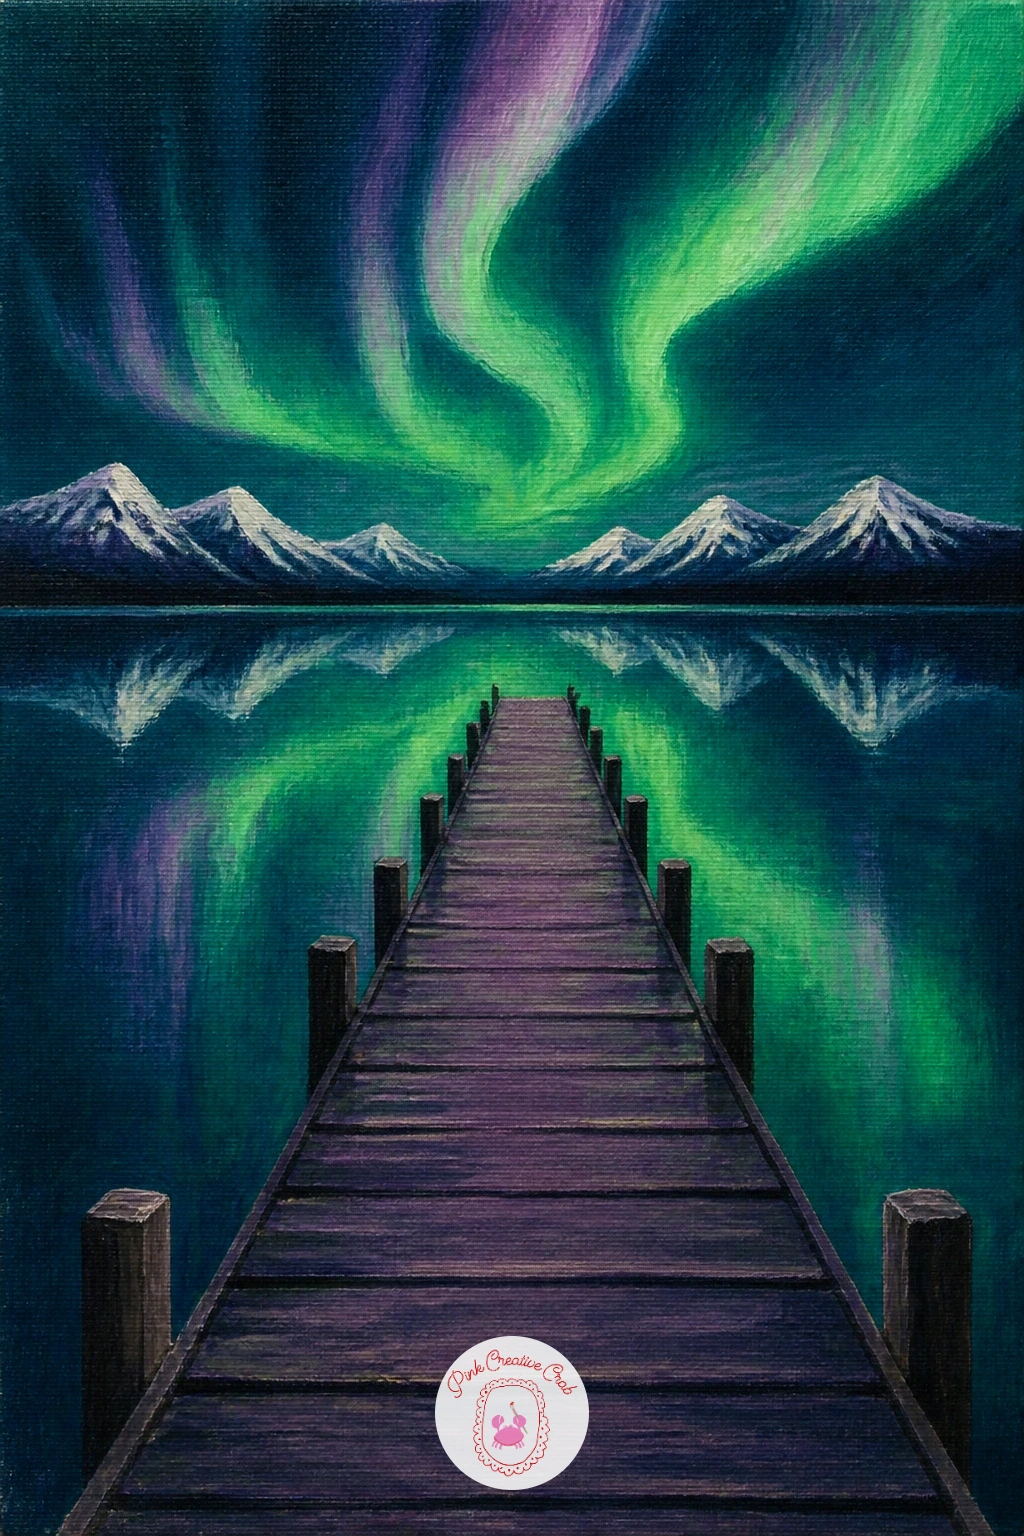
Palette: Deep Teal, Aurora Green, Dioxazine Violet, Dark Umber
Shift back to animals with a husky team resting beside their sled under the northern lights, a good subject for practicing a cluster of similar shapes without making them identical. After the sky and aurora are in, paint the snow ground, then build the sled as a simple dark wooden frame with thin curved runners.
Paint each husky as a rounded sitting or curled shape, varying the pose slightly from dog to dog: one curled nose to tail, one sitting upright, one lying flat. Keep their coloring simple, cream and grey-brown patches rather than fur detail, and let a few quick dry-brush strokes suggest texture along the back of each one.
The team reads as a messy pile if every dog faces the same way. Turn at least one head toward the sky to break the rhythm and lead the eye upward. If you do not want to paint a full team, two dogs beside the sled still tells the same story.
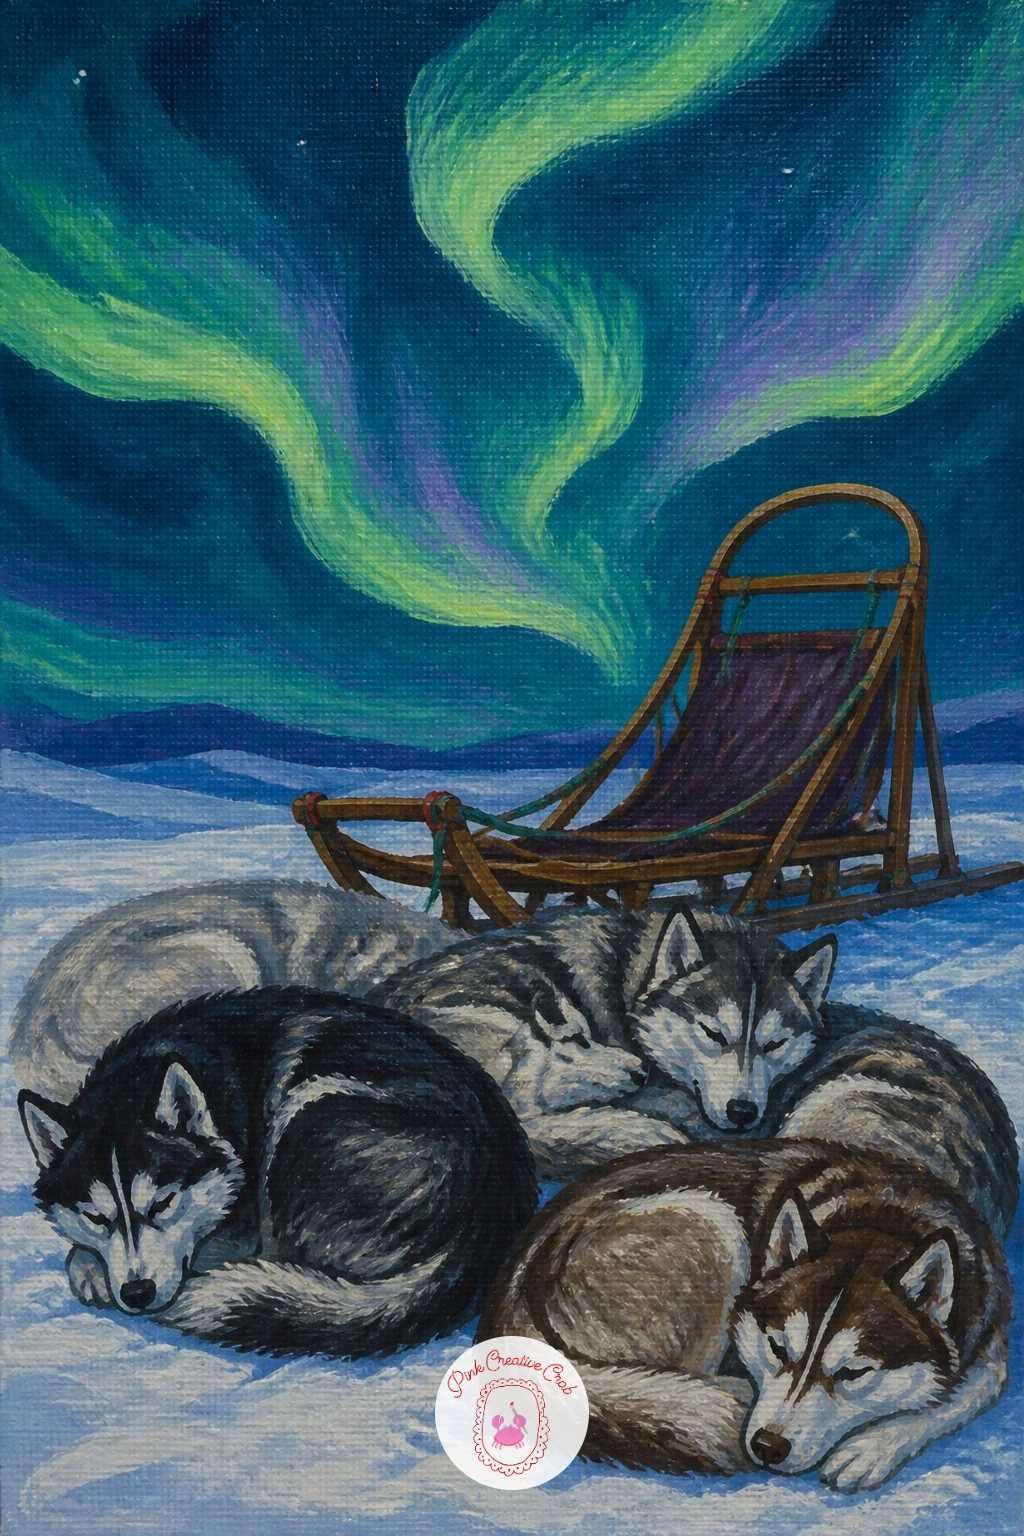
Palette: Deep Teal, Spring Green, Raw Umber, Titanium White
A lone snowy pine on a hill with the aurora curling above strips the scene down to its simplest form, which makes it a good subject for practicing edges and texture. Paint the sky and aurora loosely first, letting the green curl in a wide arc above where the tree will stand.
Build the hill as a soft snow-covered curve, then paint the pine as a tall dark triangle shape, slightly irregular rather than a perfect cone. Once that base shape is dry, load a dry, slightly splayed brush with white and dab it lightly along the branch edges to suggest snow sitting on the needles without painting individual branches.
If the tree looks too neat and store-bought, break up its silhouette with a few jagged notches along the edge, real pines are never symmetrical. A kneaded eraser works on pencil underdrawing if you sketch the tree shape first and want to lighten a line before committing in paint. No dry brush on hand, a sponge dabbed lightly does a similar job for the snow texture.
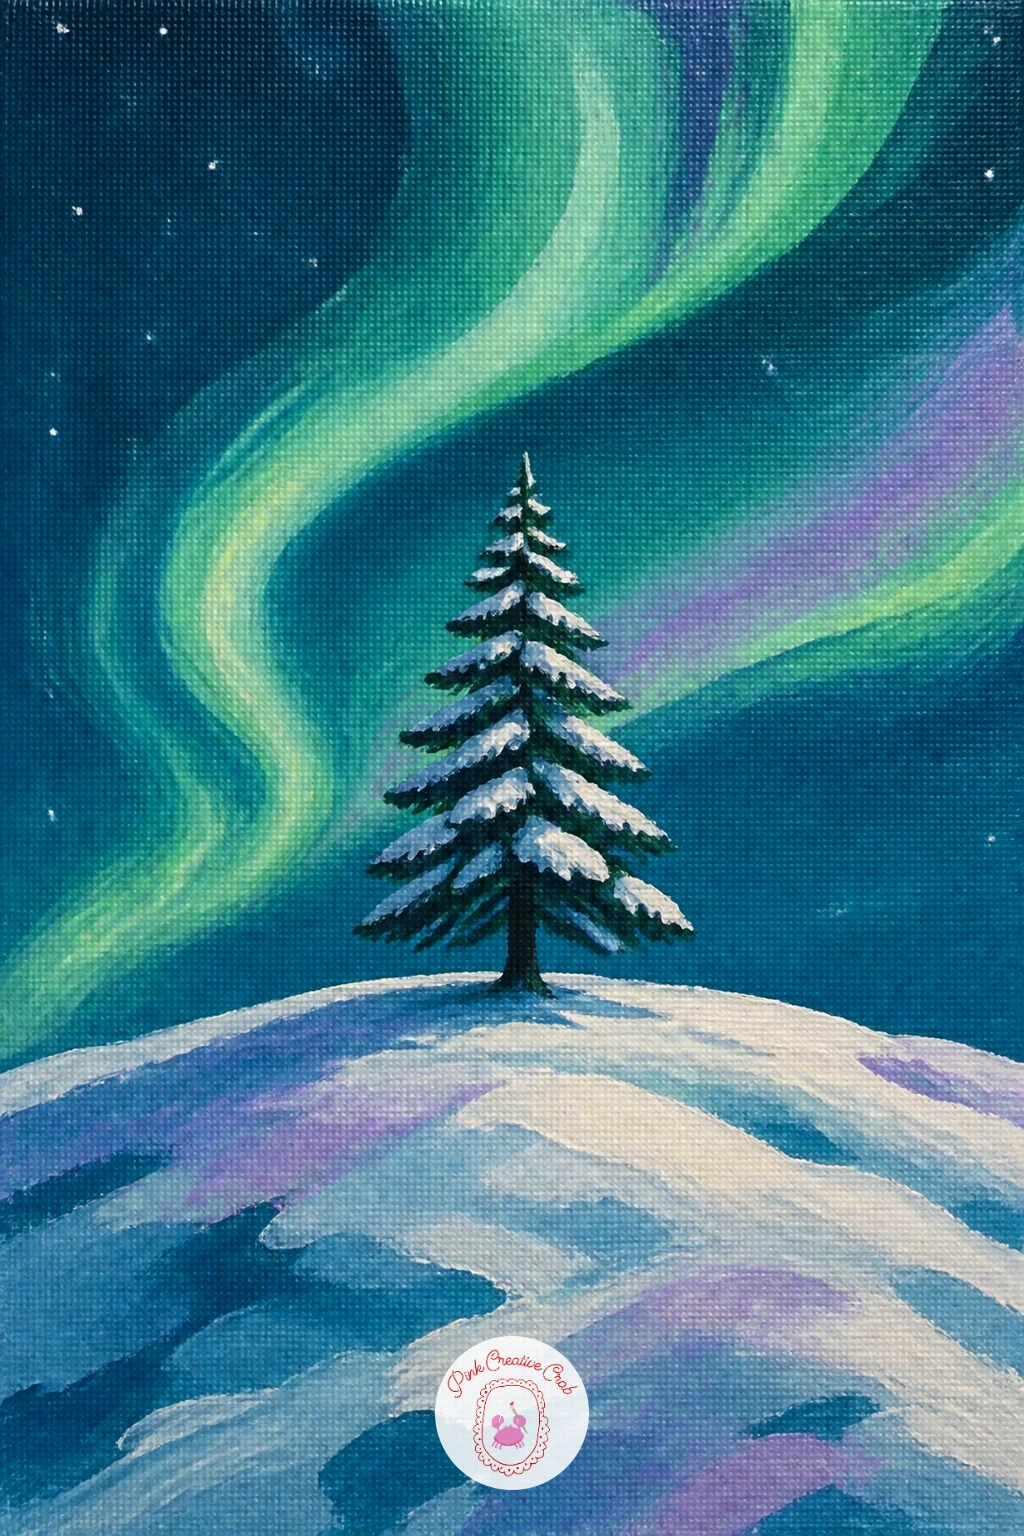
Palette: Deep Teal, Forest Green, Aurora Green, Titanium White
Red rorbu cabins on a Lofoten shore under a green sky move you from one building to a small cluster, so this is a good moment to practice grouping shapes without them blending into each other. Sky and aurora first, then paint the rocky shoreline as a dark uneven band along the bottom of the canvas.
Paint the cabins as a row of simple red rectangular shapes on wooden stilts, varying their height slightly so the row has rhythm rather than looking stamped from the same template. One or two small yellow windows scattered across the row, not one per cabin, will keep the lighting believable rather than busy.
Crowding every cabin the same distance apart is the easy trap here. Group two close together and leave a gap before the third, the way real waterside buildings sit. If you would rather paint fewer buildings, two cabins still reads as a Lofoten shore and keeps the piece quicker to finish. For more cold-weather village ideas, the ice skating painting list has a few lakeside towns worth a look too.
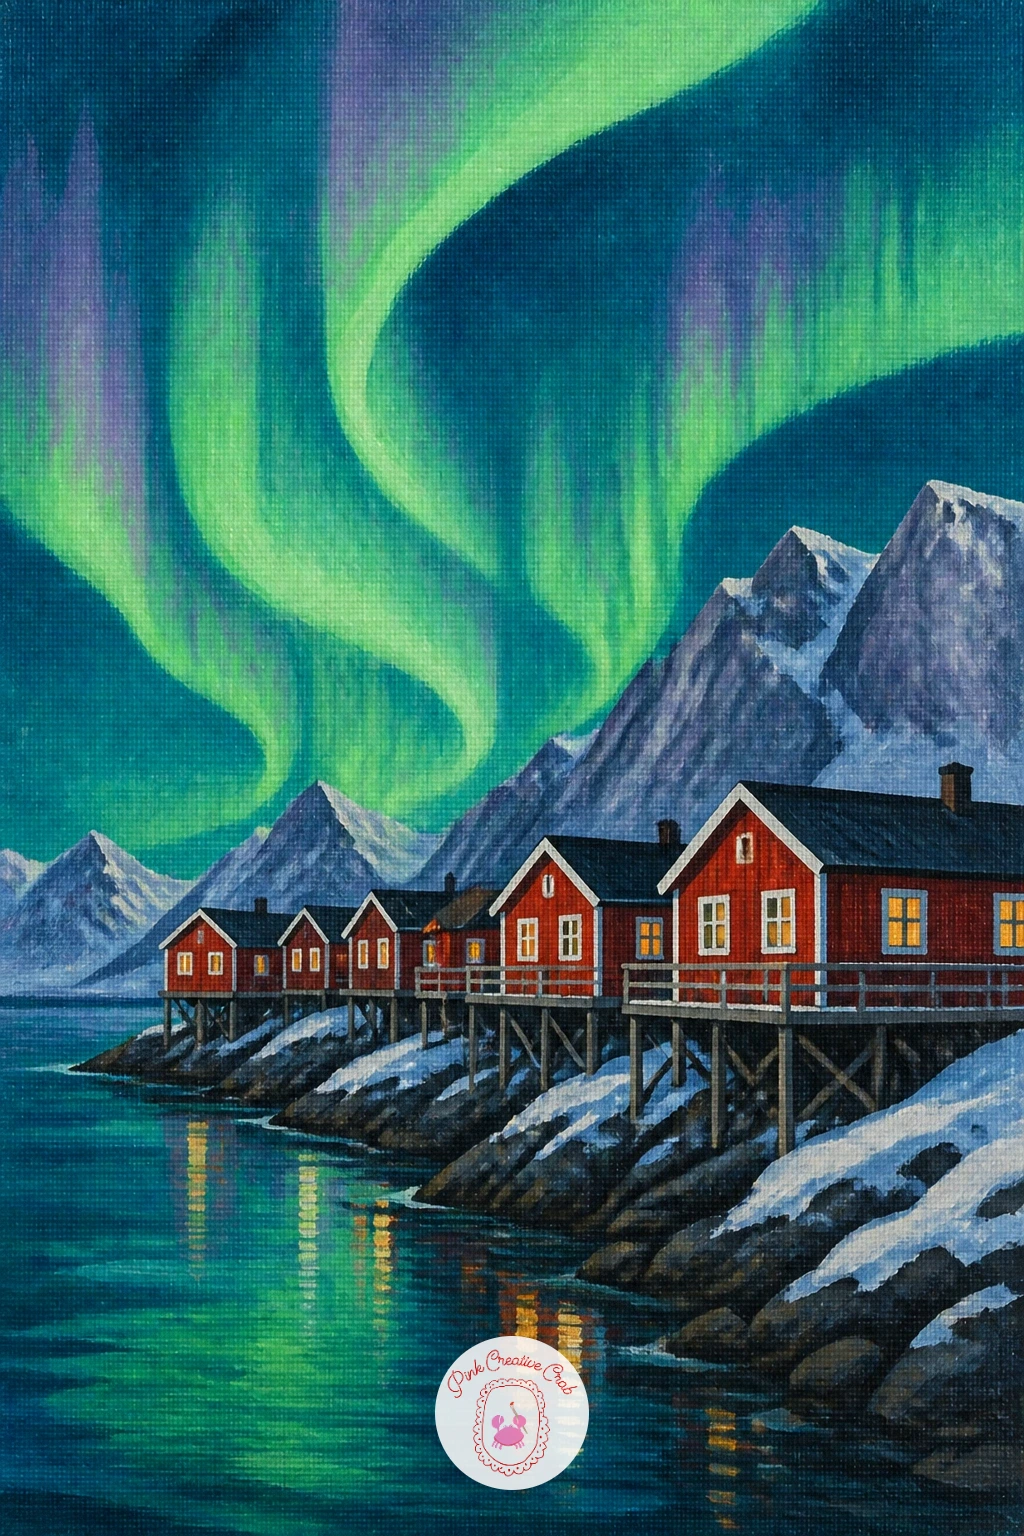
Palette: Deep Teal, Aurora Green, Cadmium Red, Warm Yellow
A moose standing in a snowy bog under faint green lights calls for a calmer palette than the brighter scenes before it, which is a nice change of pace partway through a series. Keep the aurora faint here, a thin pale green wash rather than a bold ribbon, so it sits low in intensity behind a darker sky.
Paint the bog as a flat snow-covered plane with a few dark reeds or bare branches poking through, then block in the moose as one large dark silhouette, its long legs and the distinctive hump of its shoulders the two shapes to get right. Compare the moose’s leg length to its body before finishing, moose stand surprisingly tall and leggy, taller than most people expect.
Painted too short, the moose reads as a horse. Lengthen the legs if that happens, even past what feels natural, and it will click into place. If green feels too faint to see against the dark sky, add the thinnest hint of pale yellow into the aurora mix to lift it just slightly.
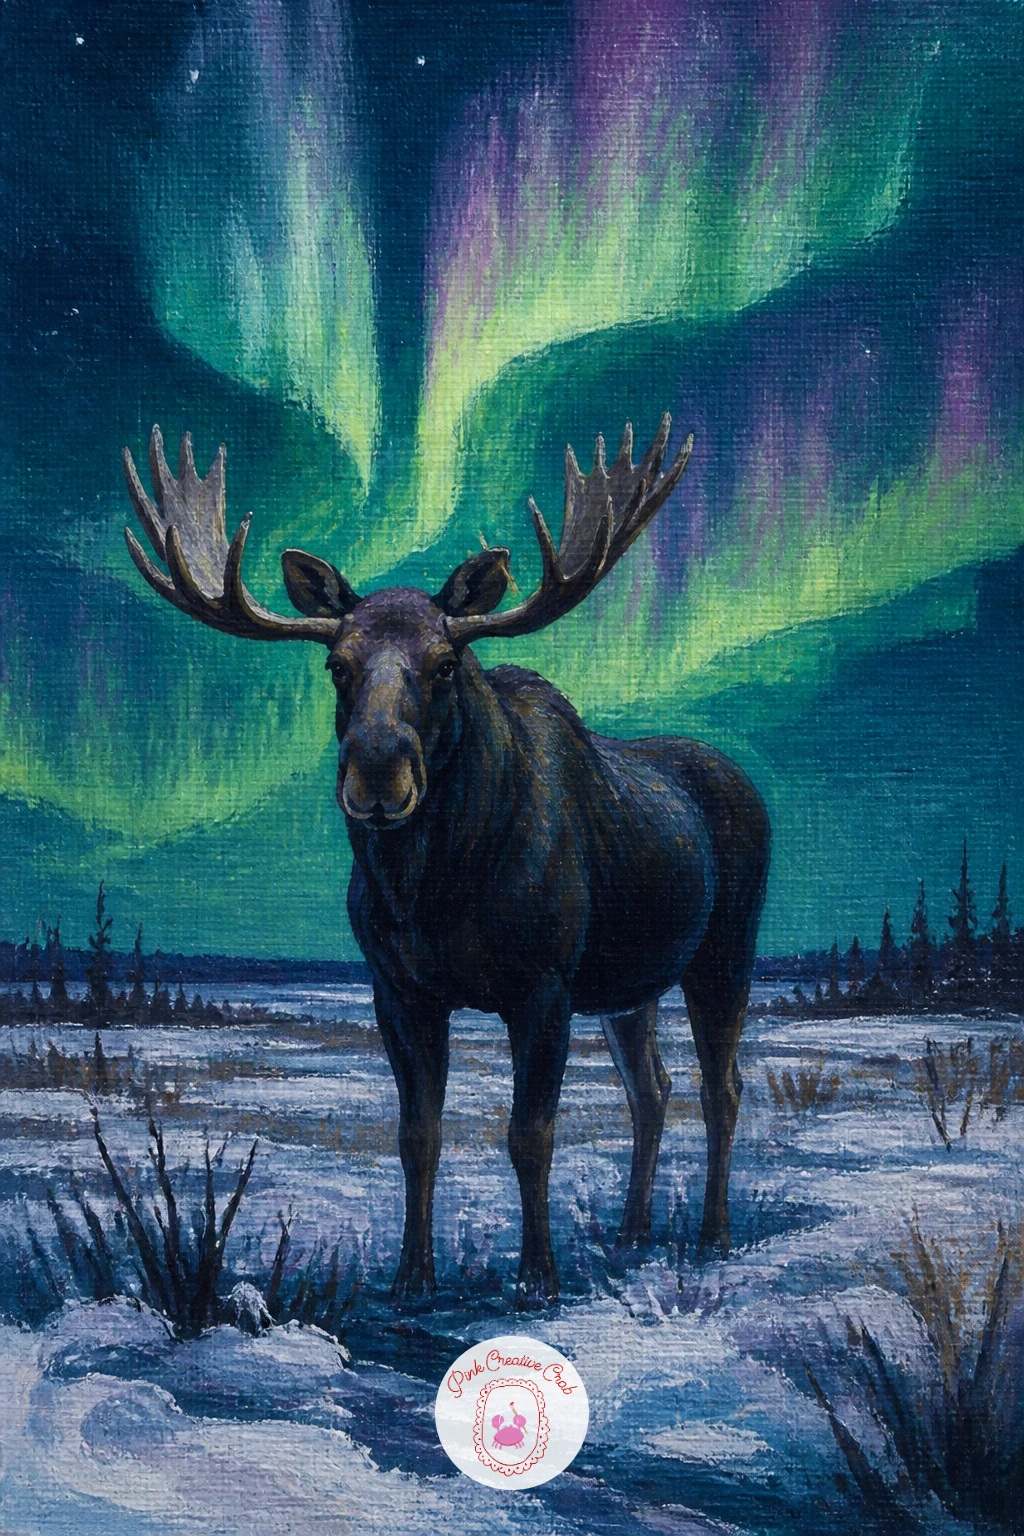
Palette: Payne’s Grey, Faint Green, Dark Umber, Titanium White
A woman in a wooden hot tub on a cabin deck watching the aurora brings warmth and steam into a cold scene, which makes it one of the more satisfying pieces on this list to finish. Paint sky and aurora first, then the cabin deck as a simple dark wood platform in the foreground.
Block in the round wooden tub as an oval shape with a darker rim, then paint the water inside pale and slightly steamy, a soft white-grey. The figure sits as a simple silhouette with shoulders and head above the rim, nothing more detailed needed. Steam is the fun part: dab soft, barely-there white strokes rising upward from the water surface with a dry brush, fading them out before they reach too high.
Steam painted too solid turns into clouds sitting on the canvas rather than rising off the water. Keep each stroke thin and let some canvas show through. No white paint to spare for steam, a very pale grey mixed thin works just as well.
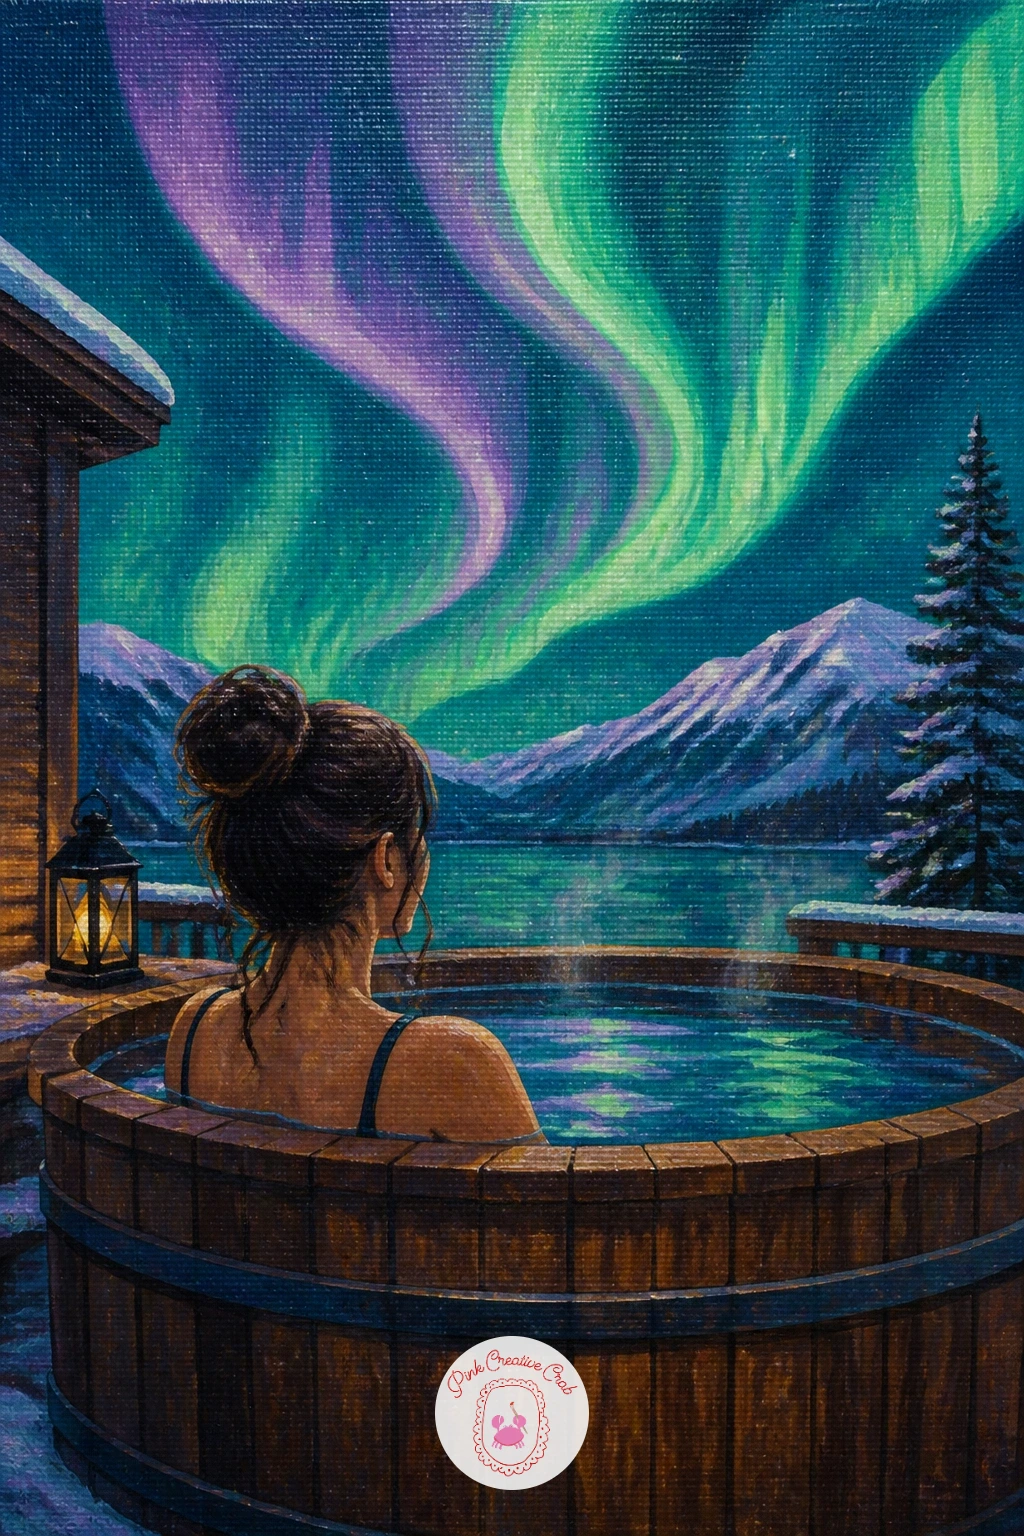
Palette: Deep Teal, Aurora Violet, Raw Umber, Titanium White
A frozen waterfall lit by a ribbon of green aurora asks you to paint ice instead of flowing water, which is really just a question of where the light hits. Decide where the aurora’s glow falls on the falls before you block in any shape, then keep every highlight consistent with that one light source.
Paint the dark rock face first as a tall uneven column, then layer the frozen water down its center in pale blue-white, broken by a few jagged dark cracks to suggest ice rather than snow. Where the aurora light would catch the ice, lift a little of the pale paint with a clean damp brush while still wet to let a hint of green glow through.
Ice painted perfectly smooth looks like plastic. Break the surface with a palette knife dragged lightly through wet paint for a few jagged highlights and shadows. If a palette knife is not on hand, the edge of an old card works for the same scraped texture.
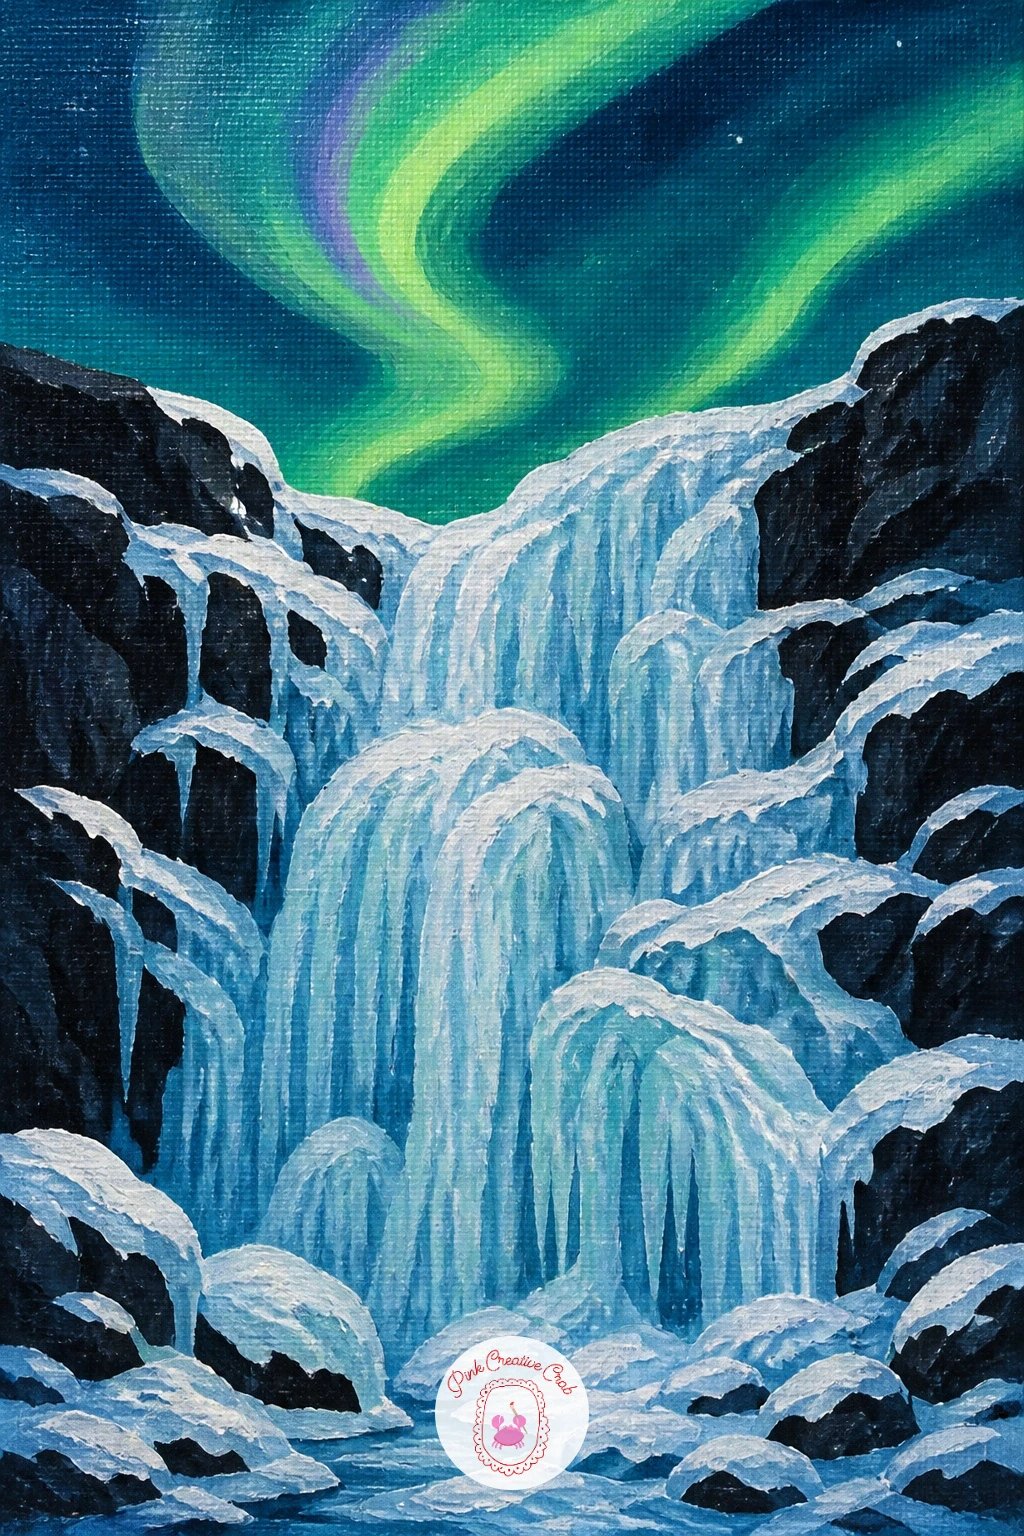
You Will Need
- palette knife or old card for texture
Palette: Deep Teal, Aurora Green, Ice Blue, Payne’s Grey
A black A-frame cabin with one lit window under a violet aurora works almost entirely on silhouette and contrast, so get the dark cabin shape right before worrying about anything else. Paint the violet-toned sky and aurora first, letting the violet dominate more than green this time for a different mood than the earlier cabin piece.
Block the A-frame in as one tall dark triangle sitting on a low snowy base, its steep roofline nearly touching the ground on both sides. Add the single lit window last, a small warm square cut into the dark shape, and let a soft glow bleed just slightly outward from its edges into the snow below.
Painted too wide, an A-frame starts to look like an ordinary house. Keep the roofline steep and narrow, closer to a tall A than a squat triangle. If violet feels hard to mix clean, a ready-mixed purple from a tube saves the guesswork and still glows nicely against teal.
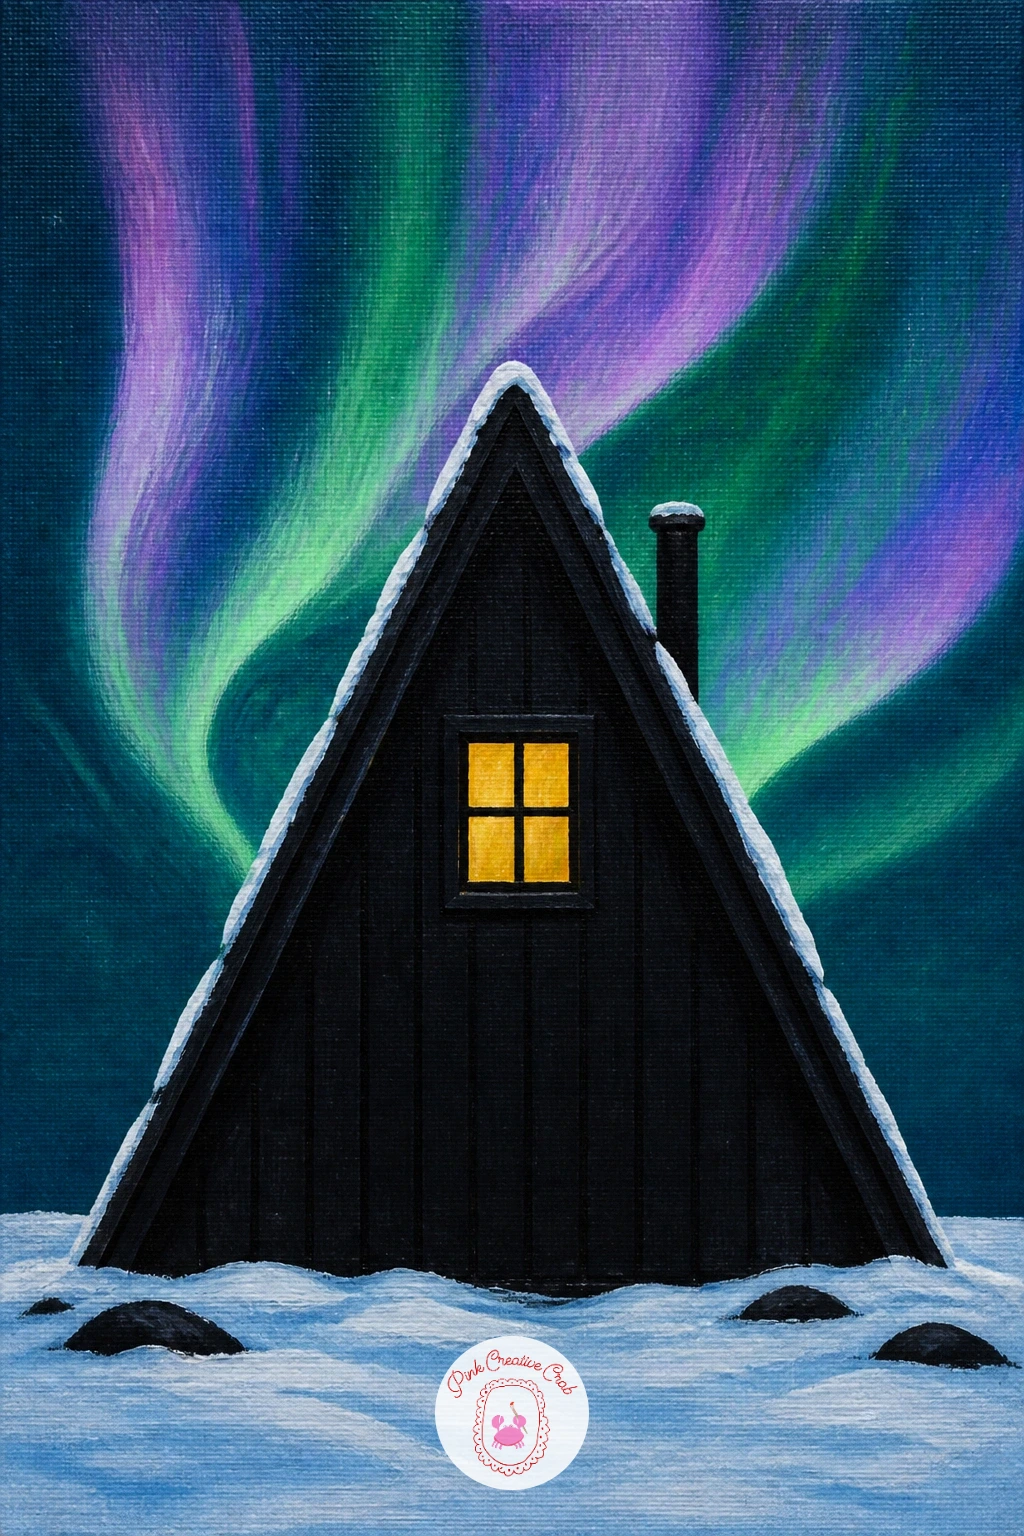
Palette: Deep Teal, Dioxazine Violet, Lamp Black, Warm Yellow
A snowy owl perched on a fence post under the northern lights is a small, calm subject that leans on shape more than detail, much like the arctic junk journal pages that feature the same bird. Paint the sky and aurora first, then the fence post as a simple weathered dark post with a thin horizontal rail attached.
Block the owl in as a rounded white body shape, slightly puffed, with two small dark eyes and a few soft grey speckles dabbed on with a nearly dry brush once the white base has dried. Keep the head round and the body compact, snowy owls read as soft and rounded rather than sleek.
Too much speckling turns the owl grey instead of white. Keep most of the body clean white and add speckles sparingly, mostly along the wings. If a fence post feels like too much to add, perch the owl on a simple snow-covered branch instead and the scene still works.
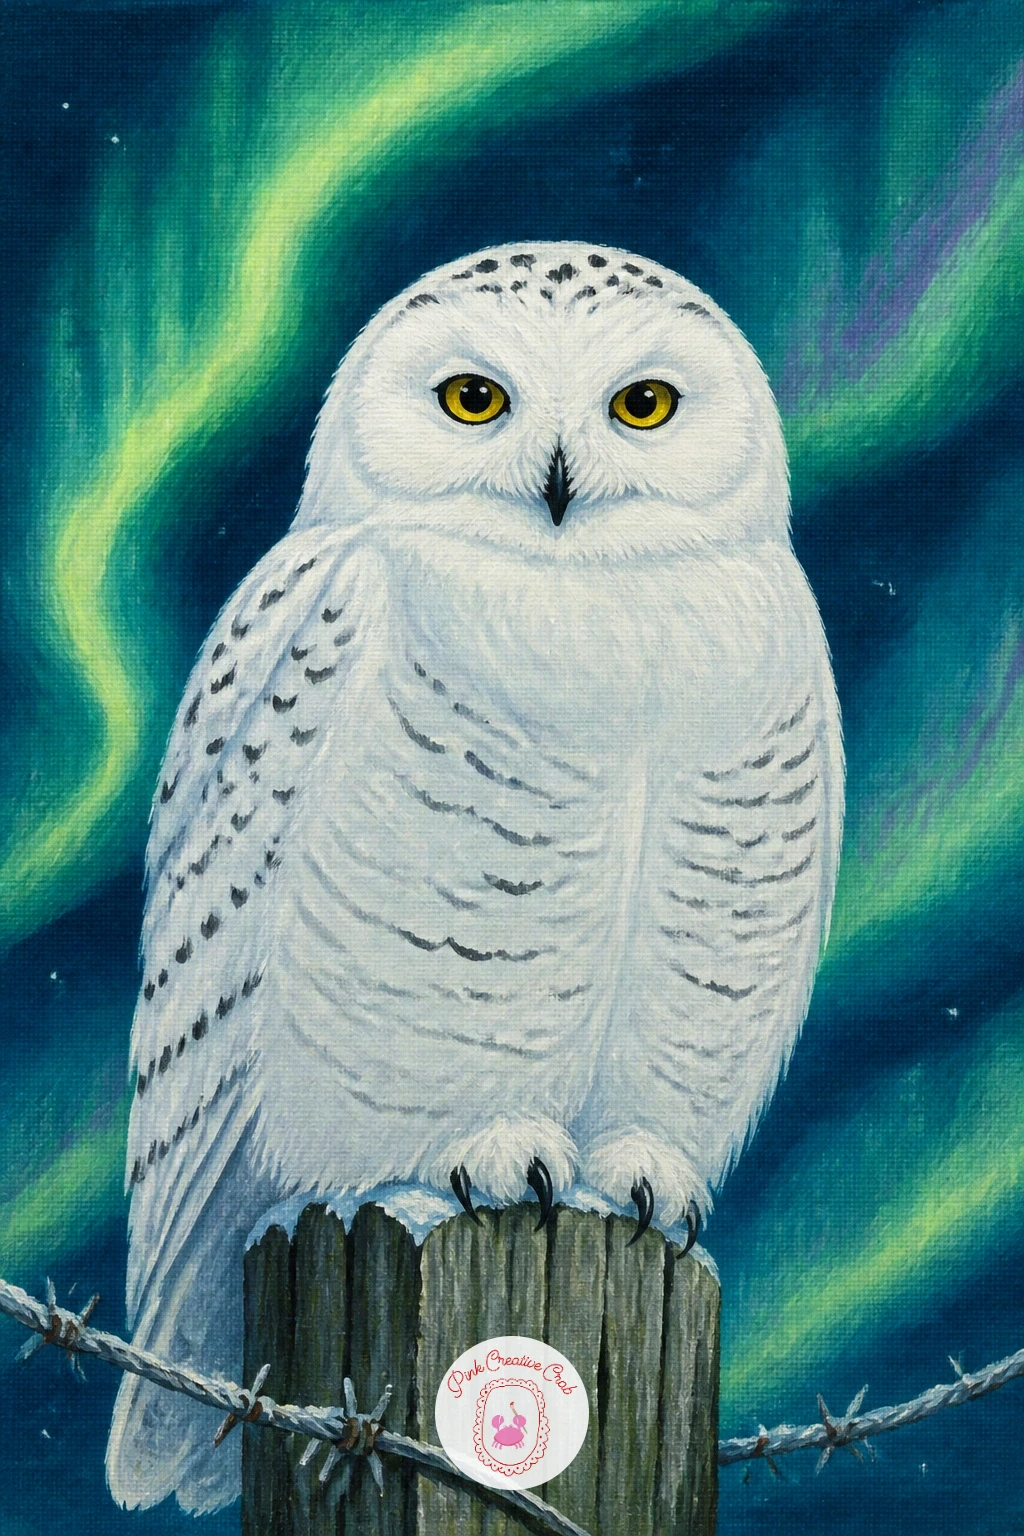
Palette: Deep Teal, Aurora Green, Titanium White, Payne’s Grey
A couple sharing a thermos on a frozen lake beneath the aurora brings two small figures together, which means thinking about how their shapes relate before you paint either one. Lay the sky, aurora and frozen lake surface first, the ice painted pale with a few faint reflected streaks of green.
Paint the two figures as simple dark silhouettes standing close, shoulders nearly touching, one holding a small thermos between them with a thin curl of steam rising from its cup. Keep both figures roughly the same height and let their outlines overlap slightly at the shoulder, that small overlap is what reads as togetherness rather than two strangers standing apart.
Figures painted with too much gap between them lose the warmth of the scene. Push them closer than feels natural at first. If a thermos and steam feels fiddly, a simple shared blanket draped over both shoulders tells the same story with less detail.
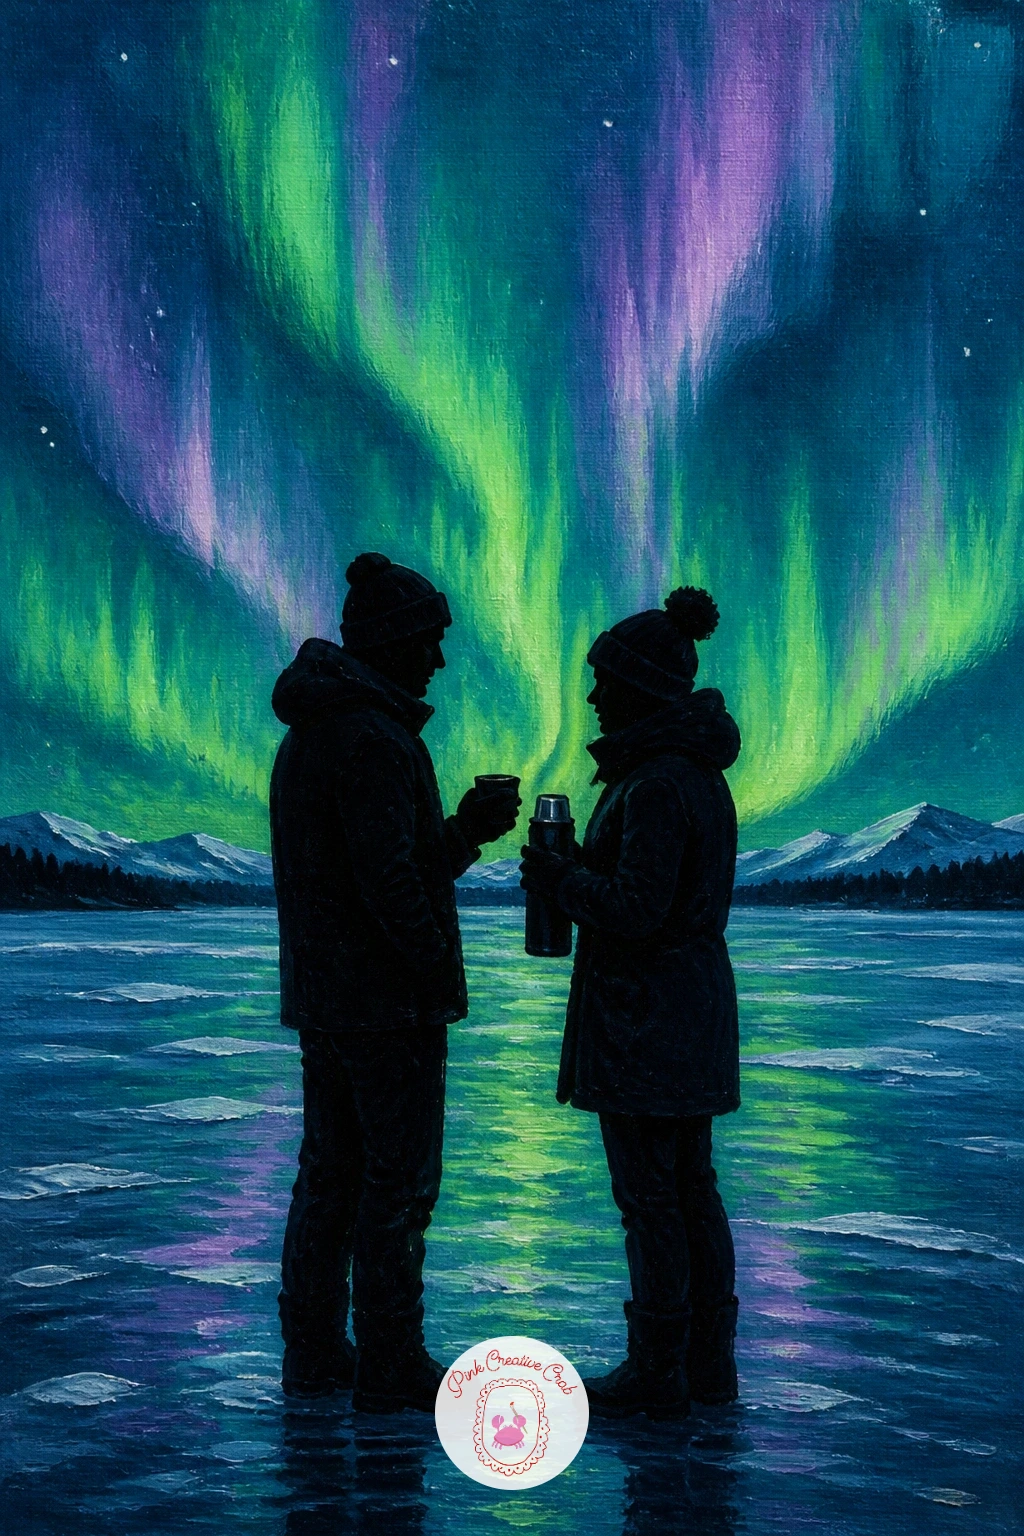
Palette: Deep Teal, Aurora Violet, Lamp Black, Titanium White
A cone-shaped lavvu tent with smoke curling up into the aurora gives you a strong simple silhouette plus a chance to practice a soft rising line of smoke. Paint the sky and aurora first, leaving a little extra space above the tent’s peak for the smoke to travel through.
Block the lavvu in as a tall cone shape made of a few angled dark poles crossing near the top, with canvas or hide-colored panels filling the gaps between them in warm brown tones. Once that is dry, paint the smoke as a soft, slightly wavering grey-white line rising from the peak, thinning and spreading as it climbs into the aurora above.
Smoke painted in one straight stroke looks stiff. Let your brush waver very slightly side to side as it travels upward, the way real smoke drifts in still cold air. No brown on your palette, a deep rust or warm grey works just as well for the tent panels.
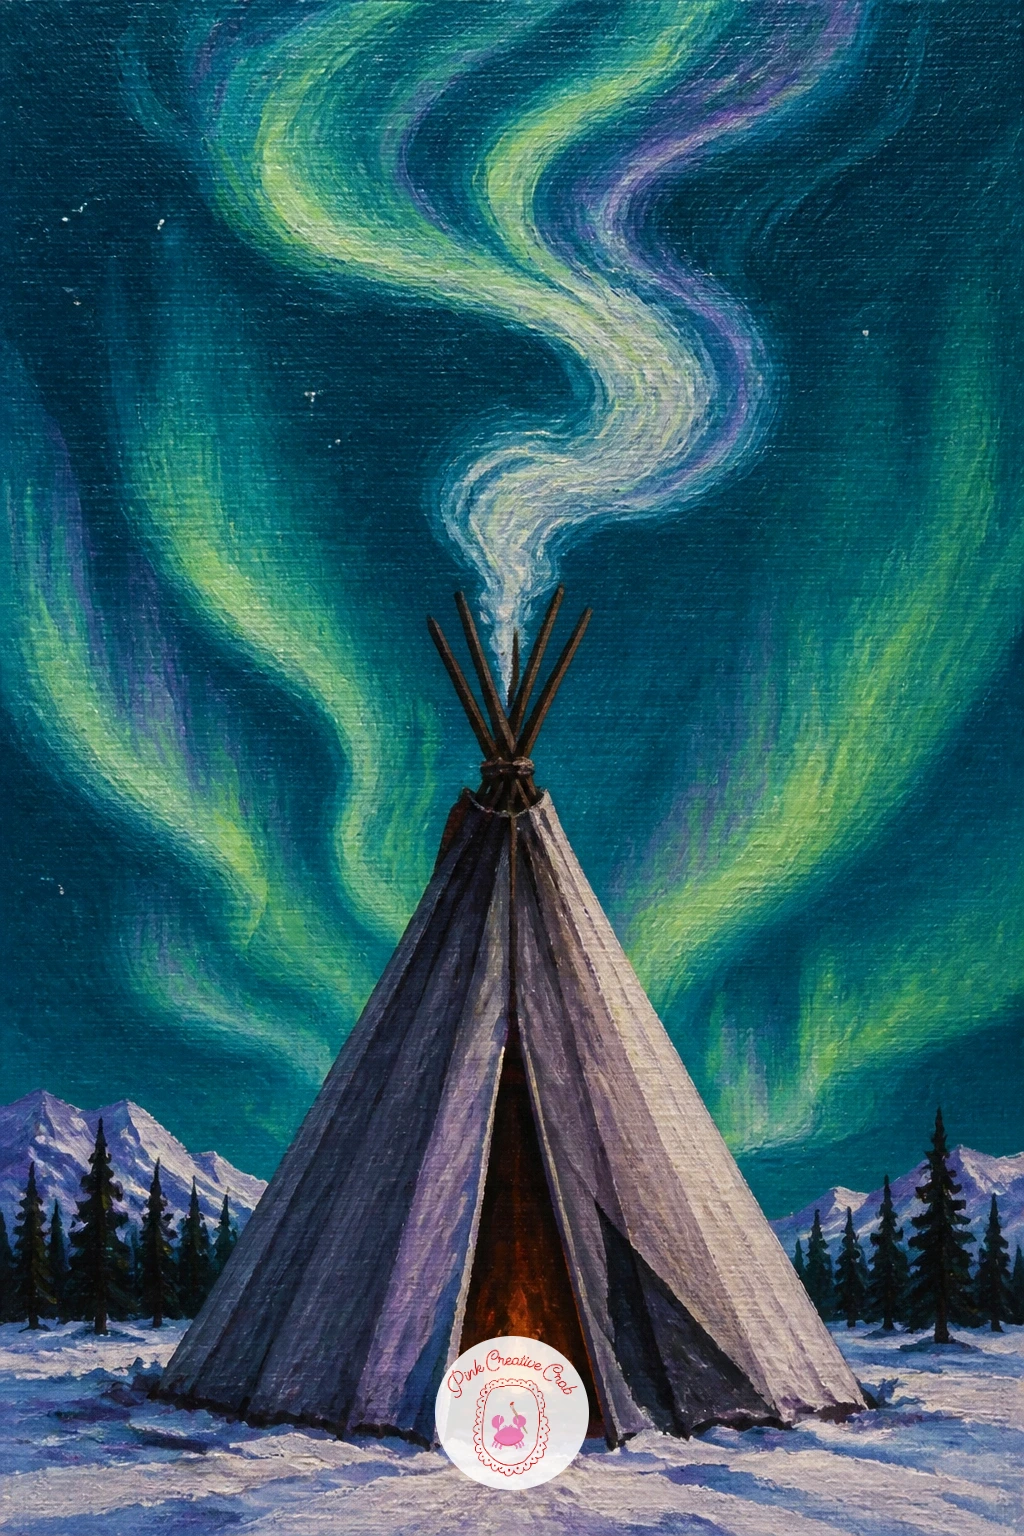
Palette: Deep Teal, Aurora Green, Raw Sienna, Titanium White
An iceberg on a black sand beach lit by the northern lights trades snow for dark volcanic sand, a nice contrast that makes the ice itself the brightest thing in the painting. Paint the sky and aurora first, then the black sand as a near-flat dark band with a few lighter grey streaks for texture where wet sand catches the light.
Build the iceberg as an irregular pale blue-white chunk sitting half on the sand, its underside shadowed with a cooler grey-blue and its upper edges catching warmer light from the aurora above. Keep its silhouette jagged and asymmetrical, real icebergs never form neat, rounded shapes.
Painted too symmetrical, the iceberg looks like a painted egg rather than a chunk of ice. Break at least one edge with a sharp angled cut. If black sand is hard to mix convincingly, a very dark warm grey works just as well and still reads as volcanic beach.
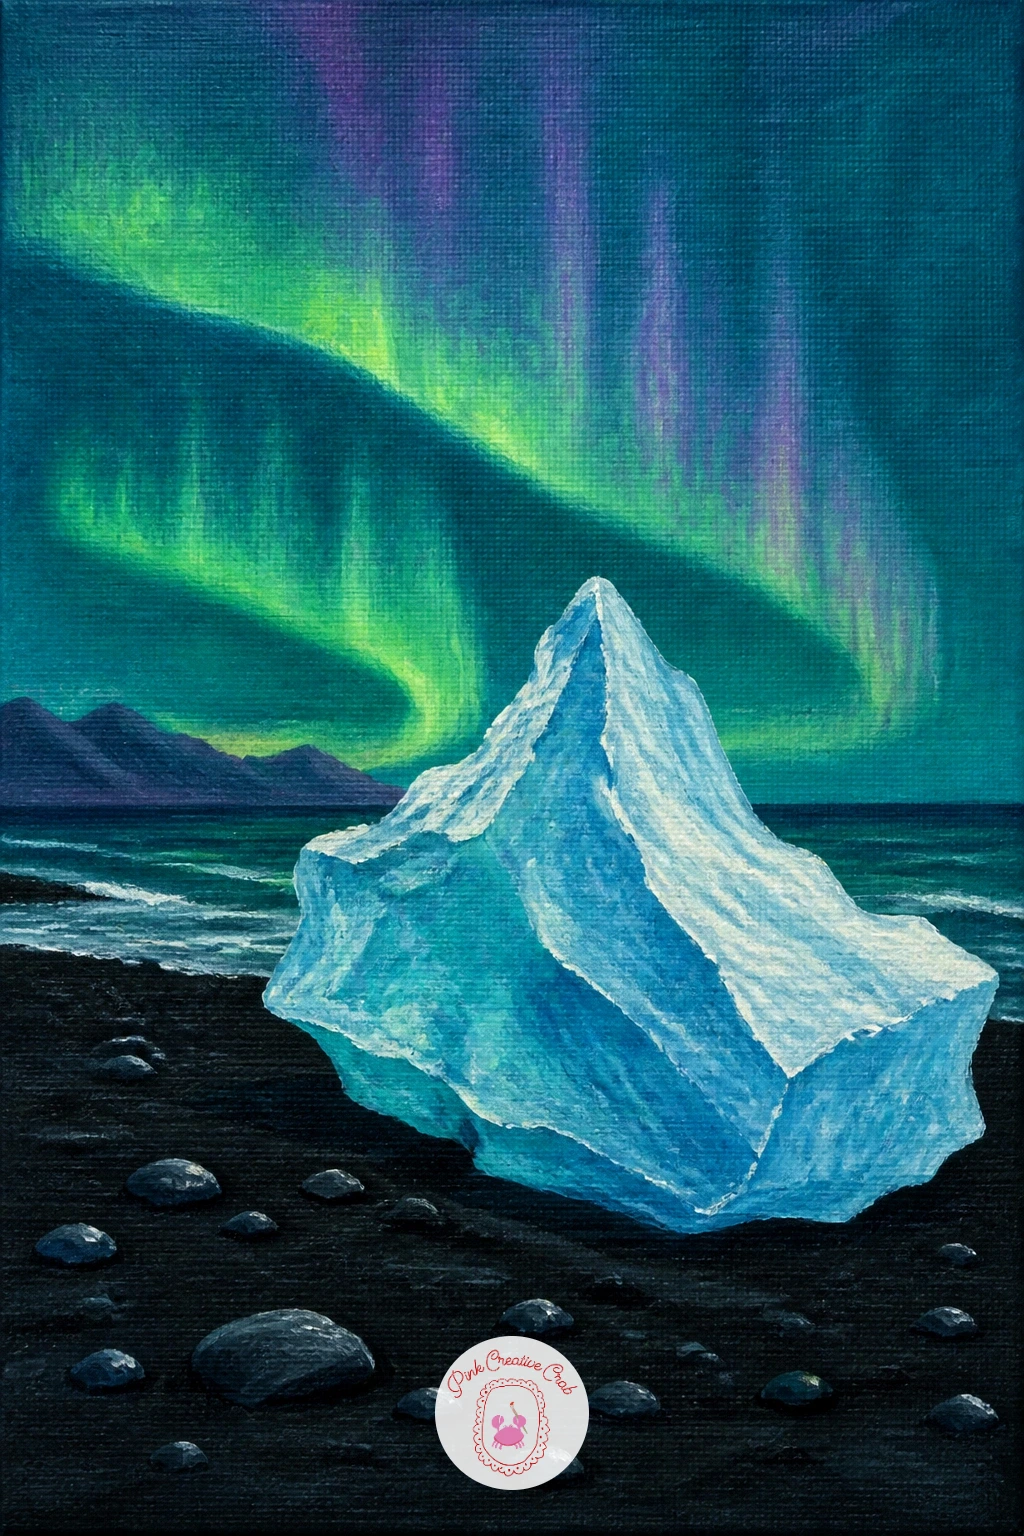
Palette: Deep Teal, Aurora Green, Ice Blue, Lamp Black
A turf-roofed farmhouse in Iceland under green and pink lights gives the aurora a second color to play with, so plan where green and pink will sit before you blend either into the sky. Keep the green higher and the pink lower near the horizon, the way the lights often layer in real displays, rather than mixing them into one muddy band.
Paint the farmhouse low and wide, its grassy turf roof curving right down to the ground in soft green-brown, with small white-framed windows set into the stone front below. A thin trail of smoke from a short chimney adds life without much extra work.
Pink and green blended edge to edge too evenly flattens the glow. Leave a visible, slightly irregular boundary between the two colors, real aurora bands shift and layer rather than fade smoothly into each other. If pink paint runs thin, a touch of white mixed into magenta keeps it soft rather than garish.
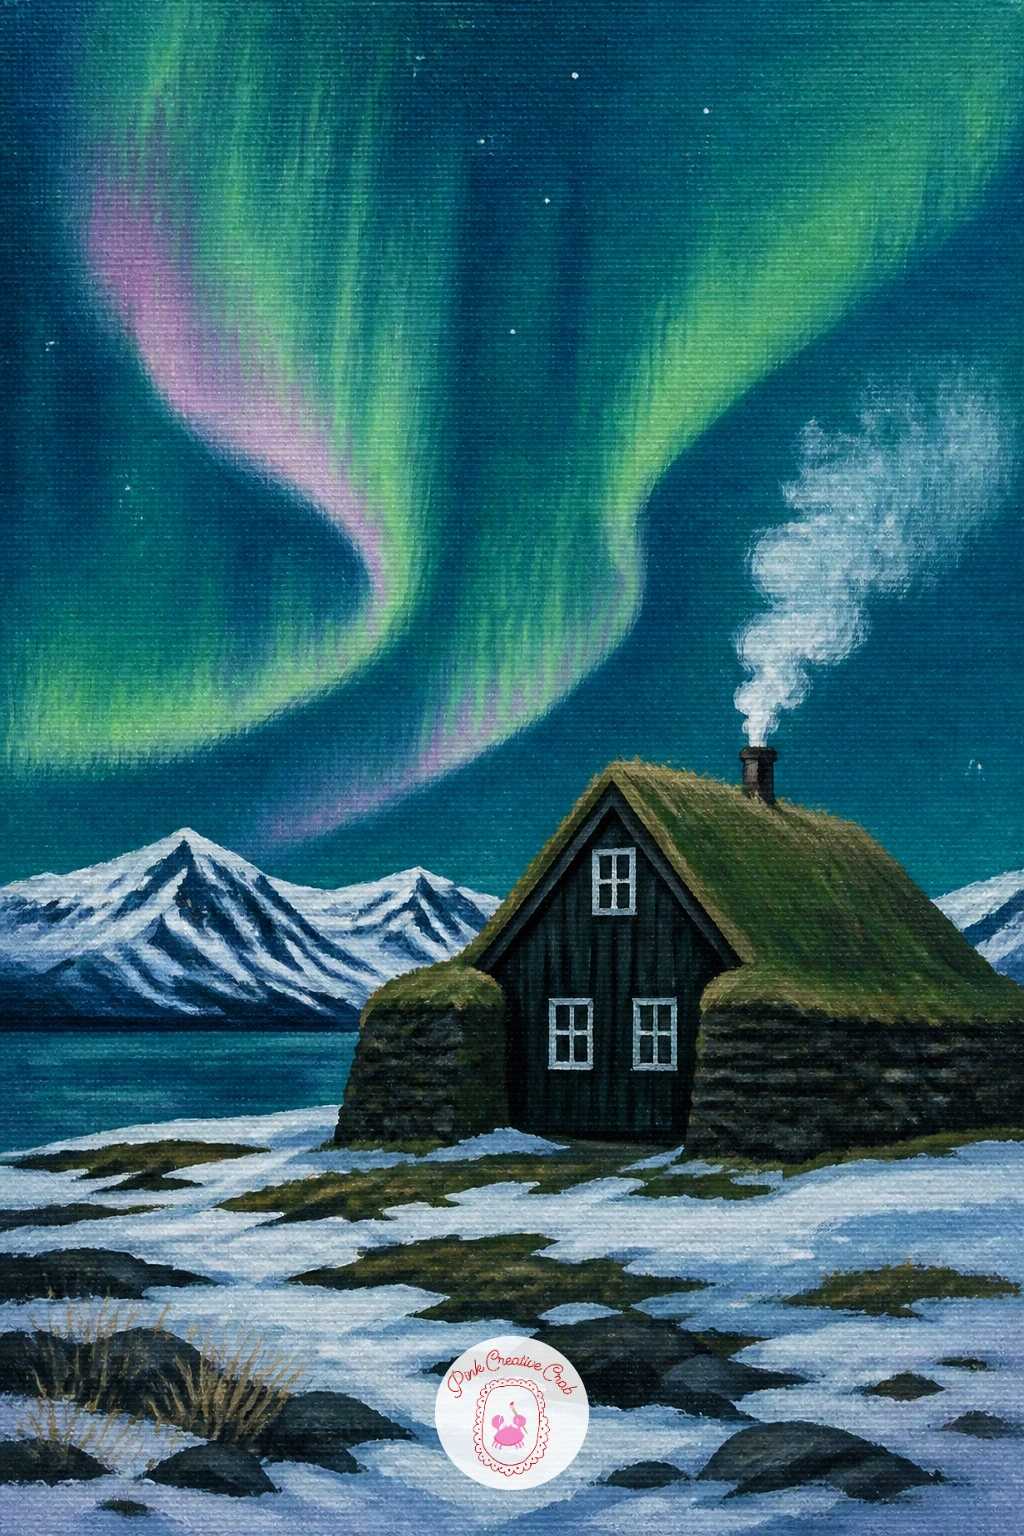
Palette: Deep Teal, Aurora Green, Soft Pink, Raw Umber
A cross-country skier stopping on a snowy plain to look up at the aurora adds motion implied through stance rather than any real movement, so the pose is everything here. Paint the sky, aurora and snow plain first, then block the skier in as a single dark silhouette standing with skis angled slightly apart and poles planted beside them.
Tilt the head back just slightly and keep the shoulders relaxed rather than hunched forward, that small tilt is what tells the viewer she has stopped to look up rather than paused mid-stride. A thin dark line for each ski trailing behind her into the distance adds a sense of where she has come from without extra painting.
A figure painted stiff and upright looks posed rather than paused. Let one hip drop slightly and one ski angle outward more than the other for a natural stopping stance. If poles feel fiddly at this size, leave them out, the skis alone still tell the story.
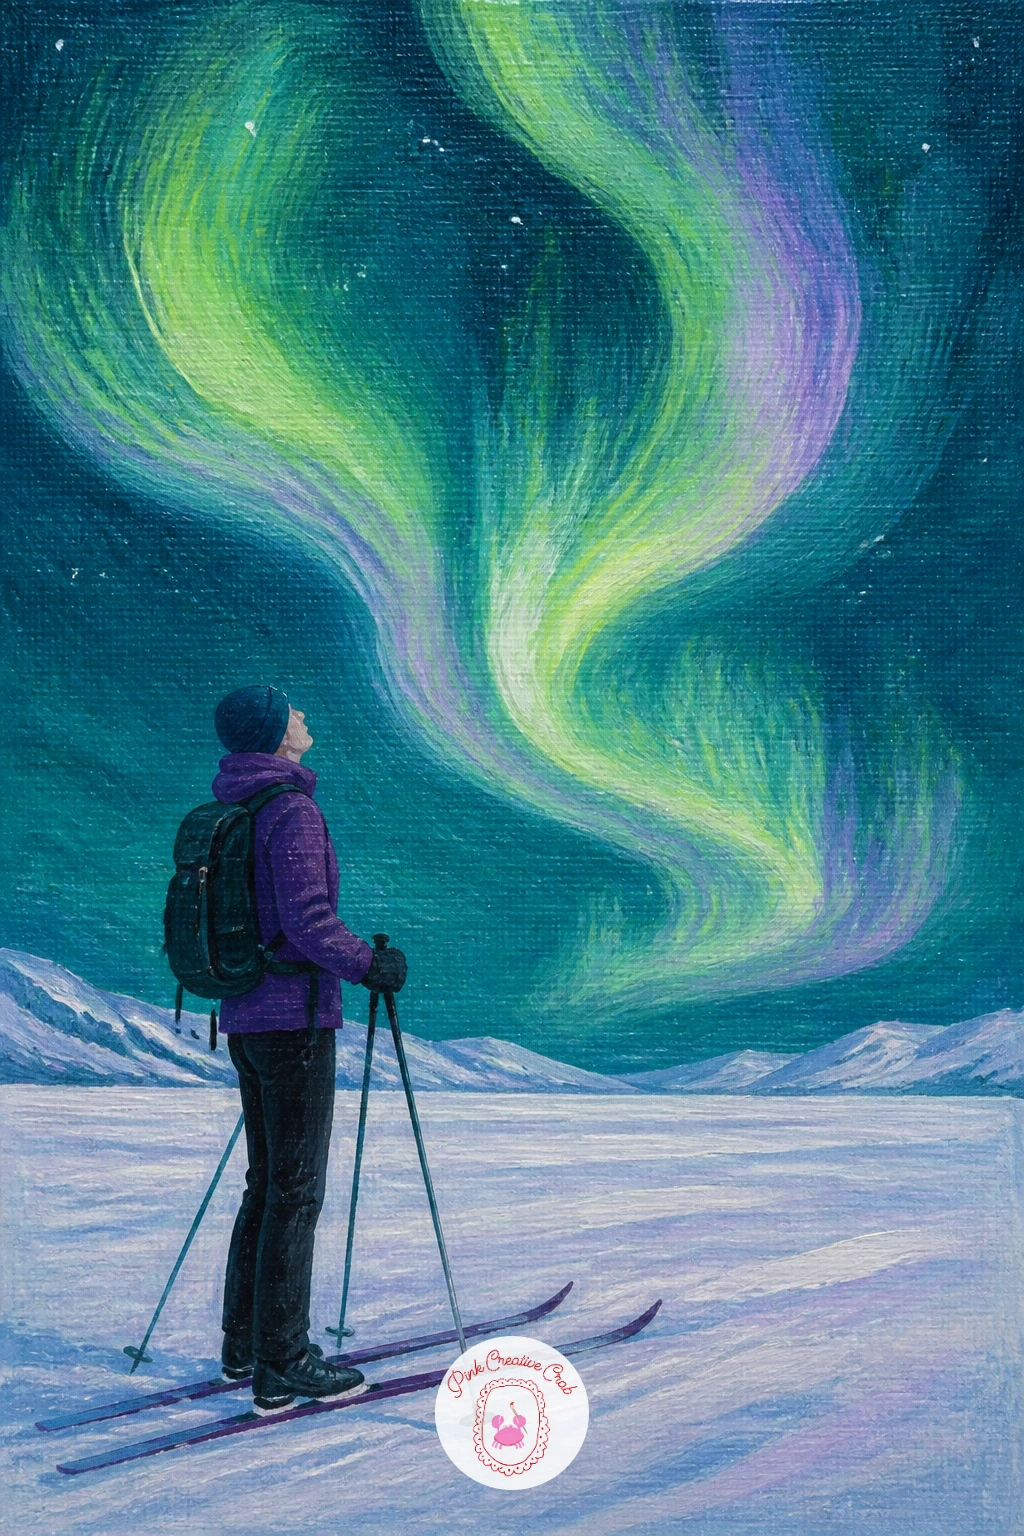
Palette: Deep Teal, Aurora Green, Lamp Black, Titanium White
An arctic hare sitting still in the snow under a green sky is about as quiet a subject as this list gets, which makes it a good one to slow down on and focus purely on shape. Paint the sky and aurora first, then the snow ground, leaving the hare’s eventual spot untouched so the white body can sit against a slightly shadowed patch rather than disappearing completely.
Block the hare in as a simple rounded shape, back hunched, ears folded close to the body rather than standing tall, since a resting hare tuckers its ears in against the cold. A thin cool grey shadow along its underside and one dark dot for the eye are really all the detail this needs.
Painted too white against white snow, the hare vanishes entirely. Keep a visible, if faint, blue-grey shadow line around its whole silhouette so it reads clearly against the ground. If you want ears standing up instead, that works too, just keep the body round and compact either way.
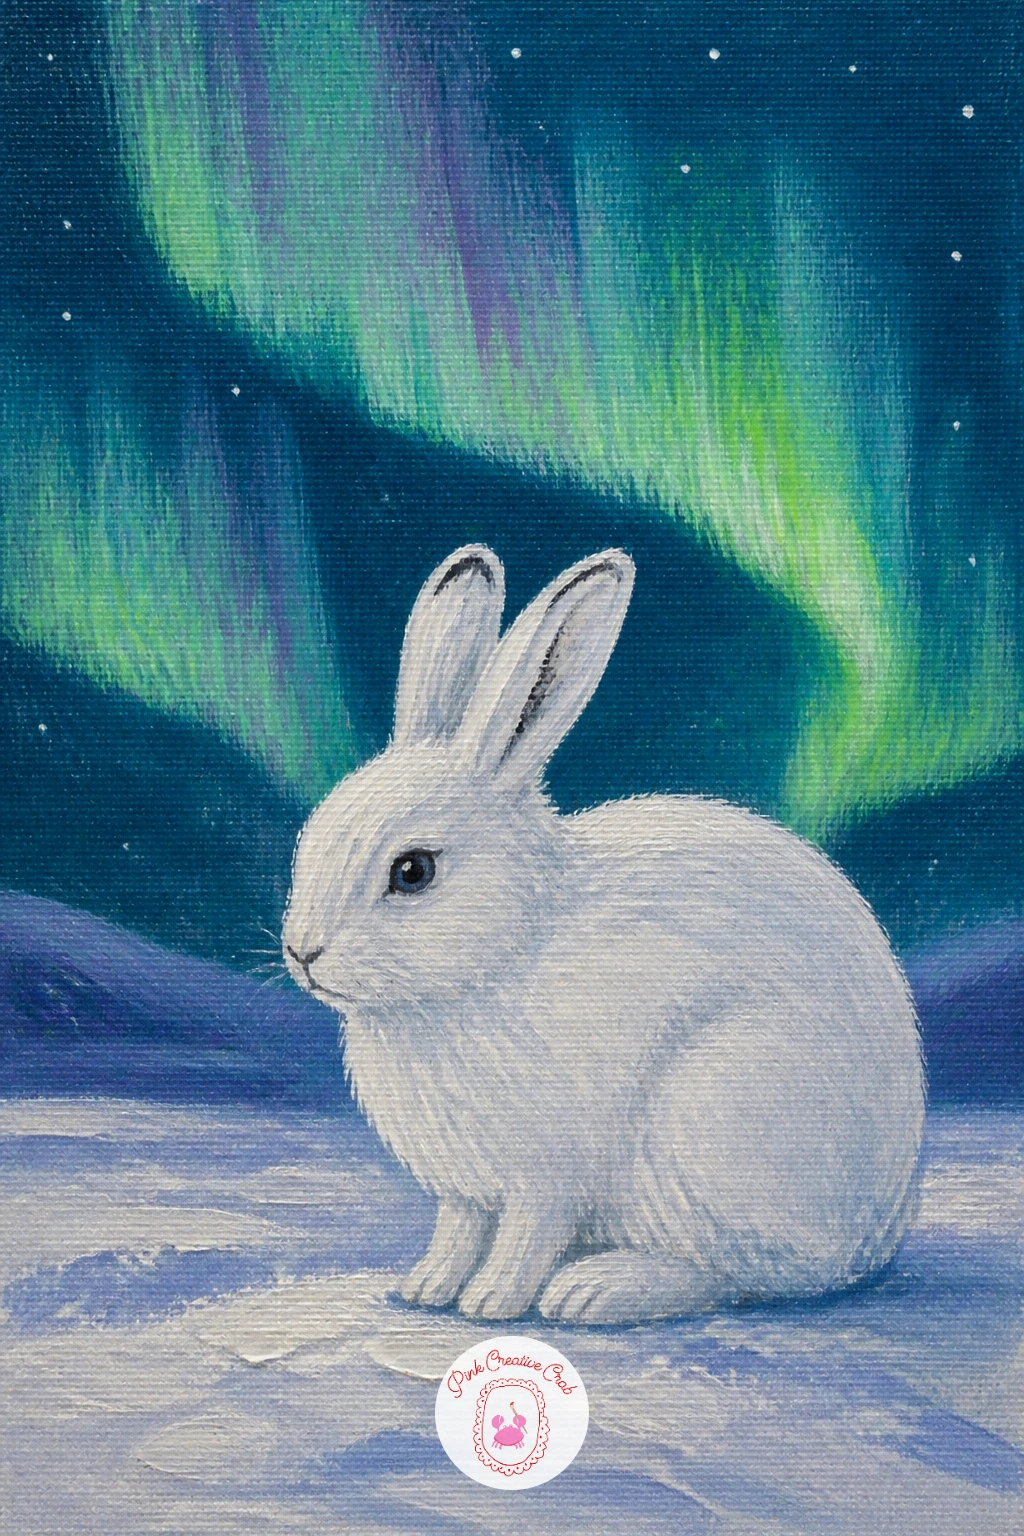
Palette: Deep Teal, Aurora Green, Titanium White, Cool Grey
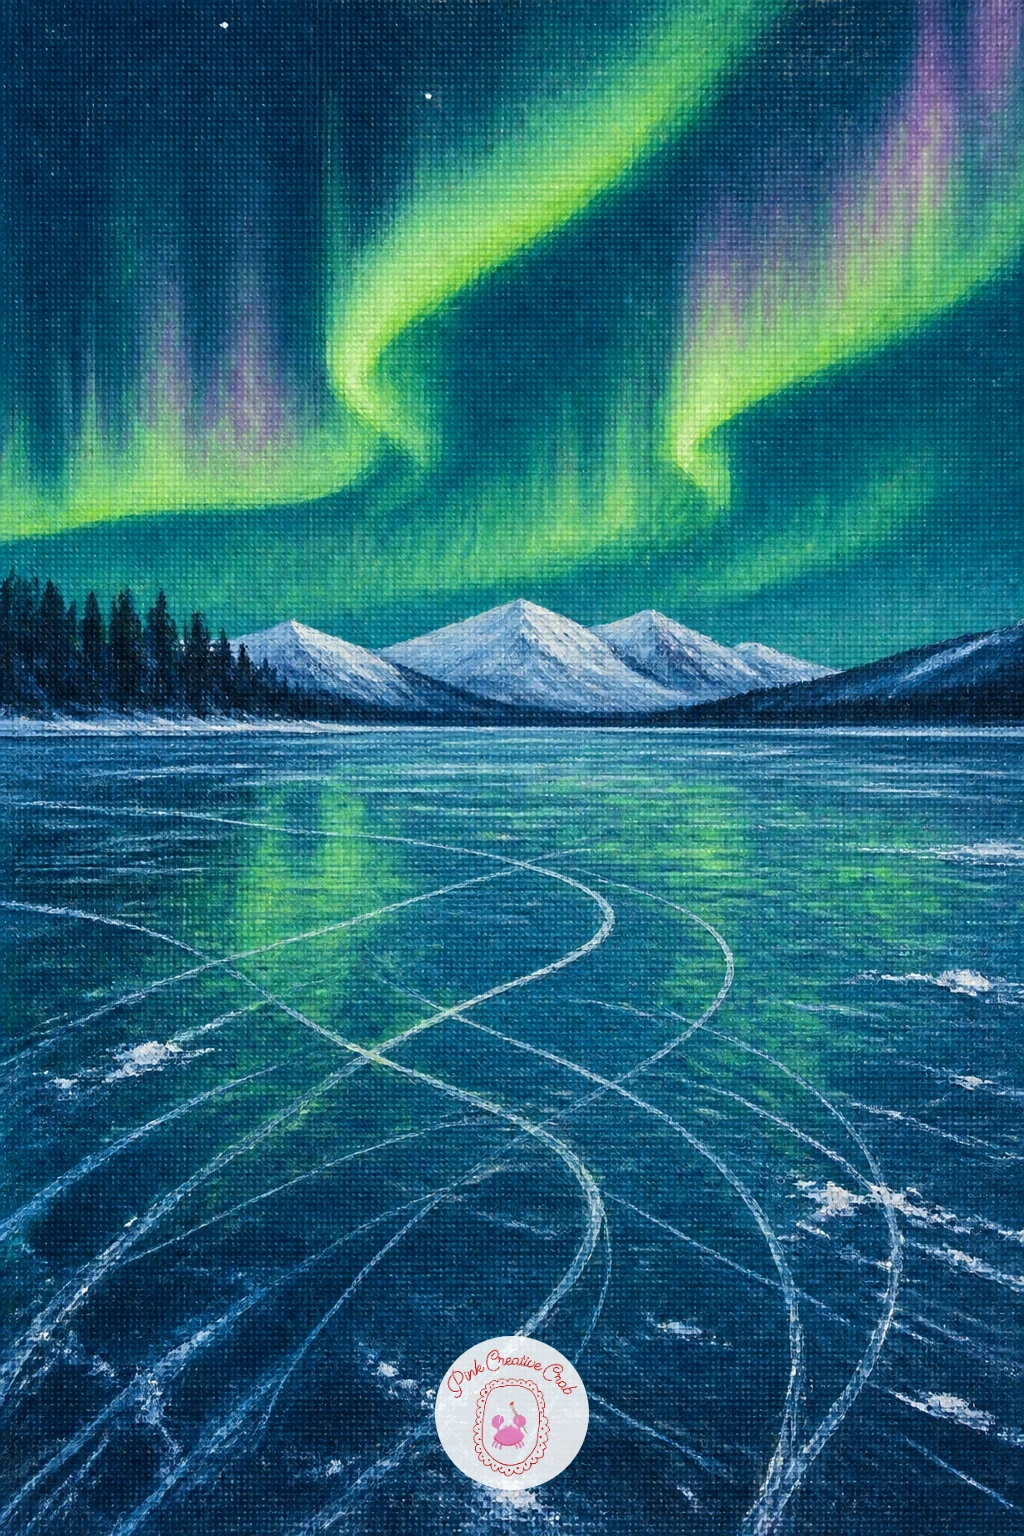
A frozen lake with skate marks reflecting the aurora turns the ground itself into the main subject, no cabin or figure needed, so the ice surface has to carry the whole piece. Paint the sky and aurora broad and soft, then bring that same color down into the ice as a long reflected plane, slightly darker and compressed.
Once the ice base is dry, scratch in the skate marks with the end of a thin brush handle or a toothpick dragged through a final thin layer of white paint while it is still wet, curving a few lines together and letting others cross to suggest real tracks rather than a tidy pattern.
Skate marks drawn too straight and parallel look like ruled lines rather than tracks. Curve a few, cross a couple, and vary their length. No toothpick handy, the wrong end of a paintbrush works the same way for scratching the lines in. This pairs nicely with the quieter scenes over on the ice skating painting list if frozen water is becoming a favorite subject.
You Will Need
- toothpick or thin brush handle for scratching lines
Palette: Deep Teal, Aurora Green, Ice Blue, Titanium White
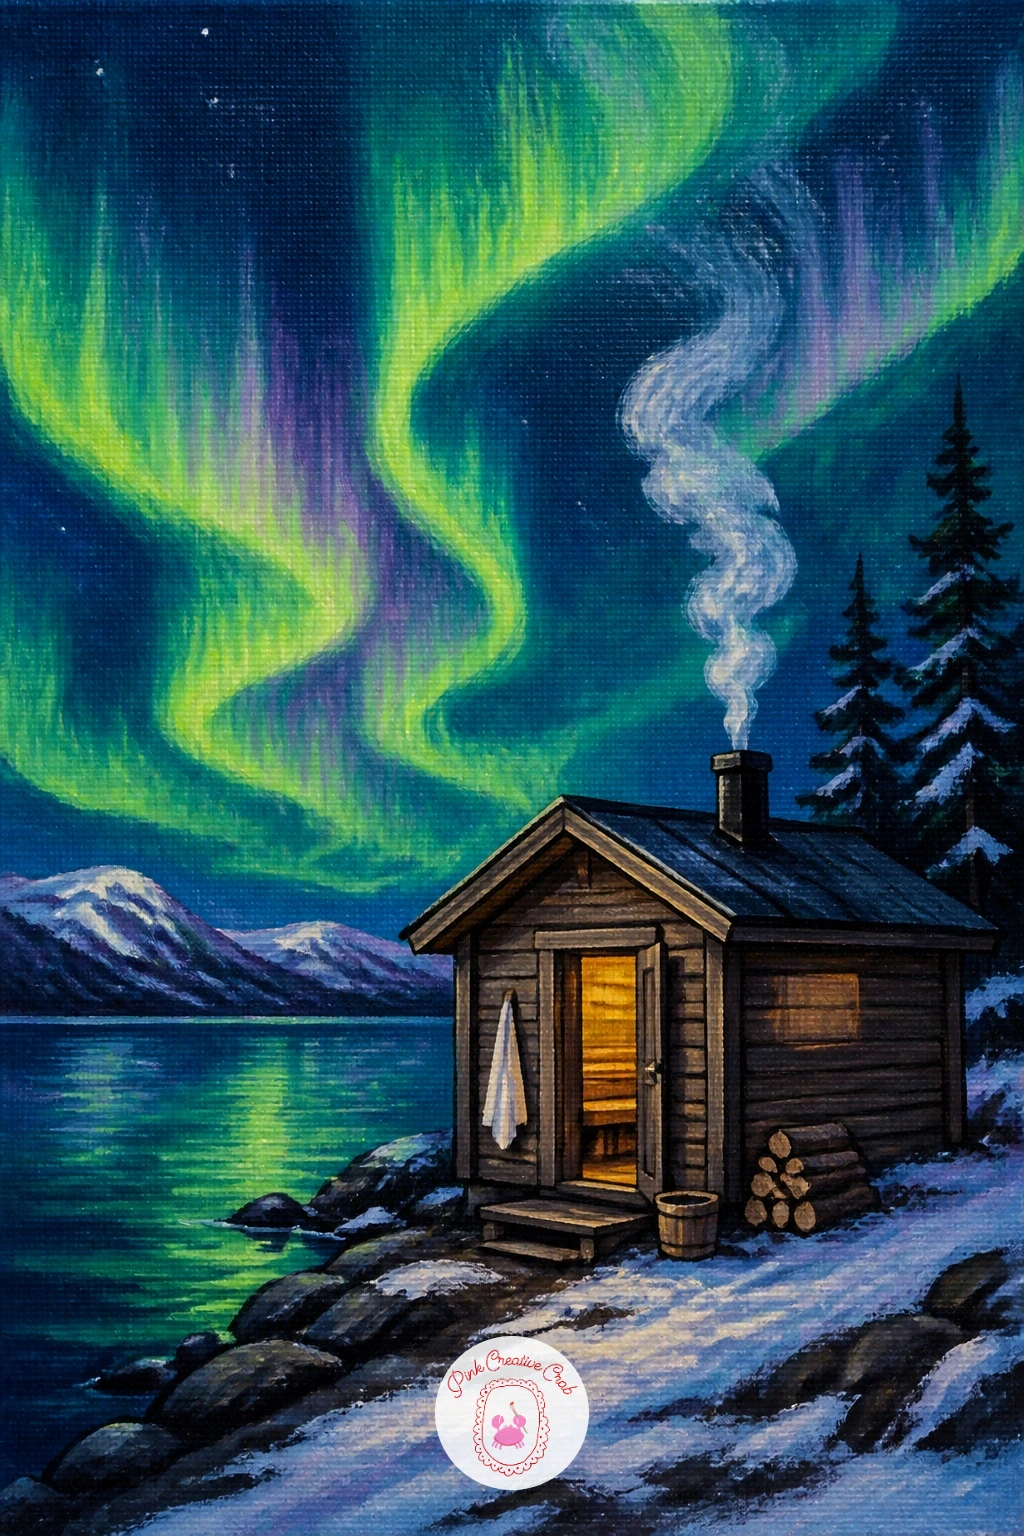
A wooden sauna hut on a lakeshore with steam rising into the aurora pairs nicely with the earlier hot tub scene, same warm-against-cold idea, different building. Paint the sky and aurora first, then the lake edge and hut, keeping the hut a simple low rectangular shape with a small chimney and one glowing window.
Steam rising from the chimney and drifting from a cracked door gets the same treatment as the earlier smoke trick: a soft, slightly wavering line that thins as it climbs, painted with a dry brush so it stays soft-edged rather than sharp. Let a little of that steam catch a faint green tint from the aurora above as it rises higher.
Steam painted solid white all the way up looks like a chimney fire rather than warm vapor in cold air. Fade it out gradually, strongest near the roof and almost gone by the time it reaches the lights. If a lakeshore setting is not available in your reference, snow drifts around the hut work just as well.
Palette: Deep Teal, Aurora Green, Raw Umber, Titanium White
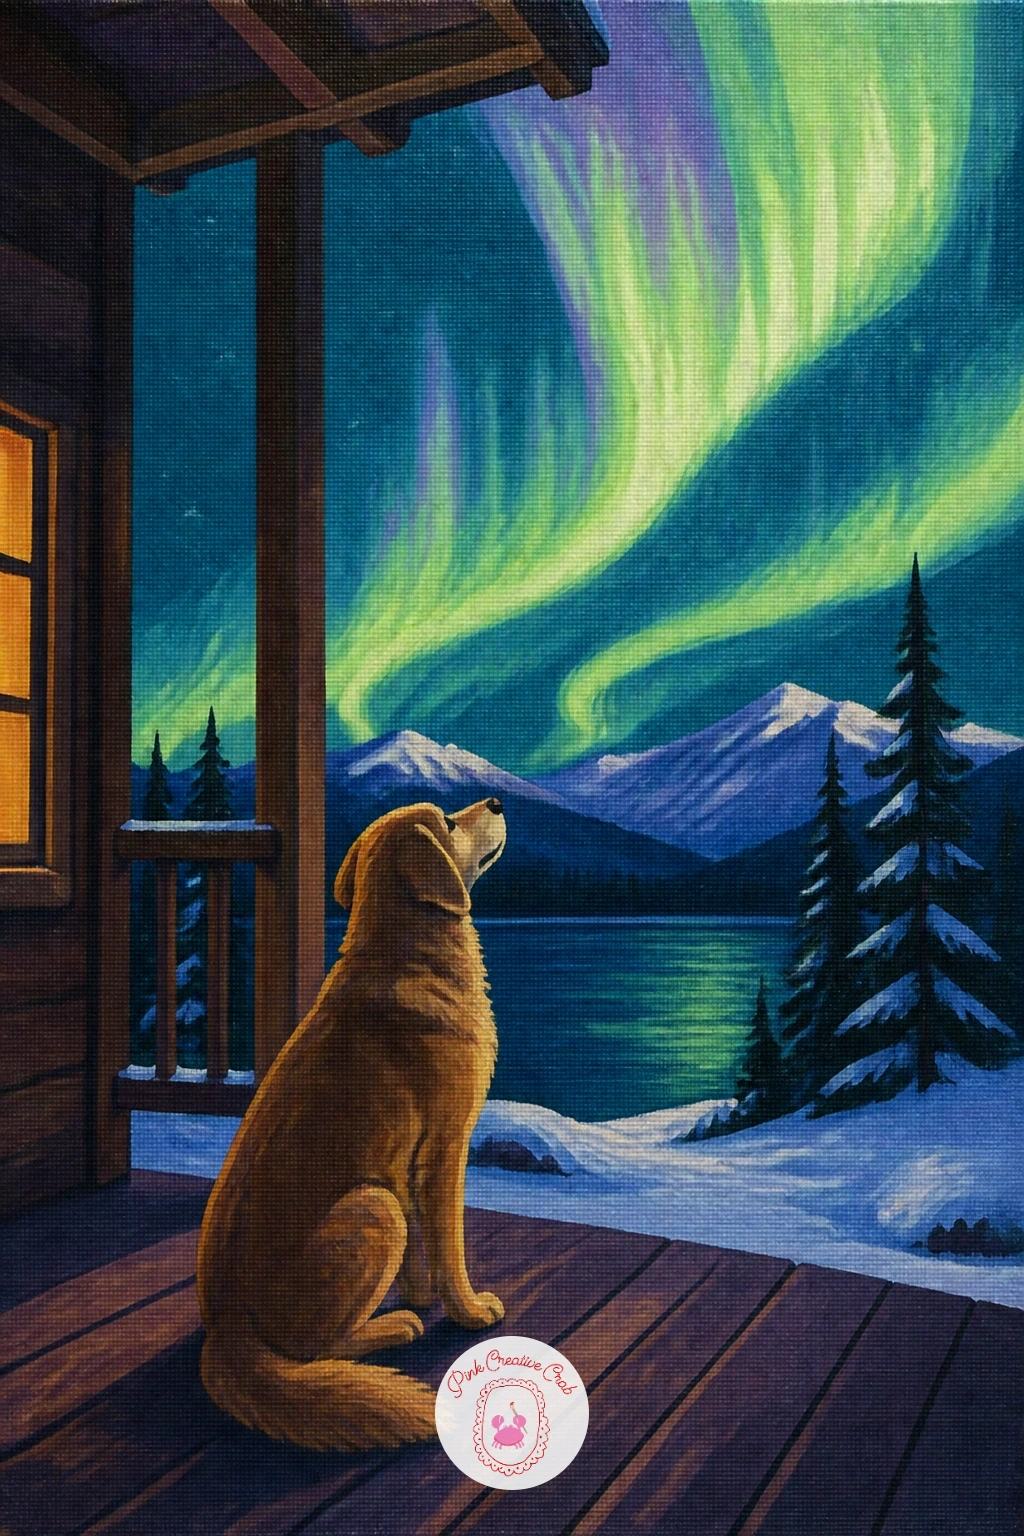
A dog sitting on a cabin porch watching the green sky brings the earlier husky scene closer to home, one animal, one small structure, both calm. Paint the sky and aurora first, then the cabin as a simple dark shape in the background with the porch, just a low platform and a couple of support posts, in the foreground.
Paint the dog as a single sitting silhouette, upright and alert, head tilted upward toward the lights. Keep the body compact and the ears whatever shape suits the breed you picture, pointed for a husky-type dog or soft and folded for anything else, since either reads fine at this size.
A dog painted facing forward loses the whole point of the scene. Angle the head and shoulders slightly so the gaze clearly follows the aurora rather than facing the viewer. If a full cabin feels like too much background work, a single porch post and a sliver of wall is enough to suggest the whole structure.
Palette: Deep Teal, Aurora Green, Lamp Black, Raw Umber
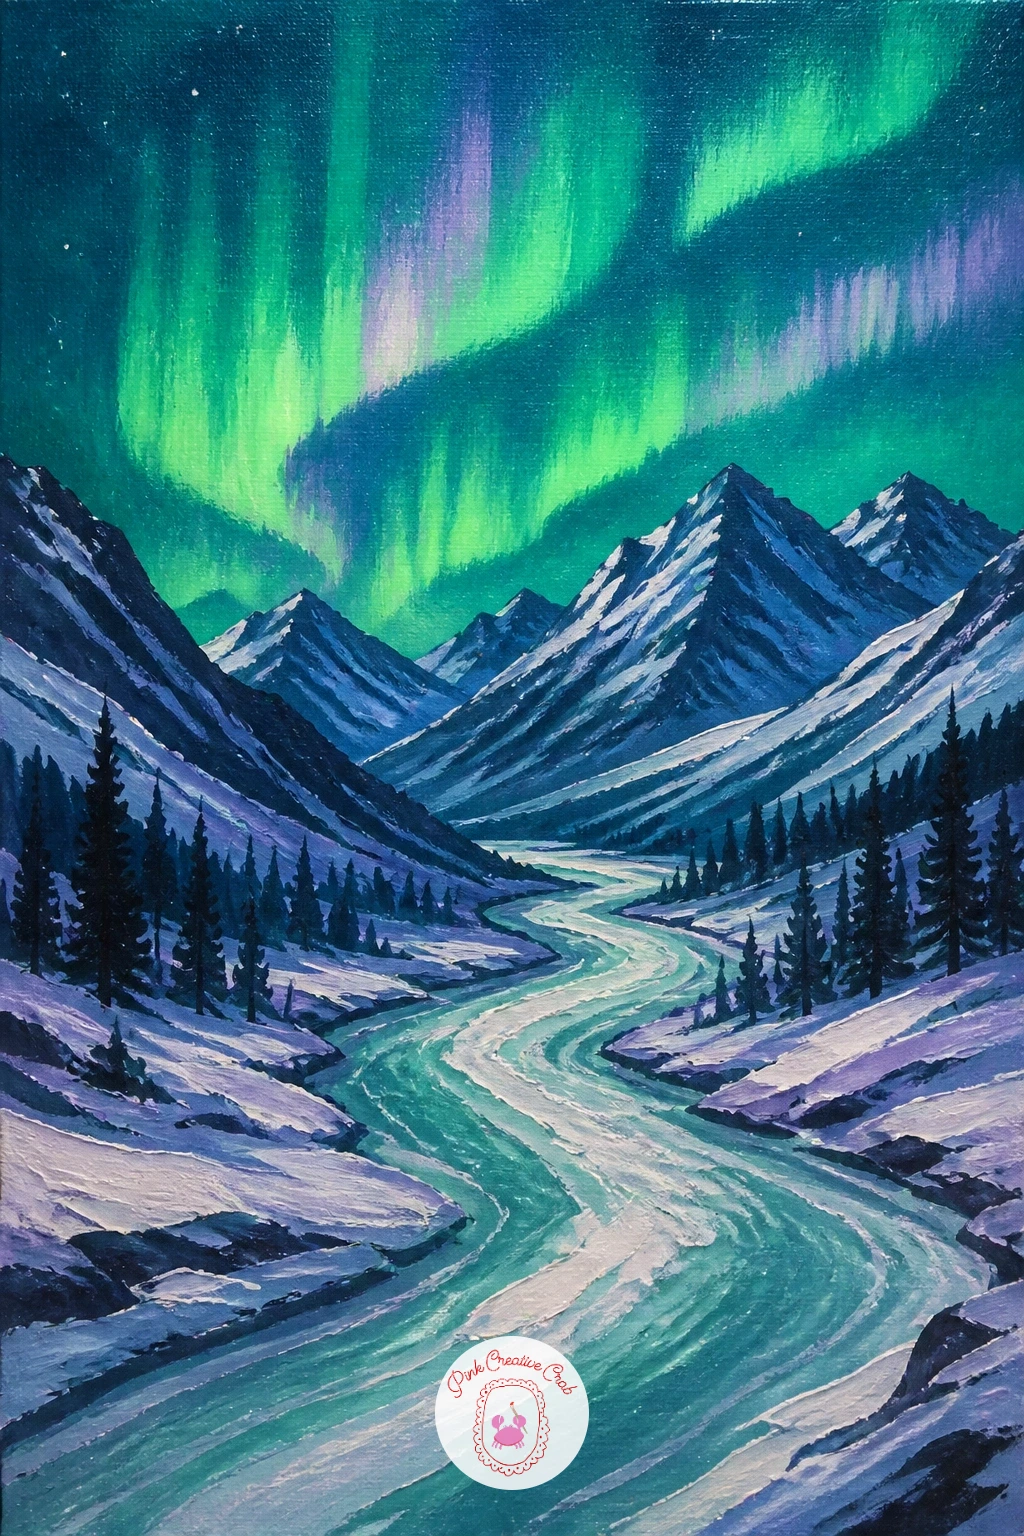
A mountain valley with a winding frozen river under the aurora is the most landscape-heavy piece on this list, so plan the composition in simple bands before any detail goes in. Paint the sky and aurora across the top third, then the mountain silhouettes as overlapping dark shapes of varying height stepping back toward the horizon.
Paint the valley floor in pale snow tones, then bring the frozen river through it as a pale winding ribbon that narrows as it recedes, curving at least twice so it reads as a real river rather than a straight line cut through the snow. A touch of reflected aurora color along the river’s surface ties the whole scene together.
Too many mountain layers at once gets muddy fast. Three overlapping ranges, each a slightly different value, is plenty. If you enjoy this kind of layered distance, the forest painting list has several more scenes built the same way with pines standing in for peaks.
Palette: Deep Teal, Aurora Green, Payne’s Grey, Titanium White
A camper van parked by a fjord with the northern lights above swaps a cabin for something more modern, a nice change if the woodland scenes are starting to feel repetitive. Paint the sky, aurora and fjord water first, the water catching a soft reflected streak of the lights above.
Block the van in as a simple rounded rectangle shape, flat sides and a curved roofline, parked facing the water with its side door toward the viewer. One warm lit window in its side and a short awning or open door adds just enough life without extra detail.
A van painted with hard, perfectly straight edges looks stiff against the soft aurora light. Soften its outline very slightly with a blended edge where it meets the dark ground. If a fjord setting feels unfamiliar, any still lake shore works just as well under the same sky.
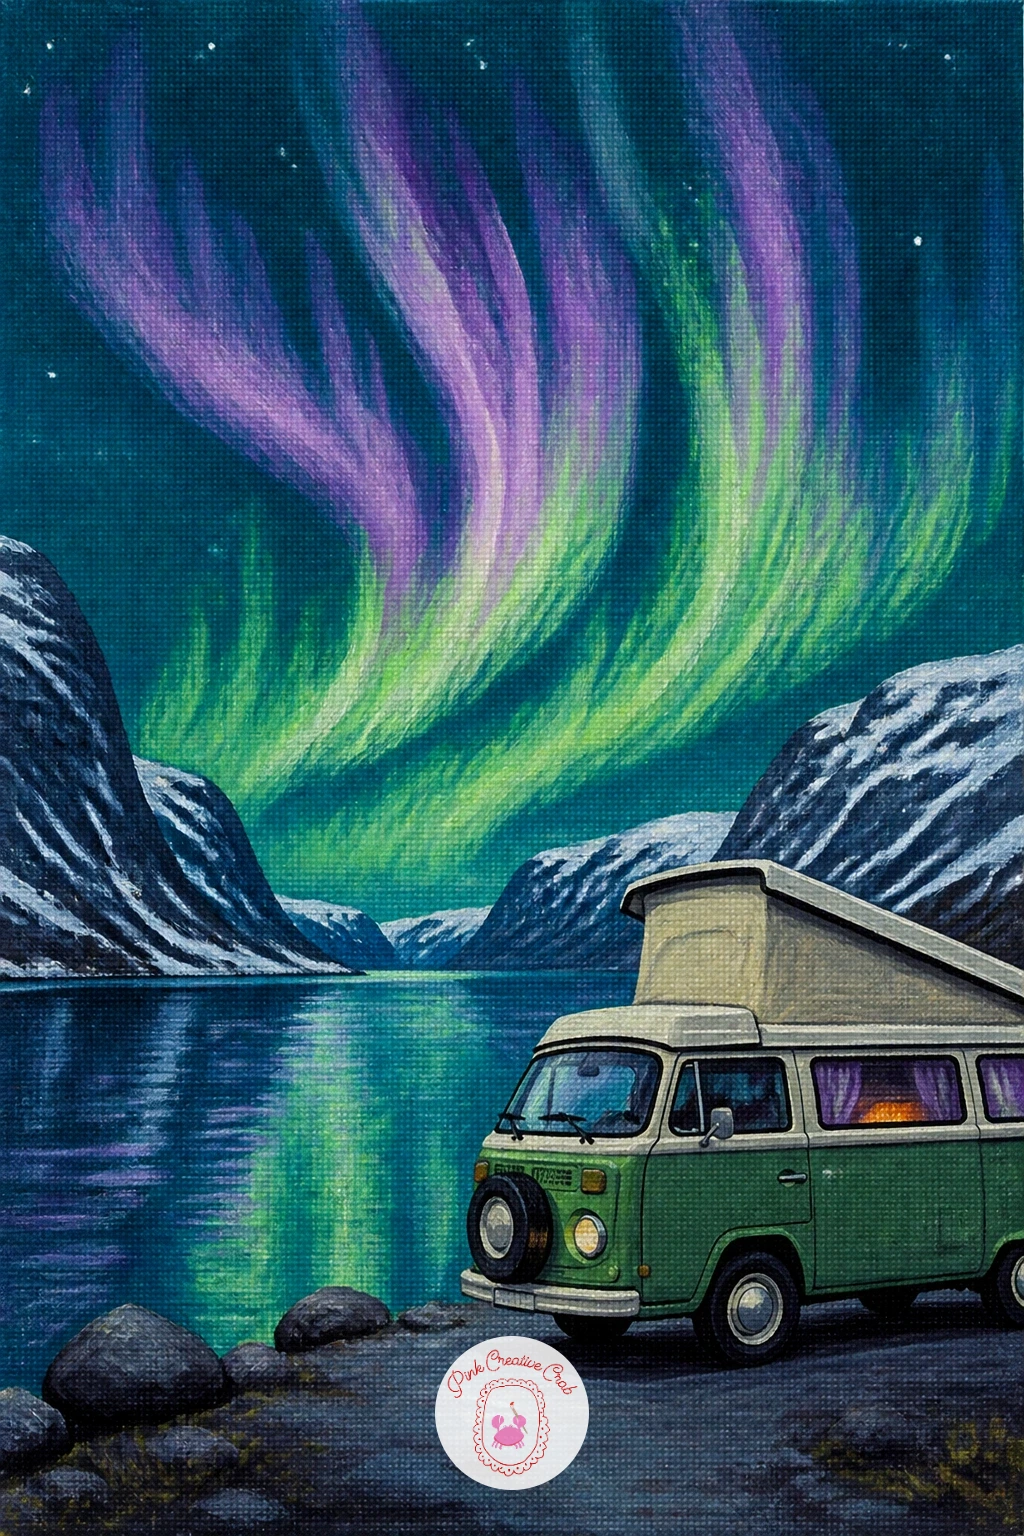
Palette: Deep Teal, Aurora Violet, Soft White, Warm Yellow
A rowboat frozen into lake ice under curling green light is a quiet single-object scene, good for a session when you want something finished quickly. Paint the sky and aurora first, then the frozen lake surface as a pale plane with a few faint cracks scratched through while wet, the same trick used for the skate marks earlier.
Paint the rowboat sitting slightly tilted, half-embedded in the ice, its wooden hull a simple curved shape with a darker interior shadow and one oar resting across it. Keep the tilt subtle, just enough to suggest it has settled into the ice over a long winter rather than floating.
A boat painted perfectly level looks like it is still floating on water rather than frozen in place. Tip one end down slightly into the ice. If an oar feels fussy to add, leave the boat empty, the frozen setting alone tells the story.
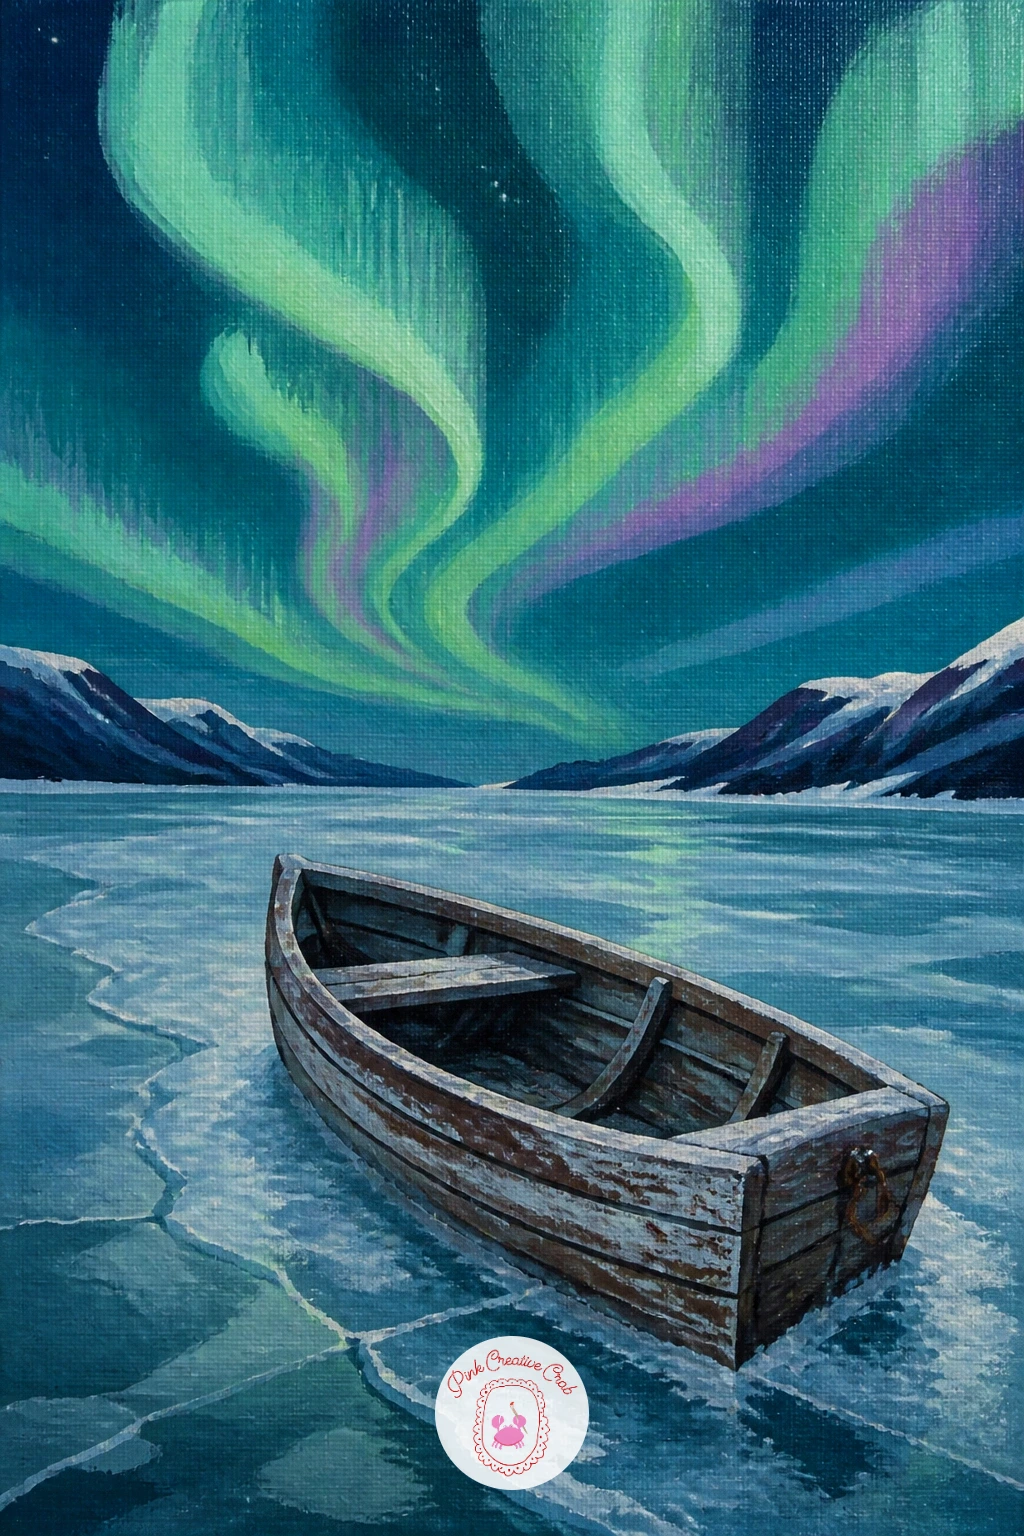
Palette: Deep Teal, Aurora Green, Raw Sienna, Ice Blue
A tiny town of colorful houses on a snowy shore under the aurora is the busiest village scene on this list, so plan your color variety before you start painting individual houses. Pick three or four house colors, red, mustard, blue, cream, and decide roughly where each will sit before committing any paint, so the row reads as planned rather than random.
Paint the sky and aurora first, then the shoreline, then the houses as a row of simple rectangular shapes with triangular roofs, varying height and color as you go along the row. A few small warm windows scattered unevenly across the group, not one per house, keeps the lighting believable.
Too many identical shapes in a row flattens into wallpaper. Vary the roofline height and stagger a couple of houses slightly forward or back from the rest. If a full row feels like a lot for one sitting, four or five houses still reads as a proper little town.
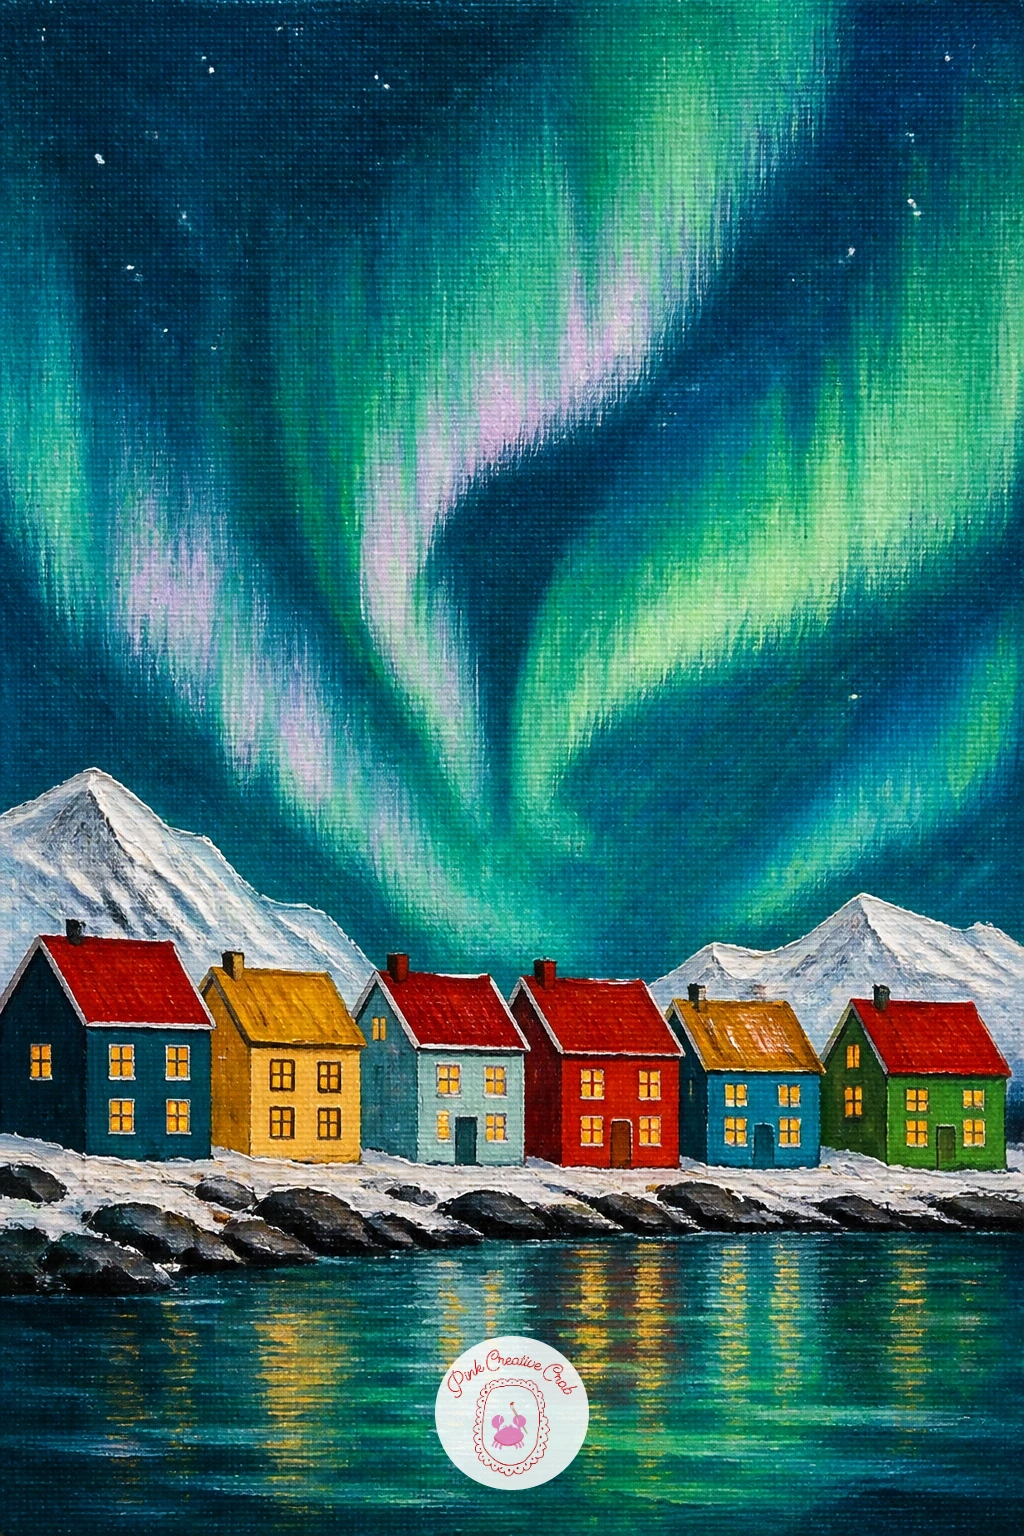
Palette: Deep Teal, Aurora Green, Cadmium Red, Mustard Yellow
A photographer with a tripod on a snowy hill catching the aurora is a nice companion to the skier earlier, another small figure doing something specific rather than just standing to admire the view. Paint the sky, aurora and snowy hill first, then block the figure in as a simple dark silhouette standing beside a slim three-legged tripod and camera shape.
Keep the tripod legs thin and slightly splayed, easiest painted with the tip of a small round brush rather than a flat one, and angle the camera on top so it clearly points upward toward the lights rather than straight ahead. The figure’s stance, hands near the camera or tucked into pockets while waiting, is what sells the moment.
Tripod legs painted too thick turn into a stool rather than camera gear. Keep them as thin as you can manage and let them cross slightly near the top where the camera sits. If a tripod feels too fiddly at this scale, a figure simply holding a camera up to the sky works just as well.
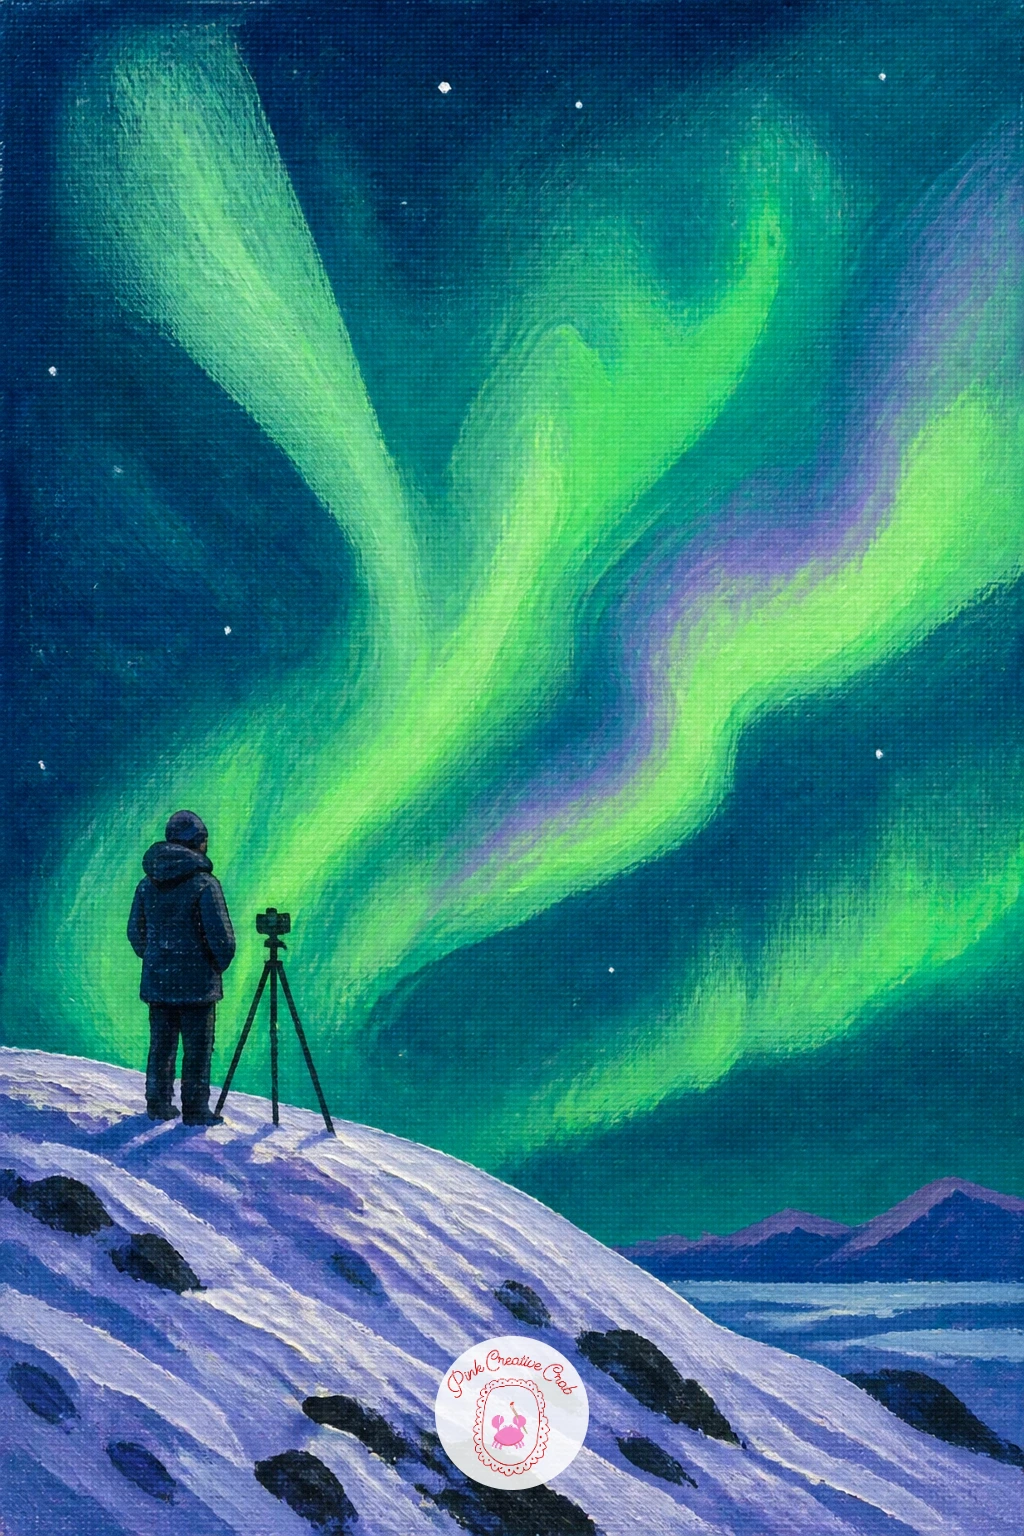
Palette: Deep Teal, Aurora Green, Lamp Black, Titanium White
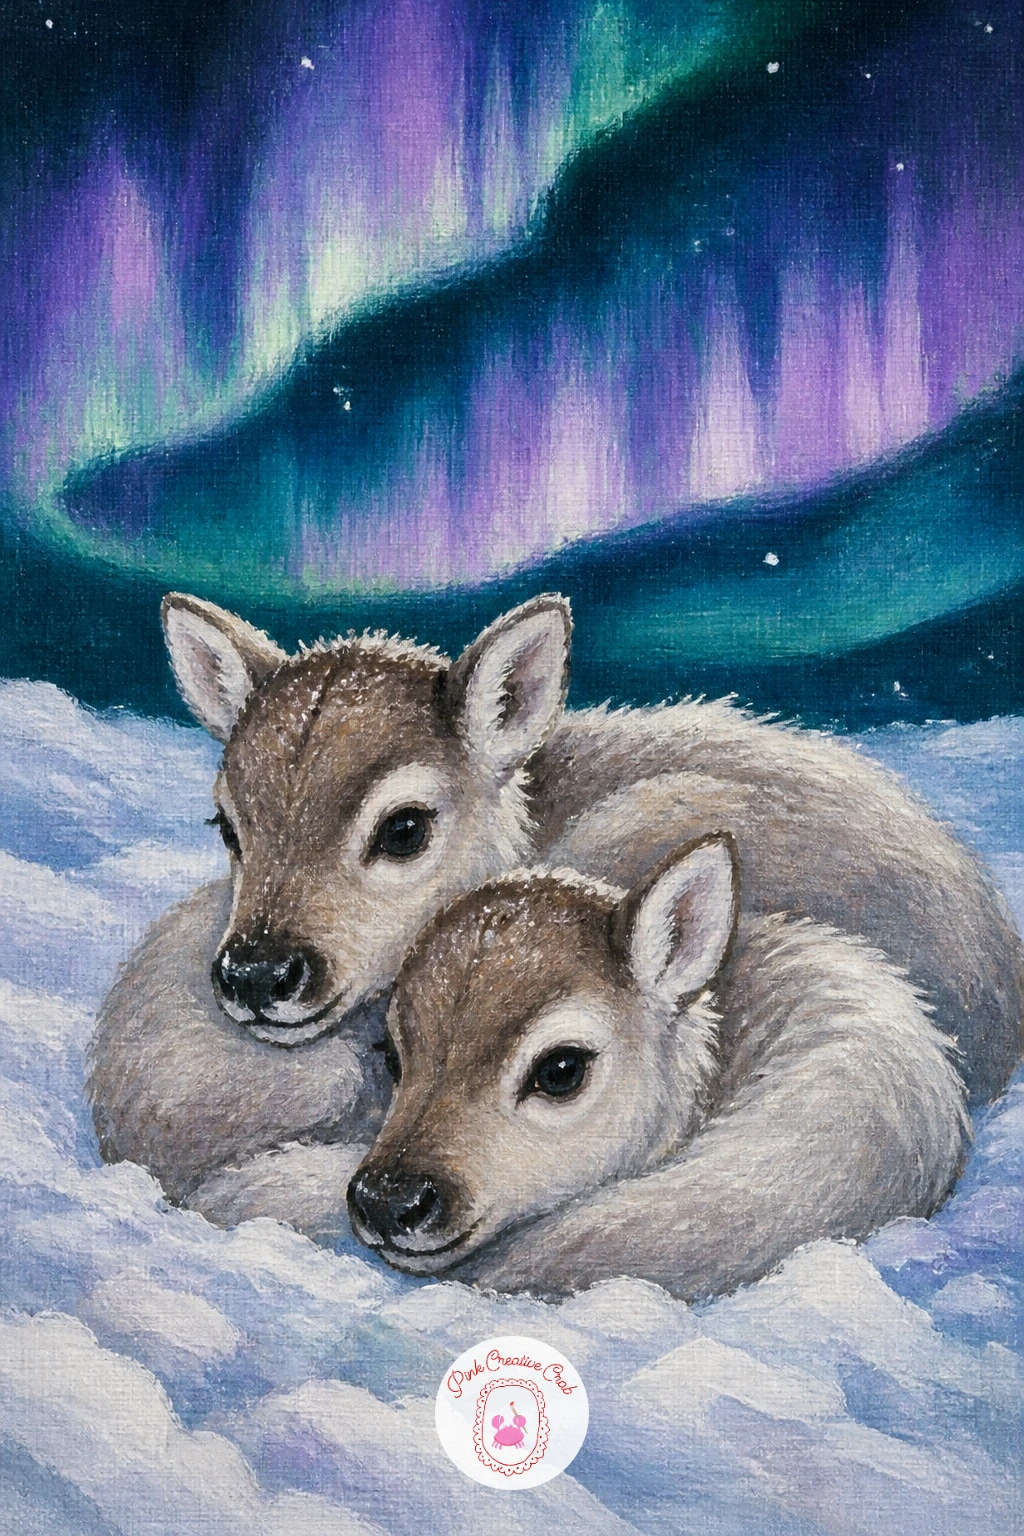
Two reindeer calves resting in deep snow under violet lights brings the earlier herd scene down to a quiet pair, a gentler companion piece worth trying once the busier herd feels comfortable. Paint the sky and violet-toned aurora first, then the deep snow as soft rolling drifts with a few shadowed hollows where the calves will rest.
Paint both calves curled low with legs tucked beneath them, one slightly behind and overlapping the other so they read as resting together rather than placed side by side. Their smaller size and rounder proportions compared to the adult reindeer from earlier are worth keeping in mind, calves have shorter legs and a noticeably rounder body shape.
Painted the same size as adult reindeer, calves lose their charm entirely. Keep both noticeably smaller and softer in outline. If violet feels too cool for the mood you want, a soft pink mixed into the aurora warms the whole scene without changing the composition.
Palette: Deep Teal, Aurora Violet, Van Dyke Brown, Titanium White
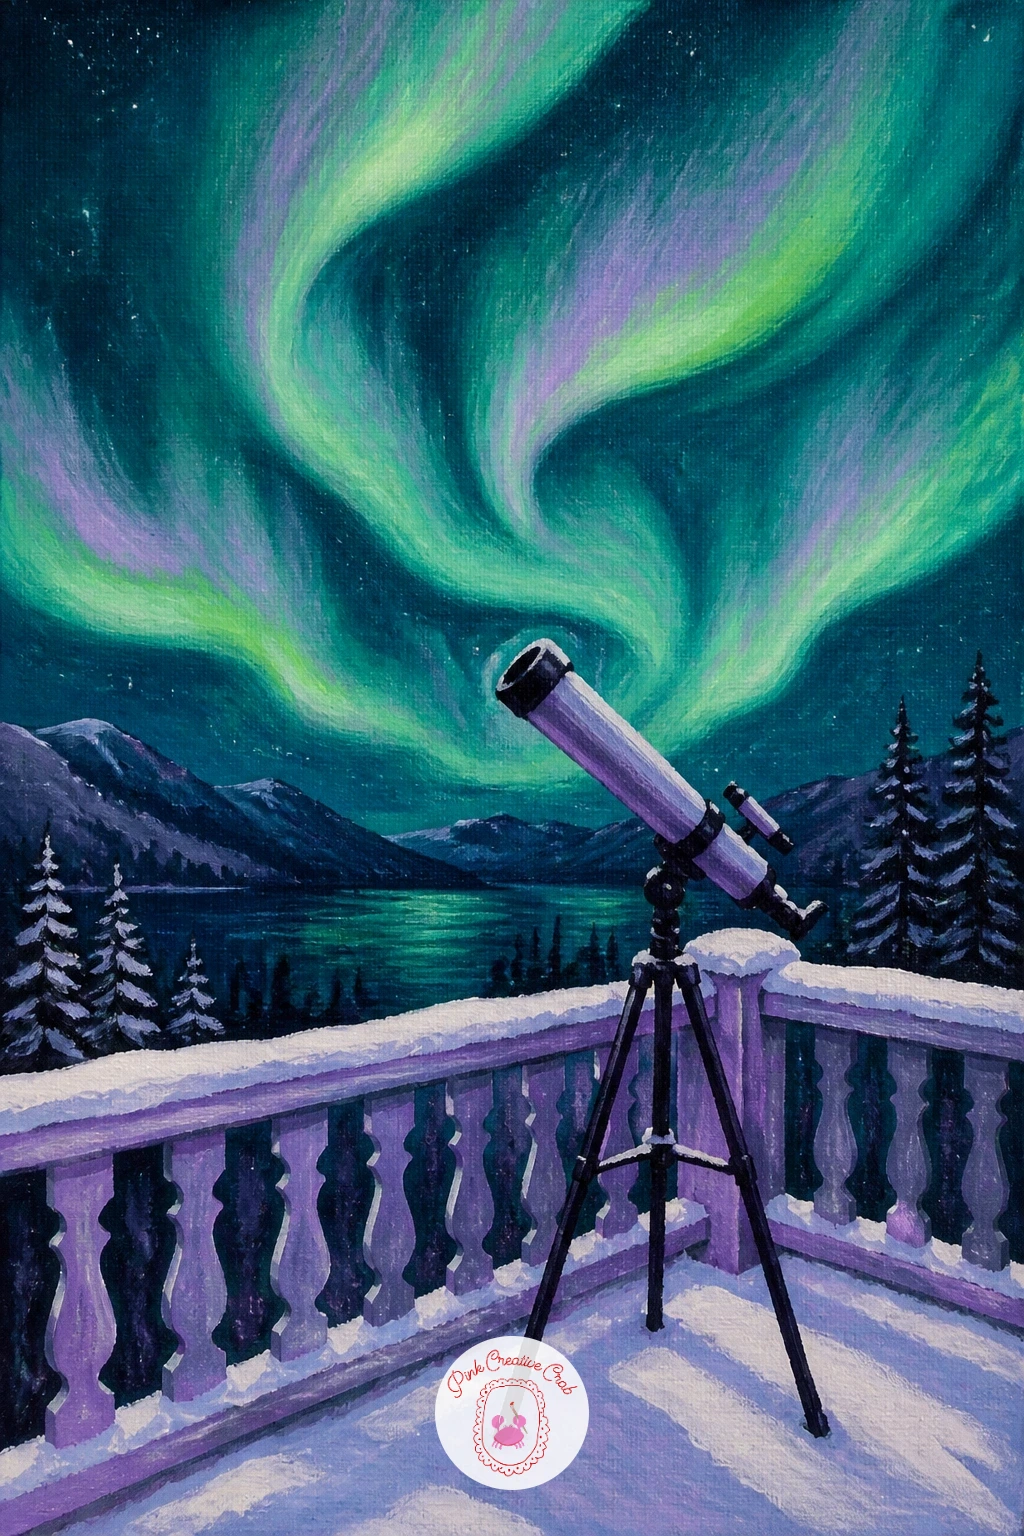
A telescope on a snowy balcony pointed at the dancing aurora is a good subject for thinking about where the light source sits, since the telescope’s angle has to match the aurora it is aimed at. Decide roughly where the brightest part of the aurora will sit in the sky before you paint the telescope, then angle its barrel to point directly toward that spot.
Paint the sky and aurora first, then the balcony railing as a simple dark horizontal line across the lower portion of the canvas. Block the telescope in as a slim tripod with a longer cylindrical barrel on top, kept thin and precise with a small round brush, the one structural detail in this piece worth taking slowly.
A telescope angled flat or pointed sideways breaks the whole story of the piece. Keep the barrel tilted clearly upward, closer to vertical than horizontal. If a full telescope feels too technical to attempt, a simple pair of binoculars resting on the railing tells much the same story with far less detail.
Palette: Deep Teal, Aurora Green, Lamp Black, Titanium White
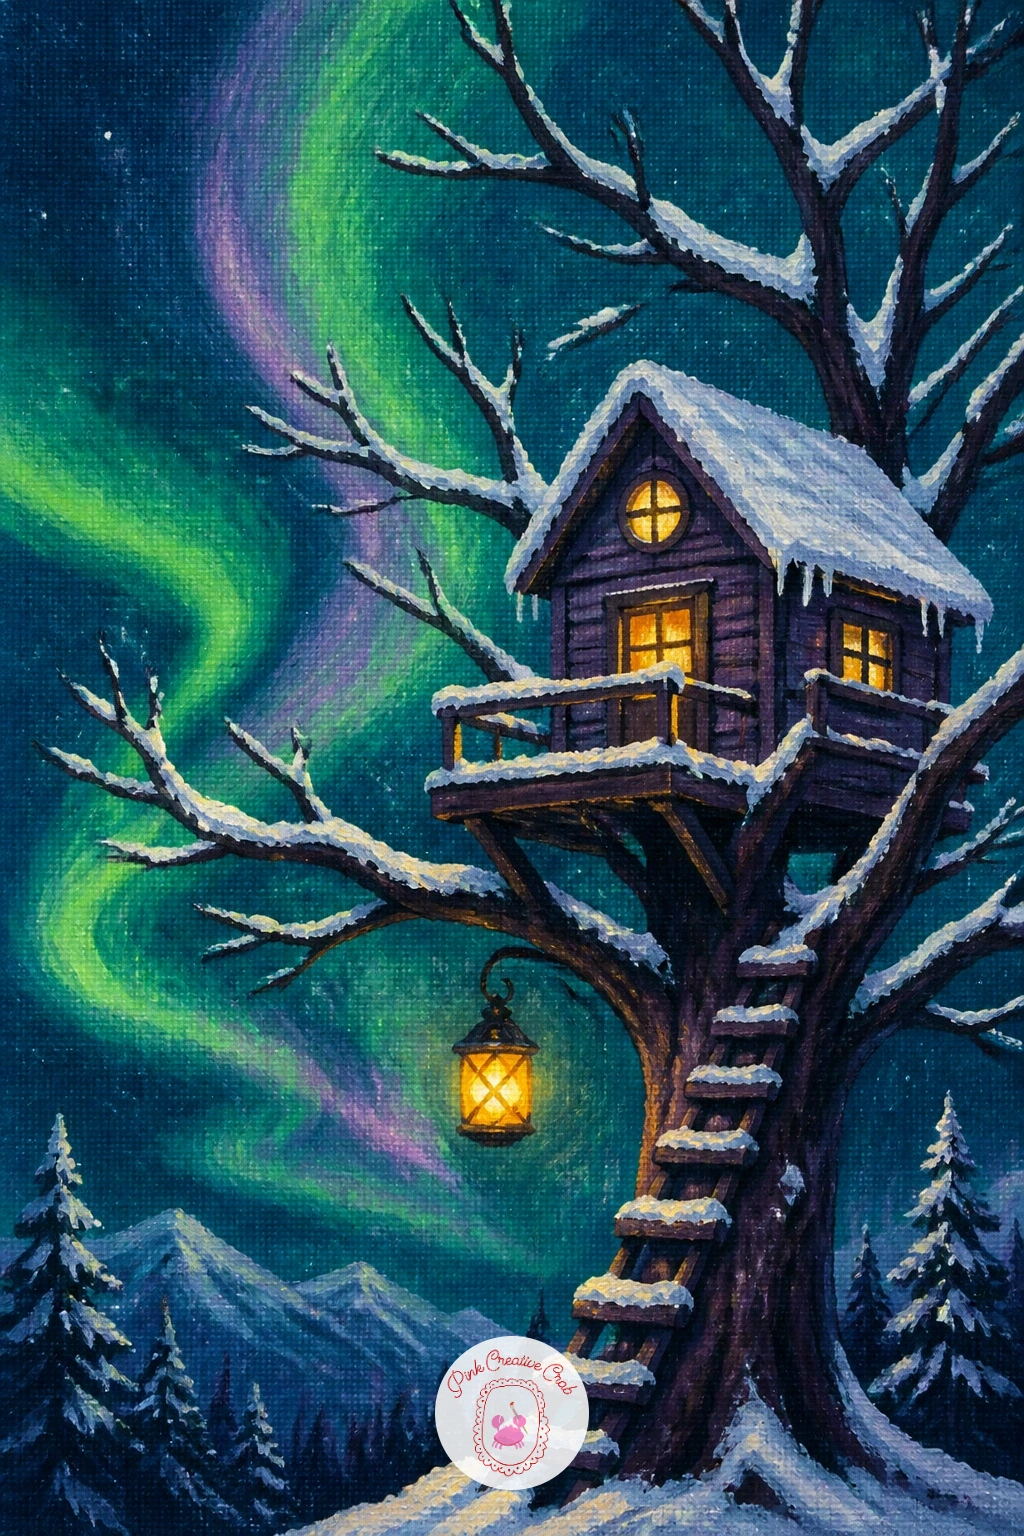
A snowy treehouse with a glowing lantern under the northern lights closes the list with a cozy, slightly fairy-tale subject, a nice one to save for last since it pulls together tree shapes, structure and a single warm light all in one piece. Paint the sky and aurora first, then the supporting tree as a tall dark trunk with a few heavy snow-laden branches reaching outward.
Build the treehouse as a small simple cabin shape nestled among those branches, snow sitting thick along its roofline, then paint one small glowing lantern hanging from a branch or window ledge last, its warm light bleeding softly into the surrounding snow and bark.
A treehouse painted too large overwhelms the tree holding it. Keep it modest, tucked into the branches rather than dominating them. If a full tree with branches feels like too much structure for one sitting, a simpler cabin half-buried in a snowbank with the same lantern glow finishes just as sweetly. The gouache painting ideas for beginners list has a few cozy lantern-lit scenes too if this kind of warm night light becomes a favorite to paint.
Palette: Deep Teal, Aurora Green, Raw Umber, Warm Yellow
What to Do Next
Pick whichever scene matches the mood tonight, maybe the simple red cabin if this is a first try, or the reindeer herd if a bit more challenge sounds good, and set up a small canvas with your teal, green and violet within reach before you start. Block the sky in first every time, let it dry a little, then bring the subject in last.
Frequently Asked Questions
What colors do you need for a northern lights painting?
A deep teal or dark blue for the sky, a bright green and a soft violet for the aurora, and white for snow and stars cover most scenes. Add warm yellow for lit windows and a little brown for wood.
How do you blend the aurora so it looks soft?
Work while the sky paint is still wet and blend the green and violet into it with a soft flat brush, feathering the edges rather than painting hard lines. A slightly damp brush dragged lightly along the edges softens any band that dries too sharp.
What size canvas works best for these ideas?
A small canvas, around eight by ten inches, suits every idea on this list and keeps each one finishable in a single sitting. Larger canvases work too but need more time for the sky to blend evenly before it dries.
Do you need reference photos to paint the aurora accurately?
Reference photos help with the general shape and color layering of real aurora displays, but exact accuracy is not the goal here. Loose curved bands of green and violet read as northern lights even when simplified.
How do you keep the ground subject from looking flat against a bold sky?
Give the subject one clean dark silhouette and a touch of reflected aurora color along its edge where the light would naturally catch it. That small color echo ties it to the sky instead of sitting on top of it.
Have any thoughts?
Share your reaction or leave a quick response — we’d love to hear what you think!
-
 0
-
0
-
0
-
0
-
0
-
0


