

⭐ Key Takeaways
✦ Starting with a simple silhouette or close-up portrait helps beginners build confidence before attempting complex poses or backgrounds.
✦ Oil paint’s slow drying time is actually a beginner’s best friend — it gives you plenty of room to blend, fix mistakes, and keep improving as you go.
✦ Focusing on the eyes first anchors your entire cat oil painting and instantly makes the finished piece feel alive and expressive.
Cat oil painting is one of the most rewarding and joyful projects a beginner can dive into — and yes, you absolutely can do this. Cats are endlessly fascinating subjects. Their soft fur, glowing eyes, and quirky personalities translate beautifully onto canvas, especially when you use the rich, blendable texture that oil paint provides so generously.
Maybe you have been staring at a blank canvas wondering where to even start. That feeling is completely normal, and honestly, it means you care about doing a good job. The ideas in this guide are designed specifically for beginners who want to create something they are truly proud of. Additionally, each idea comes with a gentle nudge in the right direction so you never feel lost or overwhelmed. Grab your brushes, pick a fuzzy muse, and let’s make something wonderful together.
Table of Contents
- Why a Sleepy Cat Curled in Sunlight Is the Perfect First Oil Painting
- Those Glowing Eyes Will Make Everyone Ask If You Took Art School Classes
- How a Few Simple Strokes Turn Into a Stunning Tabby Portrait
- The Dreamy Black Cat Silhouette That Belongs on Every Cozy Wall
- So Soft and Fluffy You Will Want to Pet Your Own Painting
- Meet the Cottagecore Cat Napping in a Garden of Your Dreams
- This Close-Up Nose and Whiskers Study Is Almost Too Cute to Be This Easy
- Nobody Will Believe You Painted This Gorgeous Ginger Cat Yourself
- 5 Reasons a Rainy Window Cat Scene Is the Most Satisfying Thing to Paint
- The Secret to Painting Realistic Cat Fur (Spoiler: It Is Just Layering)
- Magical Moonlit Cat Silhouette That Looks Effortlessly Professional
- Your Beginner Cat Oil Painting Journey Starts With This One Simple Pose
- You Have Never Seen a Tuxedo Cat Look This Irresistibly Charming on Canvas
- Paint a Kitten Yawning and Watch Every Single Person Fall in Love With It
- That Cozy Cat Beside a Fireplace Scene You Keep Saving on Pinterest
- How the Classic Cat and Window Light Combo Teaches You Everything About Shadows
- Even Total Beginners Can Nail This Gorgeous Persian Cat Portrait
- The One Cat Oil Painting Technique That Makes Fur Look Absolutely Alive
- Two Cats Cuddling Together Is the Most Heartwarming Canvas You Will Ever Finish
- Forget Complicated Backgrounds — This Minimalist Cat Portrait Is Breathtakingly Effective
- 3 Beginner Tricks That Make a Tabby Cat Oil Painting Look Totally Professional
- A Calico Cat in Autumn Light Is the Kind of Painting You Frame Immediately
- Hidden in Plain Sight — Painting a Cat Peeking Through Tall Grass Is Pure Joy
- This Vintage-Style Cat Portrait Will Make Your Living Room Look Like an Art Gallery
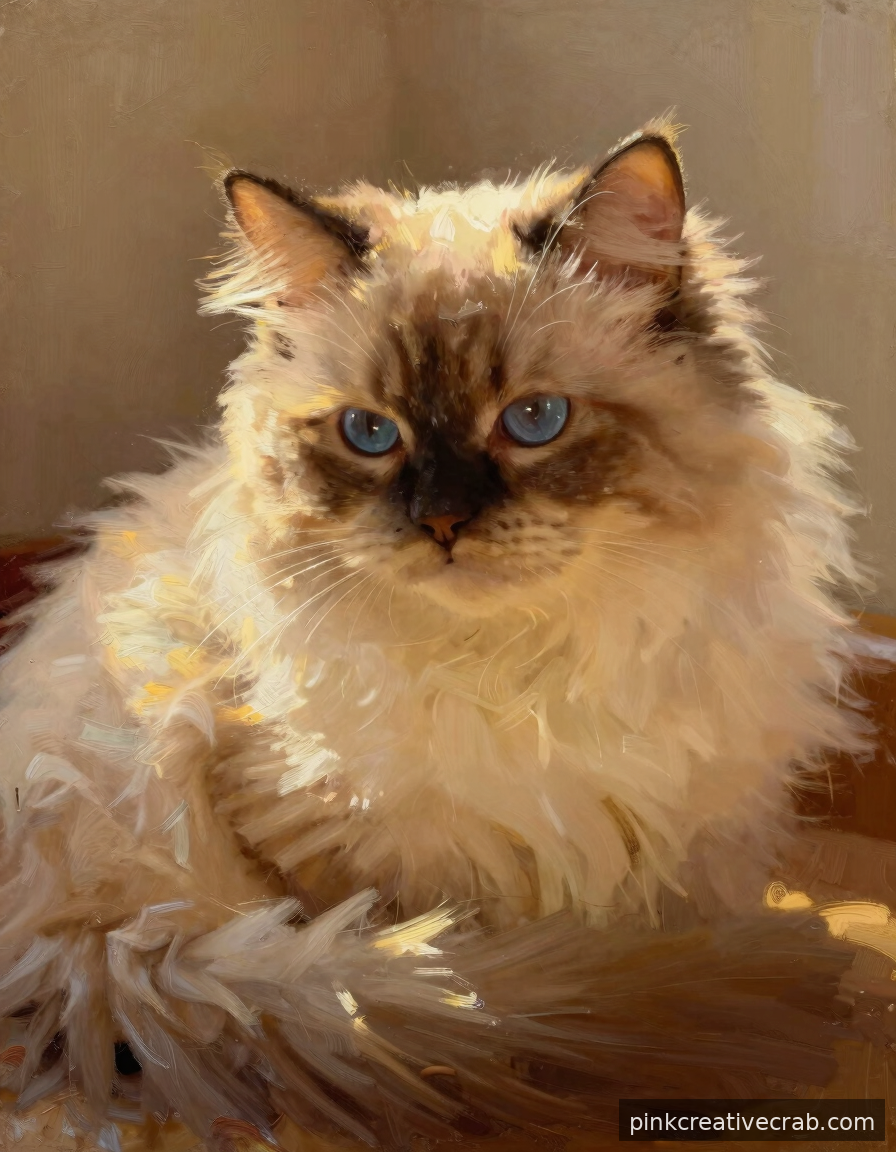
Why a Sleepy Cat Curled in Sunlight Is the Perfect First Oil Painting
Starting with a sleeping cat is honestly one of the best decisions a beginner can make. Why? Because the pose is simple, forgiving, and absolutely beautiful. The rounded shape of a curled-up kitty means no tricky legs or complex angles to worry about. Additionally, sunlight creates natural highlights that actually hide small mistakes. You get to focus on soft edges and warm colors instead of stressing over precise details.
Oil paint moves slowly, which works completely in your favor here. You have plenty of time to blend that golden light across the fur without rushing. Meanwhile, the simple composition lets you practice color mixing in a relaxed, low-pressure way. Every brushstroke you make is a small victory worth celebrating.
To get started on the right foot, grab a beginner-friendly oil painting starter kit and dive in. For extra confidence with colors, check out the Color Mixing Guide: Everything You Need to Know before your first session.
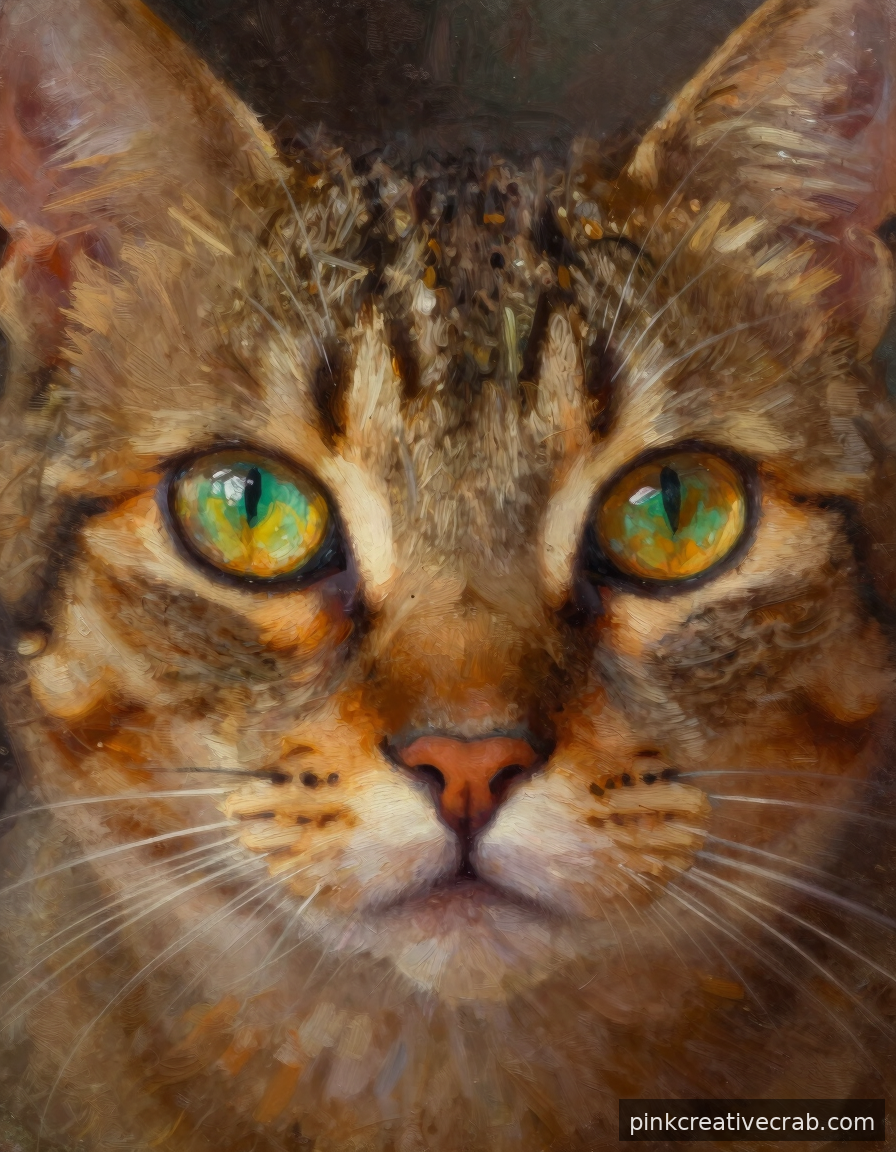
Those Glowing Eyes Will Make Everyone Ask If You Took Art School Classes
Cat eyes are genuinely magical to paint, and here is the exciting secret — they are much easier than they look. Those luminous greens, golds, and ambers practically glow when you layer oil paint correctly. A tiny white highlight dot added last is what makes the whole eye come alive. Therefore, even a beginner can create a result that looks impressively professional.
However, you do not need to paint a whole cat to practice this technique. Starting with just the eyes as a focused study builds your confidence fast. Additionally, understanding how light reflects off rounded surfaces teaches you skills that transfer to every future painting you create. Each attempt gets noticeably better, and that progress feels amazing.
For a deeper foundation in light and form, the Art Fundamentals: Complete Guide to Drawing & Painting Basics is a wonderful companion resource. Meanwhile, having quality brushes makes blending those iris colors so much smoother — pick up a set of detail brushes for oil painting to get started.
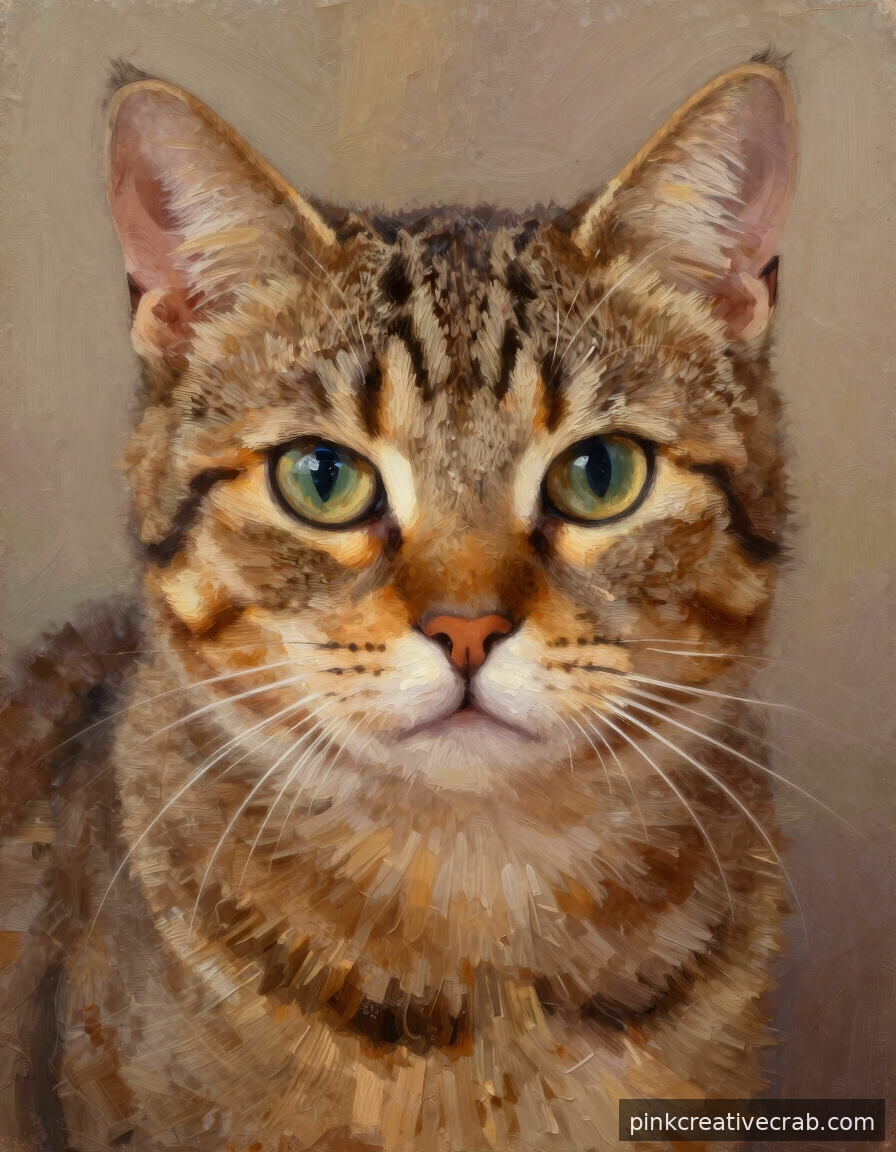
How a Few Simple Strokes Turn Into a Stunning Tabby Portrait
Tabby cats are secretly a beginner’s best friend. Those beautiful stripe patterns actually guide your brushstrokes for you. As a result, you always know exactly where to place the next mark. Short, directional strokes following the fur growth create instant texture and depth. It feels like the painting builds itself, one satisfying little stroke at a time.
The key is not to overthink it. Start with your mid-tones, then layer darker stripes on top, and finally add lighter highlights last. Additionally, tabby markings are naturally irregular, meaning small inconsistencies in your brushwork look completely intentional and gorgeous. That is genuinely good news for anyone still developing steady hand control.
For solid drawing foundations that translate beautifully into painting, the Pencil Drawing: Complete Beginner to Advanced Guide helps you sketch confidently before you ever pick up a brush. Furthermore, a reliable canvas panel set for oil painting gives you an affordable surface to practice on without any pressure.
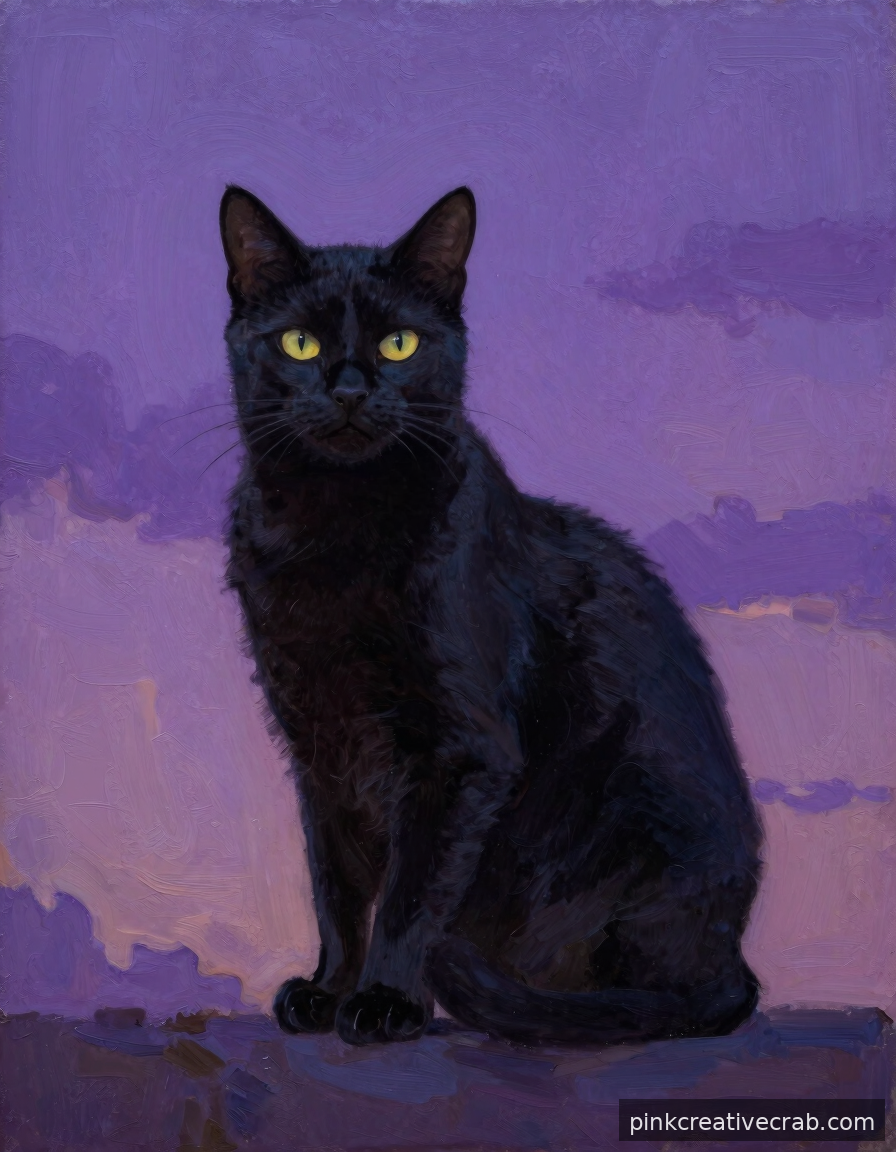
The Dreamy Black Cat Silhouette That Belongs on Every Cozy Wall
Black cats might sound intimidating to paint, but a silhouette approach makes this project wonderfully achievable. Instead of worrying about fur detail, you focus entirely on a beautiful bold shape against a glowing background. Think deep purples, soft mauves, or a warm twilight sky behind that elegant dark form. As a result, even the simplest silhouette looks intentional, moody, and absolutely stunning.
This project teaches one of the most valuable skills in painting — the relationship between dark subjects and light backgrounds. Additionally, blending a colorful sky is incredibly satisfying and surprisingly forgiving. Soft edges between your colors blend effortlessly with oil paint’s slow drying time, so you have all the time in the world to create something dreamlike.
If you have ever wondered how oil painting compares to other mediums for a project like this, the Acrylic vs Watercolor vs Oil vs Gouache: Which Medium Should You Choose? guide explains everything clearly. For supplies, a great oil paint set with blacks and purples is all you need to begin.
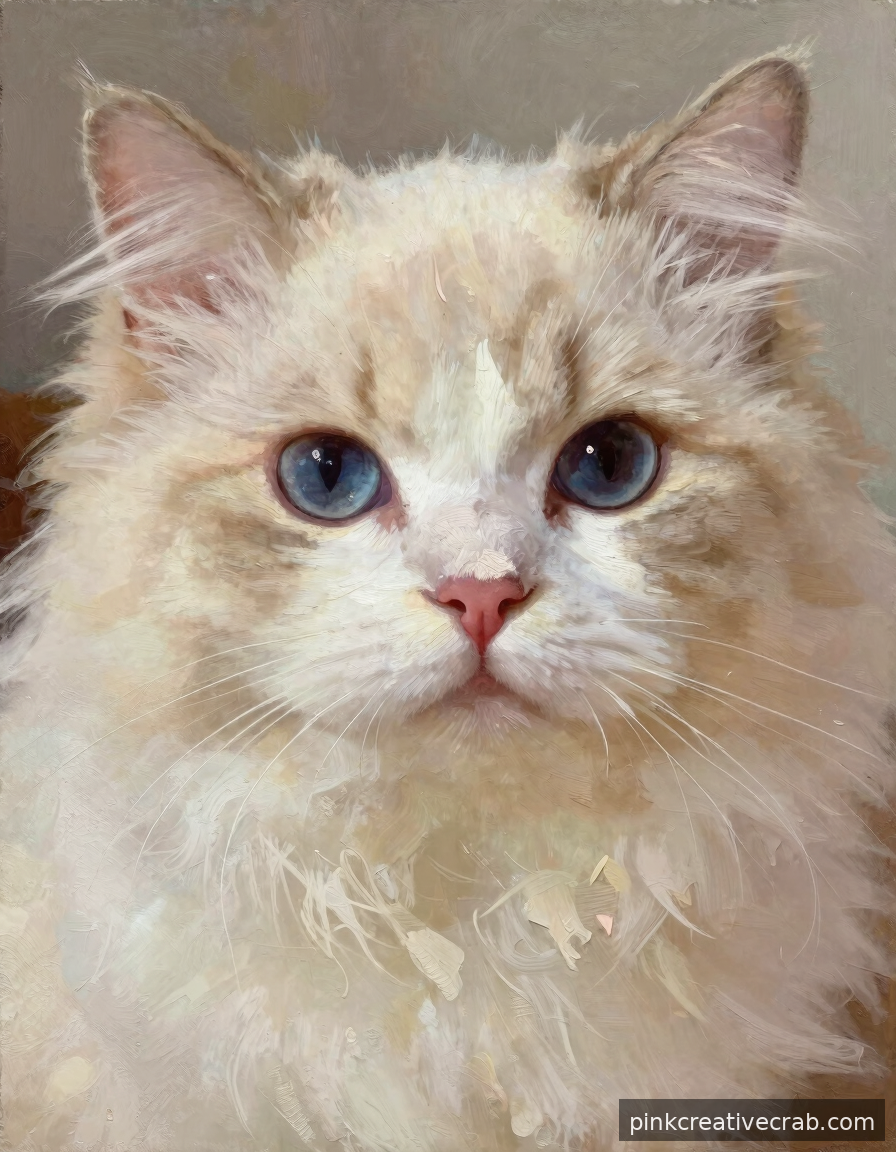
So Soft and Fluffy You Will Want to Pet Your Own Painting
Painting fluffy fur that actually looks touchable is one of the most satisfying things you will ever do with a brush. The good news is that soft, feathery strokes are genuinely beginner-friendly. You simply load a dry fan brush or soft bristle brush with a tiny amount of paint and sweep it lightly across the surface. Therefore, the texture practically creates itself without requiring any advanced technique.
Layering is your biggest friend here. Start with the darker base colors, then gradually add lighter, fluffier strokes on top. Meanwhile, varying your stroke length adds incredible realism. Short strokes around the face and longer sweeping ones on the body make the whole painting feel three-dimensional and alive. Every fluffy layer you add is a genuine reason to feel proud.
For understanding how different drawing and sketching tools can help you plan your composition first, explore the Drawing Techniques Encyclopedia: 50+ Essential Methods. Additionally, a soft fan brush set for oil painting will completely transform how your fur textures look.
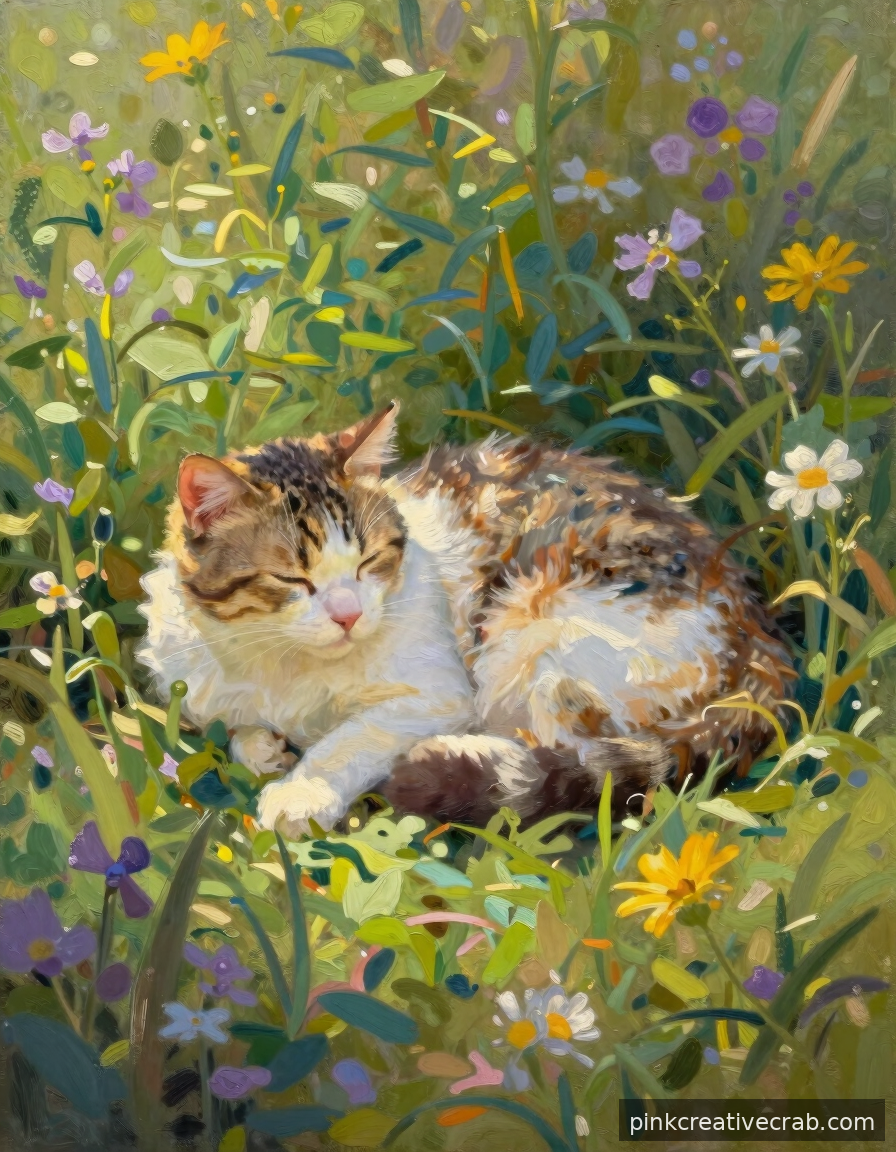
Meet the Cottagecore Cat Napping in a Garden of Your Dreams
Imagine a soft, drowsy cat nestled among wildflowers, dappled sunlight filtering through leaves above. This cottagecore-inspired painting combines two of the most beginner-friendly subjects — animals and simple floral backgrounds. Additionally, the loose, impressionistic style of this piece means you do not need crisp edges or perfect petals. Happy, soft blobs of color become lavender and chamomile in the most charming way imaginable.
The garden background is actually a brilliant opportunity to practice color mixing without any pressure. Greens, soft yellows, and dusty pinks played next to each other create instant garden magic. Meanwhile, the cat in the foreground can remain beautifully soft and sketchy, which saves you from overworking the details. Loose and lively always looks more alive than stiff and overworked.
For anyone just starting their creative journey, exploring the Watercolor Painting: The Ultimate Beginner to Advanced Guide alongside oil painting is a lovely way to grow in multiple directions. A cheerful floral oil painting color set will give you every soft, dreamy shade you need.
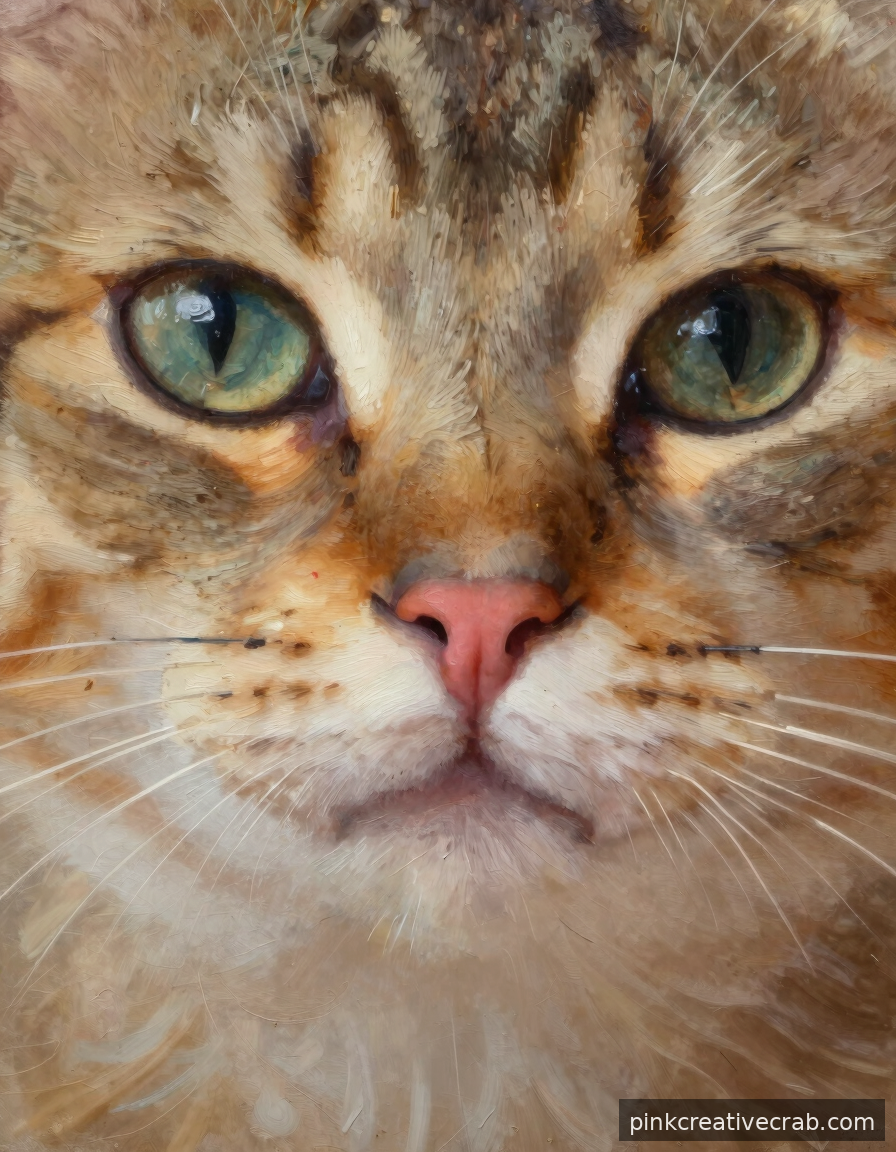
This Close-Up Nose and Whiskers Study Is Almost Too Cute to Be This Easy
A close-up cat nose and whisker study is hands-down one of the most adorable beginner projects out there. By zooming in dramatically, you eliminate complicated backgrounds entirely and focus on just a few delightful details. That little pink nose, those freckled whisker pads, and the soft muzzle fur are all wonderfully simple shapes when you look at them closely. Therefore, the whole composition feels manageable from the very first brushstroke.
Whiskers are the finishing touch that makes everyone gasp, and they are simpler than you think. Using a thin liner brush loaded with light paint, you pull quick confident strokes outward from the muzzle. Additionally, varying the pressure creates that natural tapered whisker shape effortlessly. Even if your first few attempts feel wobbly, the overall effect still looks genuinely impressive and sweet.
Building comfort with fine details is a skill that grows quickly with practice. For foundational skills that support all your art adventures, the Art Fundamentals: Complete Guide to Drawing & Painting Basics is incredibly helpful. Meanwhile, a quality liner brush set for oil painting makes painting those whiskers feel smooth and satisfying.
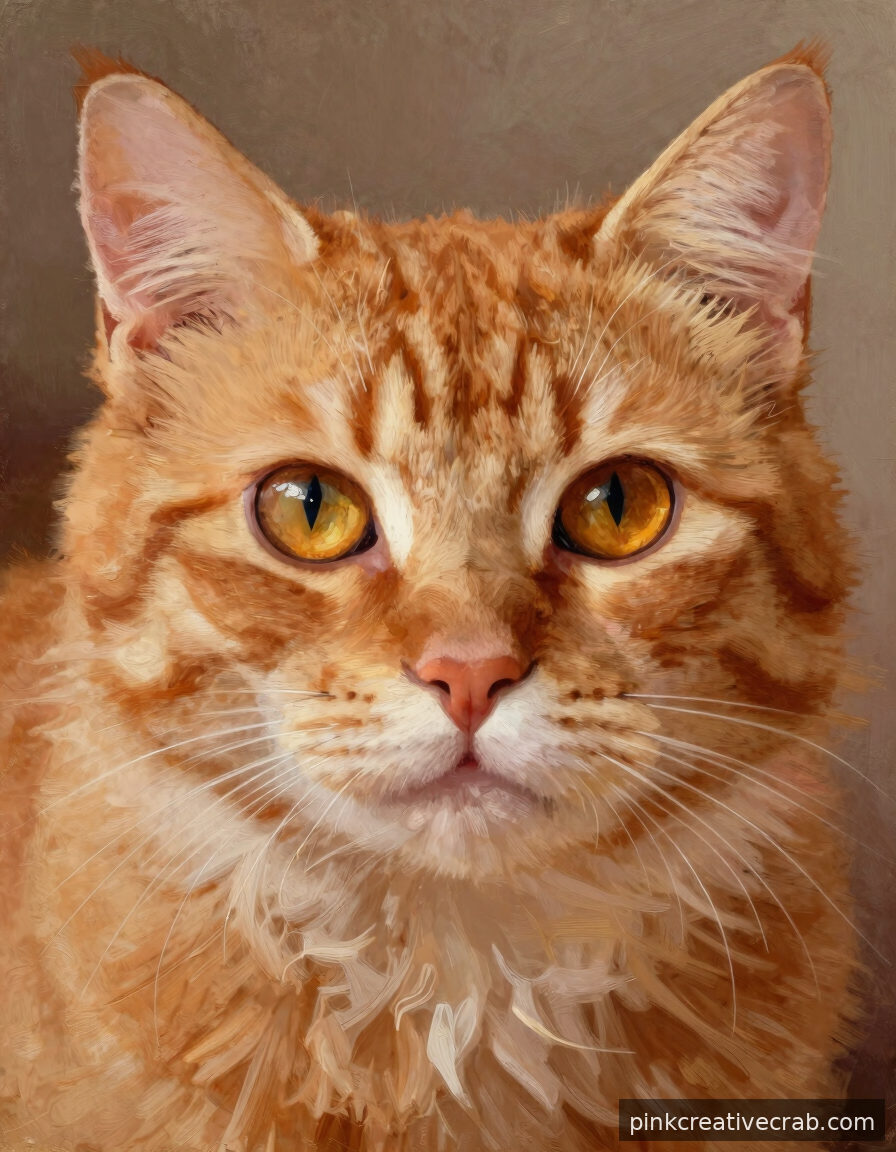
Nobody Will Believe You Painted This Gorgeous Ginger Cat Yourself
Ginger cats are honestly one of the best subjects for beginner oil painters. Their warm orange and amber tones are so forgiving and fun to mix. Additionally, those bold tabby stripes give you built-in structure, so you always know where your next brushstroke should go. You will feel confident from the very first layer.
The trick is starting with a simple underpainting in burnt sienna. From there, you build up those glowing orange tones gradually. Meanwhile, the white chest and paw areas add beautiful contrast without much effort. Every small detail you add makes the painting pop more. Therefore, even beginners end up with results that genuinely impress people.
For this project, having the right brushes makes everything easier and more enjoyable. A good starter set lets you switch between broad fur strokes and fine detail work seamlessly. Try a beginner oil painting brush set to get started with confidence.
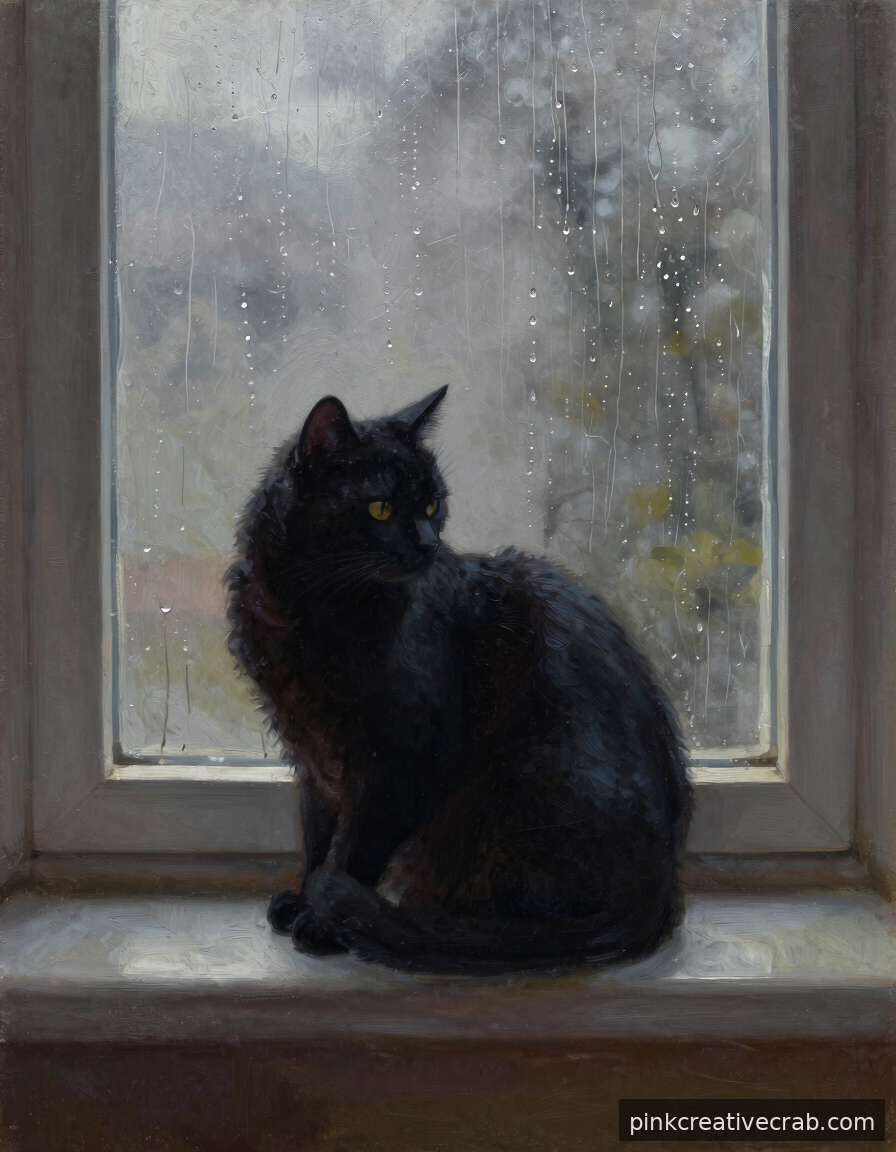
5 Reasons a Rainy Window Cat Scene Is the Most Satisfying Thing to Paint
There is something truly magical about painting a cat curled up on a windowsill while rain streaks down the glass outside. First, the moody atmosphere practically creates itself. Second, the soft diffused light from the window makes shadows easy and forgiving to paint. Additionally, you only need a limited color palette, which is a huge win for beginners.
Third, the rain droplets on the glass are actually simple to paint and look incredibly impressive. Fourth, a curled sleeping cat pose means you do not need to worry about complex anatomy. Fifth, and perhaps most importantly, the finished result feels deeply cozy and emotional. As a result, people always connect with this kind of painting on a personal level.
To capture those gorgeous rainy blues and greys, understanding color mixing is a real game changer. Check out this helpful Color Mixing Guide: Everything You Need to Know for easy tips. Also grab a rainy scene oil painting kit to have everything ready.
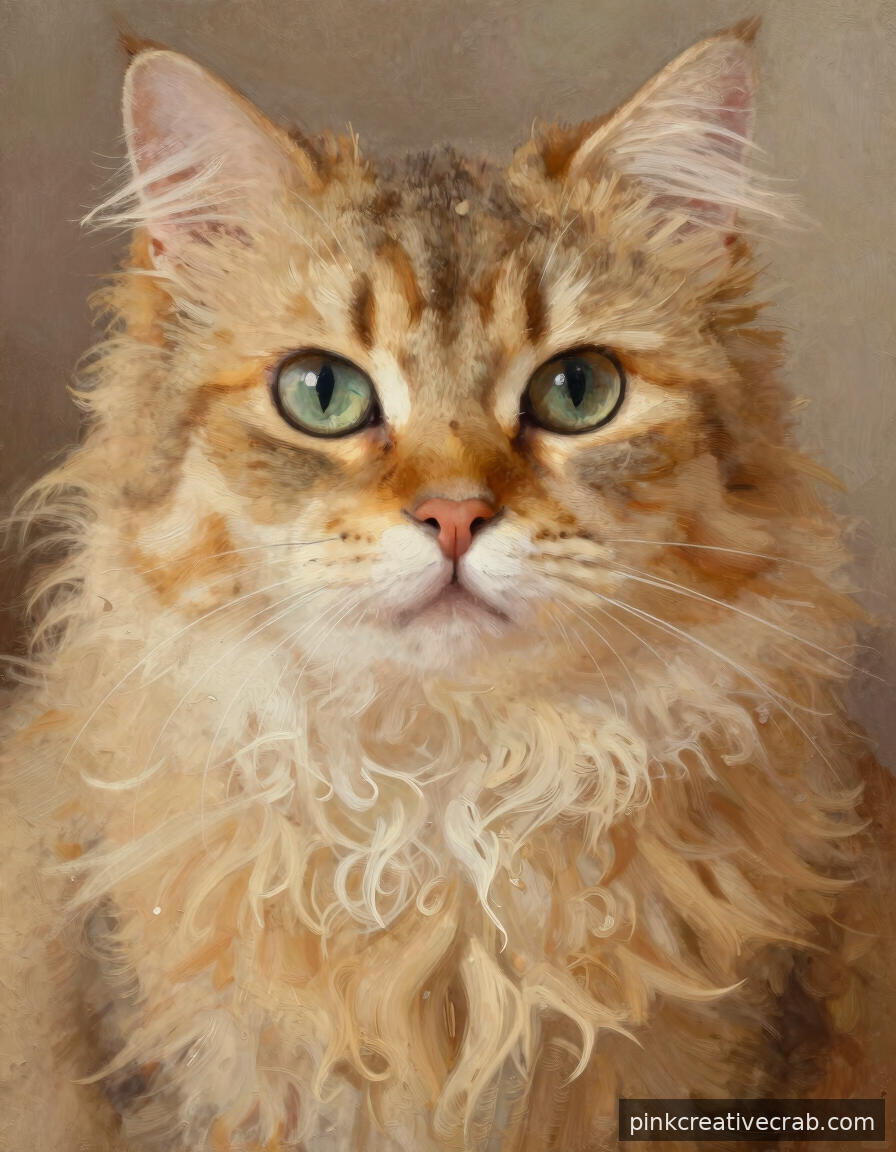
The Secret to Painting Realistic Cat Fur (Spoiler: It Is Just Layering)
Here is the good news: painting realistic cat fur is not some mysterious advanced skill. It really does come down to one simple technique — layering. You start with a base color, let it dry slightly, then add directional strokes on top. However, many beginners skip steps and get frustrated. Therefore, slowing down and trusting the process makes all the difference.
Each layer you add builds texture and depth naturally. For example, a tabby cat might need four or five thin layers before the fur really starts to sing. Meanwhile, the direction of your brushstrokes matters just as much as the color. Following the natural growth direction of the fur creates believable texture almost automatically. As a result, your cat will suddenly look three-dimensional and wonderfully fluffy.
Fan brushes and filbert brushes are your absolute best friends for fur work. A fan brush set for oil painting gives you that beautiful soft stroke effect without any struggle. Also, brushing up on Art Fundamentals: Complete Guide to Drawing & Painting Basics will reinforce your foundational skills beautifully.
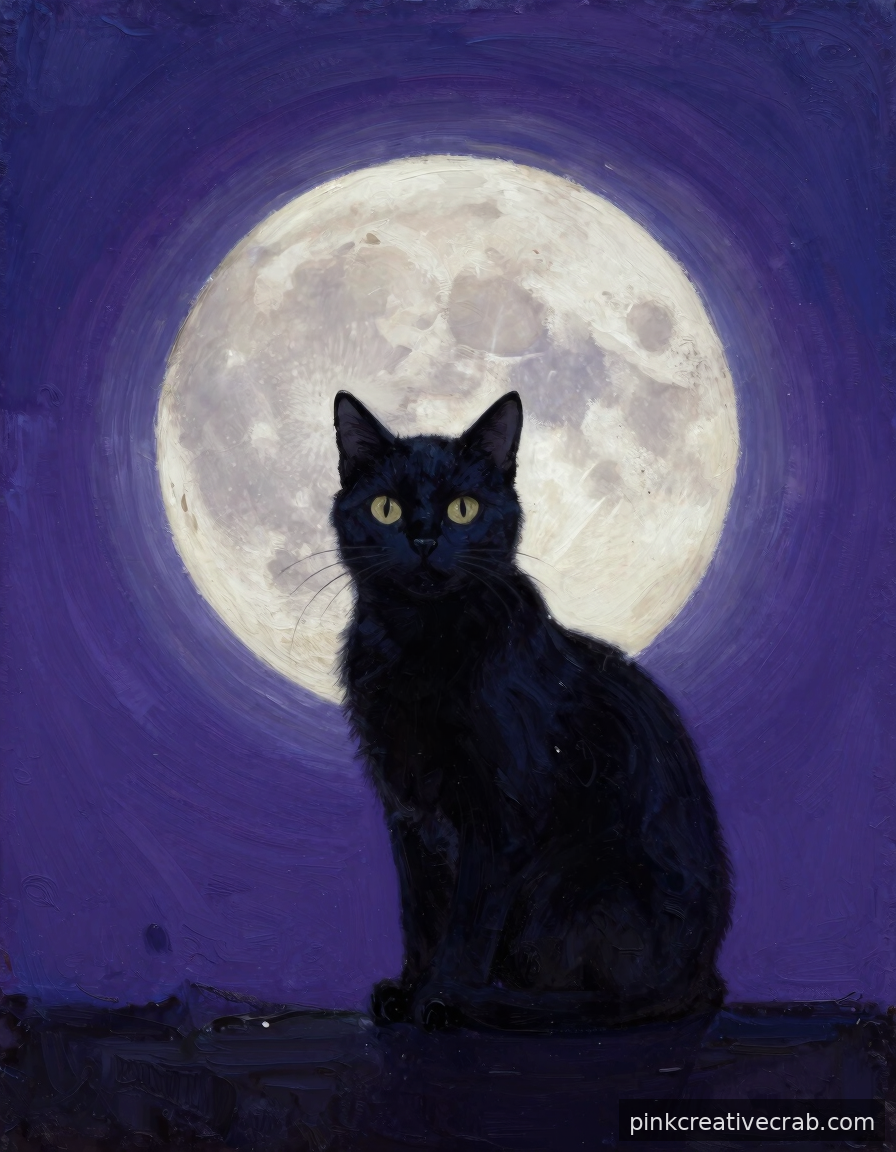
Magical Moonlit Cat Silhouette That Looks Effortlessly Professional
A cat silhouette against a full moon is one of those paintings that looks incredibly sophisticated but is genuinely beginner-friendly. The beauty of silhouette work is that you do not paint any details inside the cat shape at all. Instead, all the magic happens in the glowing sky behind it. Therefore, you spend your energy on the part that actually impresses everyone — that luminous moonlit sky.
Mixing the soft purples, deep blues, and warm yellows of a moonlit sky feels almost meditative. Additionally, the hard-edged black cat shape creates a striking contrast that makes the whole composition feel balanced and dramatic. Even if your cat outline is not perfectly precise, the strong value contrast makes it read as confident and intentional. That is a small win worth celebrating.
Having quality oil paints in night-sky tones makes this project truly shine. A small oil paint set for beginners with blues, purples, and yellows is ideal. For understanding which painting medium suits you best, Acrylic vs Watercolor vs Oil vs Gouache: Which Medium Should You Choose? is a wonderfully helpful read.
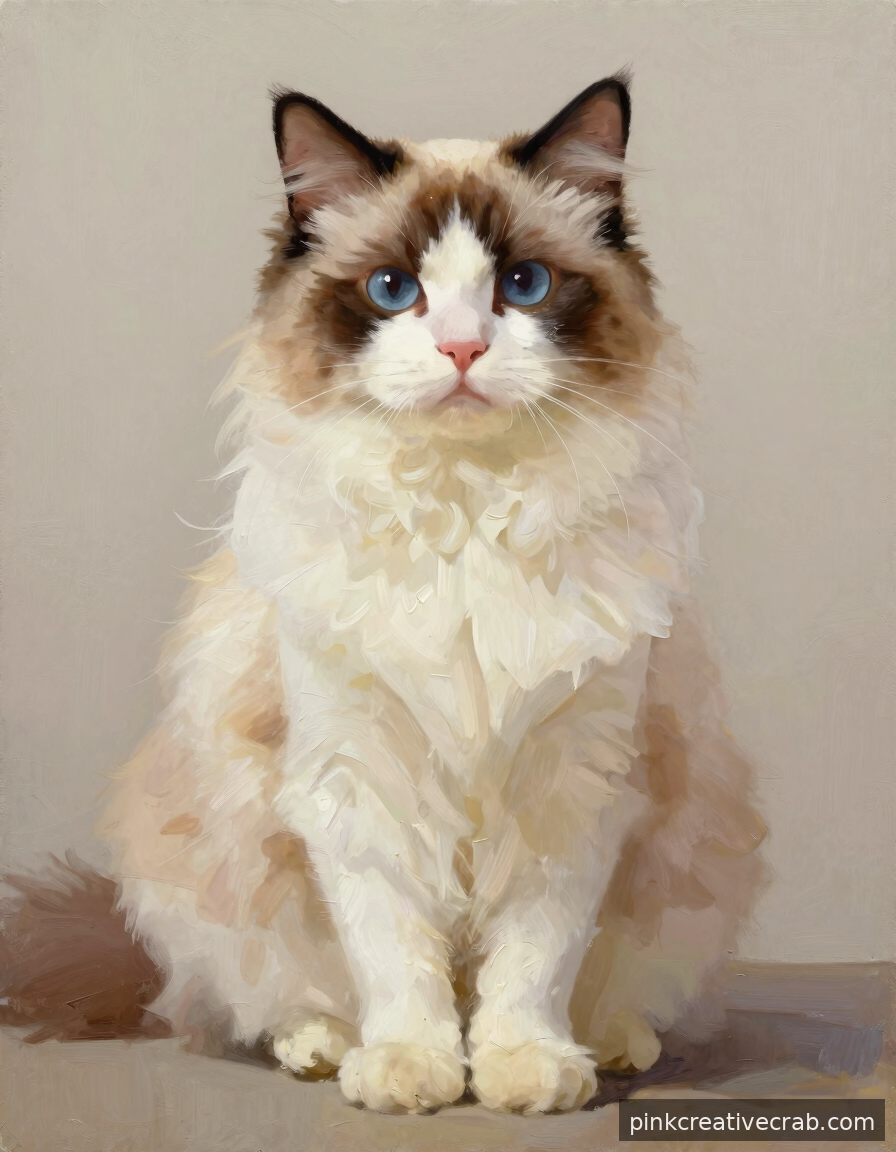
Your Beginner Cat Oil Painting Journey Starts With This One Simple Pose
If you have been putting off starting your first cat oil painting, this is your sign to begin today. The seated front-facing cat pose is genuinely the most beginner-friendly composition you can choose. The body is essentially an oval, the head is a circle, and the tail wraps neatly around the base. However, simple does not mean boring — this pose is classic and endlessly charming.
Starting with light pencil sketching on your canvas builds confidence before a single drop of paint is applied. From there, blocking in large color areas first makes the whole process feel manageable and fun. Additionally, front-facing poses mean you only need to handle basic symmetry rather than complex foreshortening. As a result, you spend more time enjoying the painting and less time feeling stuck.
Grabbing a canvas panel pack gives you plenty of room to practice without pressure. A canvas panel pack for beginners is affordable and perfect for first attempts. Meanwhile, Pencil Drawing: Complete Beginner to Advanced Guide can help you nail that initial sketch before painting begins.
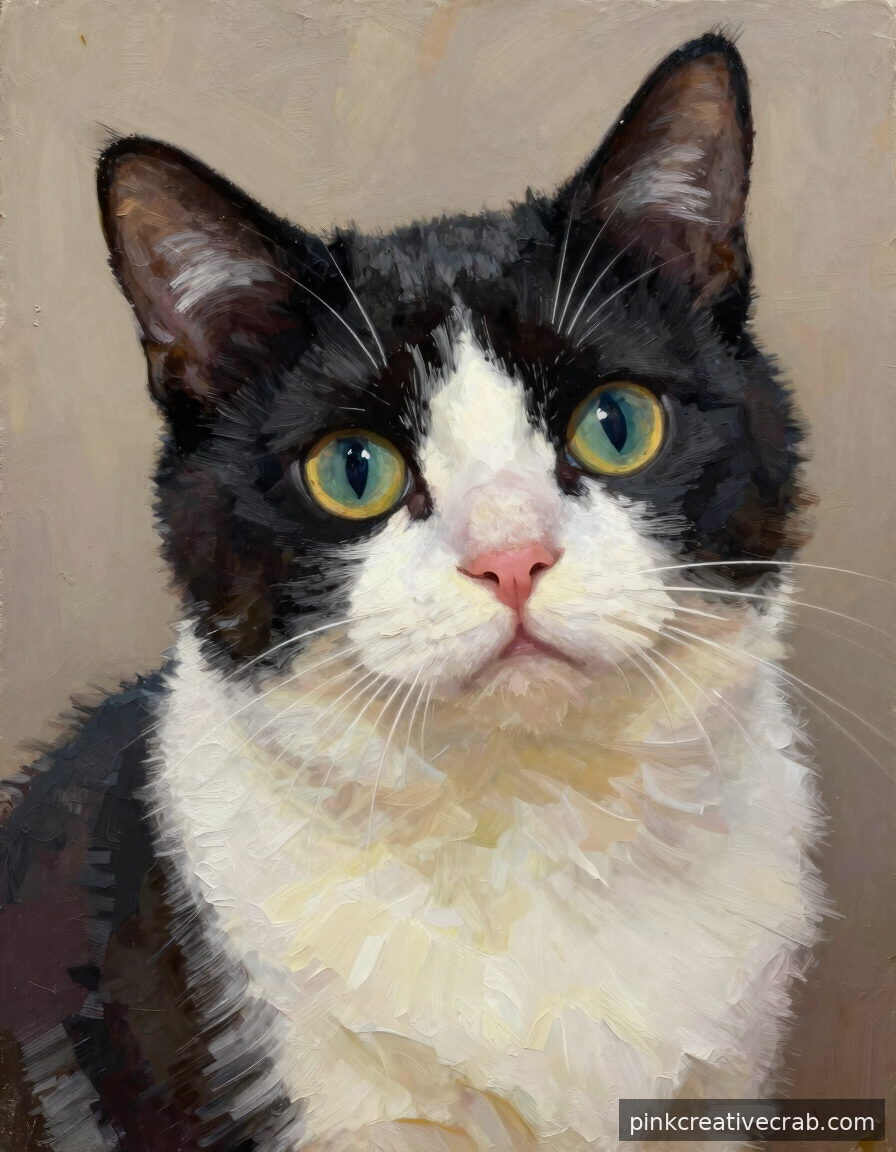
You Have Never Seen a Tuxedo Cat Look This Irresistibly Charming on Canvas
Tuxedo cats are practically made for oil painting. Their bold black-and-white contrast is dramatic, graphic, and incredibly satisfying to work with. Additionally, that dapper little white bib and four white paws give the composition a natural focal point that draws the eye right in. You will honestly surprise yourself with how elegant the finished painting looks.
The key to making a tuxedo cat pop is getting those true, deep blacks right. Many beginners use straight black paint, but mixing a rich dark from ultramarine blue and burnt umber creates a far more vibrant result. Meanwhile, the bright white areas should be painted last, applied thickly and confidently for maximum impact. Therefore, patience and a logical painting order make everything come together beautifully.
Having a quality palette knife alongside your brushes helps blend and apply thick white paint effortlessly. A palette knife set for oil painting is a surprisingly affordable tool that changes everything. For deeper color confidence, the Color Mixing Guide: Everything You Need to Know is an absolute treasure.
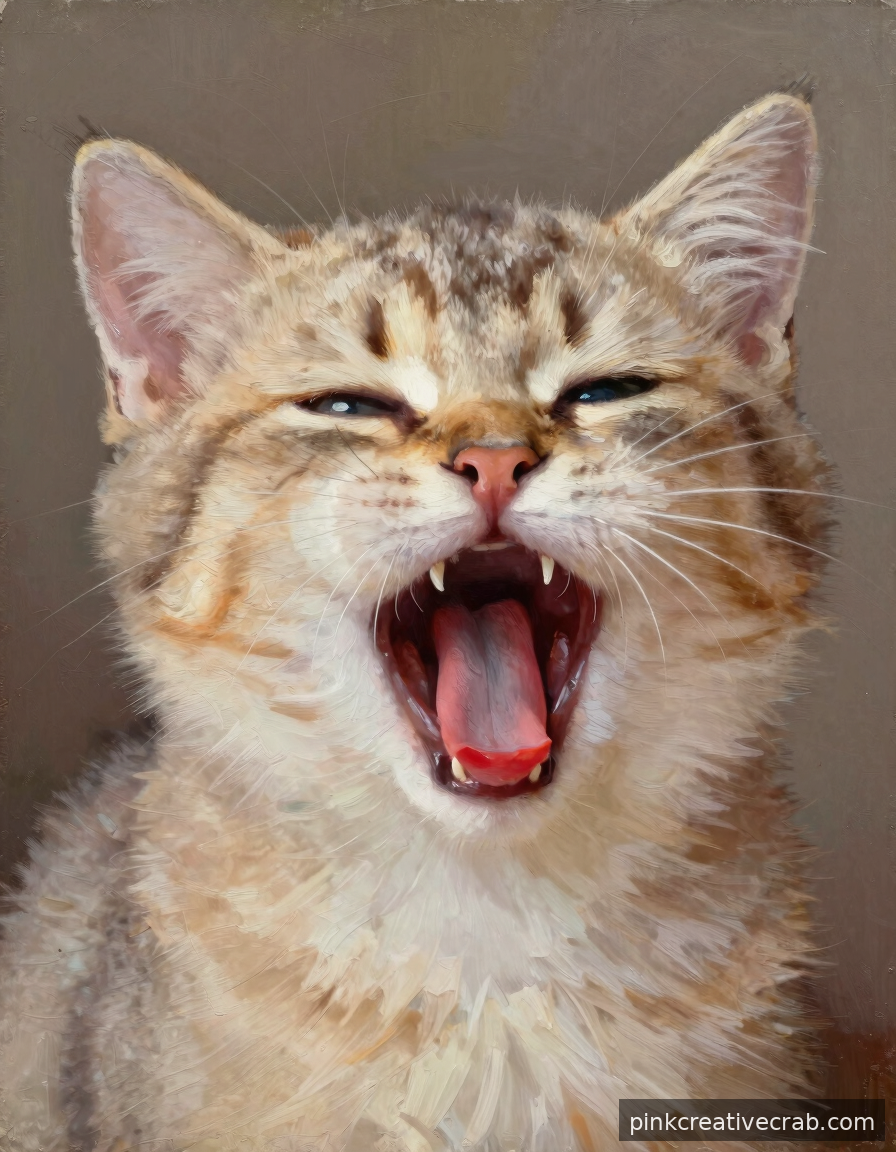
Paint a Kitten Yawning and Watch Every Single Person Fall in Love With It
A yawning kitten is quite possibly the most universally adored subject in all of cat painting. That wide-open mouth, those tiny teeth, and those scrunched-up eyes create the most expressive and joyful composition imaginable. However, painting an open mouth sounds intimidating at first. The good news is that breaking it into simple shapes — pink tongue, dark throat, white teeth — makes it completely manageable for beginners.
The expressiveness of this pose means even small imperfections read as personality rather than mistakes. Additionally, the soft pastel pinks and creamy whites of a kitten’s coloring are wonderfully forgiving to mix and blend. For example, a slightly uneven ear or a wobbly whisker line honestly adds charm rather than detracting from the painting. As a result, this is one of those subjects where beginners consistently end up with something truly delightful.
Soft, fine-tipped brushes are essential for capturing those adorable tiny details like whiskers and eyelashes. A fine detail brush set for oil painting is a small investment with a huge payoff. Also, Art Fundamentals: Complete Guide to Drawing & Painting Basics will help you understand light and form before you dive in.
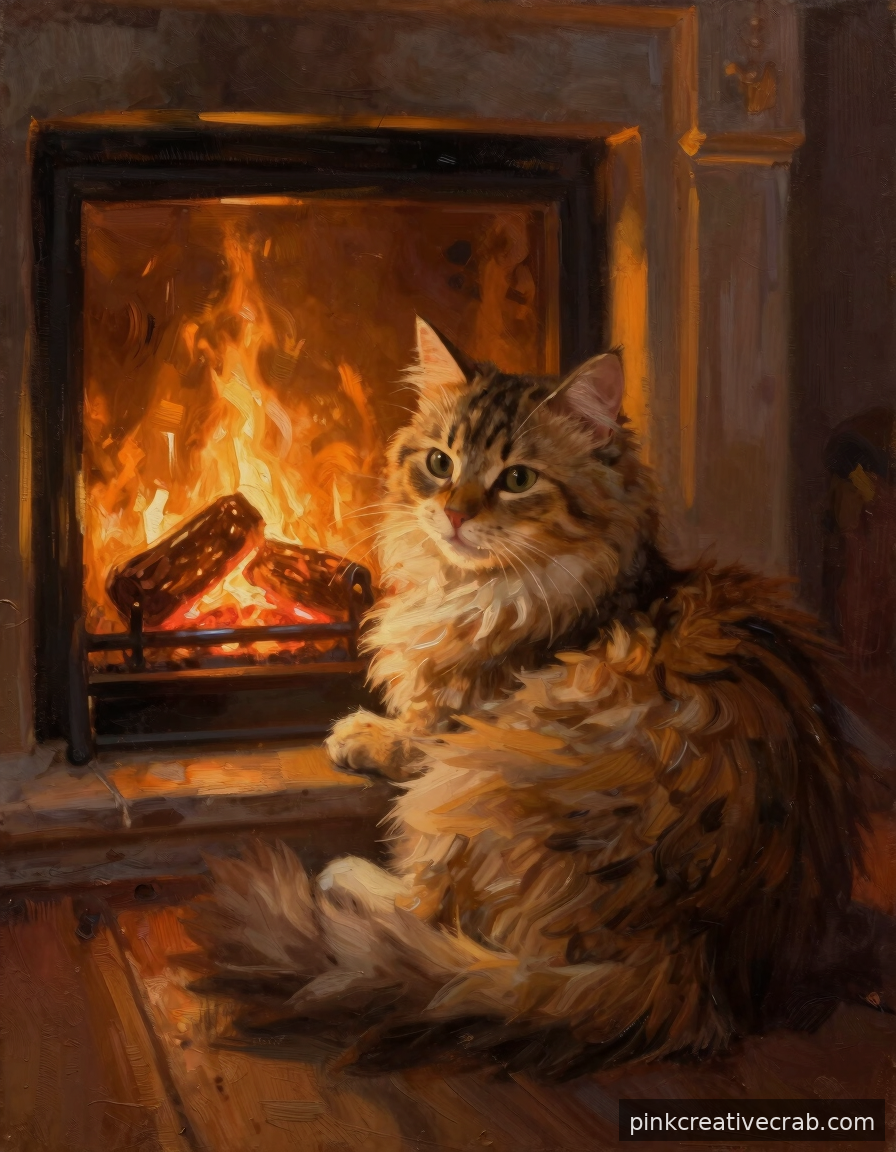
That Cozy Cat Beside a Fireplace Scene You Keep Saving on Pinterest
You know that warm, glowing Pinterest image you keep coming back to — a fluffy cat curled beside a crackling fireplace? Good news: you can actually paint that. Oil paints are perfect for capturing those rich amber and orange tones. Additionally, the soft blending properties of oils make firelight look naturally dreamy without too much effort on your part.
Start simple. Block in your background with deep burnt umber and a warm orange glow near the fire source. Then paint your cat as a soft silhouette first, building fur detail gradually. Transition words like ‘layering’ will become your best friends here — because oils let you add and blend slowly, which is honestly ideal for beginners.
For this cozy scene, you will want a reliable starter set. Check out these oil painting supplies for beginners to get everything in one place.
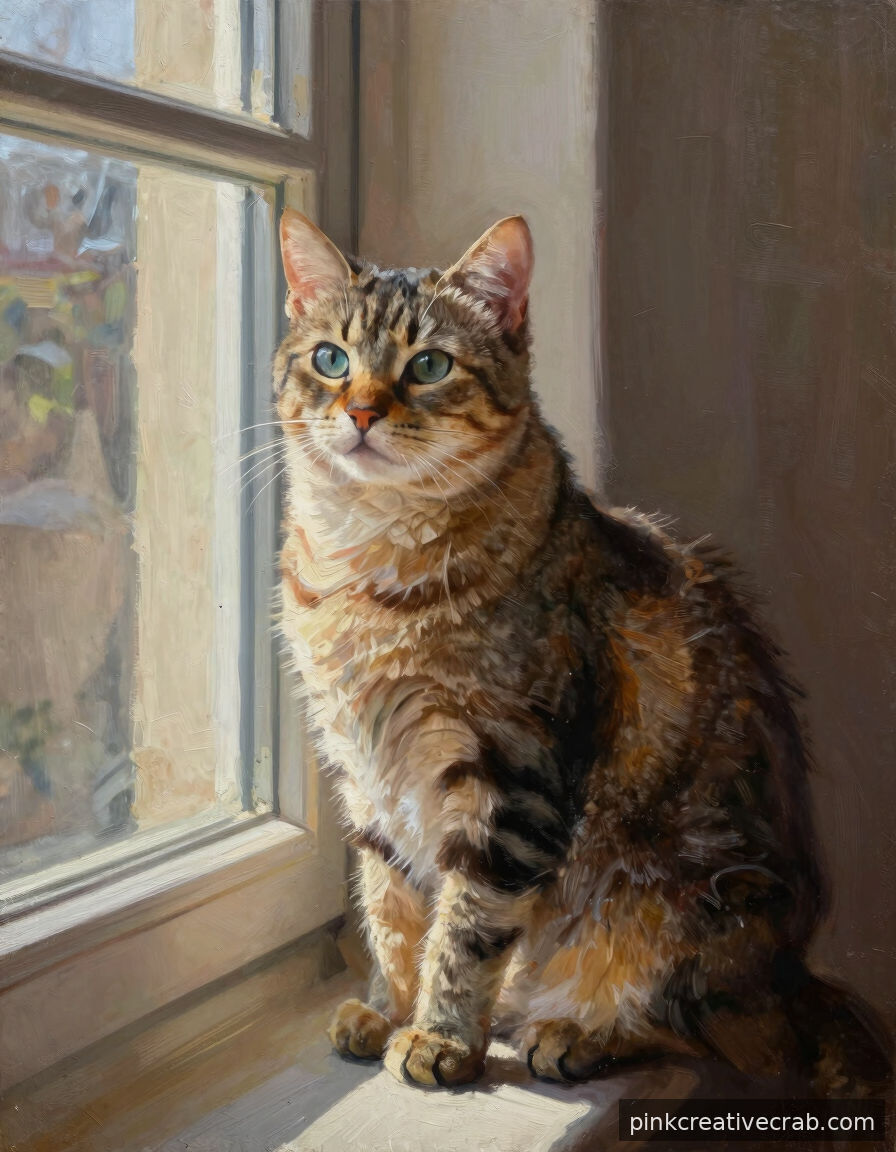
How the Classic Cat and Window Light Combo Teaches You Everything About Shadows
Window light scenes are basically a masterclass in shadow — and a cat sitting beside a window is one of the most beautiful setups you can paint. The light falls in one clear direction, which means shadows are predictable and easy to follow. Therefore, this subject is practically designed to help beginners understand light and form naturally.
To get started, sketch your cat loosely and identify where the light hits strongest. Typically, one side glows warmly while the other falls into cool shadow. This contrast is everything. If you want to dig deeper into understanding light and shadow principles, the Art Fundamentals: Complete Guide to Drawing & Painting Basics is a fantastic resource worth bookmarking.
For practicing this technique, quality brushes make a real difference. Try these oil painting brushes for beginners to get smooth, confident strokes on your cat’s shadowed side.
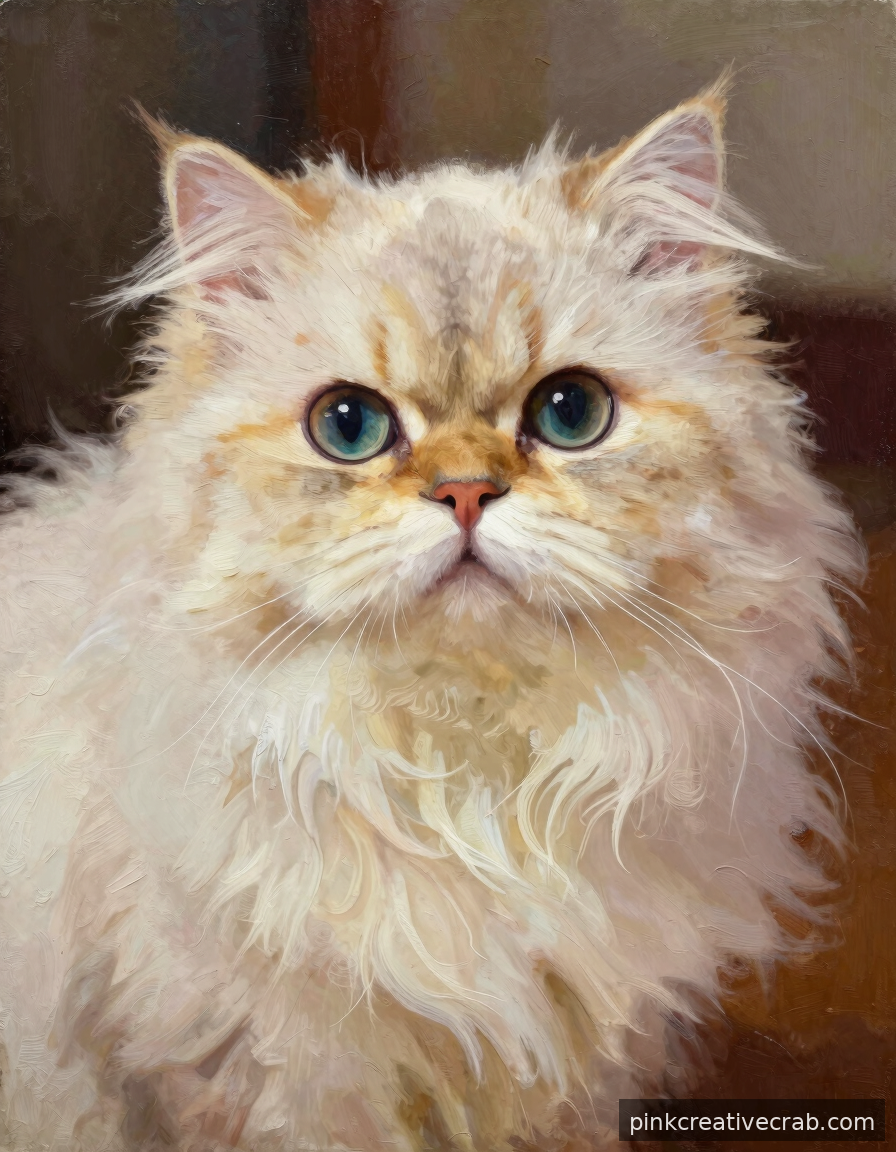
Even Total Beginners Can Nail This Gorgeous Persian Cat Portrait
Persian cats are actually one of the friendliest subjects for beginner oil painters — and here is why. Their round, fluffy faces have soft edges rather than sharp ones, which means blending mistakes are barely noticeable. Additionally, all that luxurious fur gives you permission to be loose and expressive with your brushwork, which feels much less stressful.
Start with a simple base color for the fur — creamy white or warm grey works beautifully. Then build up texture using short, feathery strokes in multiple directions. Meanwhile, keep the eyes as the sharpest, most detailed part of the portrait. That contrast between soft fur and bright focused eyes is genuinely what makes Persian portraits look stunning.
Ready to dive in? Grab a good canvas and oil paint starter kit so you have everything prepped and ready to go.
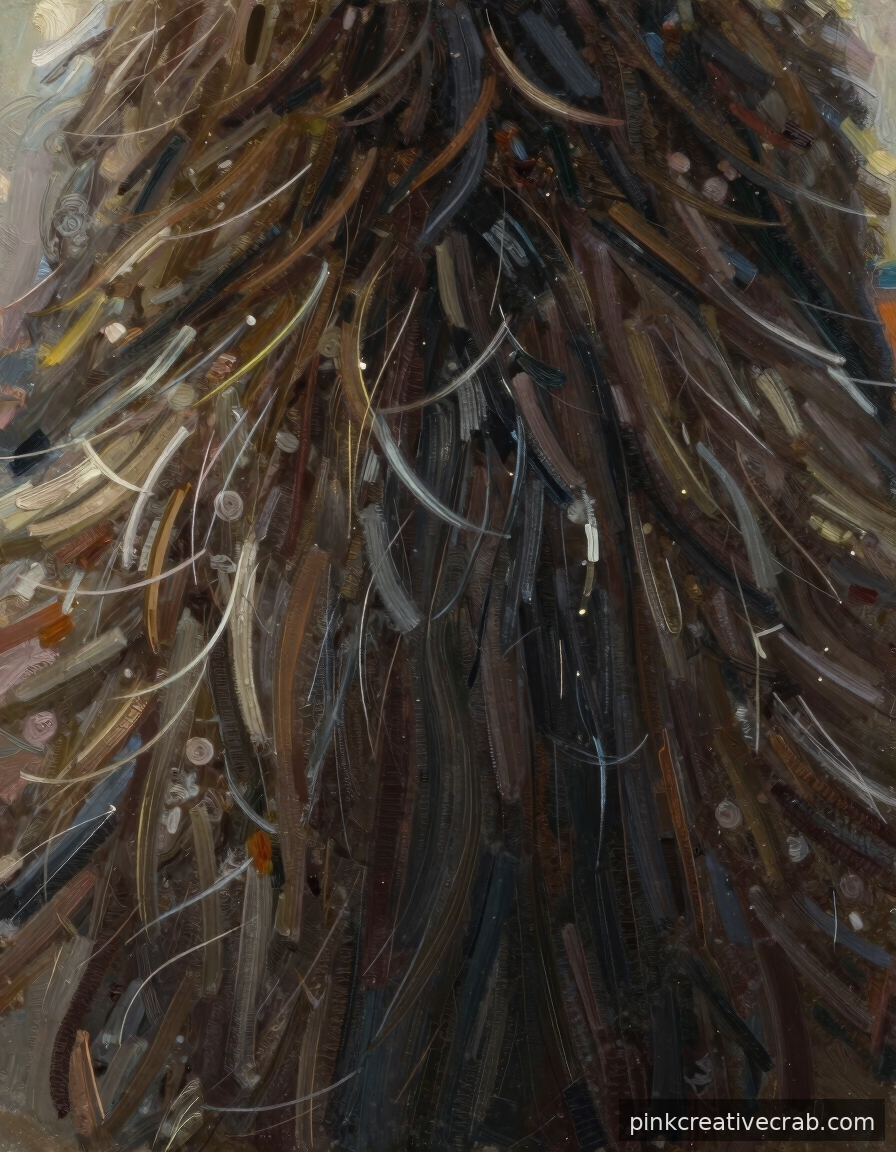
The One Cat Oil Painting Technique That Makes Fur Look Absolutely Alive
There is one technique that transforms a flat painted cat into something that looks like you could actually touch the fur — and it is called scumbling. Basically, you drag a dry-ish brush loaded with light paint loosely over a darker dried layer. As a result, you get this incredible texture that mimics the way individual hairs catch the light. It sounds fancy, but it is genuinely beginner-friendly.
The secret is patience. Let your base layer dry before scumbling, and use a stiff bristle brush for the most realistic effect. However, even a soft brush dragged lightly across the surface creates beautiful results. For a deeper dive into techniques like this one, the Drawing Techniques Encyclopedia: 50+ Essential Methods will give you even more tools to explore.
To practice scumbling confidently, pick up some stiff bristle oil painting brushes — they make all the difference.
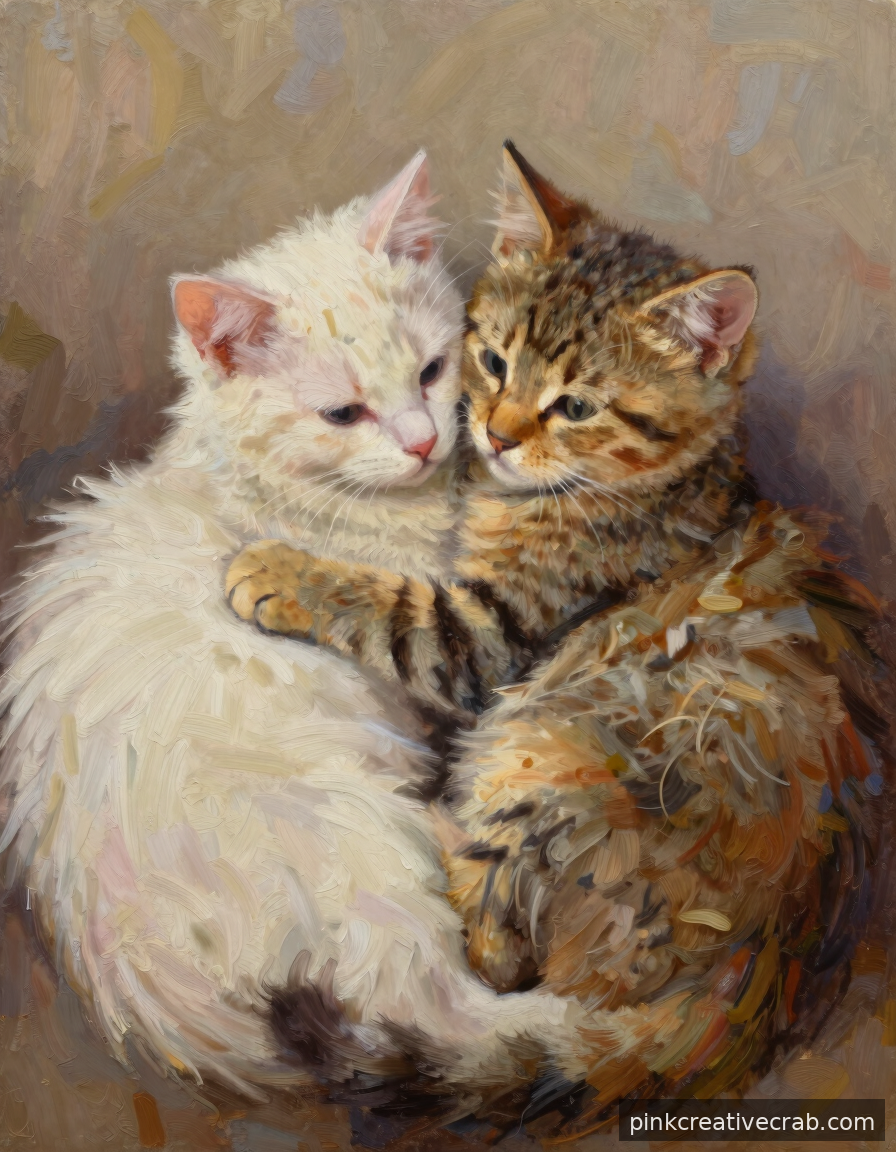
Two Cats Cuddling Together Is the Most Heartwarming Canvas You Will Ever Finish
Painting two cats curled together is one of those projects where the subject itself carries so much warmth that it practically paints itself. The intertwined shapes create a natural focal point, and the repetition of fur textures actually makes the painting feel more cohesive and easier to manage. Additionally, you get to practice all your fur techniques twice — which means double the skill-building fun.
Begin by sketching the two cats as one unified shape rather than two separate animals. This approach keeps the composition feeling snug and connected. Then work color into each cat distinctly — perhaps one warm ginger and one cool grey — so they read as individuals while still feeling like a pair. The color contrast does a lot of the heavy lifting for you.
For this sweet project, these oil painting canvas boards for beginners are affordable and give you a lovely surface to work on.
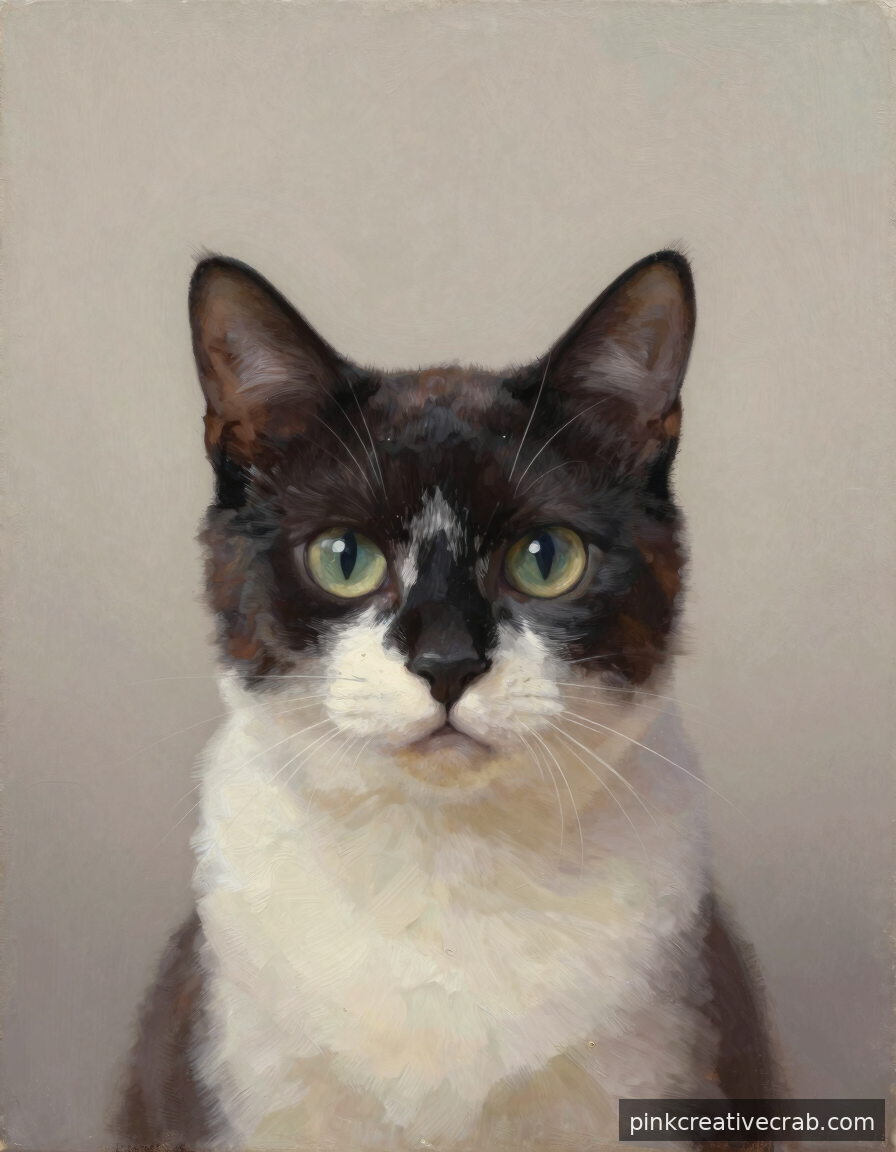
Forget Complicated Backgrounds — This Minimalist Cat Portrait Is Breathtakingly Effective
Here is something nobody tells beginner painters enough: a plain, simple background can actually make your cat look more impressive, not less. A smooth gradient of warm neutral tones behind a detailed cat portrait draws every eye straight to the subject. Therefore, if backgrounds stress you out, minimalism is genuinely your superpower right now.
To create a beautiful neutral backdrop, blend two or three close colors together while the paint is still wet. Think warm ivory into soft grey, or dusty rose into beige. Meanwhile, put all your detail energy into the cat’s face — especially the eyes and nose. That contrast between a calm, simple background and a richly painted face creates instant visual drama. If you are curious about how different painting mediums handle backgrounds differently, check out Acrylic vs Watercolor vs Oil vs Gouache: Which Medium Should You Choose? for some helpful perspective.
For silky smooth background blending, try soft blending oil painting brushes — they are total game changers.
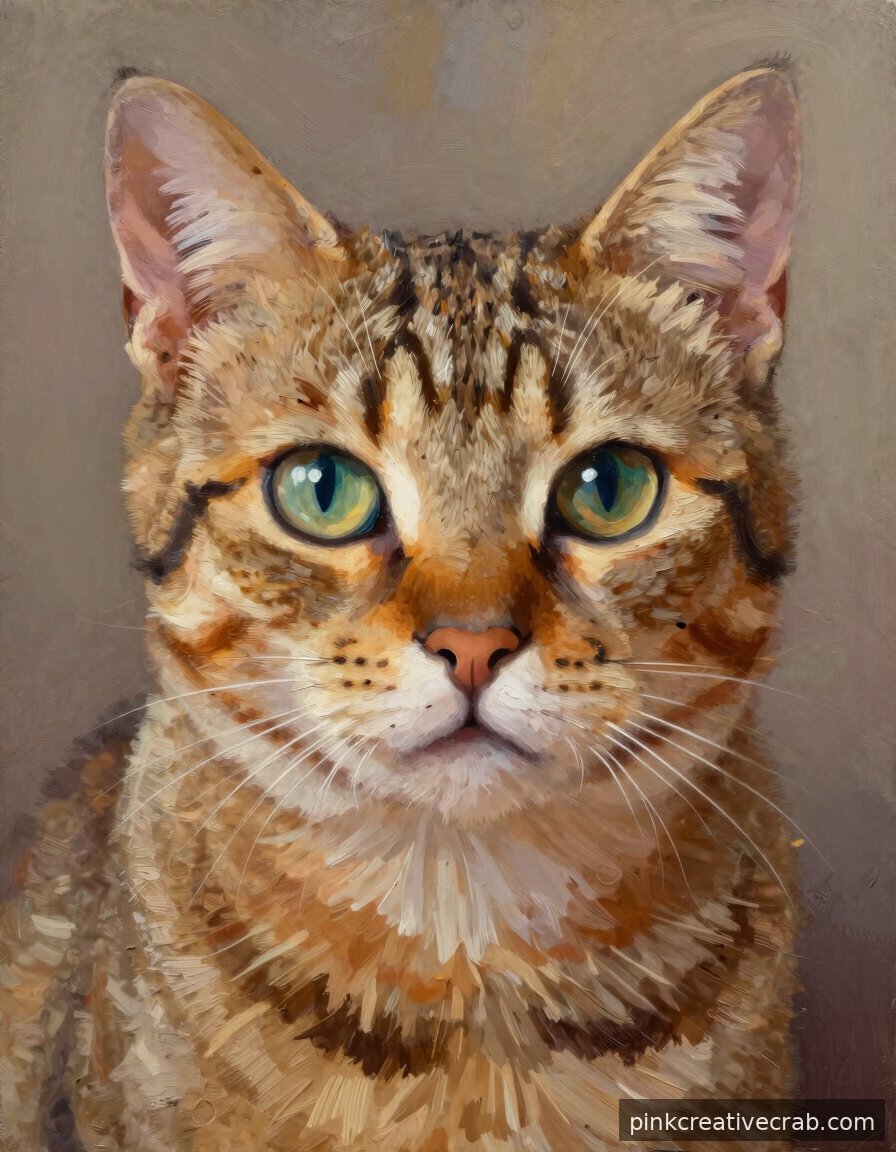
3 Beginner Tricks That Make a Tabby Cat Oil Painting Look Totally Professional
Tabby cats are wonderfully forgiving subjects — those bold stripes and markings actually guide your brushwork and give structure to your painting from the very beginning. Trick one: paint the stripes in last, not first. Build the base fur color completely, then layer your dark markings over the top. This method keeps everything looking natural and soft rather than stiff or outlined.
Trick two: vary your stripe width constantly. Real tabby markings are irregular and organic, so embrace wobbly lines — they actually look more authentic. Trick three involves color mixing, because tabby fur is rarely just one brown. For confident color choices, the Color Mixing Guide: Everything You Need to Know is absolutely worth a read before you start.
To practice all three tricks, grab some oil paint sets for beginners with earth tones — tabby cats live in those warm, rich colors.
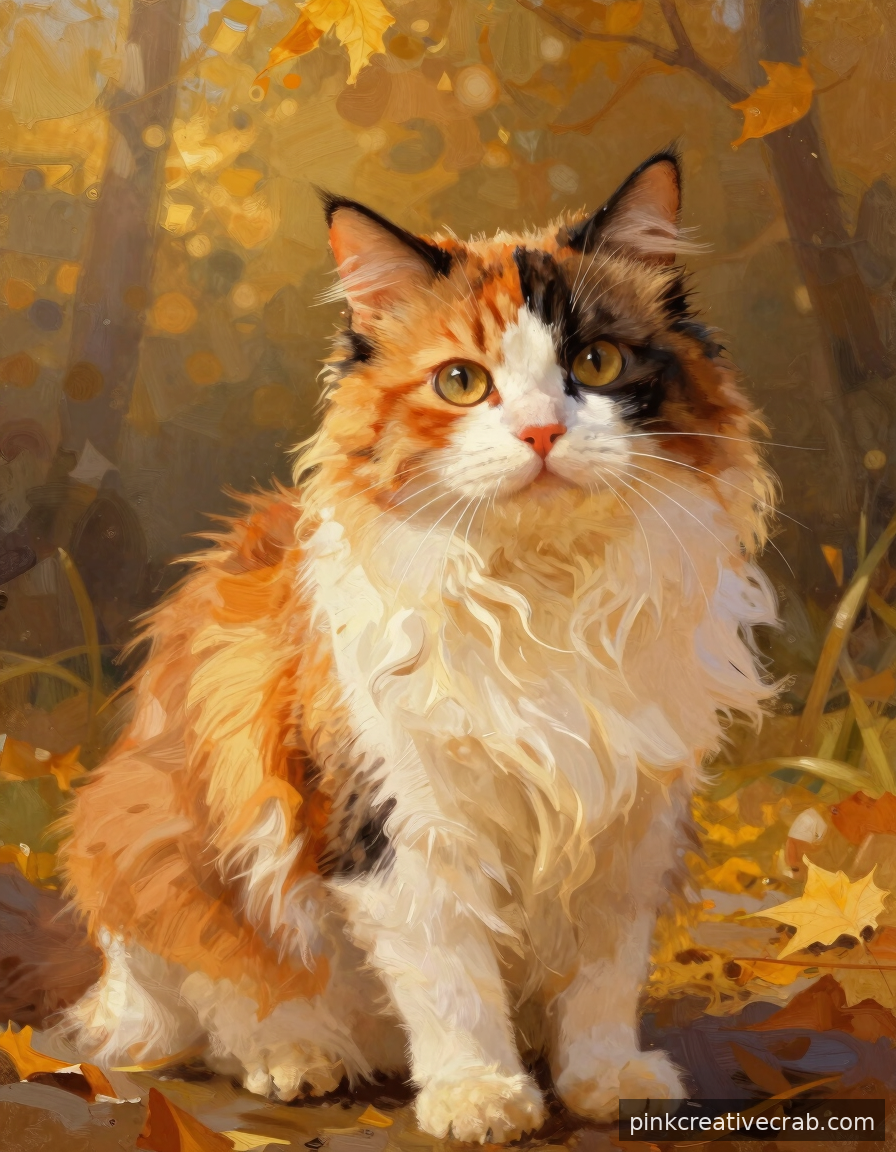
A Calico Cat in Autumn Light Is the Kind of Painting You Frame Immediately
Calico cats are basically nature’s gift to painters. Those gorgeous patches of orange, black, and white give you built-in variety without needing to invent a complicated composition. Additionally, when you pair all that natural color with warm autumn light, something magical happens — your painting instantly feels cozy and alive. Don’t worry about getting every patch perfect. Even loose, approximate shapes read beautifully as fur in oil paint.
The secret here is working with a warm underpainting first. Burnt sienna or yellow ochre makes a wonderful base layer. As a result, your autumn light glows through every brushstroke you add on top. Meanwhile, keep your background soft and blurry — a few muted greens and golds are more than enough. This lets your calico become the true star of the painting.
For color mixing help, check out this fantastic Color Mixing Guide: Everything You Need to Know before you start. Grab a set of calico cat oil painting beginner supplies to get going today!
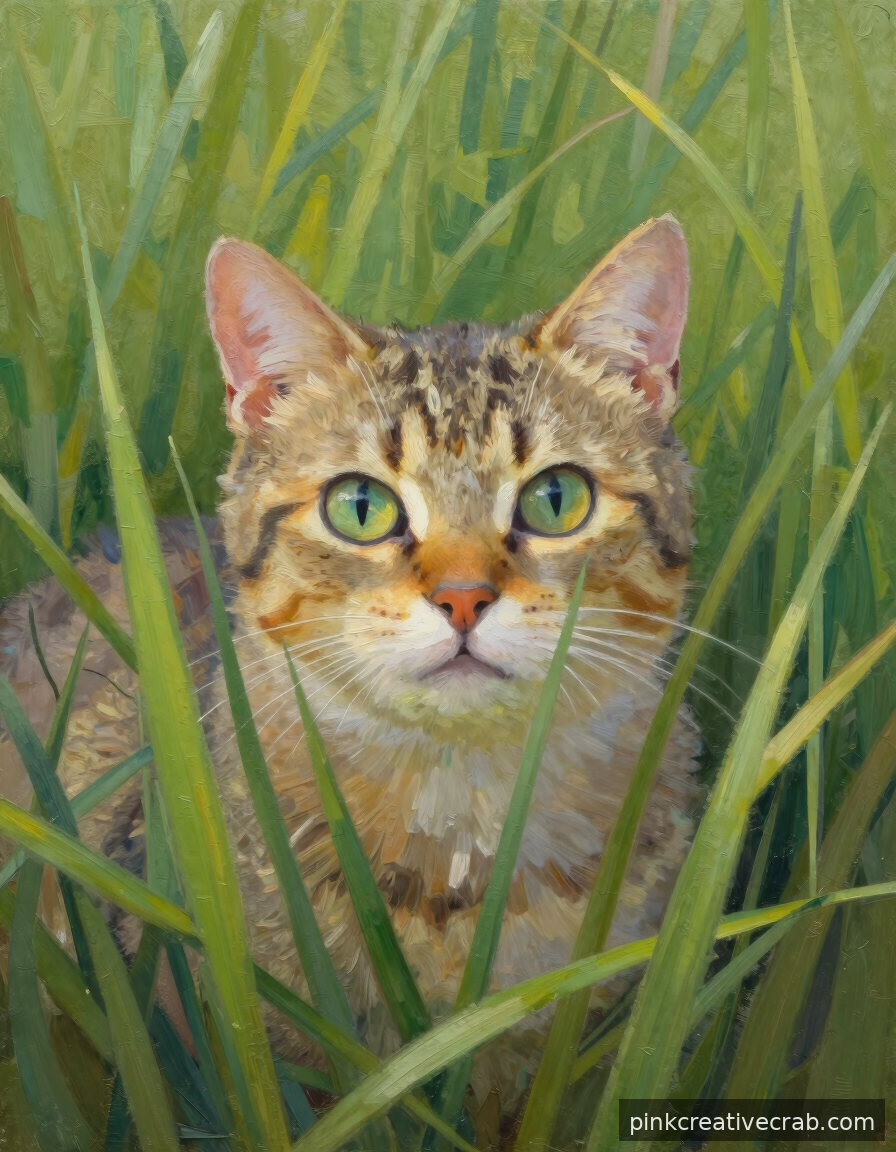
Hidden in Plain Sight — Painting a Cat Peeking Through Tall Grass Is Pure Joy
There is something absolutely delightful about a cat’s eyes peering through tall green grass. That tiny moment of discovery makes any viewer smile. For beginners, however, this composition is actually wonderfully forgiving. Loose, gestural brushstrokes create the grass naturally — no careful detail required. Therefore, you spend your energy on what truly matters: those expressive, glowing eyes staring right back at you.
Start by blocking in your greens first. Use a range of values — dark shadows deep in the grass, bright highlights on the tips. Then paint your cat’s face last, letting it emerge from the background. This layered approach feels satisfying at every single stage. Additionally, the contrast between sharp cat eyes and soft grassy strokes makes your painting look impressively skilled.
For foundational techniques that will genuinely help, explore the Art Fundamentals: Complete Guide to Drawing & Painting Basics. You’ll also want good brushes — these oil painting brushes for beginners are a perfect starting point!
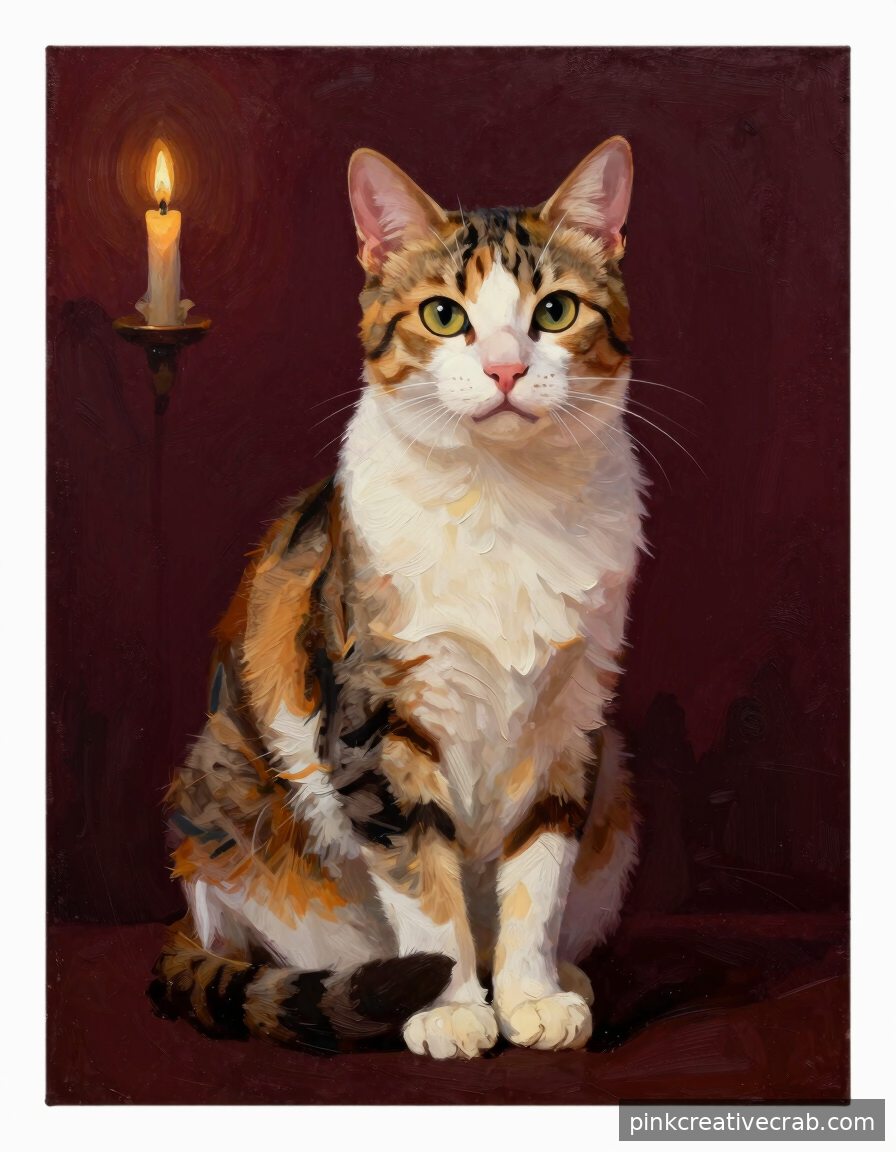
This Vintage-Style Cat Portrait Will Make Your Living Room Look Like an Art Gallery
Vintage cat portraits have a timeless charm that feels both sophisticated and wonderfully approachable for beginners. Think rich, deep backgrounds — burgundy, forest green, or antique gold. These dark tones make your cat appear to glow from within the painting. However, you don’t need fancy techniques to achieve this look. Simple flat background color plus careful attention to your cat’s face creates that old-master feeling immediately.
For the vintage effect, try adding a subtle vignette by darkening the very edges of your canvas. Meanwhile, use smooth, careful blending around your cat’s face to suggest that polished portrait quality. Glazing thin layers of transparent paint on top of dried layers also adds beautiful depth. As a result, your finished piece genuinely looks like something discovered in an antique shop.
Before diving in, it helps to understand your materials — the Art Supplies Glossary: 200+ Terms Every Artist Should Know is incredibly useful. For your project, consider these vintage portrait oil painting supplies to bring your gallery-worthy vision to life!
Final Thoughts
You just explored 24 genuinely exciting cat oil painting ideas, and here is the most important thing to remember — every single one of them is within your reach. Beginners often underestimate how quickly skills grow once the brush hits the canvas. Therefore, the best thing you can do right now is simply pick one idea that makes your heart flutter a little and start.
Oil painting rewards patience, and cats reward observation. Additionally, the combination of those two things creates a practice that is meditative, joyful, and endlessly satisfying. Do not worry about perfection on your first try. However, do celebrate every single brushstroke that looks even slightly like a whisker, a paw, or a gleaming eye — because those small wins are how big skills are built.
For example, many artists look back at their very first cat portrait and feel enormous pride, not because it was flawless, but because it was brave. Your canvas is waiting. Your cat muse is probably already staring at you from across the room. Meanwhile, your oils are ready to blend into something truly beautiful. Now go make your first masterpiece — you have got this.
Frequently Asked Questions
What oil paints should a complete beginner buy for a cat oil painting?
Start simple — you really only need titanium white, ivory black, burnt sienna, yellow ochre, and ultramarine blue. These five colors mix beautifully to create every cat fur tone imaginable. Additionally, a student-grade brand like Winsor & Newton Winton is affordable and forgiving. Therefore, you can practice freely without worrying about wasting expensive supplies.
How long does a beginner cat oil painting take to dry?
Oil paint typically takes 24 to 72 hours to dry to the touch, depending on layer thickness. However, full curing can take weeks or even months. This slow drying time is actually wonderful for beginners because it means you can blend, adjust, and correct mistakes easily. For example, wiping back a wet area with a cloth gives you a fresh start instantly.
Do I need to sketch my cat on canvas before painting?
Absolutely yes, especially as a beginner. Lightly sketching your cat’s outline with a pencil or thinned paint first gives you a roadmap to follow confidently. As a result, you spend less time second-guessing proportions and more time enjoying the painting process. Additionally, a simple gesture sketch — just shapes and placement — is all you truly need to get started.
What canvas size is best for a first cat oil painting?
An 8×10 or 9×12 inch canvas is ideal for beginners. It is large enough to add detail but small enough to feel manageable and not overwhelming. Additionally, smaller canvases use less paint, which keeps costs low while you are learning. Therefore, you can practice several cat oil painting studies without investing too much before your skills build naturally.
How do I paint realistic cat fur with oil paints?
The secret is layering thin strokes in the direction the fur grows. Start with a mid-tone base, then add darker shadows underneath and lighter highlights on top. Additionally, a small fan brush or a dry flat brush creates beautiful soft texture. For example, flicking quick, light strokes outward at the fur edges instantly creates that fluffy, dimensional look beginners love achieving.
Have any thoughts?
Share your reaction or leave a quick response — we’d love to hear what you think!
-
 0
0 -
0
-
0
-
0
-
0
-
0


