

Table of Contents
- Sleeping Cat Curled Up
- Floppy Eared Puppy Portrait
- Bunny Face Close Up
- Guinea Pig in a Teacup
- Hedgehog Hugging Its Paws
- Fawn Curled in Wildflowers
- Red Fox Mid Trot
- Owl Perched on a Branch Stub
- Raccoon Washing a Berry
- Squirrel With an Acorn
- Badger Face Peering Out
- Piglet With Curly Tail
- Lamb With Woolly Coat
- Baby Goat Mid Jump
- Duckling Family in a Row
- Calf Nuzzling Forward
- Chick Hatching From an Egg
- Clownfish Pair Among Coral
- Orca Swimming With Bubbles
- Sea Turtle From Above
- Three Small Fish Studies
- Seahorse in Profile
- Robin on a Snowy Twig
- Bumblebee on a Flower Head
- Sleeping Tiger Among Flowers
- Frequently Asked Questions
Cute animal drawing ideas work best when they stay small and loose: one creature, a few confident strokes, no background to fight with. The twenty five subjects below are grouped by theme, pets, woodland, farm, sea life and birds, so you can jump straight to whatever mood you are in. Each one carries a difficulty tag, a materials note and one technique tip, so you know exactly what to pick up before you start.
Everything here is sized for a single sitting on a phone-sized attention span. Work on a quarter sheet or a sketchbook page, keep your palette to three or four colors, and let the paper show through. Start with the easy ones if you are new to animal subjects, then work up the list as your hand warms up.
Using these images: free for personal projects such as printing, coloring, cards, journals and gifts. Handmade items that include them may be sold up to 30 pieces per design. More than that is commercial use and is not permitted, and neither is selling or sharing the images themselves or passing them off as your own. Please ask before any other use.
Sleeping Cat Curled Up
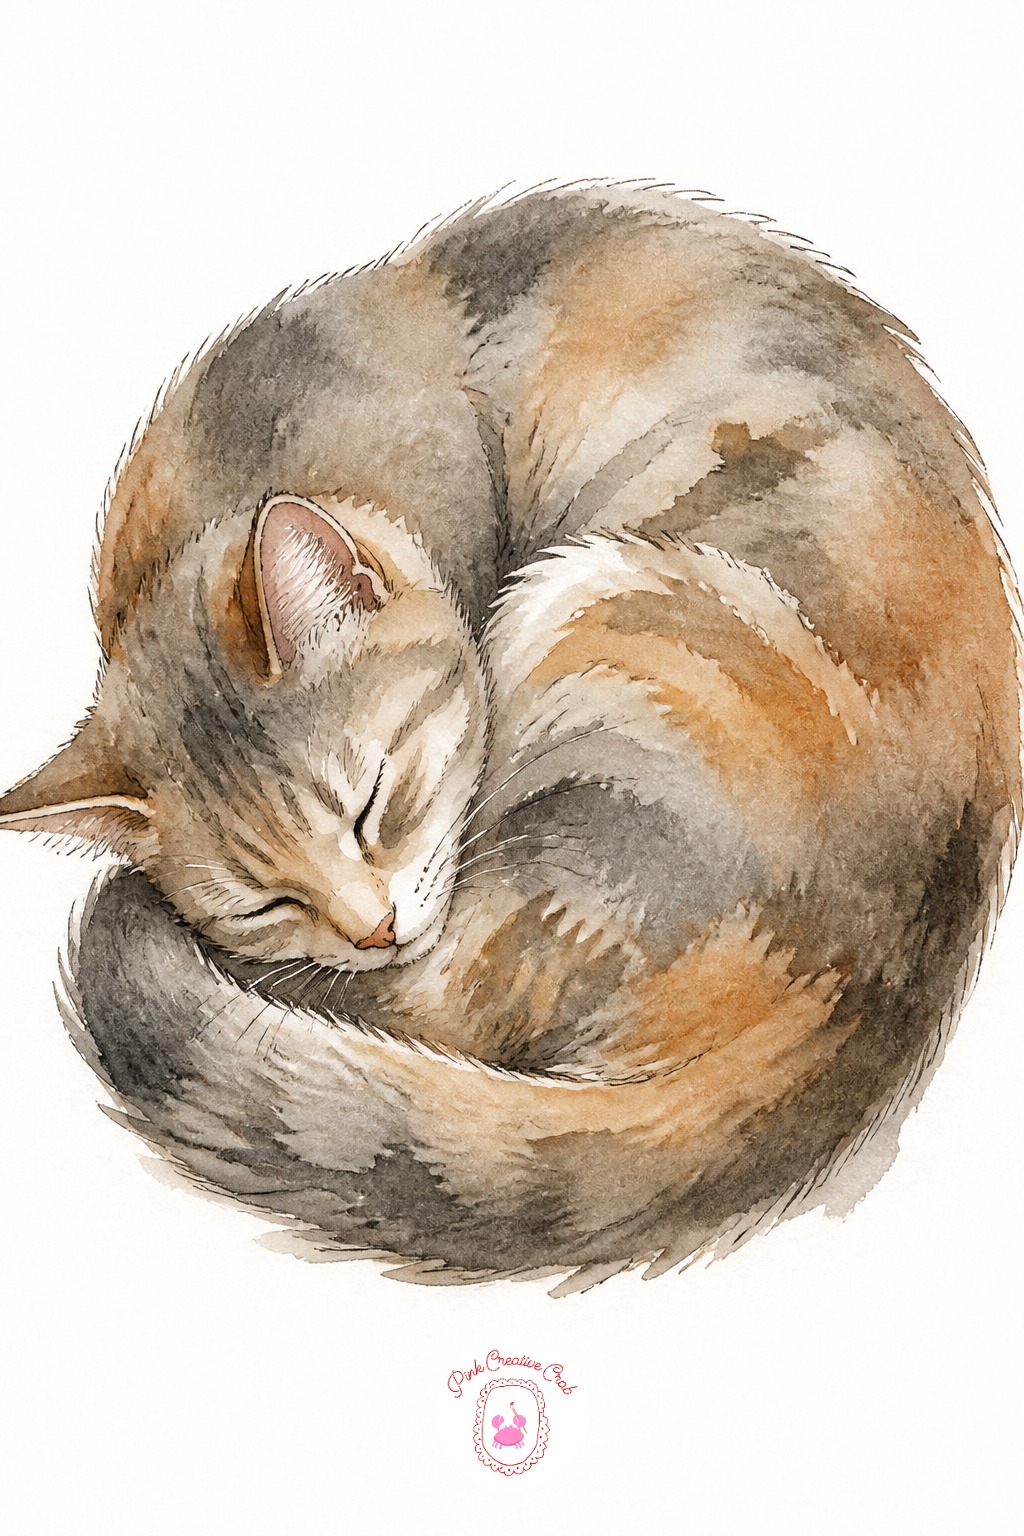
Start with pets, since a curled cat is the kindest shape to practice first. Draw an oval for the body, then tuck a smaller circle into one end for the head: no legs to worry about, no awkward joints.
Easy. Use a soft pencil or a small round brush with gray and warm brown watercolor. The usual mistake is making the curl too round and stiff, like a doughnut. Flatten one side where the cat presses into the surface and the pose relaxes instantly.
Floppy Eared Puppy Portrait
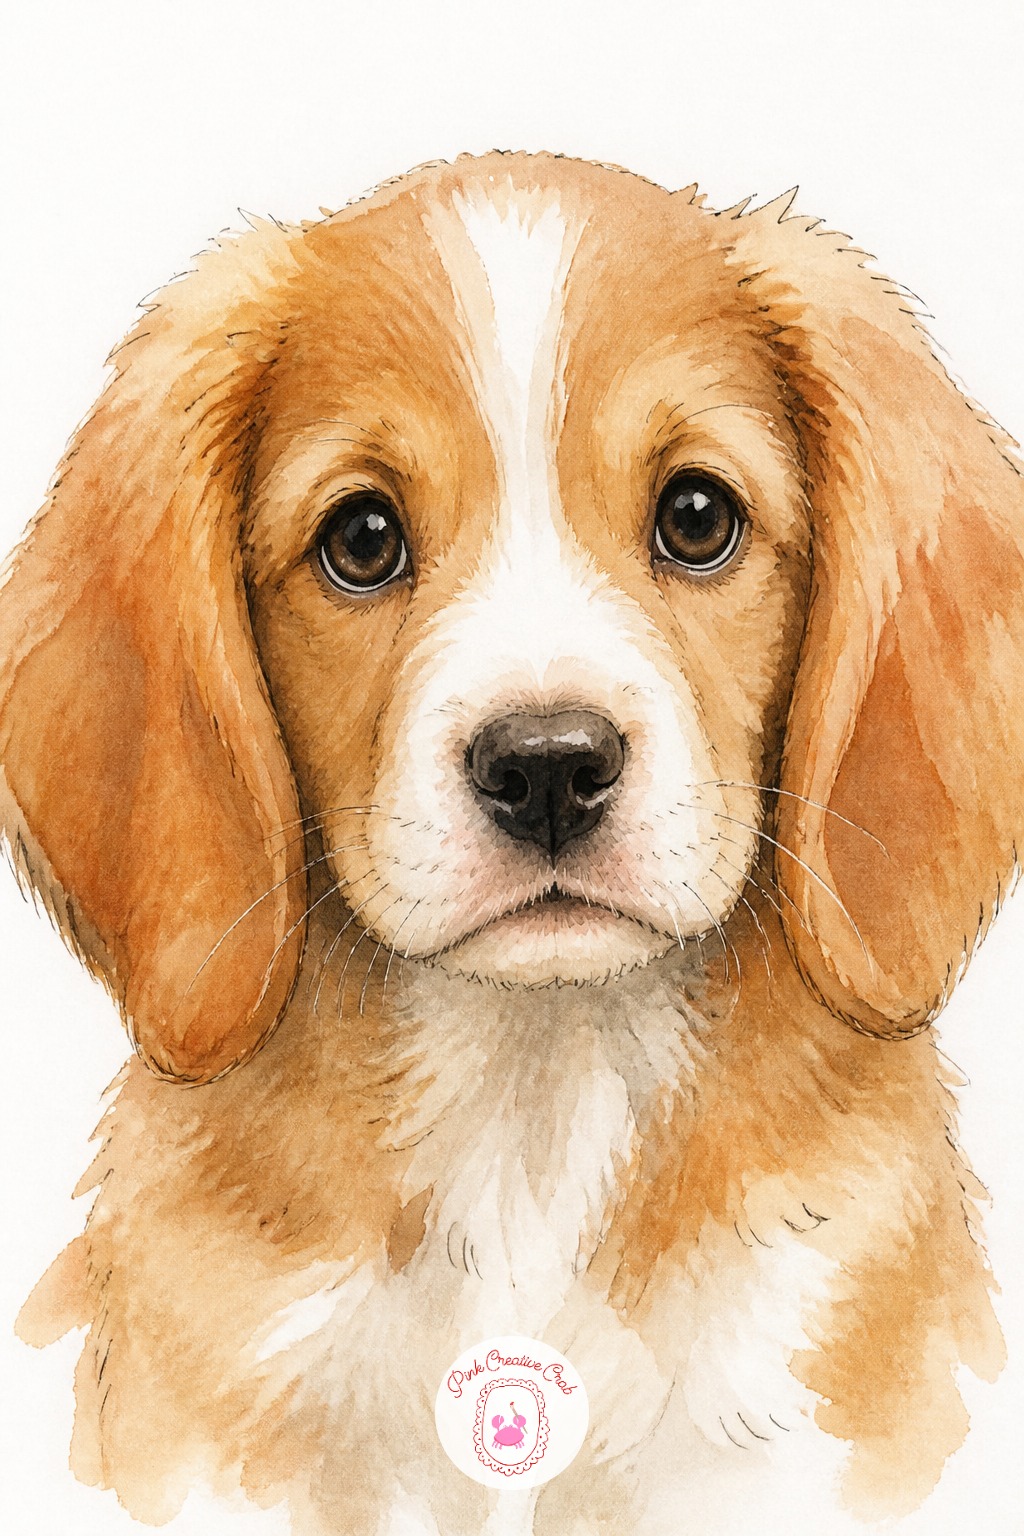
Measure before you commit to a line: a puppy head is roughly as wide as it is tall, with the eyes sitting at the halfway point, lower than you expect on a young face. Mark that line lightly first.
Easy to medium. Pencil or watercolor both work well here. Keep the ears loose and heavy looking, since floppy ears define the cuteness more than the eyes do. If you want more pet ideas after this one, the dog pencil drawing ideas page has a full set built the same way.
Bunny Face Close Up
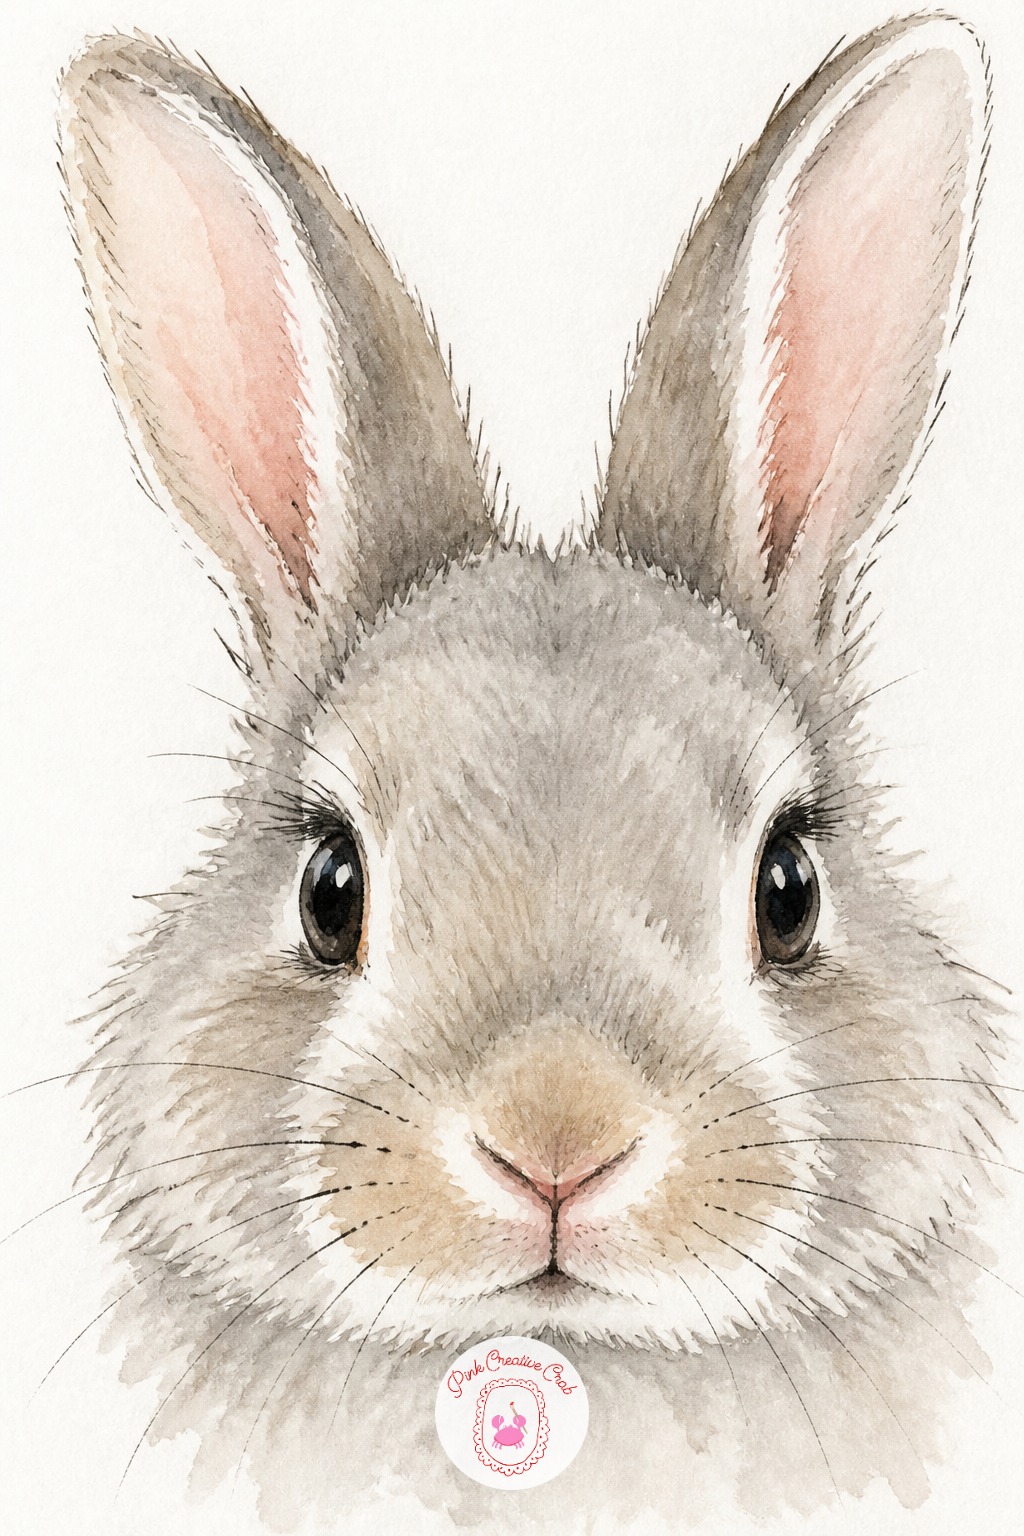
Lay in the darkest shapes first: the two eyes and the dark nostril shadow under the nose. Everything else, the ears, the fur, the whiskers, gets built around those three anchor marks.
Medium. A small round brush carries this well in watercolor, working wet into wet for the soft fur blending into the ear edges. Leave the whiskers for last, scratched in with a dry brush handle or added in ink once the paint is fully dry.
Guinea Pig in a Teacup
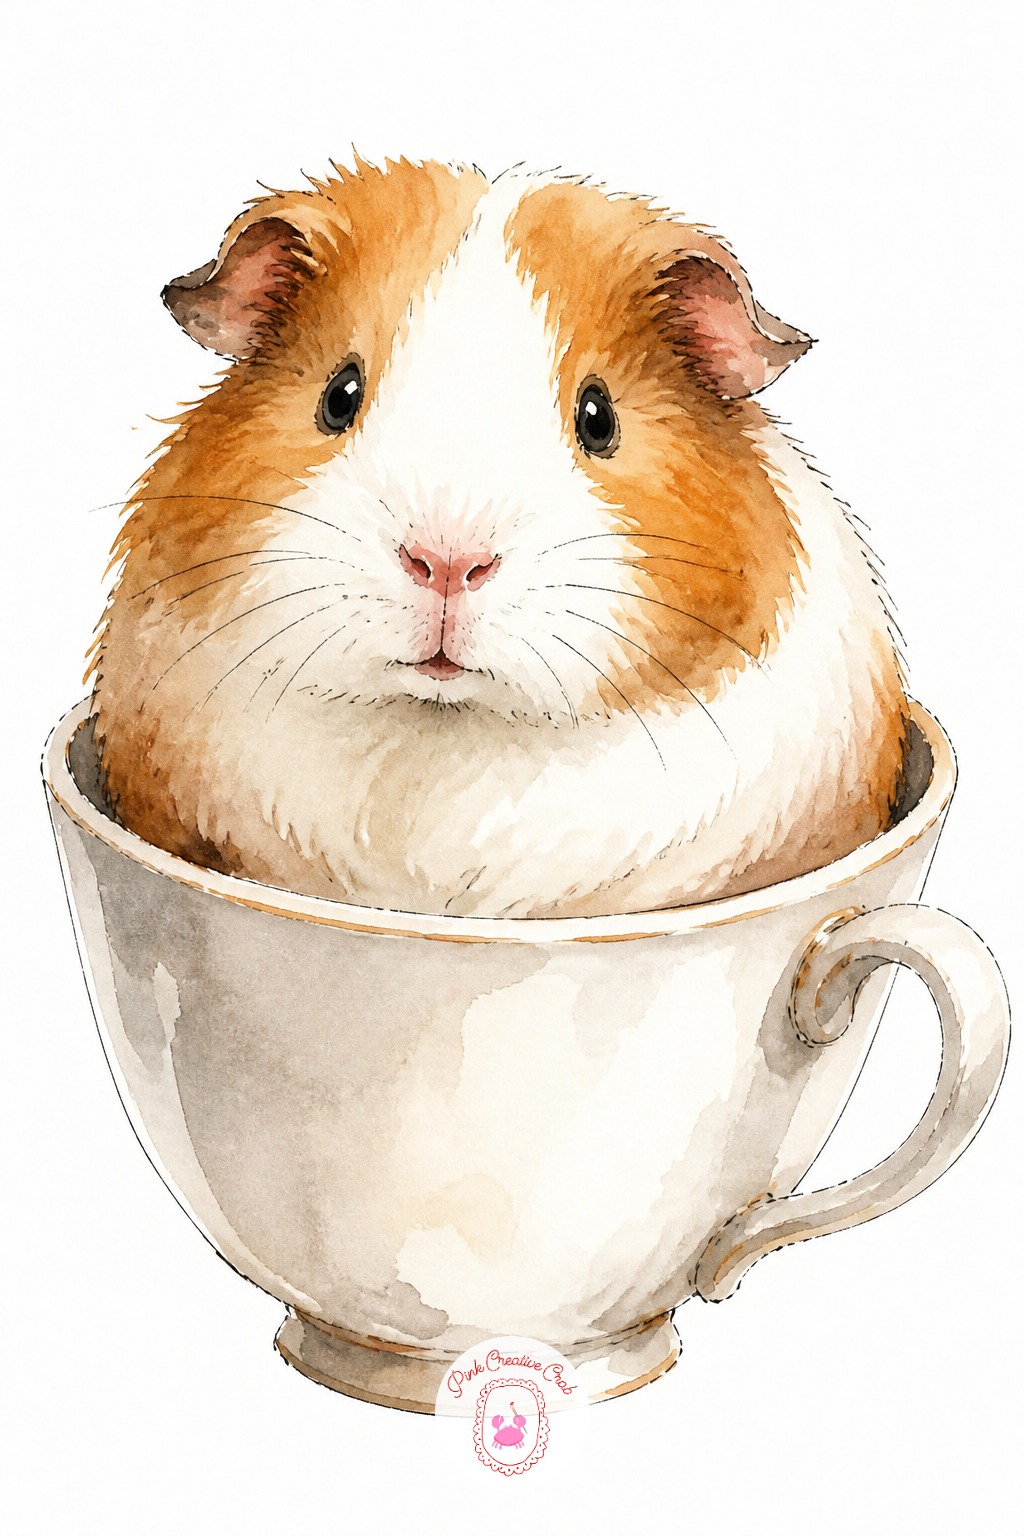
Ten minutes gets you a quick gestural guinea pig, a soft potato shape with two tiny ears and no visible legs tucked inside a simple teacup oval. That is a complete sketch on its own.
Easy. Give it forty minutes and add the texture: short choppy pencil strokes or dry brush dabs for the rough fur, plus a thin rim of shading where the teacup curves. Watercolor or colored pencil both suit this one.
Hedgehog Hugging Its Paws
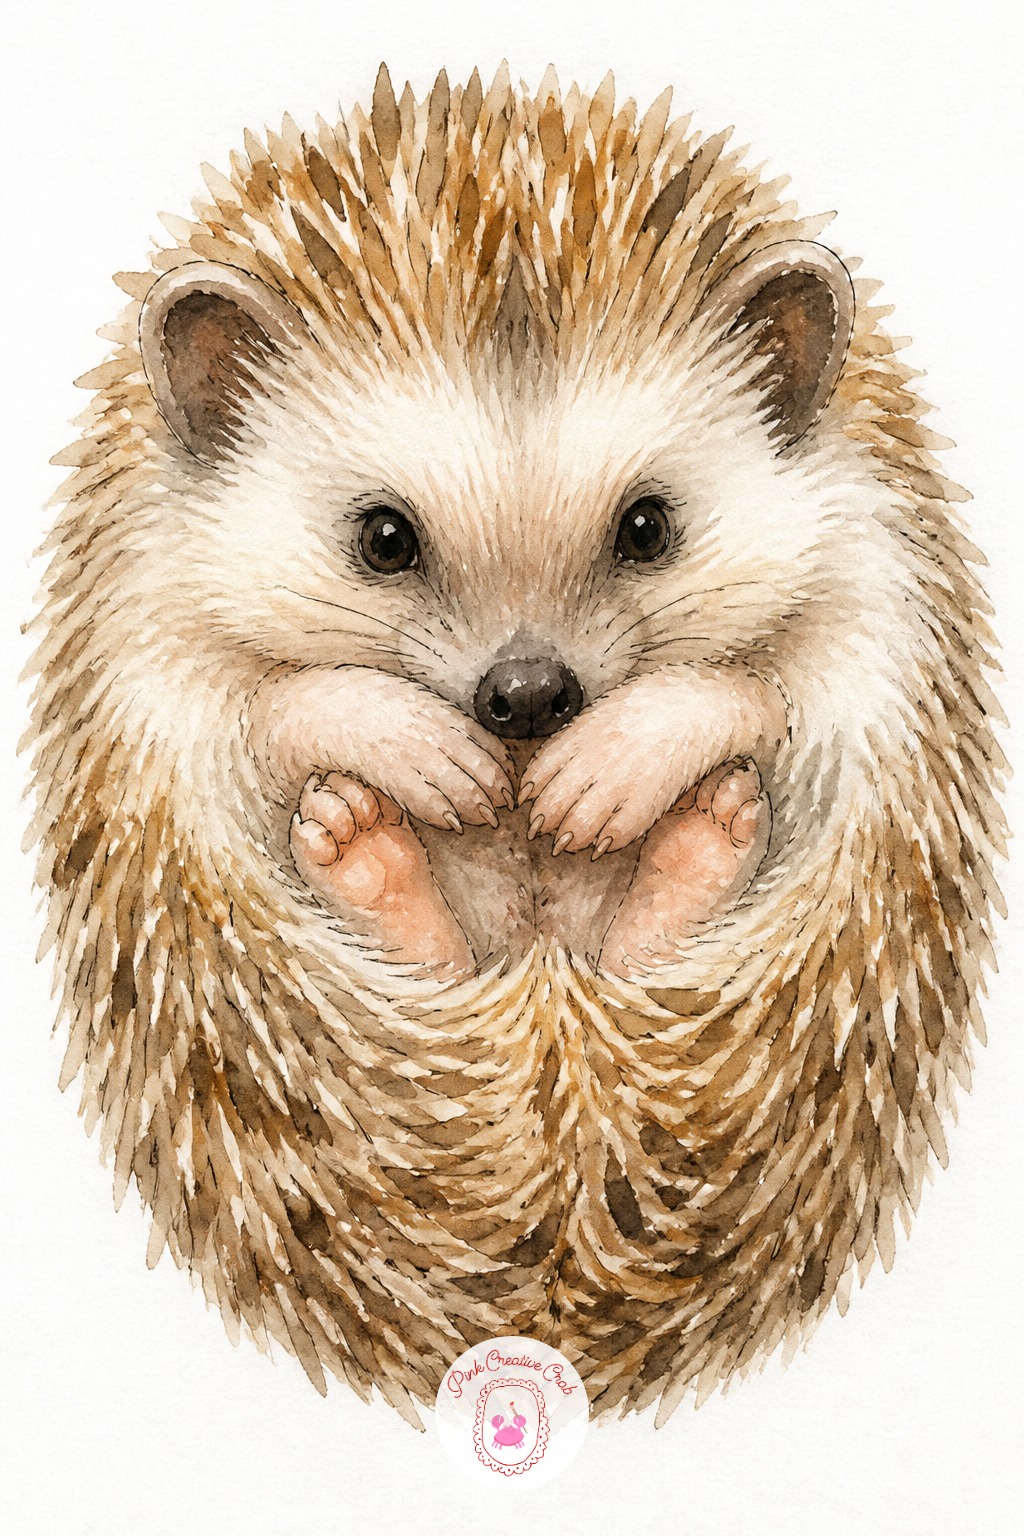
Keep the spines from looking like a solid brown blob, which is the most common mistake with hedgehogs. Break the quill area into short overlapping flicks of dark and mid brown, leaving gaps of paper or lighter paint between clusters.
Medium. Acrylic or watercolor both handle the texture well with a dry, half loaded brush. Paint the soft tan face and tucked in paws first, then build the spiky texture around that calm center last.
Fawn Curled in Wildflowers
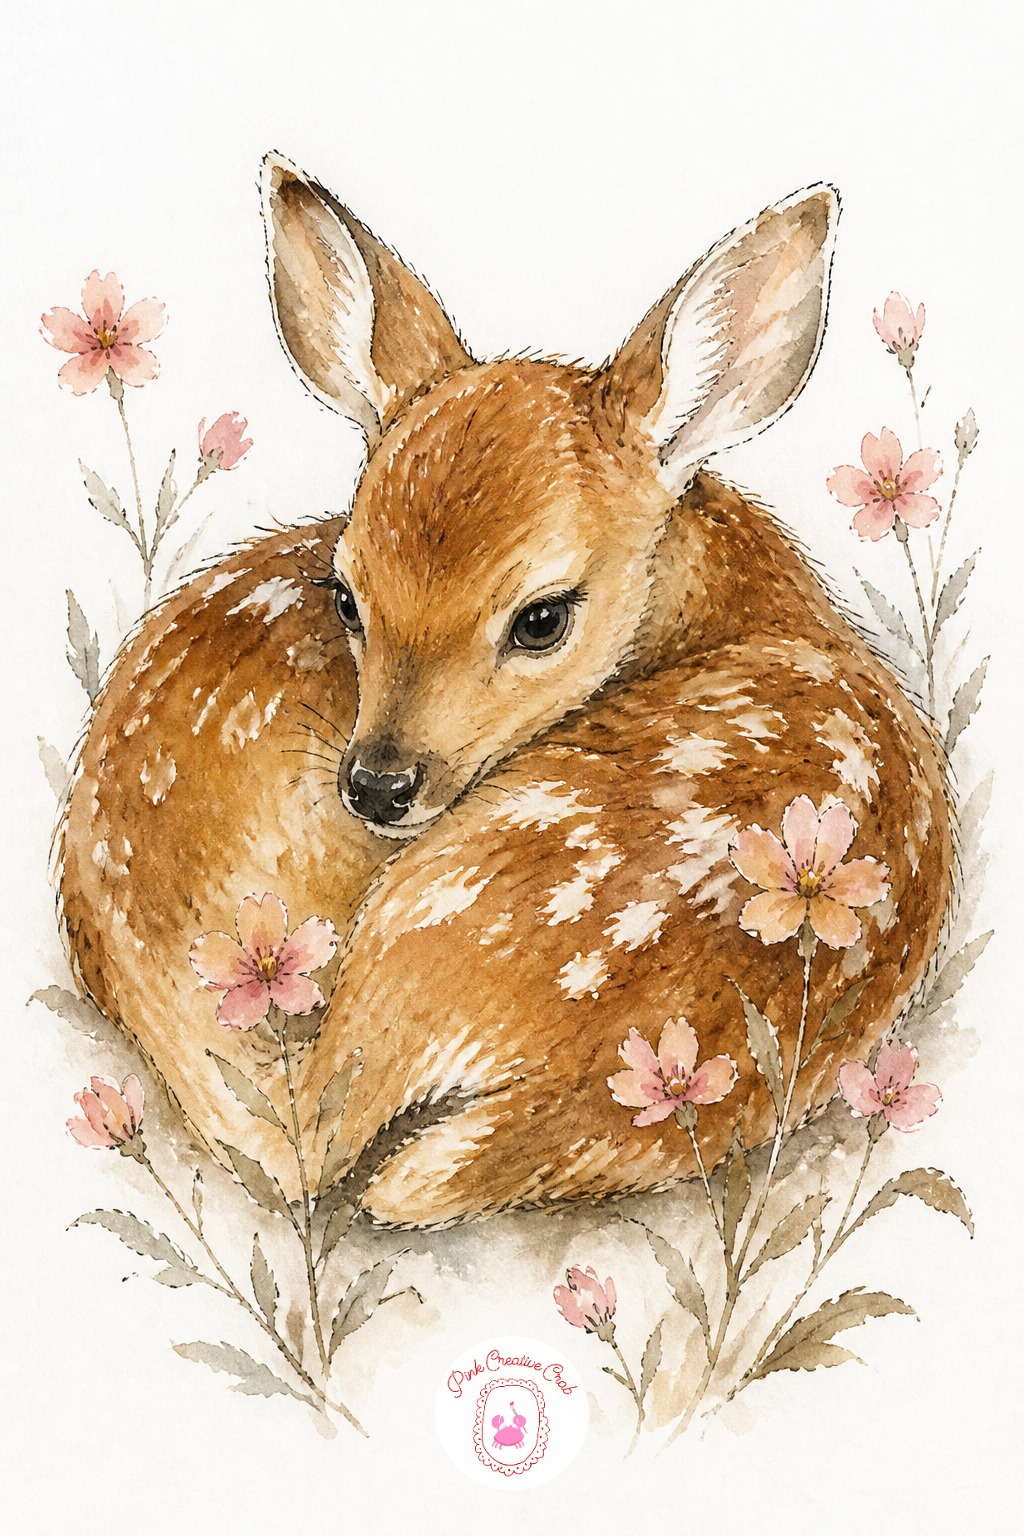
Light direction matters here more than detail. Decide where the light sits before you add any spots: if it comes from above left, the top of the back and one ear catch the brightest highlight, and the belly and legs fall into soft shadow.
Medium. Oil pastel or soft pencil handles the blending well, since you can smudge the shadow side with a finger or blending stump. Scatter the white spots last, once the base coat of warm brown is dry.
Red Fox Mid Trot
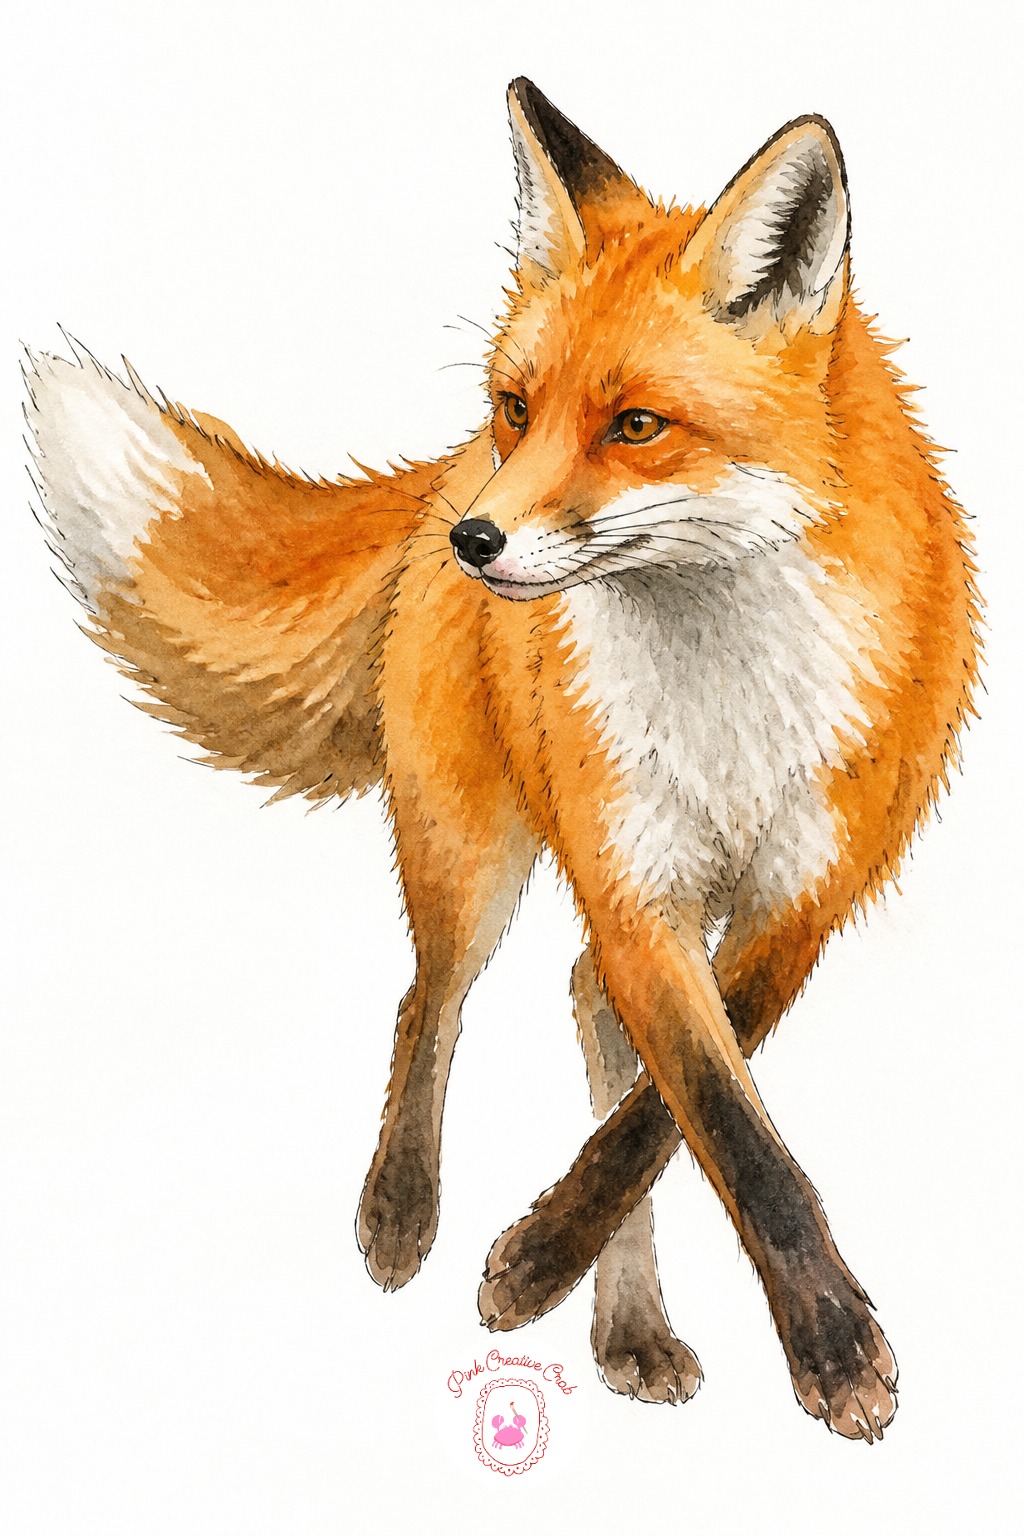
Woodland animals start here with a fox caught mid step rather than standing stiffly still, since a stiff standing pose is the number one thing that makes animal drawings feel lifeless. Sketch the spine as a single curved line first, then hang the legs off it at an angle, front and back legs crossing rather than lined up.
Medium. Use a fine liner or a size 4 round brush for the legs, since thin confident lines read as quick movement far better than careful, hesitant ones. Add the bushy tail last, flicked outward to balance the stride.
Owl Perched on a Branch Stub
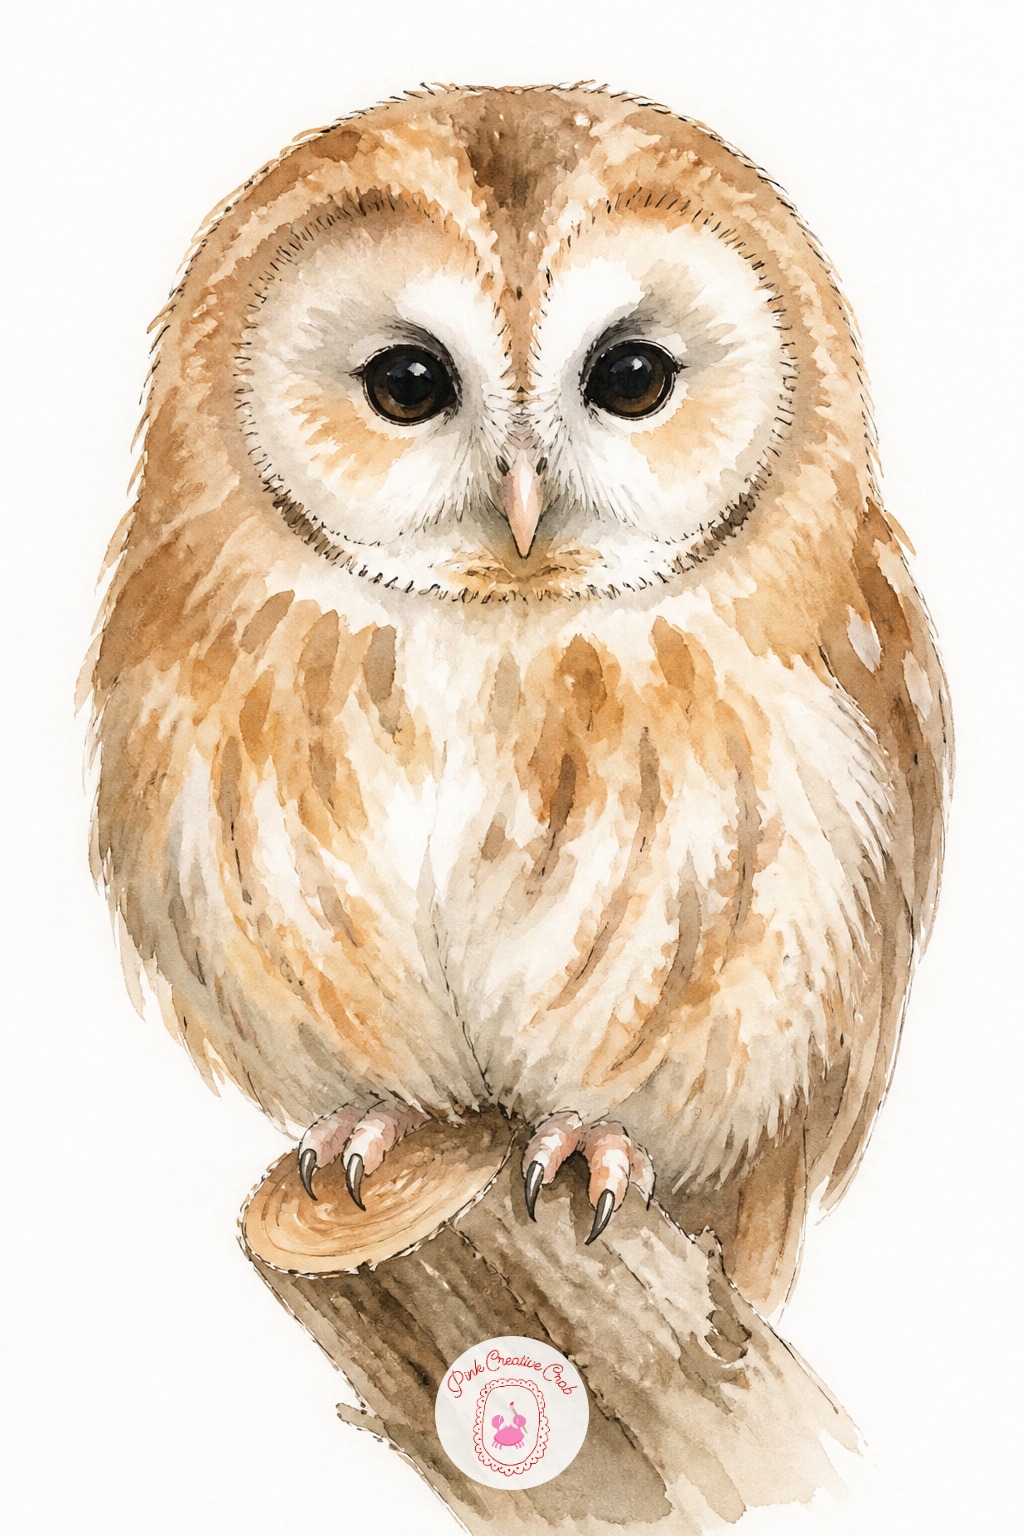
Build an owl in three stages: the rounded body shape, the large flat facial disc, then the two eyes last, placed close together near the top of that disc. Owls read as cute mainly because the eyes sit so close.
Easy. Watercolor or marker both work, with the branch stub kept to a short diagonal line so it does not turn into a full landscape. Keep the eyes round and fully dark rather than almond shaped, which keeps the expression soft.
Raccoon Washing a Berry
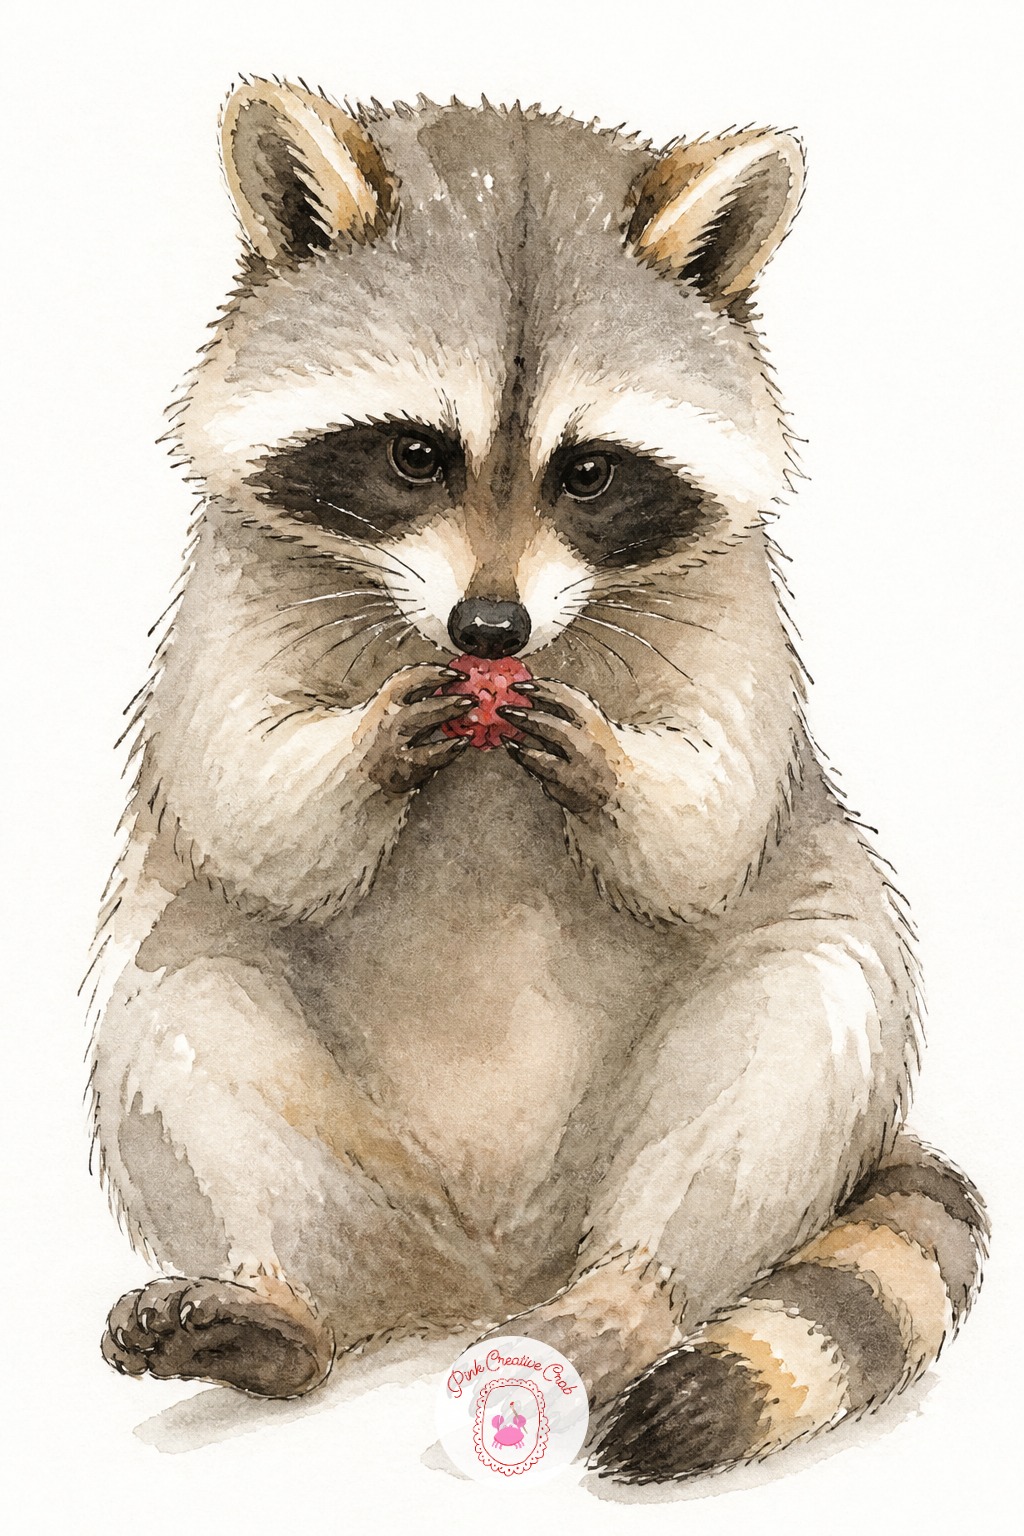
Give the raccoon something to do rather than just sit there, since a small action turns a generic animal study into a scene in one stroke. Here it holds a single berry between its front paws at chest height, head tilted slightly down toward it.
Medium. Gray and black watercolor for the body, with the dark mask shape painted as one confident stroke rather than built up slowly. Reserve a tiny highlight of white paper in each eye before you paint around it.
Squirrel With an Acorn
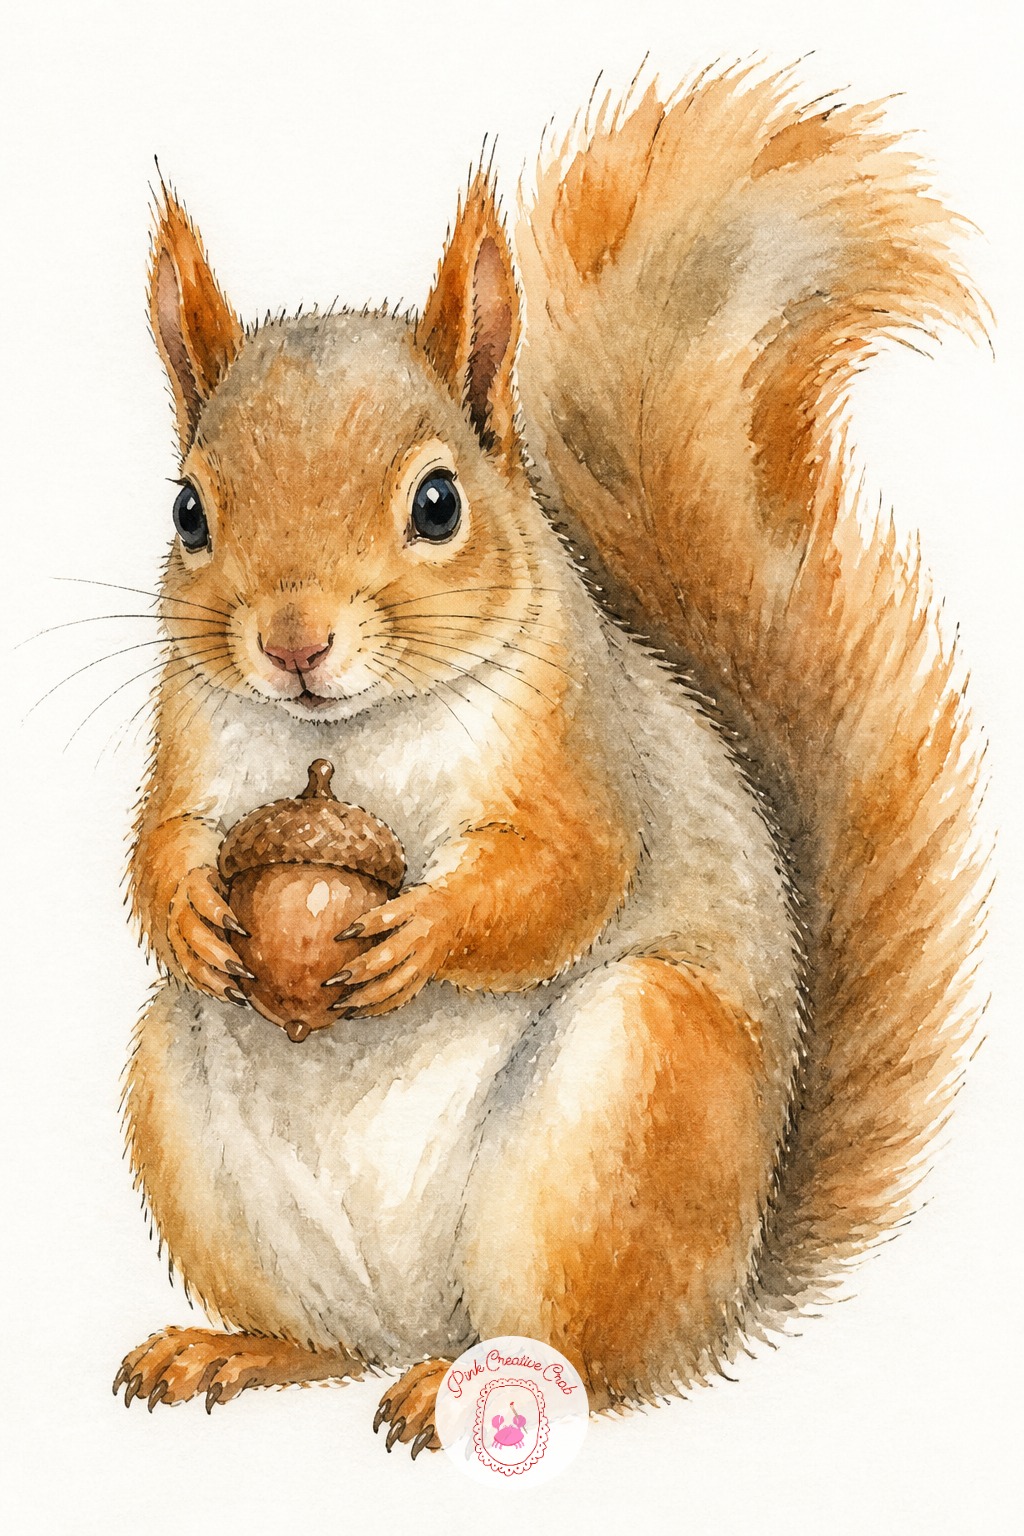
Compare proportions before drawing the tail: a squirrel’s tail is roughly as long as its whole body plus head, and new painters almost always draw it too short. Measure against the body length first with a light pencil mark.
Easy to medium. Watercolor in warm rust and gray works well, with the tail painted in loose upward strokes so it reads as fluffy rather than solid. Tuck one acorn into the front paws to finish the pose.
Badger Face Peering Out
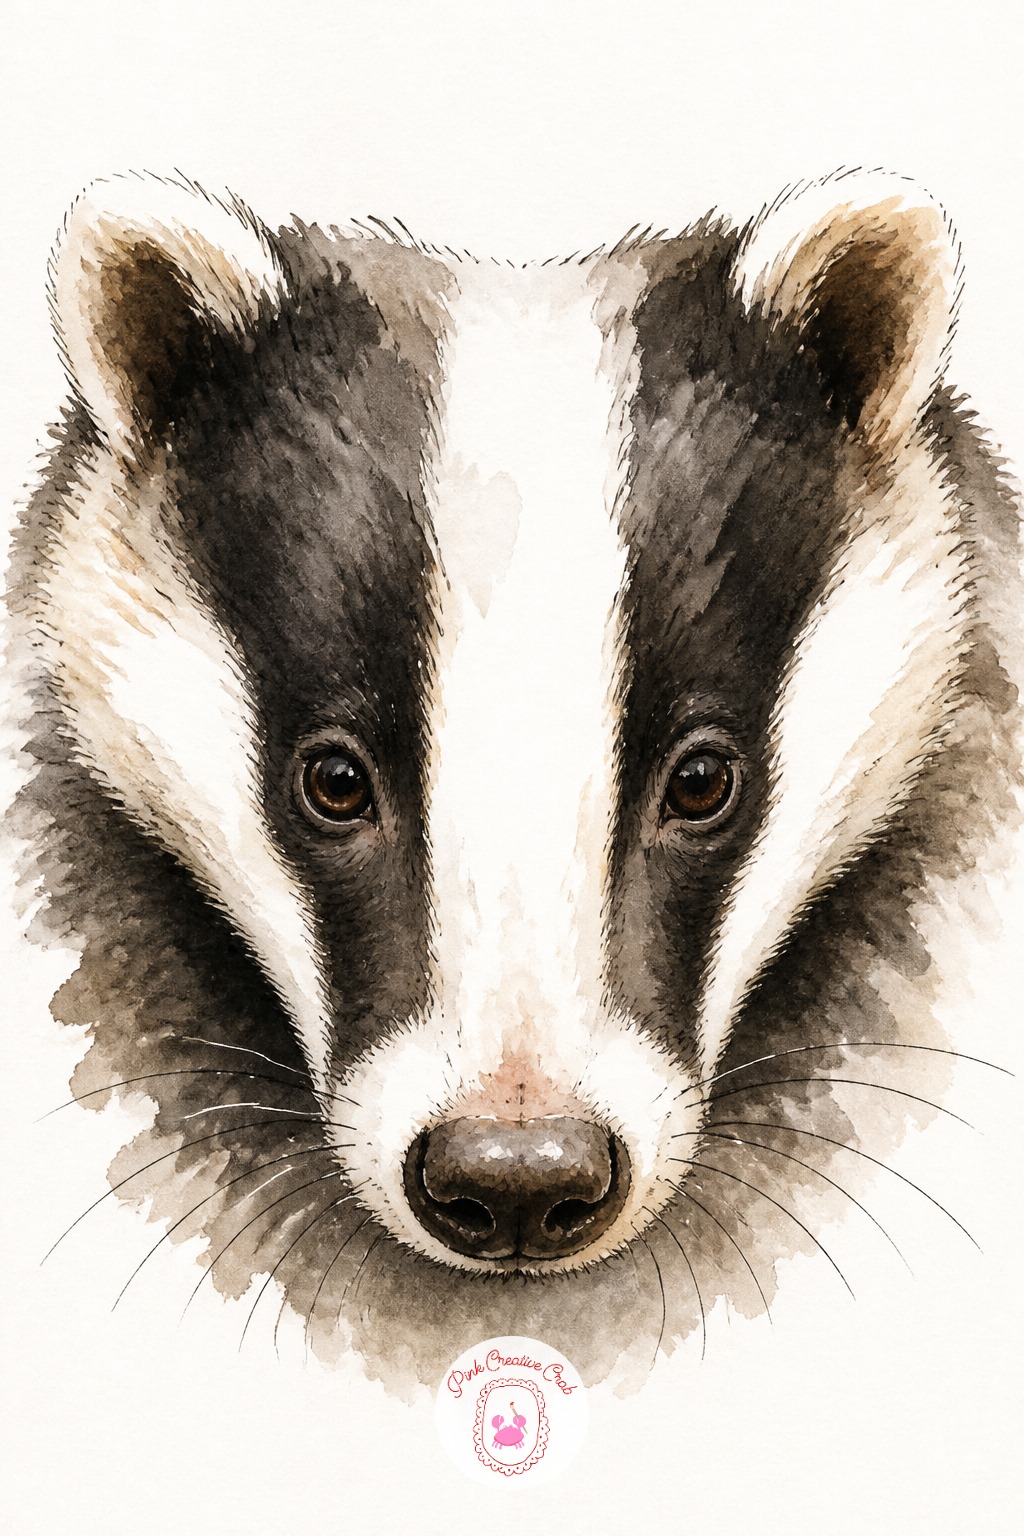
The black and white stripe pattern on a badger face is the whole drawing, so get the stripe placement right before adding any other detail. Lightly pencil two diagonal lines running from the ears down past the eyes before committing in ink or paint.
Medium. Ink and watercolor pairs well here, line first for the stripe edges, color washed in second. Keep the nose small and dark and the eyes tiny, since an oversized nose is the usual mistake that throws off a badger’s proportions.
Piglet With Curly Tail
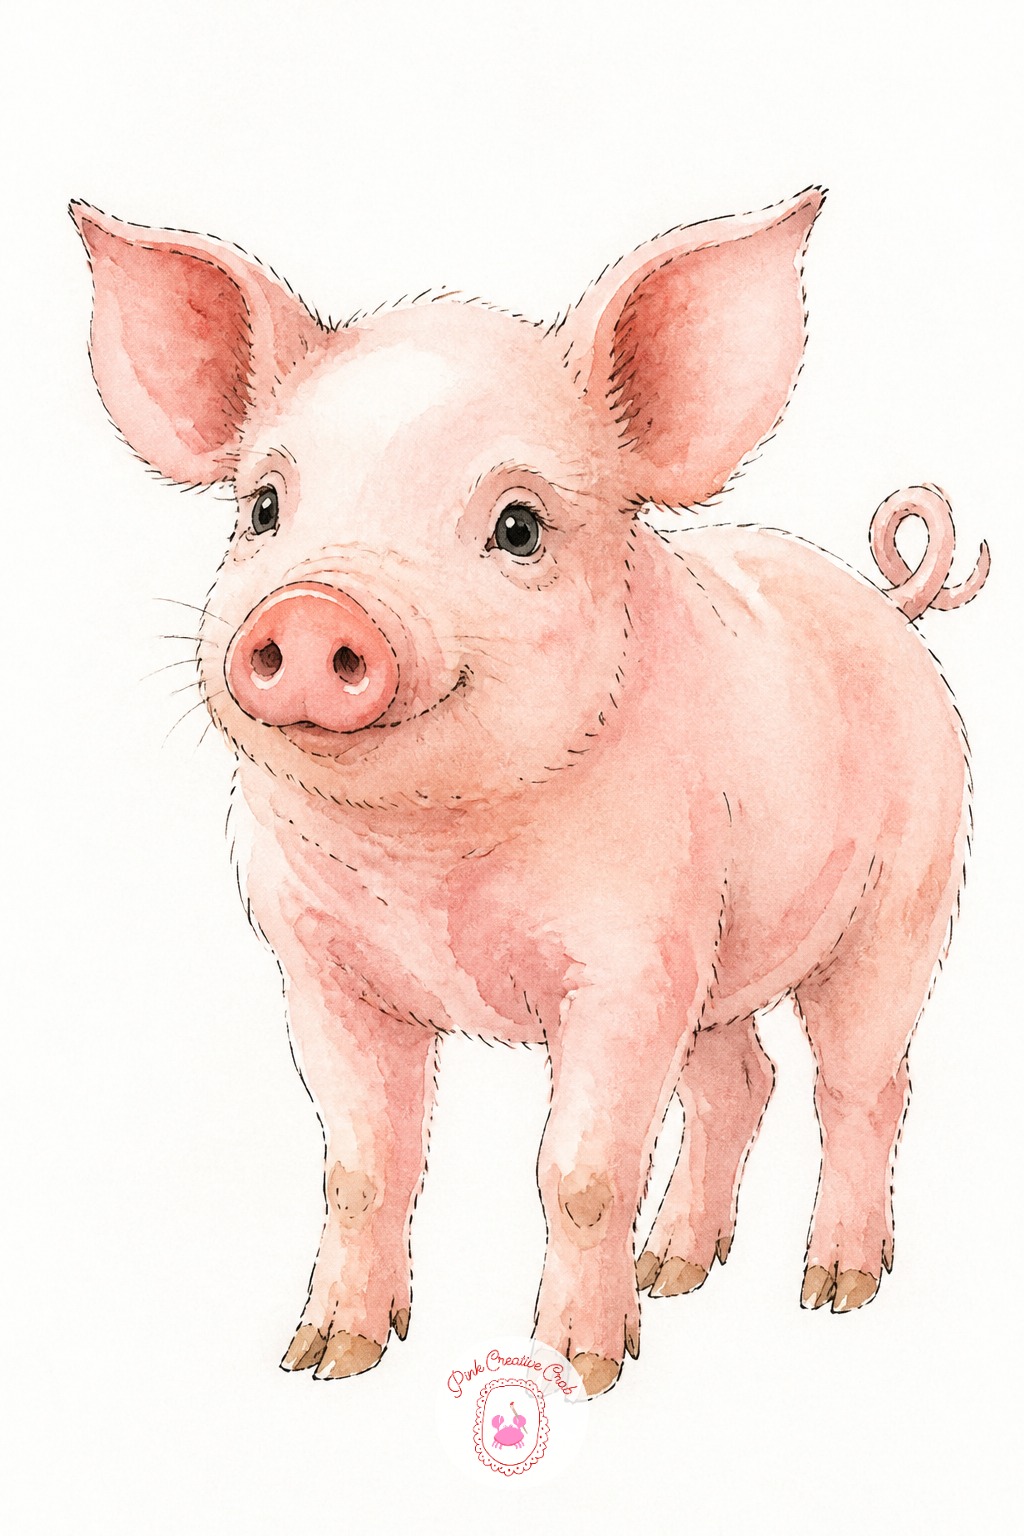
Farm animals open with a piglet, built from one rounded oval body and a slightly smaller circle for the snout pressed into the front. The curly tail is a single spiral line, drawn in one unbroken motion rather than several short strokes.
Easy. Pink watercolor washed thin for the body, with a deeper pink for the ears and snout shading. Let the tail spiral stay a little wobbly, since a perfectly even curl looks mechanical rather than cute.
Lamb With Woolly Coat
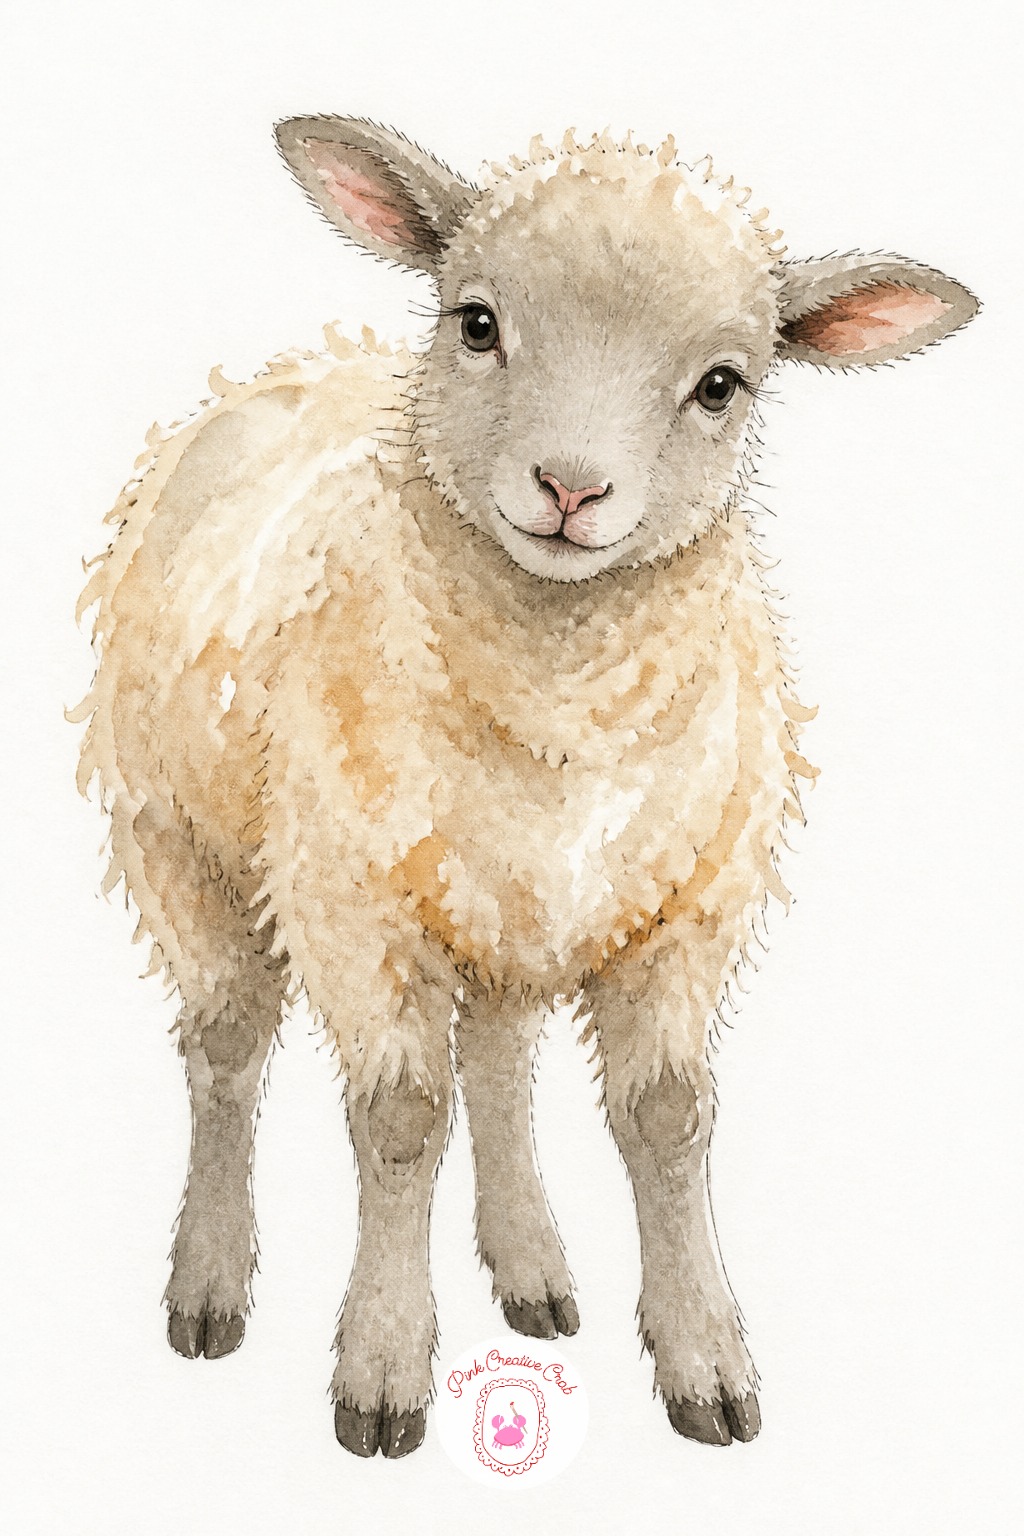
Build the wool texture with a dry brush loaded with very little paint, dragged sideways in short overlapping arcs rather than painted as one flat shape. This keeps the coat looking soft instead of looking like a cloud outline.
Easy to medium. Cream or off white watercolor for the wool, gray for the face and legs, which should stay smooth and simple in contrast. Paint the smooth parts first so the dry brush wool texture goes on last and stays crisp.
Baby Goat Mid Jump
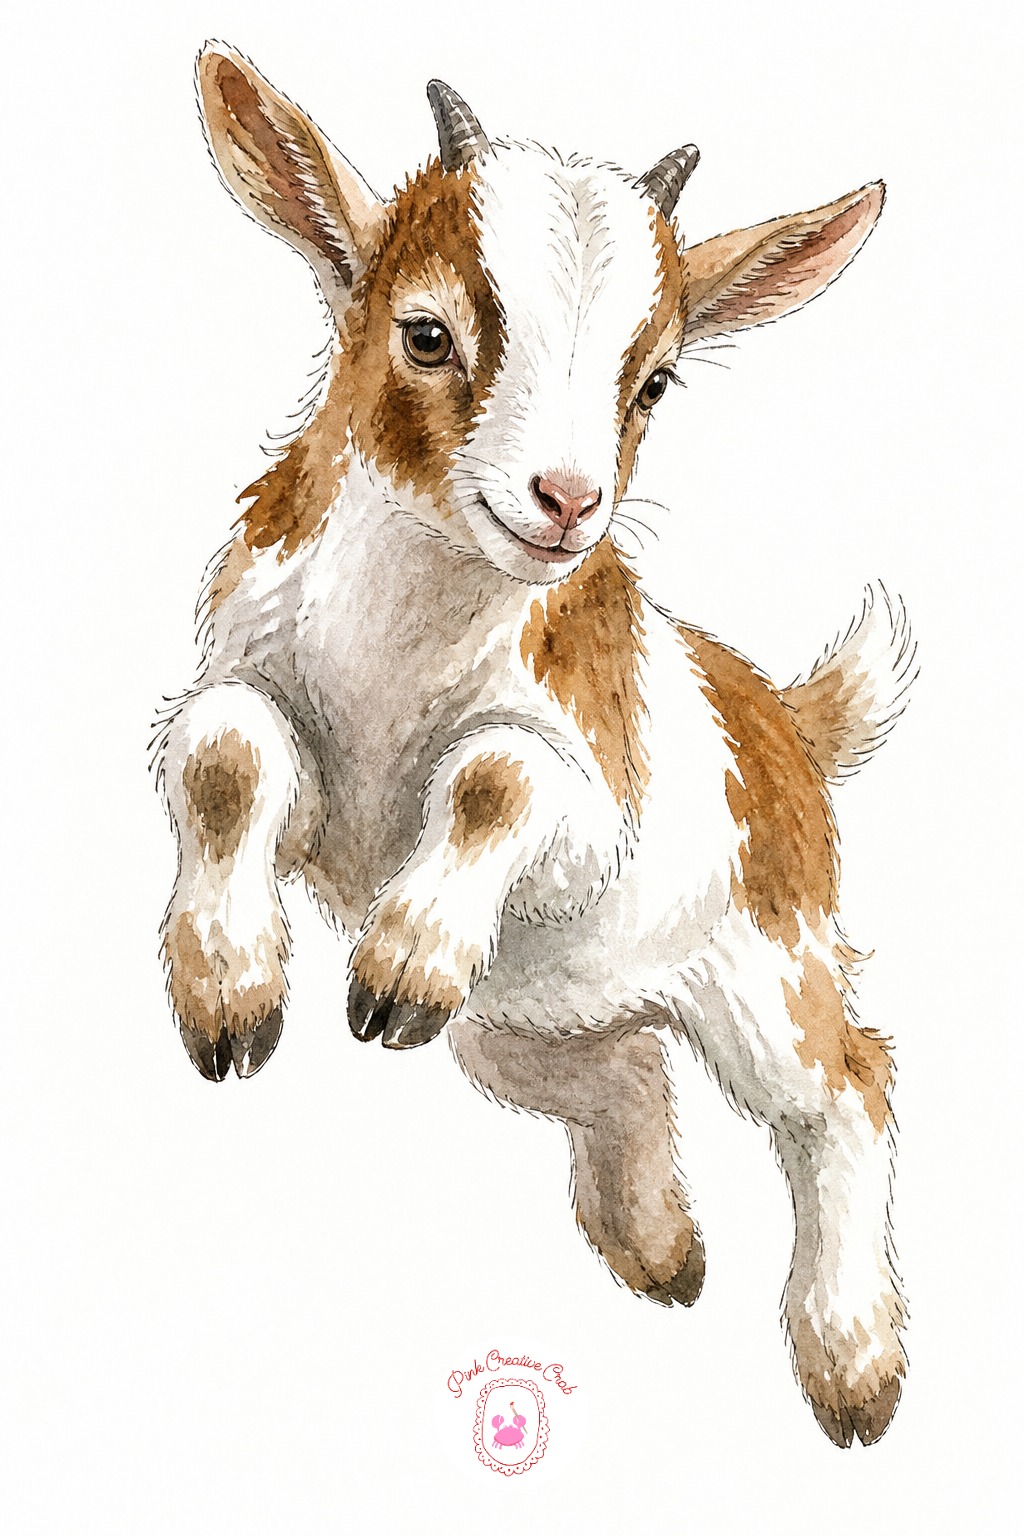
Ten minutes is enough for a quick gestural goat with two front legs up and two back legs down, caught at the peak of a small jump. That pose alone carries all the energy you need.
Medium. Give it forty minutes and add the short coat texture with flicked pencil lines or a dry brush, plus a cast shadow beneath to ground the jump. Watercolor or colored pencil both suit the white and brown patched coat.
Duckling Family in a Row
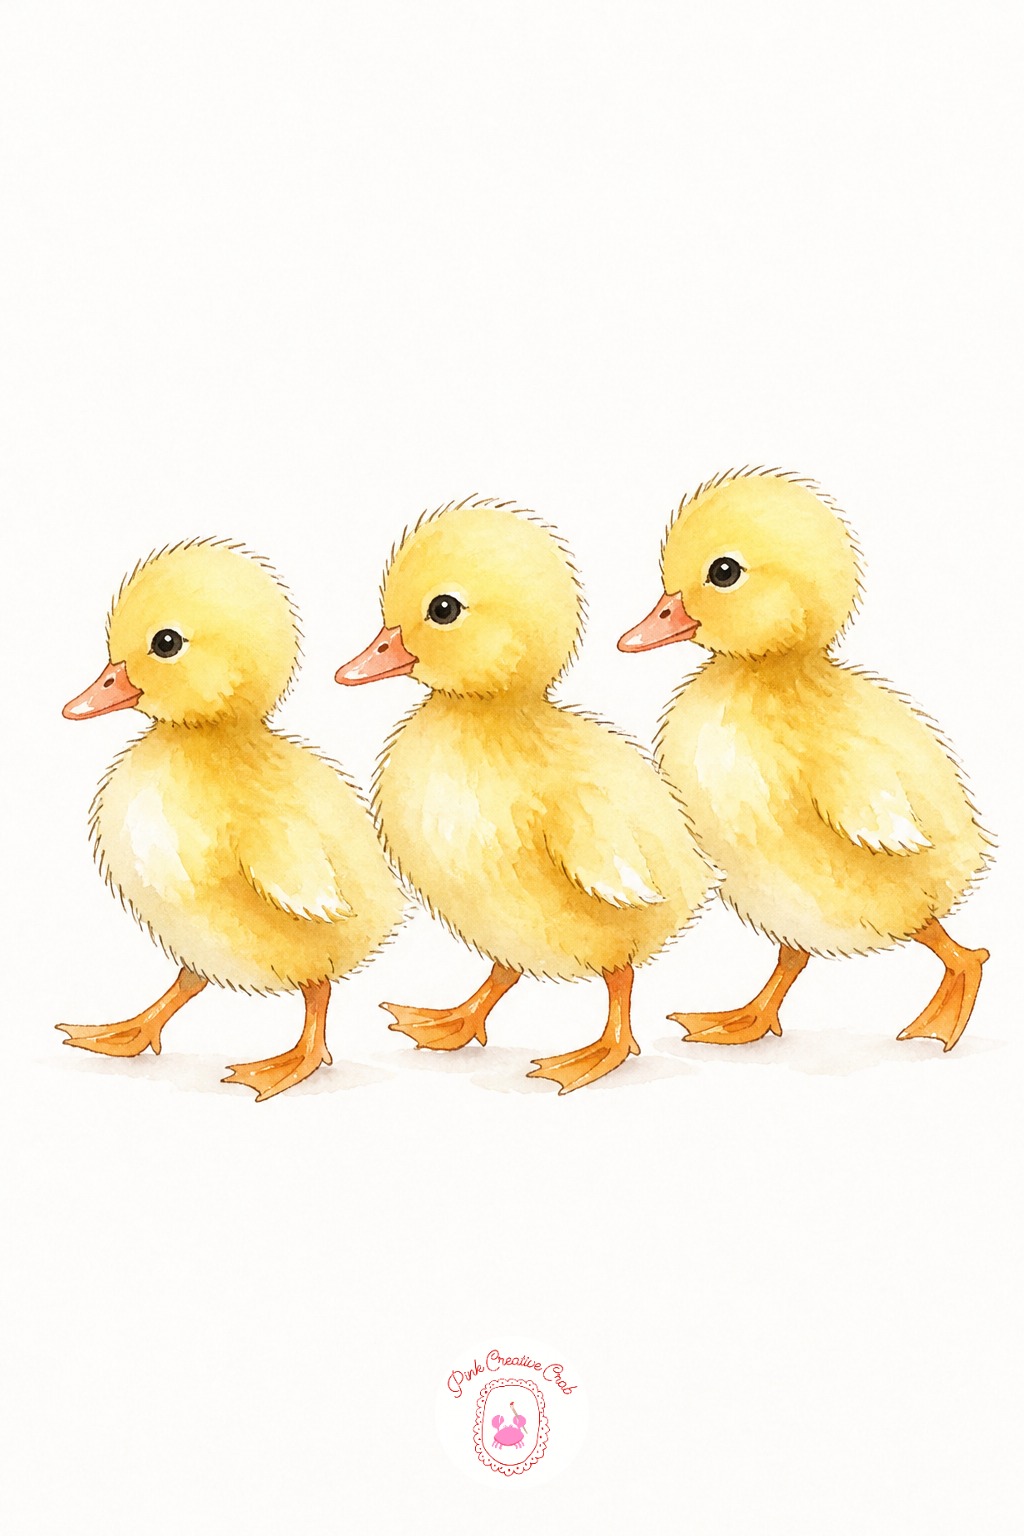
Compare sizes before you place the ducklings: the back one should be visibly smaller than the front one to suggest they are walking in a line receding slightly, not just standing side by side at the same scale.
Easy. Yellow watercolor in three quick rounded shapes, with tiny orange triangle beaks and a single dot eye on each. Keep the group to three or four, since too many in a row starts to look cluttered rather than charming.
Calf Nuzzling Forward
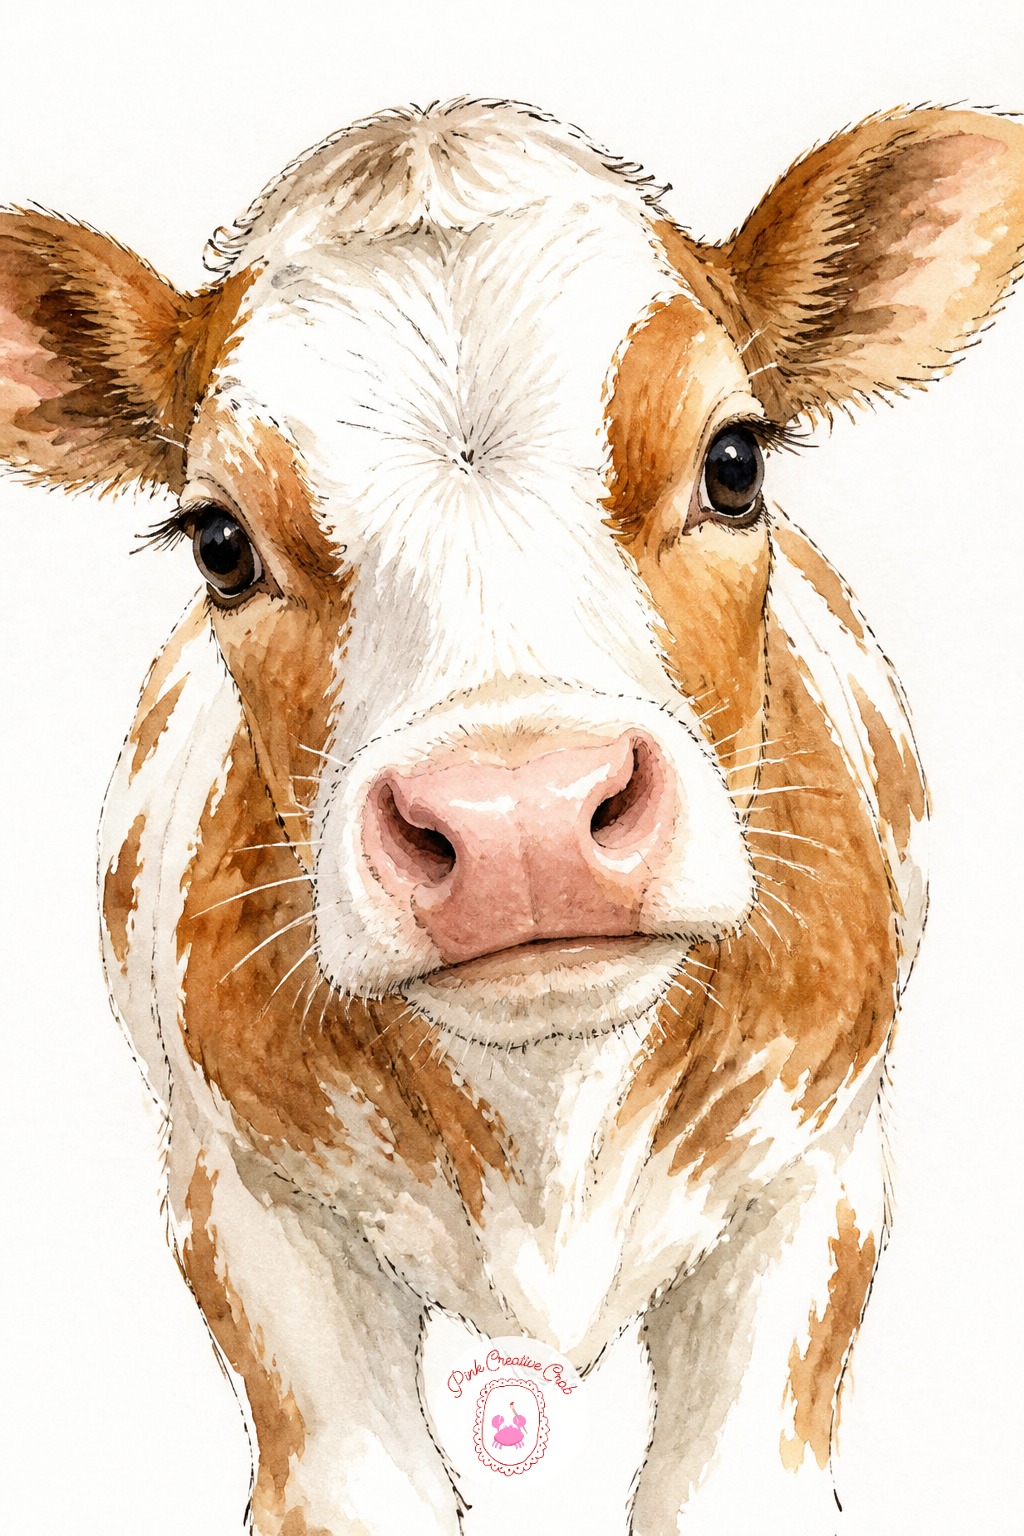
Keep the eyes large and set low on the face, closer to the nose than to the top of the head, which is what reads as a young calf rather than a full grown cow. Mark that eye line before adding the ears.
Medium. Brown and white patchwork in watercolor, blended wet into wet at the patch edges so the color transitions stay soft rather than hard lined. A pink nose and a slightly open mouth finish the nuzzling expression.
Chick Hatching From an Egg
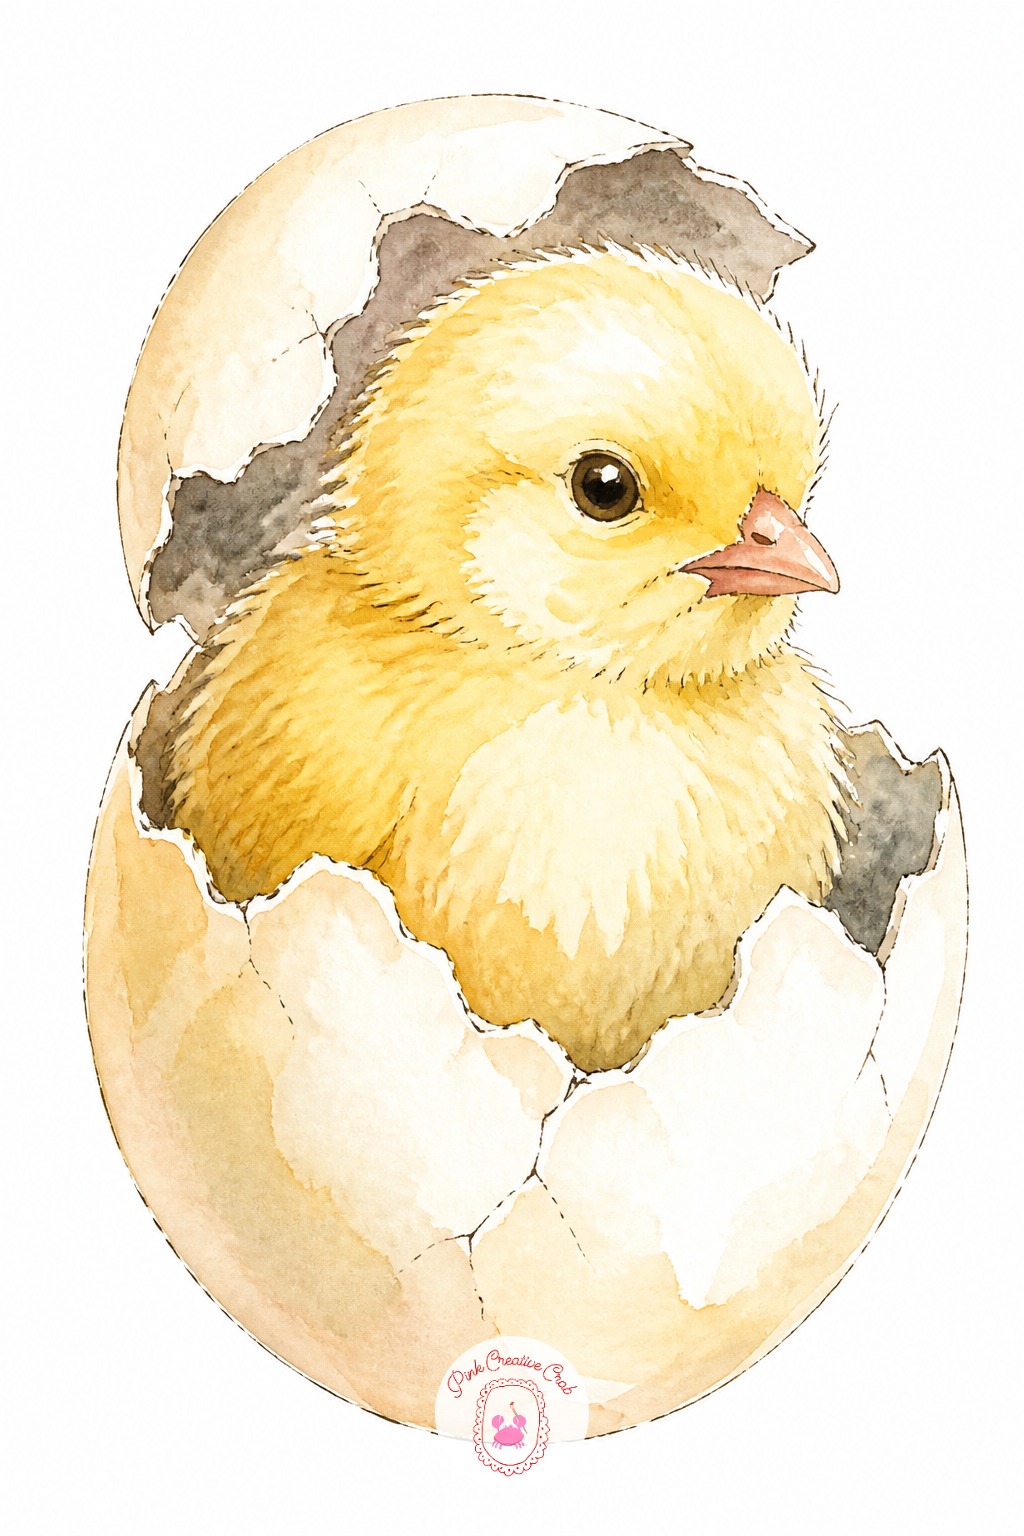
Place the crack line first, a single jagged diagonal across the egg shape, before painting either the shell or the chick. Everything else is built around that one line.
Easy. Pale yellow for the chick poking through, gray shadow on the inside of the broken shell for depth. This is a quick one, ten minutes is plenty, and it pairs nicely with other small gift tag or card projects if you enjoy junk journal pages alongside your sketchbook.
Clownfish Pair Among Coral
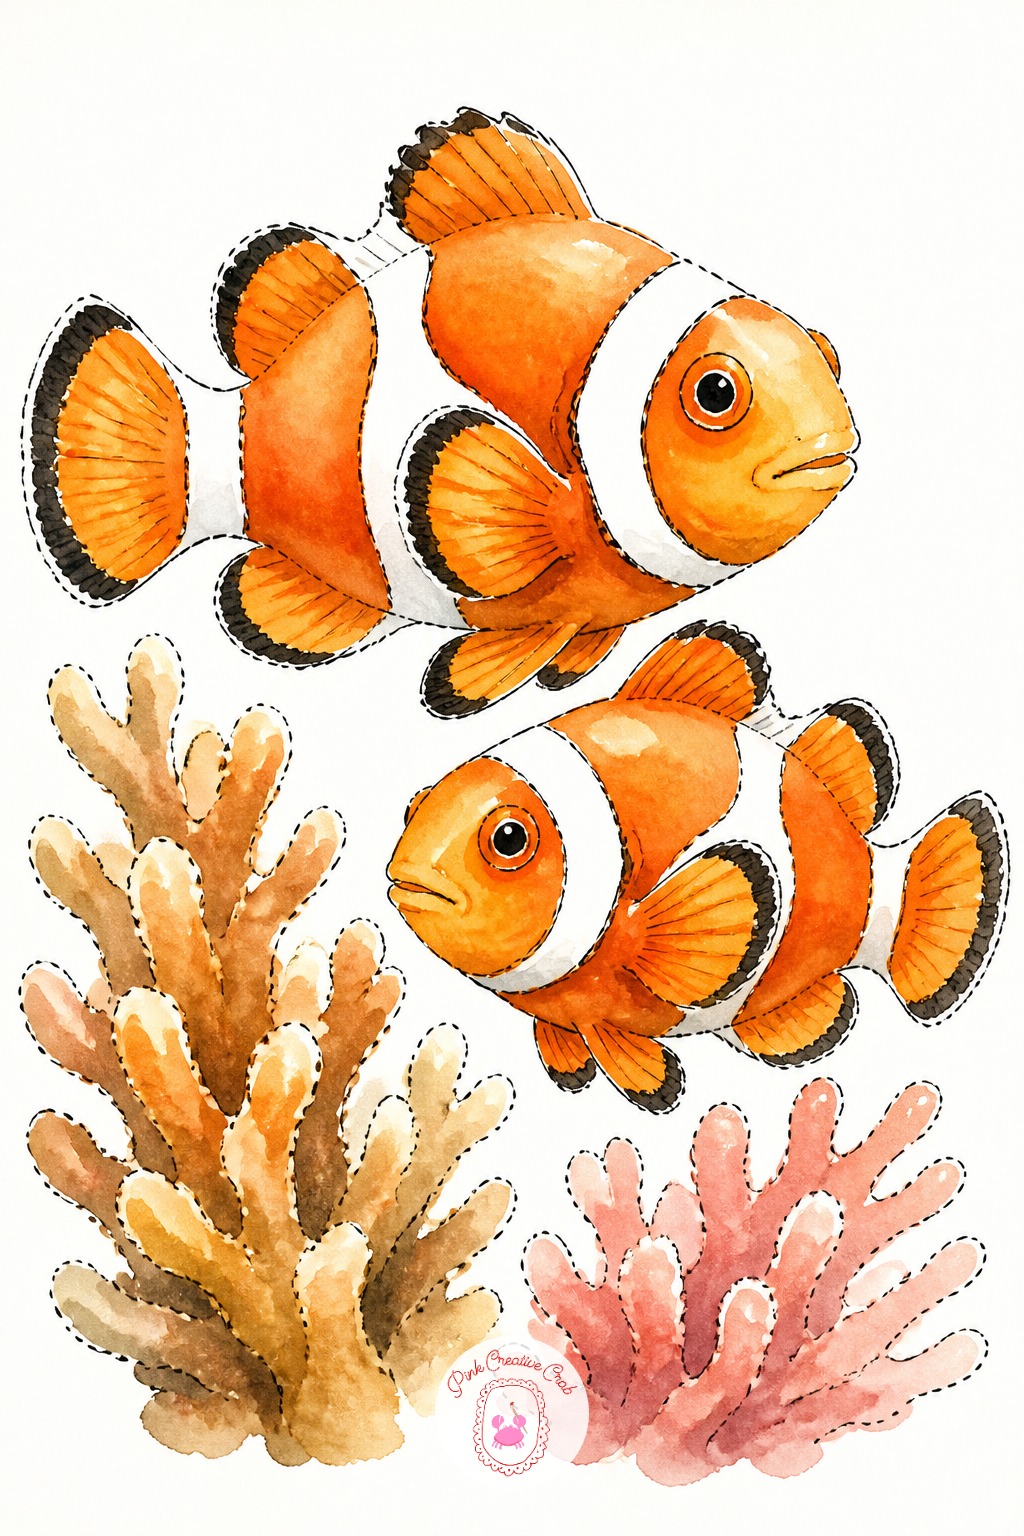
Sea life starts with a clownfish pair, which is forgiving because the orange and white stripes do most of the visual work. Paint the orange body first as one flat wash, let it dry fully, then add the three white stripes with a clean brush loaded with white gouache or left as reserved paper.
Easy. A size 4 round brush keeps the stripes crisp. Keep the coral behind them to two or three small blob shapes at most, since the fish should stay the clear subject.
Orca Swimming With Bubbles
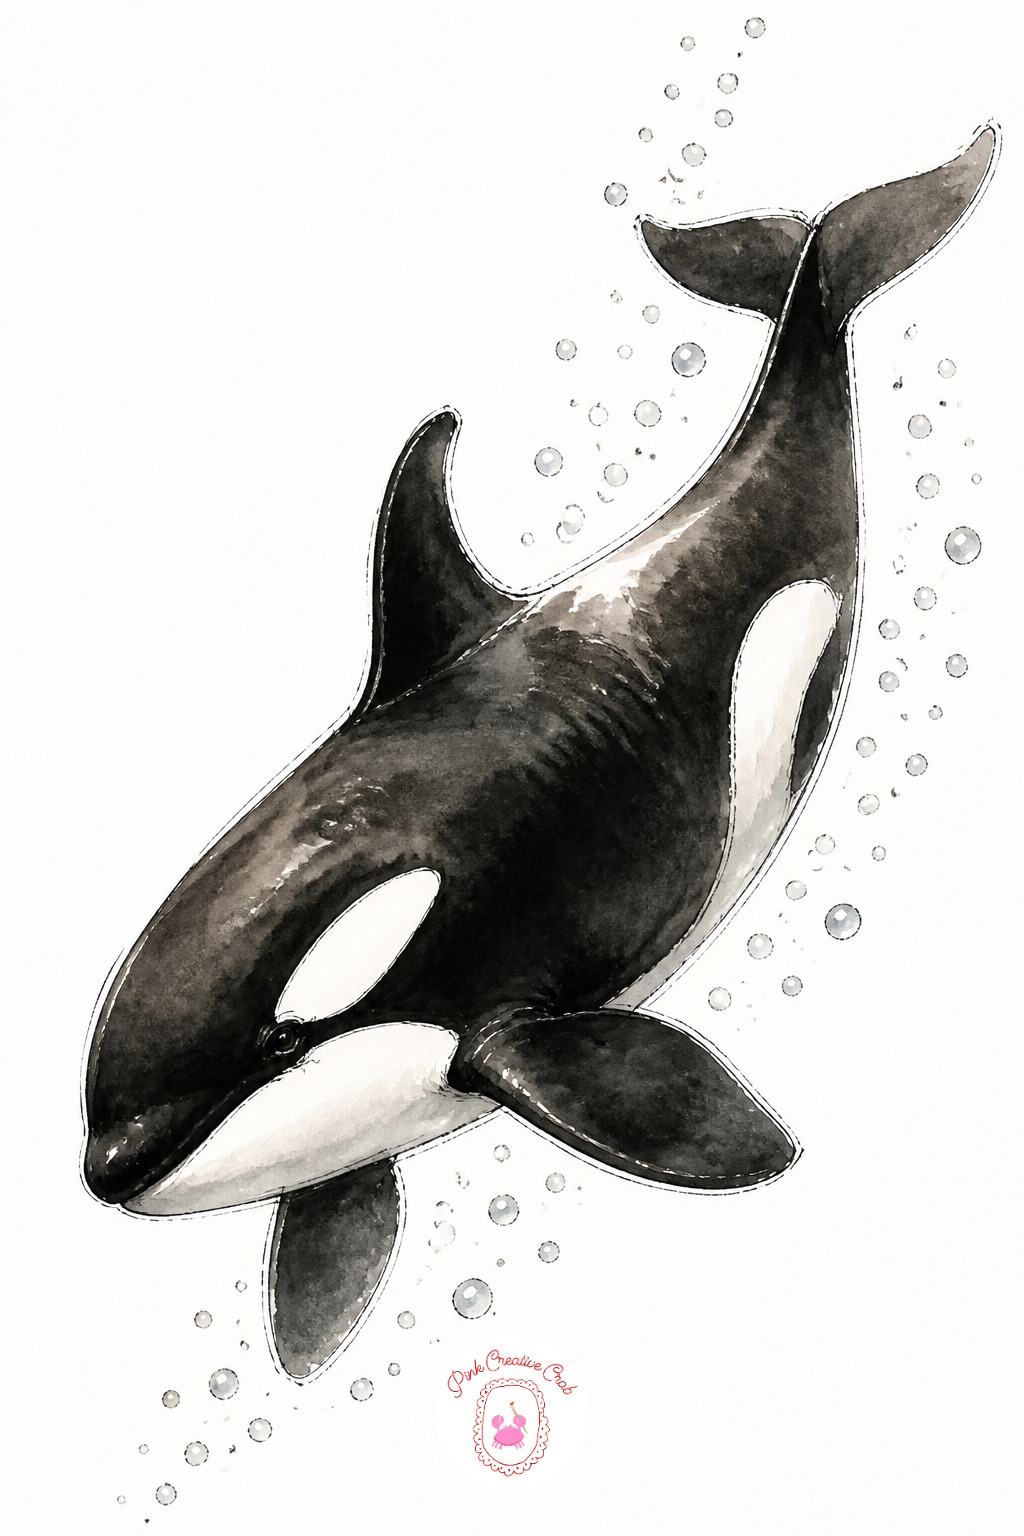
An orca’s proportions rely on one comparison: the white eye patch sits well below the actual eye line, not beside it, which is the detail most beginners get backward. Pencil in the true eye position lightly first, then add the white patch lower and slightly behind it.
Medium. Black and white watercolor, wet into wet for the smooth body transitions, with a trail of small round bubbles added last in clean water or a white gel pen.
Sea Turtle From Above
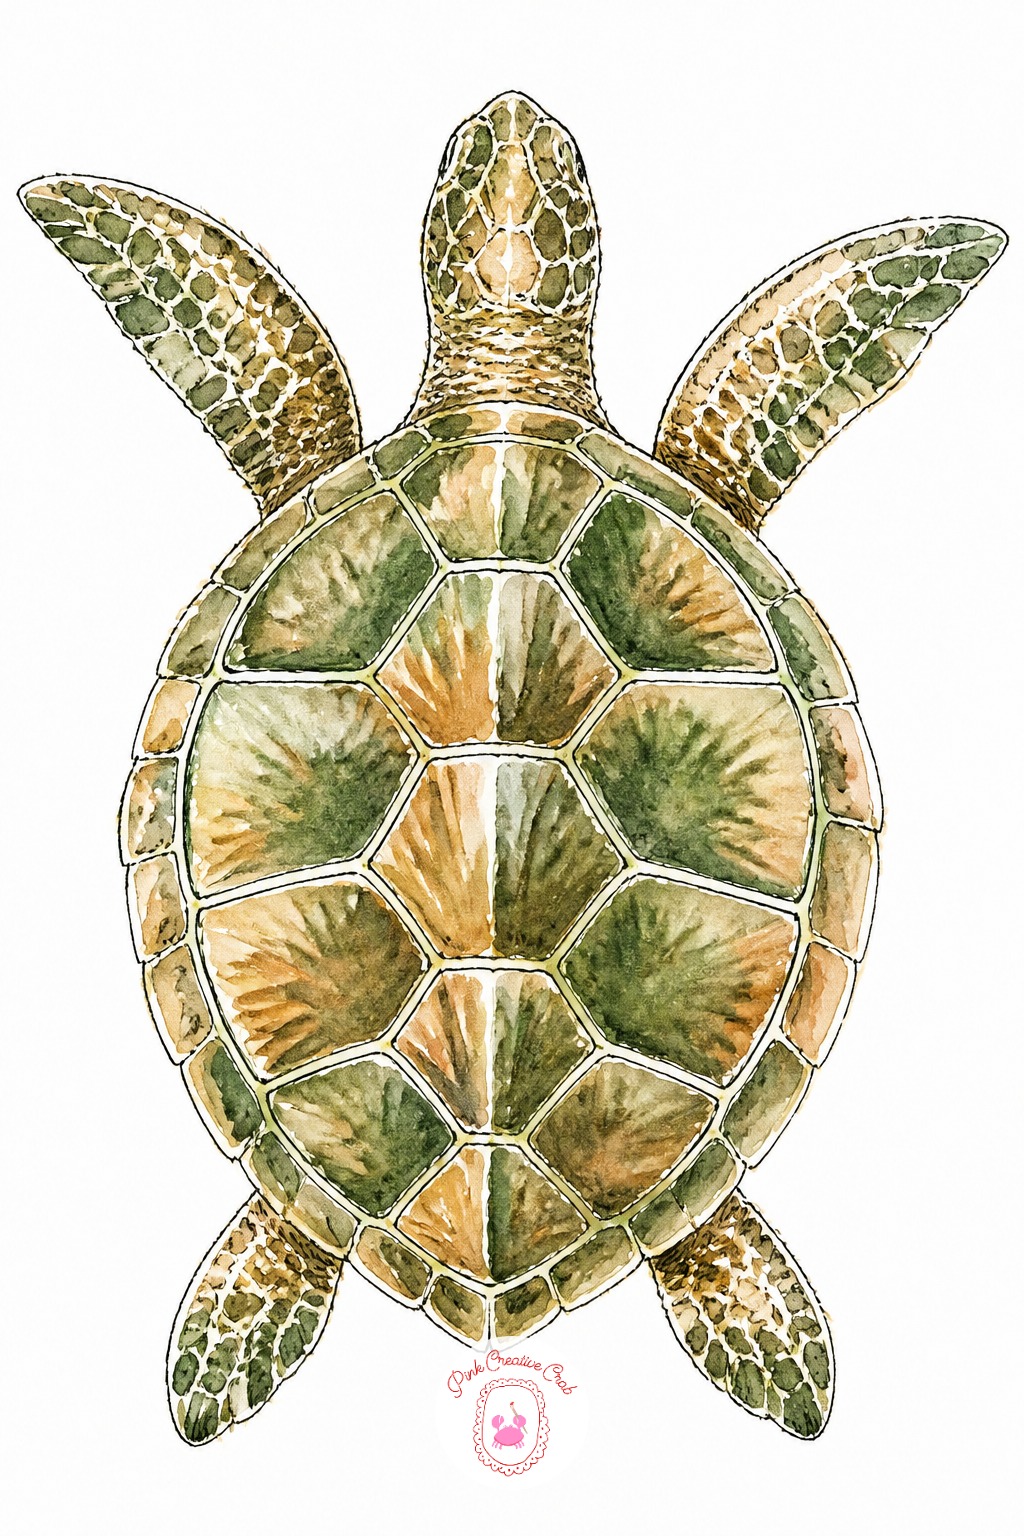
Viewed from directly above, a sea turtle’s shell becomes the whole composition, so draw the shell pattern as a grid of hexagon-ish shapes before adding the flippers around the edge. This top down angle also avoids the trickier side view anatomy.
Medium. Green and brown watercolor washed into each shell segment separately so the pattern stays legible rather than muddy. Flippers go on last, spread evenly on all four sides.
Three Small Fish Studies
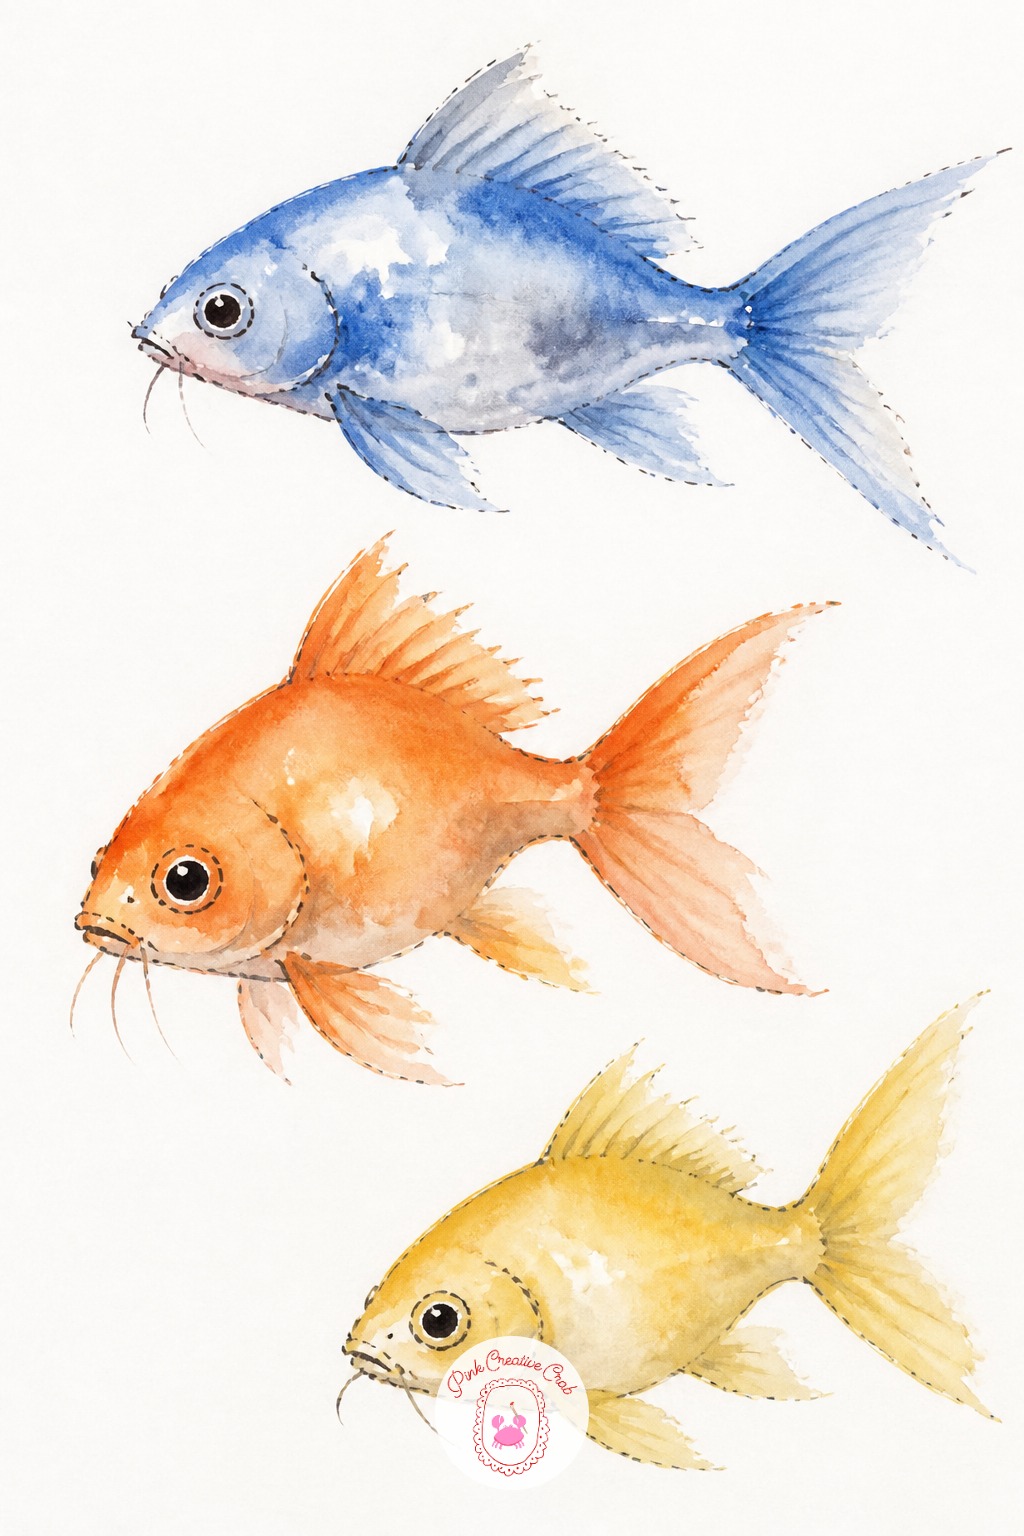
Work small and fast here: three separate little fish, no bigger than a thumb each, arranged loosely across the page rather than lined up in a neat row. Vary the angle of each one so they feel caught mid swim rather than posed.
Easy. A size 6 round brush and three or four colors, one wash per fish, wet into wet. This is a true ten minute exercise, useful as a warm up before a longer painting session.
Seahorse in Profile
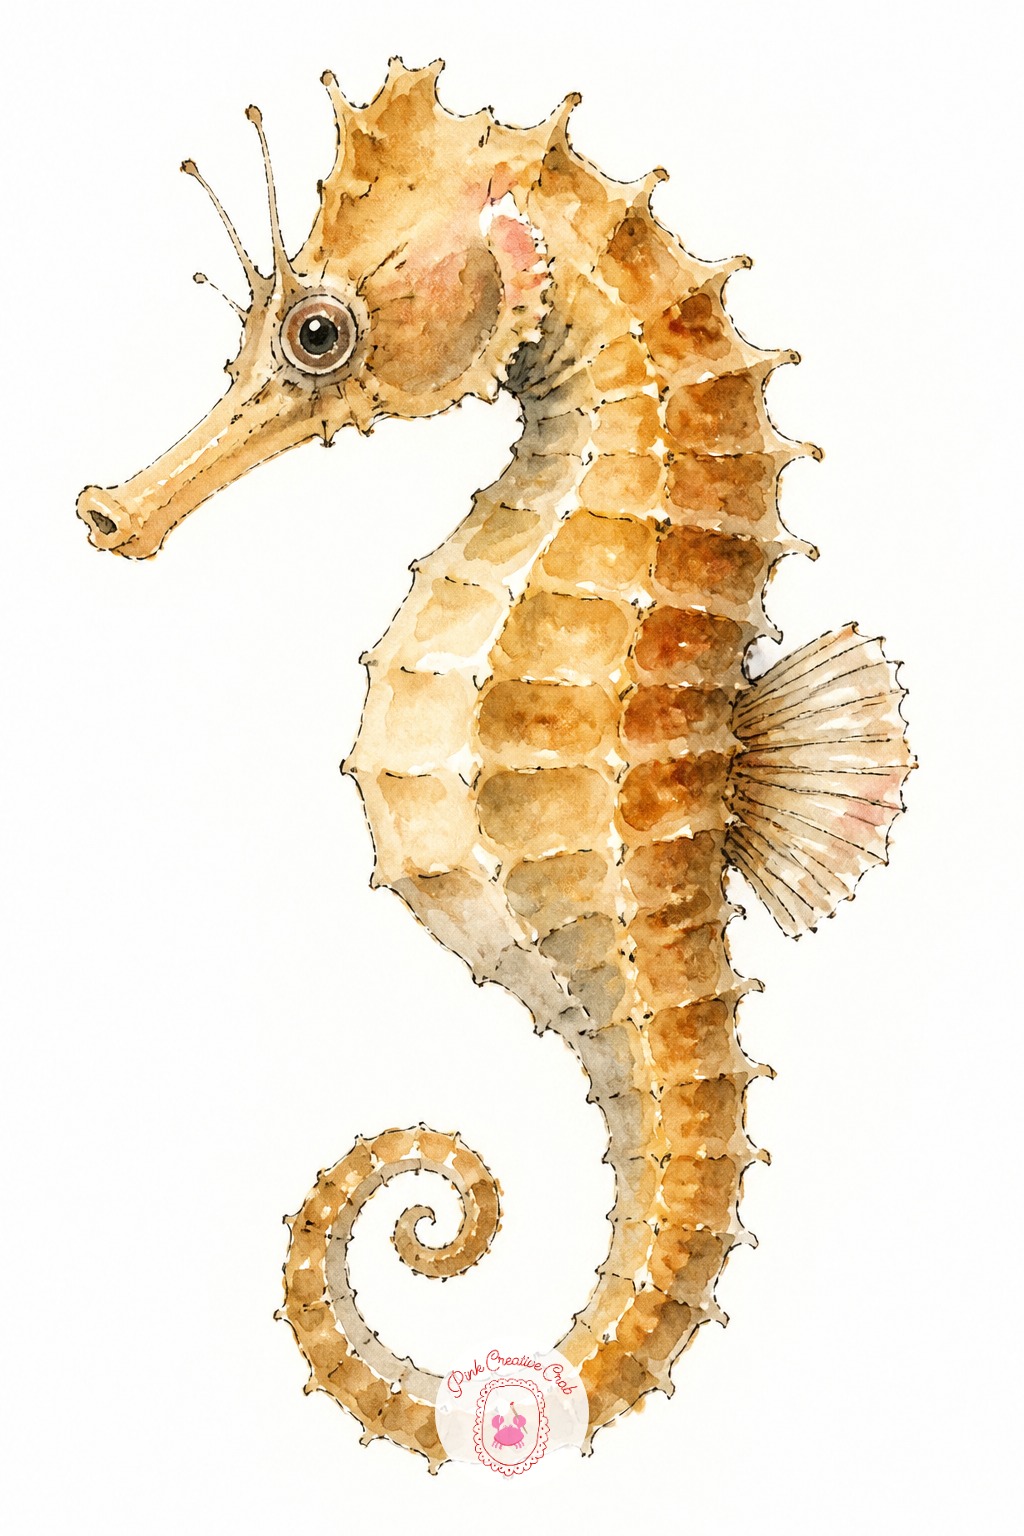
The usual mistake with a seahorse is drawing the curl of the tail too tight and symmetrical, which flattens the whole pose. Loosen it: let the tail curl unevenly, thicker near the body and tapering unevenly toward the tip.
Medium. Thin ink line for the structure, then a light wash of watercolor over the top in gold or soft orange. Keep the body ridges as a few short curved strokes rather than a fully rendered texture.
Robin on a Snowy Twig
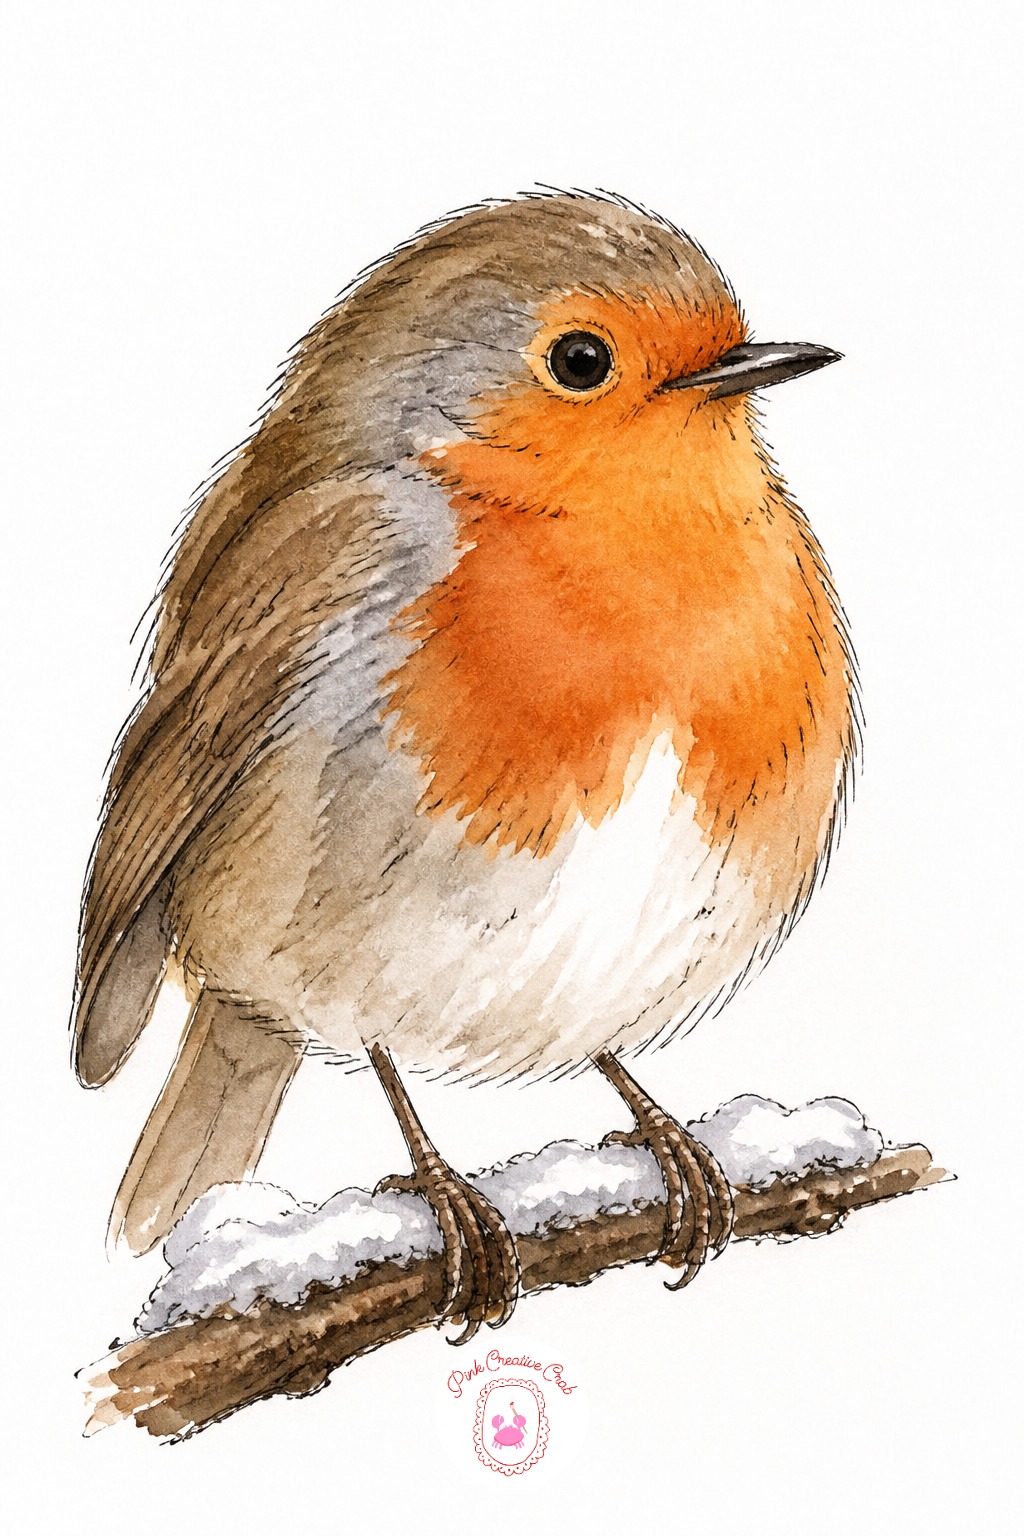
Birds close out the list with a robin, where the red breast is the whole appeal, so protect that shape early. Mask or simply leave that area untouched while you wash in the gray brown back and wings first, then drop warm red into the reserved chest shape last.
Easy. Watercolor on cold press paper holds the red nicely without bleeding into the gray if you let the first wash dry fully. For more bird specific practice, the bird pencil drawing ideas page is worth a look.
Bumblebee on a Flower Head
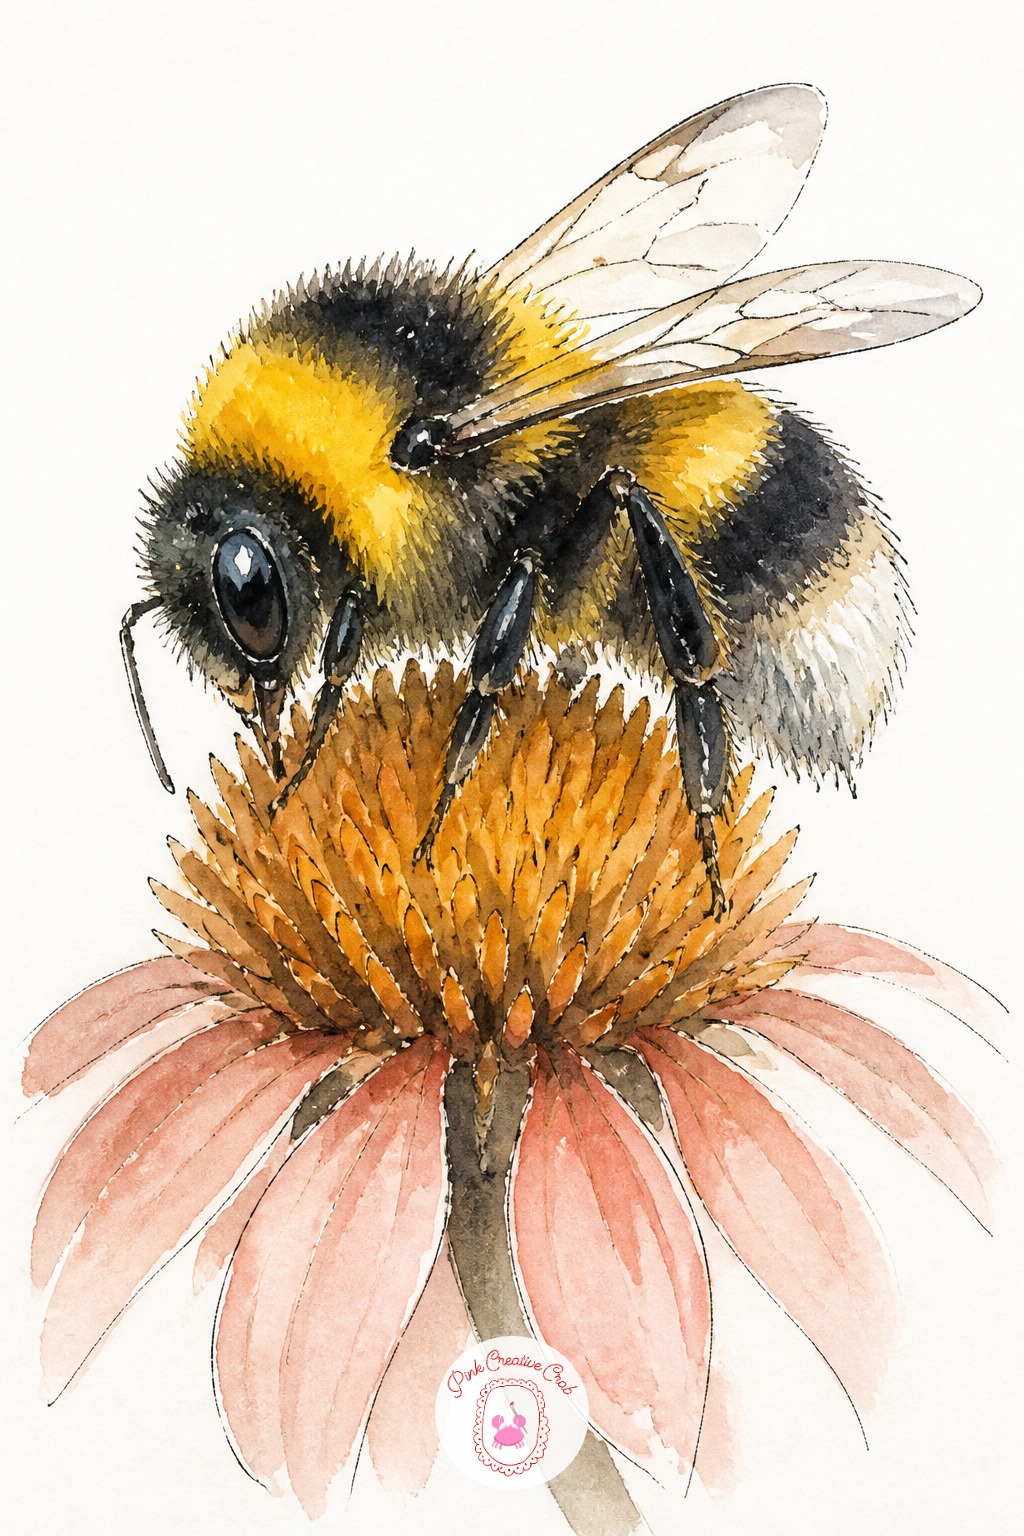
Next time you paint this one, vary it by changing the flower underneath, a daisy instead of a round bloom, or no flower at all, just the bee alone on toned paper. The bee itself stays the same simple build: oval body, three stripe bands, four thin wing shapes.
Easy. A fine liner for the wing veins and stripe outlines, watercolor or marker for the yellow and black fill. Keep the wings nearly transparent with just a thin outline, since solid gray wings look heavy rather than light.
Sleeping Tiger Among Flowers
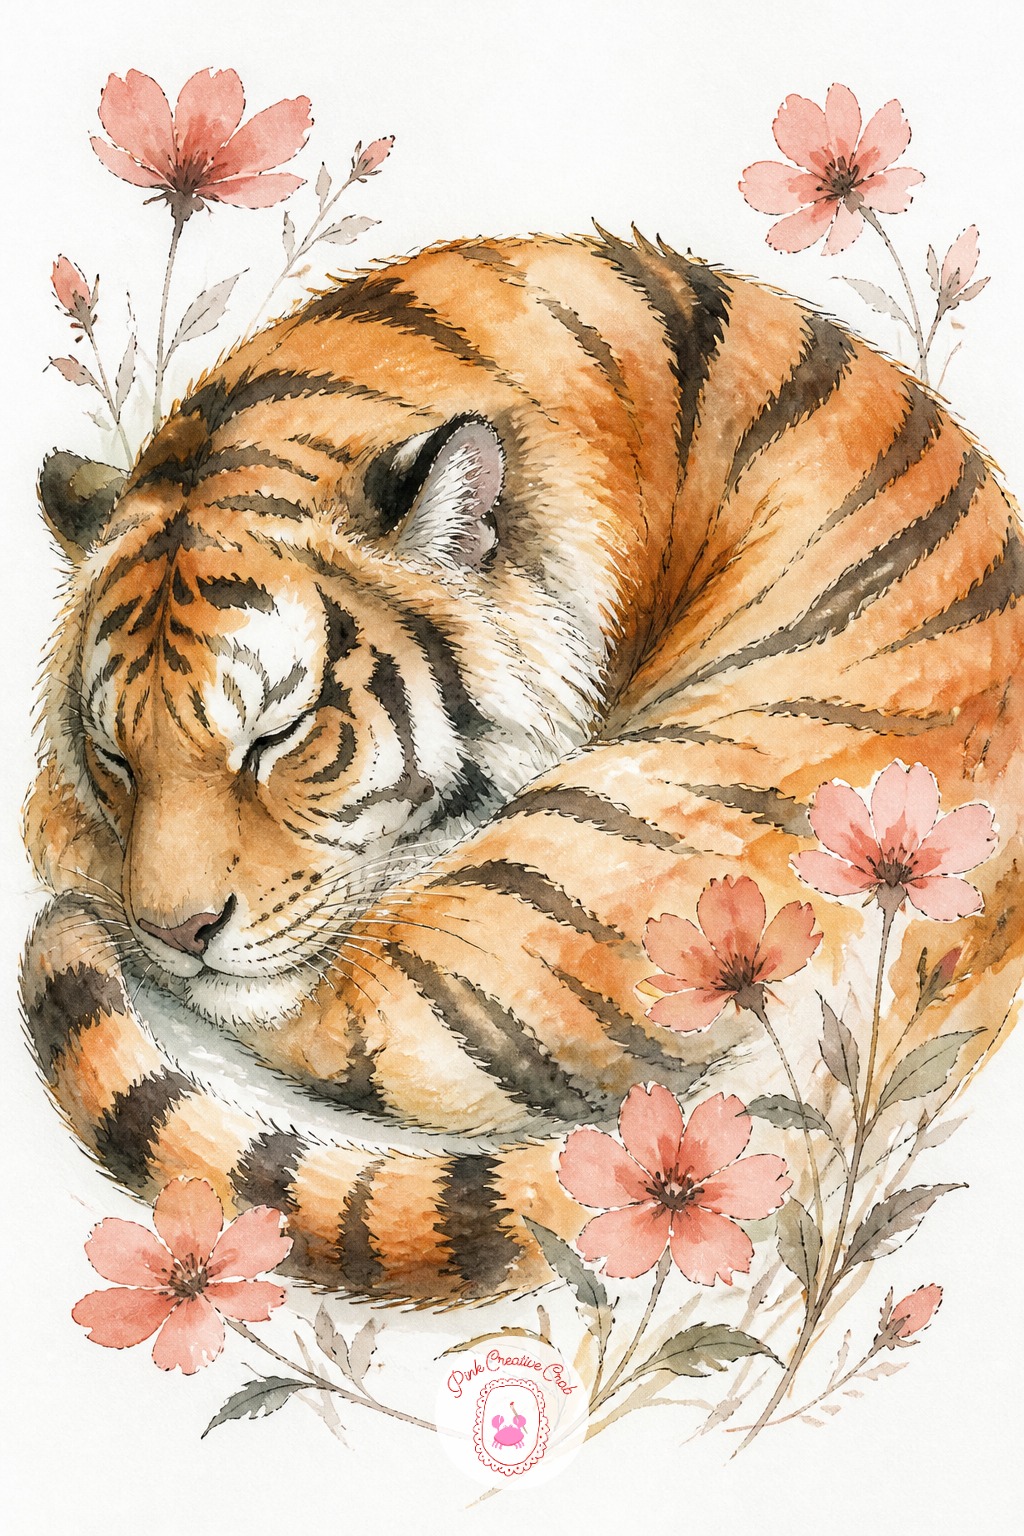
Flat, lifeless eyes are the most common problem in any big cat drawing, tiger included, and the fix is simple: leave one tiny spot of pure white paper or highlight inside each closed or half closed eye. On a sleeping tiger, draw the eyes as soft closed curves rather than open circles, which keeps the whole pose relaxed.
Medium. Orange and black watercolor or ink and marker both suit this, with a few loose pink wildflower shapes scattered around the curled body to finish the scene without building a full background. For more big cat and pet practice at this same loose level, see the cat pencil drawing ideas page.
What to Do Next
Pick one subject from the easy group, a sleeping cat or a duckling family is a good start, and set up a quarter sheet of watercolor paper before you open your palette. Work through the shape sequence in the tip, let the first layer dry, then move to the next idea on the list once this one feels finished.
Frequently Asked Questions
What materials work best for cute animal drawing ideas at a beginner level?
Watercolor paper, a small round brush in size 4 or 6, a basic watercolor set and a soft graphite pencil cover nearly every idea on this list. Ink liners suit the bolder, more graphic subjects like the badger or the tiger if you prefer line work over paint.
How do I stop my animal drawings from looking stiff?
Give the animal a small action, a tilted head, a mid step, a curled pose, rather than a straight on stance with all four legs square. Draw the spine as one curved gesture line first, then build the body and legs around that line instead of placing them symmetrically.
How do I keep eyes from looking flat on cute animals?
Leave one small spot of untouched white paper inside each eye before you paint around it, or add a tiny highlight with white gouache afterward. Keep the eye shape slightly irregular rather than a perfect circle, since real eyes are rarely symmetrical.
Should I draw the whole animal or just the face?
For a beginner sitting, a face or head study finishes faster and still reads as complete, especially for cats, bunnies and giraffes. Save full body poses for animals with simple silhouettes, like a sleeping cat or a standing lamb, where the whole shape stays manageable.
How long should one of these animal sketches take?
Most of the easy subjects finish in ten to twenty minutes once you know the shape sequence. The medium subjects, especially ones with texture like the hedgehog or badger, can stretch to forty minutes if you add the extra detail pass.
Have any thoughts?
Share your reaction or leave a quick response — we’d love to hear what you think!
-
 0
0 -
0
-
0
-
0
-
0
-
0


