

⭐ Key Takeaways
✦ Simple geometric shapes are the secret foundation of every great fruit pencil sketch — master the circle and oval first.
✦ Consistent light source placement makes shading feel natural and gives your fruit drawings instant depth and realism.
✦ Practicing one fruit at a time in your sketchbook builds muscle memory faster than jumping between complex compositions.
Fruit drawing pencil sketches are one of the most rewarding places to start your drawing journey — and honestly, they are more forgiving than you might think. Fruit comes in wonderfully imperfect shapes, which means your sketch does not have to be perfect either. Every little wobble in your apple outline just makes it look more natural and alive.
Whether you have a brand-new sketchbook sitting on your desk or a handful of pencils you have not touched in months, this list is made for you. We have gathered 13 warm, approachable ideas that take you from a single plum all the way to a whole lemon branch. Additionally, each idea comes with a short guide so you always know exactly where to start. Grab your pencil — this is going to be fun.
Table of Contents
- Round Rosy Apple Pencil Sketch
- Plump Single Strawberry
- Curved Banana Fruit Drawing
- Cluster of Ripe Cherries
- Sliced Watermelon Wedge
- Soft Fuzzy Peach Sketch
- Bunch of Grapes on the Vine
- Bright Lemon with Leaves
- Halved Orange Cross-Section
- Tiny Wild Blueberries Grouping
- Spiky Pineapple Crown Drawing
- Gentle Pear Pencil Sketch
- Rustic Bowl of Mixed Fruit
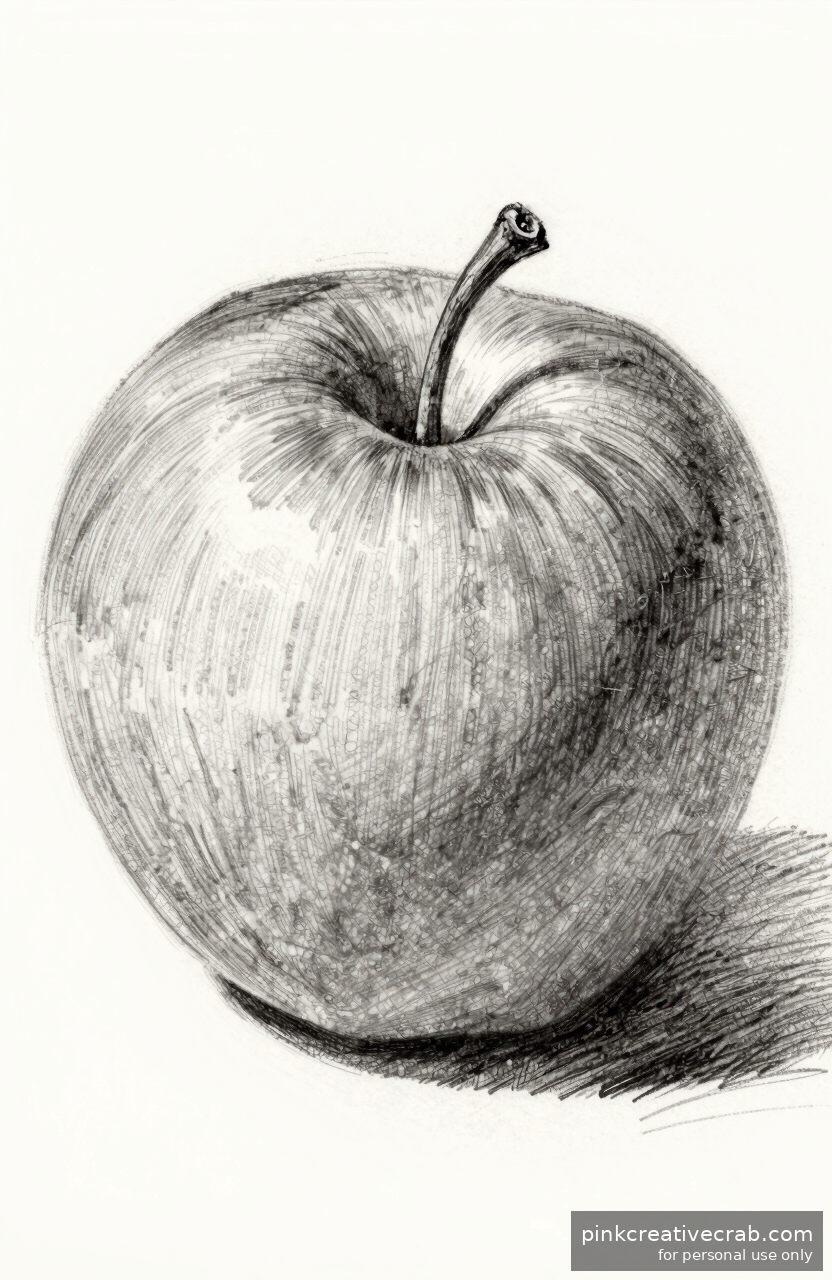
Round Rosy Apple Pencil Sketch
An apple is honestly one of the best first subjects you can choose. Its rounded shape is forgiving, and the simple outline builds confidence fast. Start with a light circle, then gently reshape the top and bottom — that little dip at the stem makes it instantly recognizable. You’ve got this!
Shading is where the magic happens. Add soft, curved strokes that follow the apple’s round surface. Meanwhile, leave a small bright spot near the top untouched — that’s your highlight, and it makes the whole drawing pop. Transition slowly from light to dark, and don’t worry about perfection. Every stroke teaches you something valuable.
For smooth, confident shading, a good pencil set makes a real difference. Additionally, checking out the Pencil Drawing: Complete Beginner to Advanced Guide can help you build solid skills. Grab a great starter set like beginner graphite pencil sketch set to get going today.
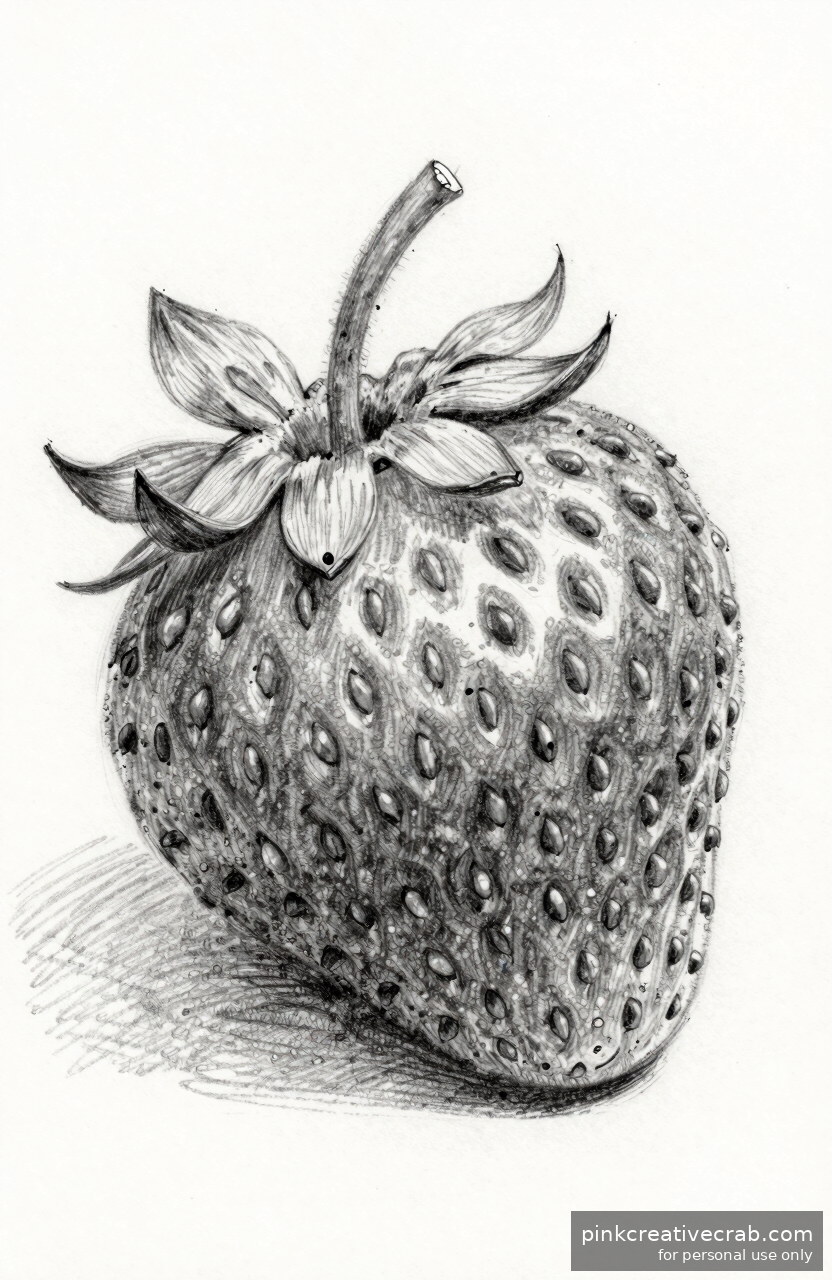
Plump Single Strawberry
Strawberries are wonderfully fun to draw because every tiny seed becomes a little victory. Start with a simple heart-like triangle shape — soft at the top, pointed at the bottom. Then add the leafy crown with short, confident strokes. Even a rough first attempt looks charming, so enjoy the process without pressure.
Next, add the seeds as small oval dots scattered across the surface. Space them loosely and unevenly — real strawberries aren’t perfectly organized, and neither should yours be. Shading along one side adds beautiful depth. Additionally, a small cast shadow beneath the fruit makes the whole sketch feel grounded and real.
For beginners, smooth drawing paper and a reliable pencil set are your best friends. The Art Fundamentals: Complete Guide to Drawing & Painting Basics is also a fantastic resource for building confidence. Try starting with a drawing pencil set for beginners — it covers all the grades you’ll need.
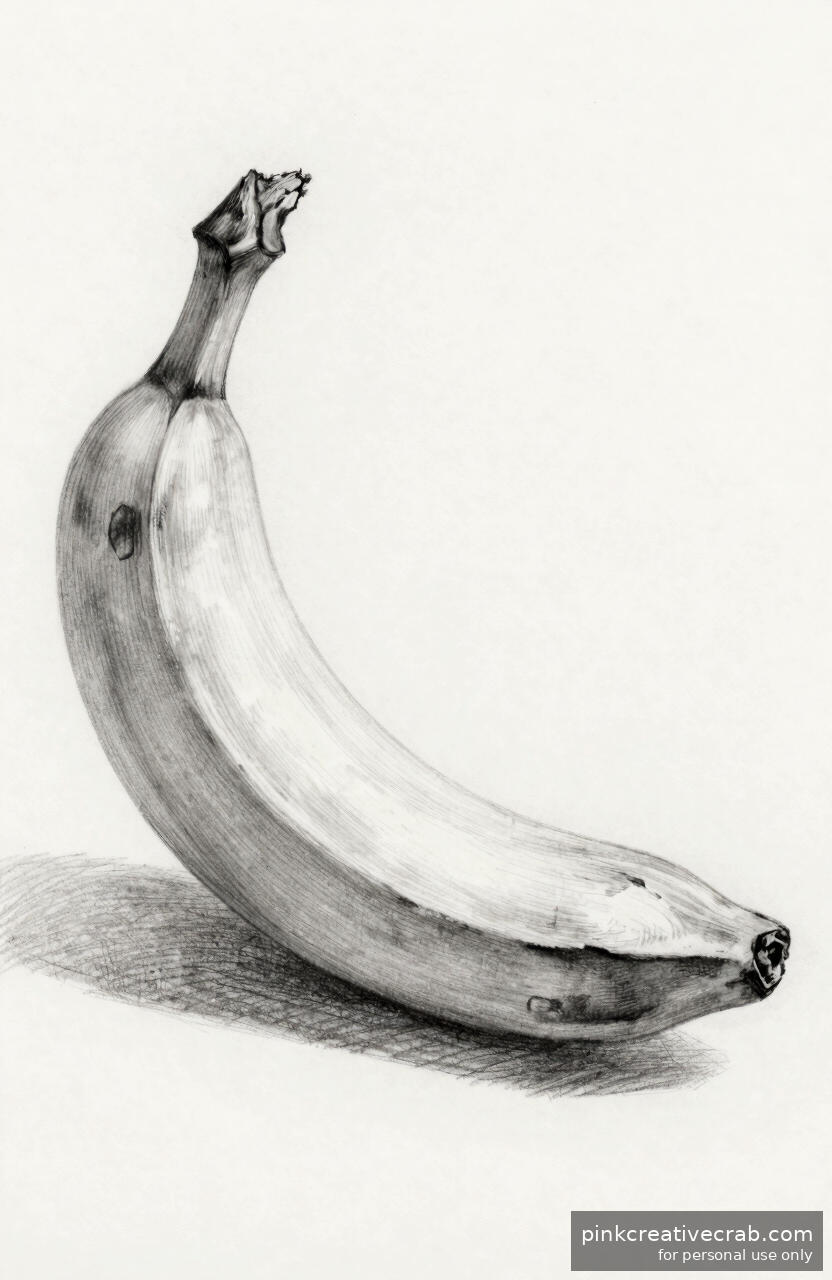
Curved Banana Fruit Drawing
Bananas are secretly one of the most beginner-friendly fruits to sketch. That gentle curved shape is simple to outline, and the smooth surface means you don’t need complex texture work. Draw the outer curve first, then mirror it slightly inside — suddenly it looks just like a banana. Small wins like that feel amazing!
Shading a banana teaches you a lot about curved forms. Apply soft pencil strokes lengthwise along the body, darkening gently at the edges and tips. Meanwhile, the wide middle stays lighter, suggesting a rounded highlight. Additionally, the little brown tip detail at each end adds a realistic touch without any extra difficulty.
However, if you’re curious about how pencil drawing compares to other mediums, the Graphite vs Colored Pencil vs Charcoal: Complete Comparison is a great read. For smooth, flowing lines, grab a smooth sketch pad for pencil drawing to make every stroke feel effortless.
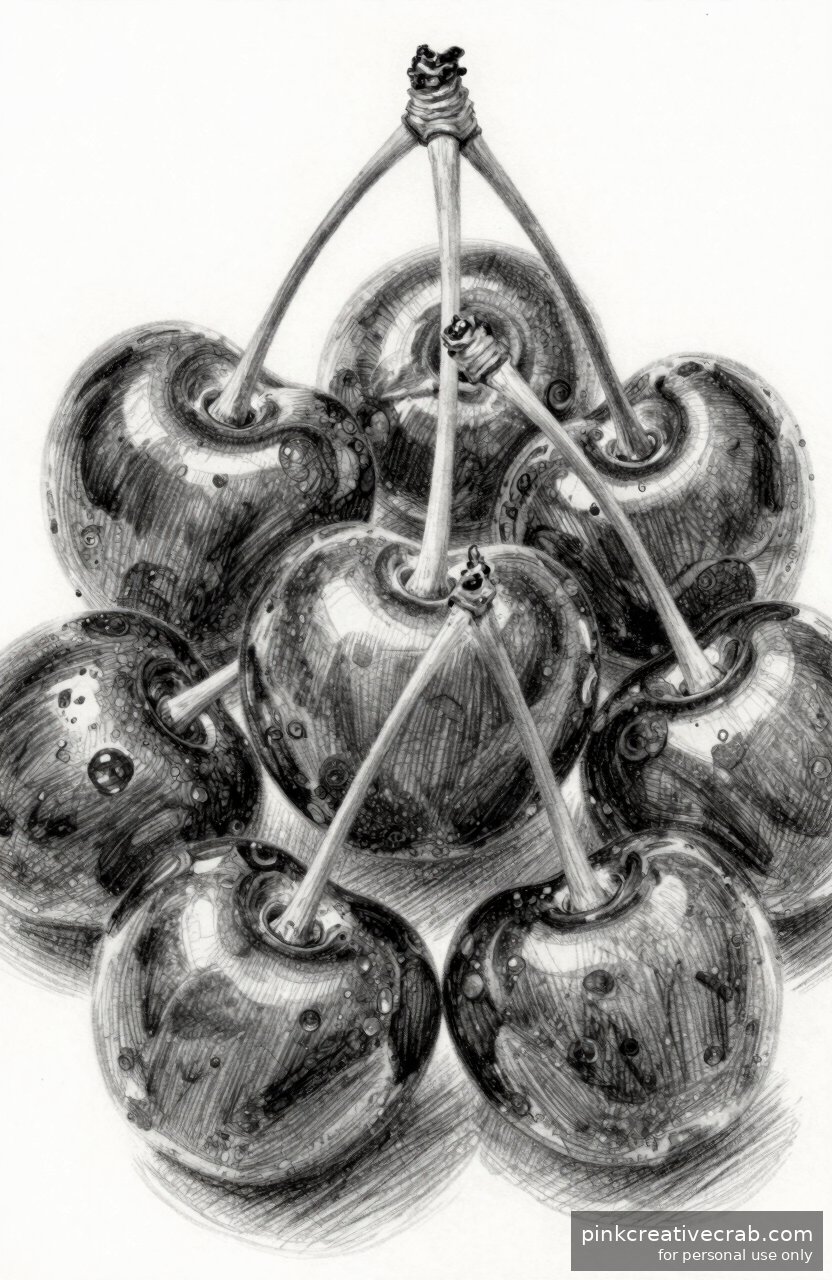
Cluster of Ripe Cherries
Drawing a cluster of cherries feels like a tiny celebration on paper. Two or three small circles side by side, connected by thin curving stems — that’s really all it takes to start. The overlapping shapes create instant visual interest, and the glossy surface gives you a perfect opportunity to practice highlights. You’ll love how quickly this comes together.
For each cherry, leave a small white oval near the top untouched as your highlight. Then shade the rest with smooth circular strokes, going darker at the bottom and on the shadowed side. Additionally, where two cherries overlap, deepen the shadow between them — this contrast is what makes the cluster feel three-dimensional and lush.
The thin stems are surprisingly satisfying to draw with a sharp pencil. Therefore, keeping your pencil well-sharpened throughout this sketch really pays off. For all the right tools, check out drawing pencils and blending stumps set — blending stumps especially help smooth those gorgeous cherry shadows beautifully.
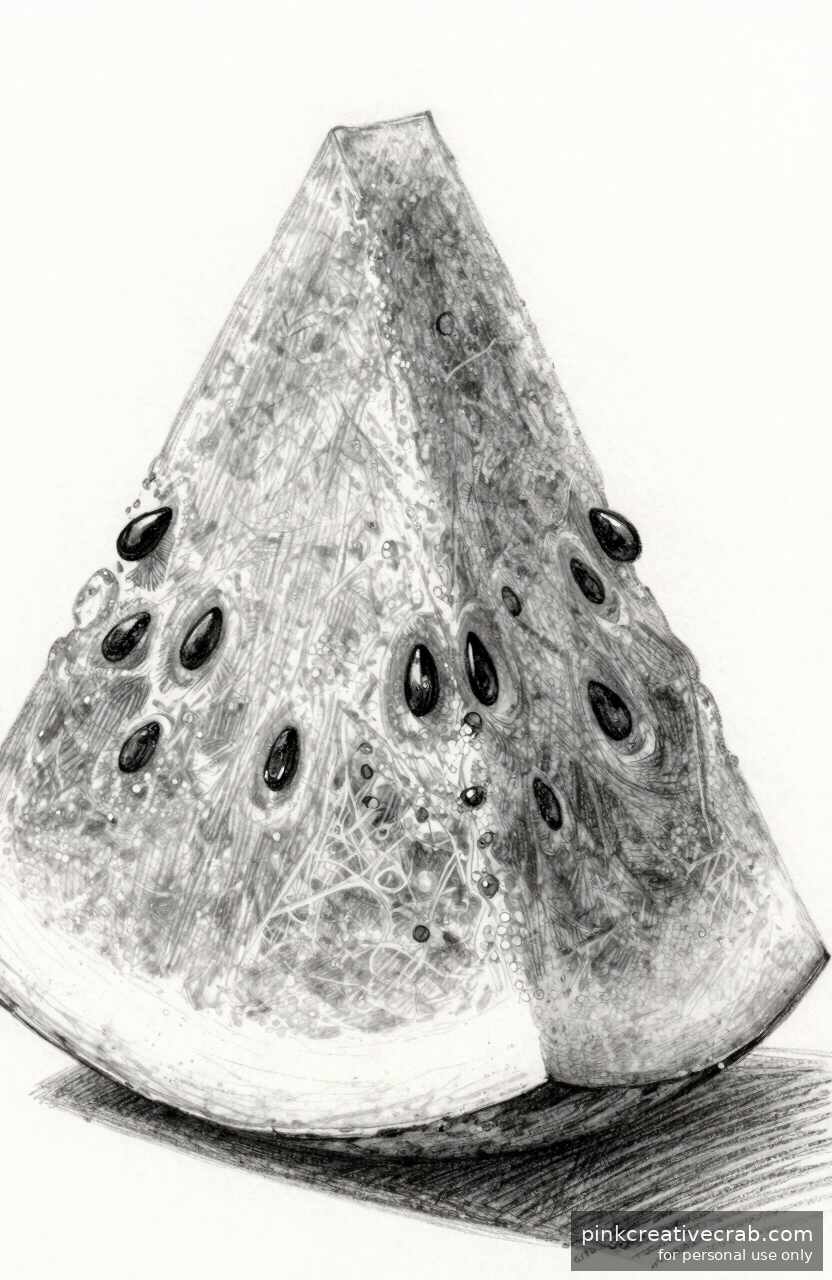
Sliced Watermelon Wedge
A watermelon wedge is one of the most joyful subjects a beginner can sketch. The bold triangular shape is easy to outline, and the layers — green rind, pale white edge, and the wide red flesh — give you natural sections to work through one at a time. Breaking it into steps like this makes the whole drawing feel totally manageable.
Scatter a few oval seeds across the flesh area for that instantly recognizable look. Meanwhile, the rind’s edge benefits from slightly darker shading to separate it cleanly from the flesh. However, don’t overwork the interior — a light, confident hand keeps the sketch fresh and appealing. Additionally, a small cast shadow beneath the wedge anchors it beautifully on the page.
For this kind of layered sketch, a range of pencil grades really helps. The Pencil Drawing: Complete Beginner to Advanced Guide covers shading layers wonderfully. Also, grab a graphite pencil set multiple grades so you have every tone covered from light to dark.
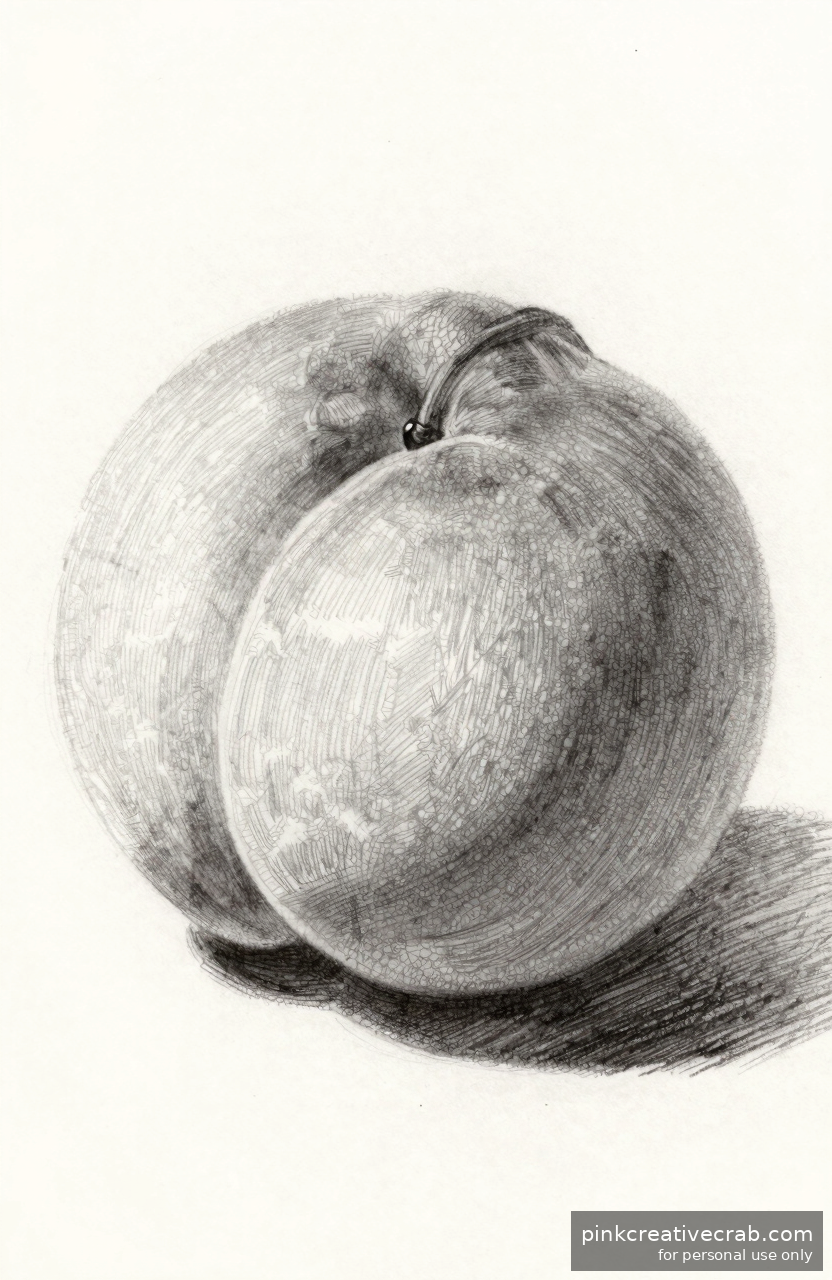
Soft Fuzzy Peach Sketch
A peach is one of the sweetest subjects to draw, and the slightly fuzzy texture makes it even more fun to explore with pencil. Start with a rounded shape similar to an apple, but add that signature soft crease running down one side. That single detail transforms a plain circle into an unmistakable peach — and it takes only seconds to add.
The texture is where this sketch really shines. Use short, gentle, slightly irregular strokes all over the surface to suggest that lovely softness. Meanwhile, blend lightly in the center to keep it smooth. Additionally, shading one side darker while leaving the opposite side pale creates a warm, glowing look that feels almost touchable on the page.
Soft blending tools like tortillons are perfect for this kind of sketch. Therefore, pairing them with a good pencil set is a smart move. The Drawing Techniques Encyclopedia: 50+ Essential Methods has great tips on texture techniques too. Start with a tortillon blending stump drawing set for beautifully smooth results.
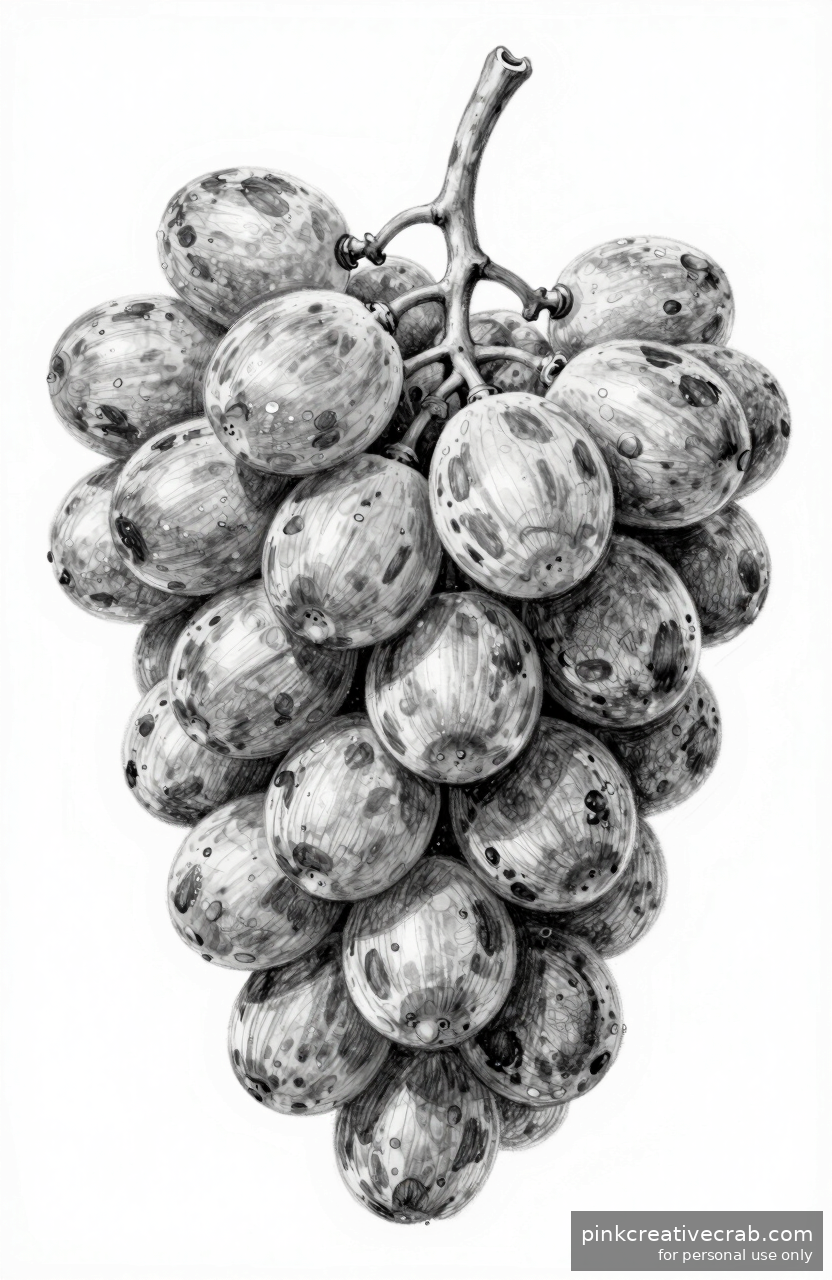
Bunch of Grapes on the Vine
A bunch of grapes looks impressive but is actually built from simple circles — and that’s wonderful news for beginners. Start by sketching a loose triangular cluster outline, then fill it in with overlapping ovals. Each grape gets its own tiny highlight spot, and suddenly the whole bunch looks round, glossy, and full of life. It’s genuinely one of the most rewarding beginner subjects.
Overlapping is the key to making grapes look natural. Grapes in the back appear partially hidden behind those in front, and darkening those shadows in between adds instant depth. Additionally, the curling vine and small leaf at the top tie the whole composition together beautifully. However, don’t feel you need to draw every single grape perfectly — looseness actually makes it look more organic.
For achieving those crisp highlights and rich shadows, quality sketch paper matters a lot. The Art Fundamentals: Complete Guide to Drawing & Painting Basics is a wonderful companion as your skills grow. Meanwhile, a sketch pencil set with kneaded eraser lets you lift highlights cleanly for gorgeous grape shine.
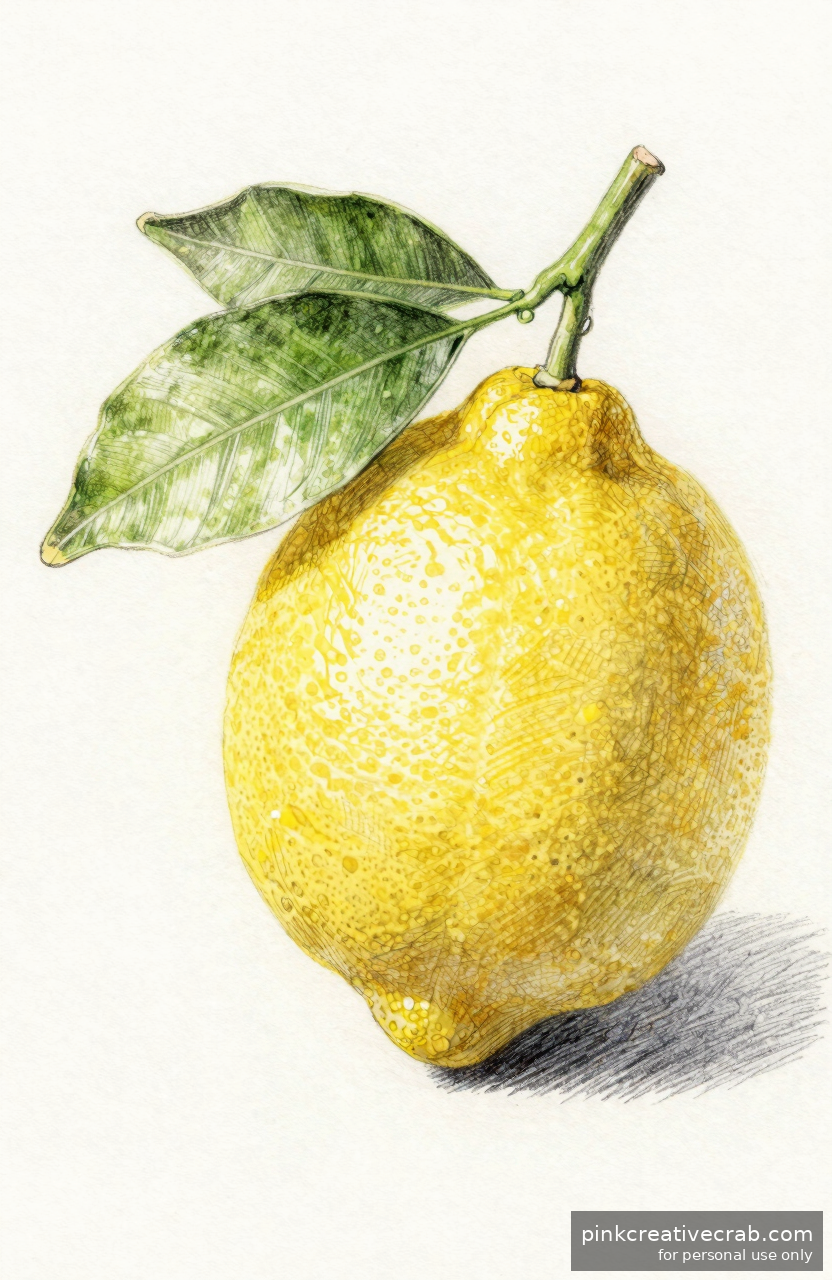
Bright Lemon with Leaves
Lemons are such a fantastic starting point for beginners! Their smooth, oval shape is simple to outline, and that cheerful yellow color makes every sketch feel sunny and alive. Start with a light oval, then add a small pointed tip at each end — you’ve already got the basic form!
Next, add a couple of leaves attached to a short stem. Leaves give your lemon so much personality. Draw simple pointed ovals, then sketch a center vein with tiny lines branching off. Meanwhile, don’t forget light shading along one side of the lemon to suggest roundness. Even a little shadow makes a huge difference.
For this sketch, a set of quality drawing pencils really helps you control light and dark values. Try a lemon drawing pencil sketch set to get started. Additionally, if you want to build your shading skills further, the Pencil Drawing: Complete Beginner to Advanced Guide has wonderful tips waiting for you!
Halved Orange Cross-Section
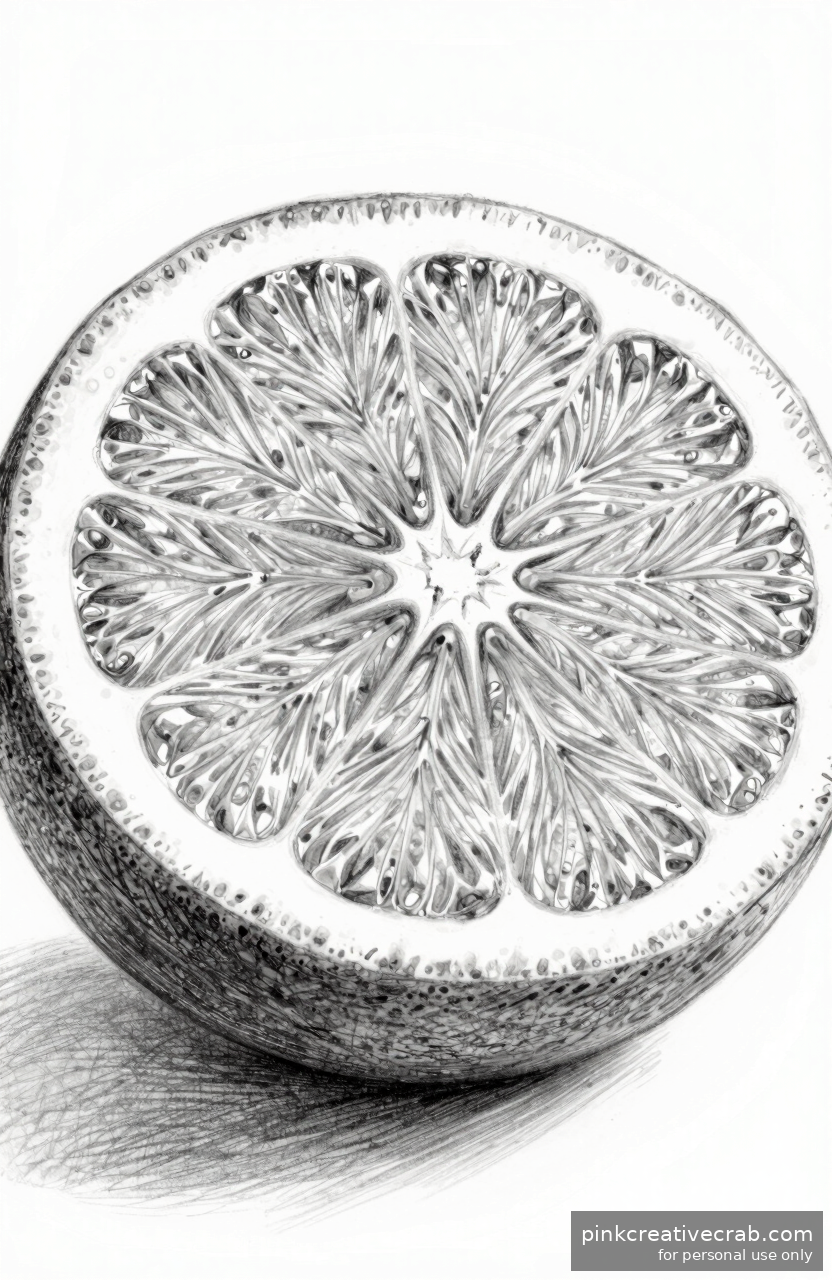
Drawing a halved orange is honestly one of the most satisfying beginner exercises out there. That beautiful circular cross-section with radiating segments looks impressive, yet it’s built from simple shapes. Start with a circle, then draw lines from the center outward like a wheel — and just like that, your orange is taking shape!
Shading is where things get really fun. Each segment curves slightly inward, so use gentle curved pencil strokes to follow that shape. Additionally, the outer rind has a slightly rough texture you can suggest with tiny dots or short strokes around the edge. These small details make your drawing feel real without being complicated.
Having the right pencils makes this so much easier and more enjoyable. A beginner graphite pencil set gives you the range of values you need. For even more drawing insight, the Art Fundamentals: Complete Guide to Drawing & Painting Basics is a wonderful resource to explore alongside your sketching practice.
Tiny Wild Blueberries Grouping
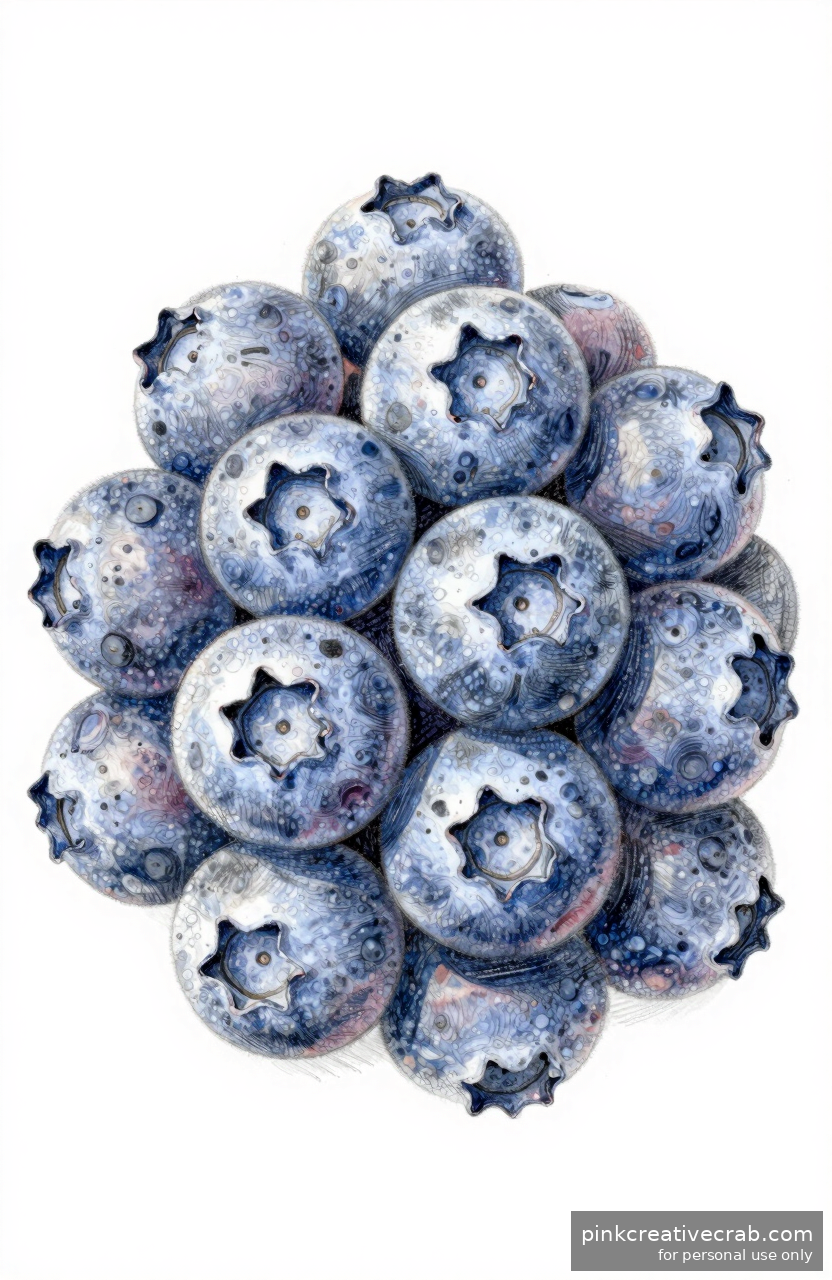
A little cluster of blueberries might be the cutest thing you’ll ever sketch! Each berry is just a small circle with a tiny five-pointed crown on top — that little star shape is what makes them instantly recognizable. Therefore, practicing these small repeated shapes is a brilliant way to build confidence fast.
Grouping them together is where the magic happens. Overlap some berries slightly so they look natural, like a real handful spilling out. Meanwhile, vary your pressure to make some berries look lighter and others darker, which suggests depth and makes the cluster feel three-dimensional. A few cast shadows underneath tie everything together beautifully.
Soft pencils work especially well for the velvety texture blueberries have. Consider trying a sketching pencil set with blending tools for smooth, even shading. Additionally, if you’re curious about comparing different drawing tools, the Graphite vs Colored Pencil vs Charcoal: Complete Comparison guide explains everything in a super approachable way!
Spiky Pineapple Crown Drawing
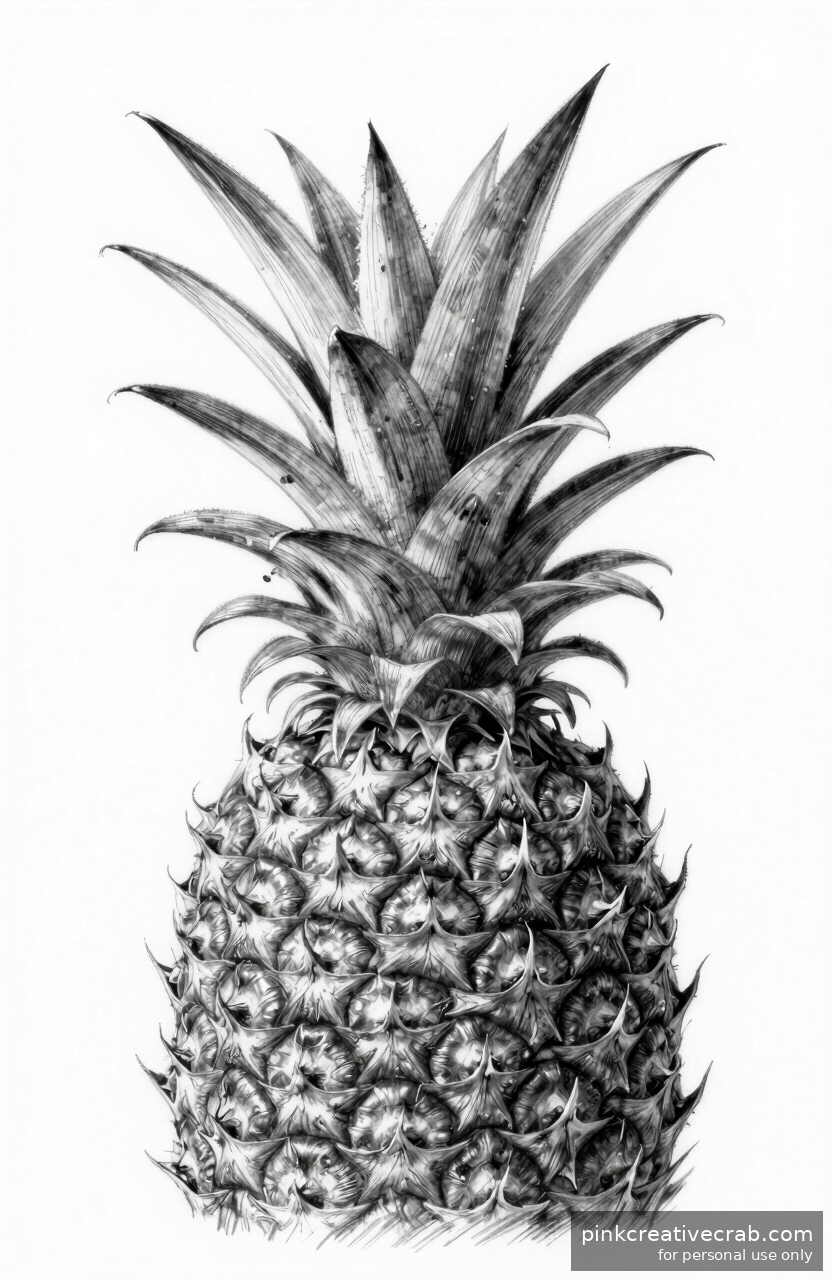
The pineapple crown is one of those subjects that looks complicated but is actually really manageable when you break it down. Those dramatic spiky leaves shooting upward are just long, curved triangles — and that’s totally doable! Start from the base of the crown and work outward, adding leaves one at a time.
What makes this sketch so rewarding is the contrast between sharp leaf edges and the bumpy texture of the pineapple body below. Use short, repeated pencil marks to suggest the diamond-pattern skin, and then let the leaves flow freely above. As a result, your drawing will have a lovely visual energy that looks impressively detailed.
Having varied pencil grades helps you capture both the rough texture and the smooth leaf surfaces. A drawing pencil set for beginners is a wonderful investment. For more techniques like texture and mark-making, the Drawing Techniques Encyclopedia: 50+ Essential Methods is packed with ideas you’ll absolutely love trying.
Gentle Pear Pencil Sketch
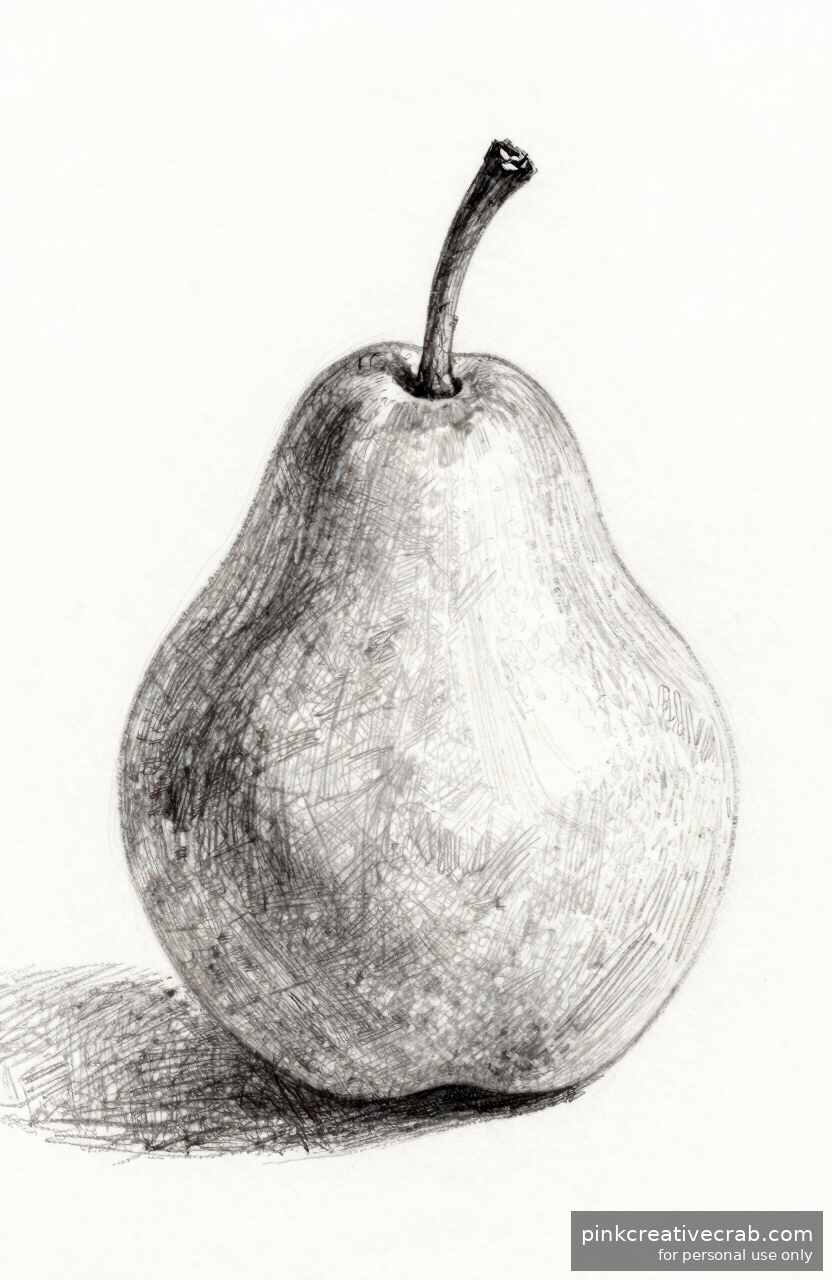
The pear is one of the most beloved subjects for beginner artists, and honestly, it deserves all that love. Its gently curved, asymmetrical shape is forgiving and charming — no two pears look exactly alike, which means your sketch will be perfectly unique! Begin with two overlapping circles, one smaller at the top, and connect them with soft curves.
Shading a pear feels incredibly satisfying because the smooth skin catches light so beautifully. Use gradual pressure changes with your pencil to show where light falls and where shadows collect. Additionally, adding a tiny stem and maybe a small leaf at the top gives your pear so much warmth and character.
For smooth, blendable graphite shading, a pencil sketching set with tortillon blenders works beautifully on this subject. However, if you ever want to take your pear sketch further with color, the Pencil Drawing: Complete Beginner to Advanced Guide walks you through every exciting next step with great encouragement!
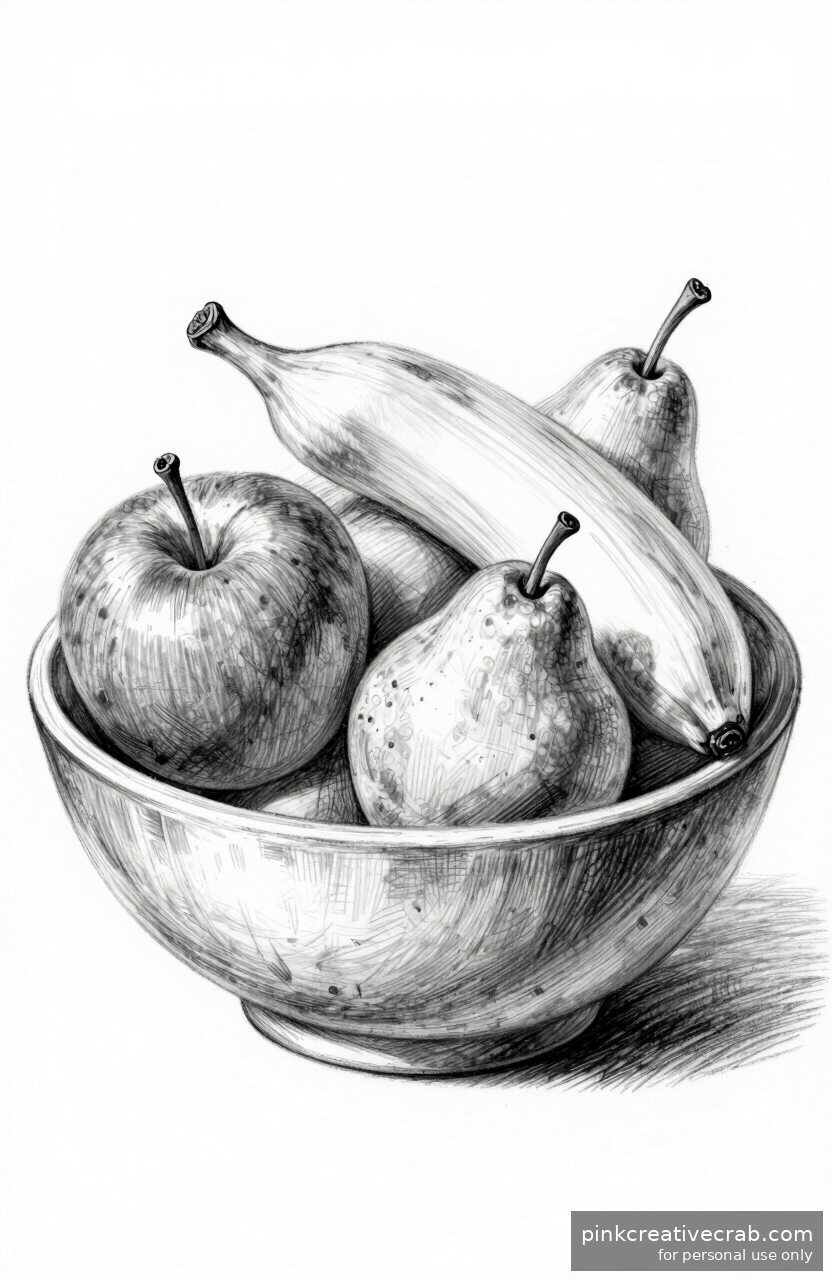
Rustic Bowl of Mixed Fruit
Drawing a bowl of mixed fruit feels like a big challenge, but here’s a little secret — it’s just several simple fruit shapes arranged together! Start by sketching the bowl itself as a simple curved shape, then build your fruit on top one piece at a time. An apple here, a banana curve there, and suddenly your still life is coming to life.
Layering fruits in a bowl teaches you so much about overlap and depth. Objects in front cover parts of what’s behind, and that relationship is what makes a drawing feel genuinely three-dimensional. Therefore, don’t be afraid to let fruits overlap boldly — it actually makes everything look more natural and convincing.
A good sketchbook with smooth paper makes this multi-subject drawing much more enjoyable. Try a sketchbook and pencil set for still life drawing to set yourself up for success. Additionally, the Art Supplies Glossary: 200+ Terms Every Artist Should Know is a fantastic companion resource that helps you understand every tool in your kit!
Final Thoughts
You have just discovered 13 wonderful starting points for your fruit drawing pencil sketches practice, and that is genuinely something to feel good about. Every single idea on this list was chosen because it teaches you a real skill — whether that is mastering a curved edge, building soft shading, or capturing the shine on a berry. Therefore, even the simplest sketch here is quietly making you a better artist.
Remember, the goal is never a perfect drawing. Instead, it is a drawing that is more confident than the last one. Flip back through your sketchbook after a week of practice and you will be amazed at how far you have already come. Small, consistent sessions beat long, stressful ones every single time.
So pick the fruit that makes you smile first, sharpen your pencil, and just begin. Your sketchbook is waiting, and there is absolutely no wrong way to make a mark on the page. We cannot wait to see where these little sketches take you.
Frequently Asked Questions
How do you draw a fruit step by step with a pencil?
Start by lightly sketching the basic shape — for example, a circle for an apple or an oval for a mango. Next, refine the outline with a slightly firmer line. Additionally, add a stem, highlight spot, and shadow beneath the fruit. Finally, build shading gradually with soft strokes. Always work light to dark so you stay in control throughout the process.
What are easy fruits to draw for beginners?
Apples, bananas, and lemons are fantastic starting points because their shapes are simple and familiar. Additionally, cherries are wonderful for beginners since they consist of small circles with curved stems. Strawberries are equally approachable — just a rounded triangle with a leafy top. Therefore, any of these make excellent first fruit drawing pencil sketches for a new sketchbook practice.
How do you shade fruit drawings with a pencil?
First, decide where your light source is coming from — for example, the upper left. The opposite side of the fruit receives your darkest shading. Use gentle circular or straight hatching strokes and build up layers slowly. Additionally, leave a small white highlight unshaded near the light source. Blending with a tortillon or fingertip softens transitions and gives your fruit a smooth, rounded look.
How do you draw realistic fruit with pencil sketches?
Realism comes from careful observation rather than complicated technique. Study the actual fruit and notice where it is lightest, darkest, and most colorful. Additionally, pay attention to subtle surface details like the dimple on an orange or the crease on a peach. Layering soft pencil tones gradually, rather than pressing hard immediately, creates the smooth gradients that make fruit drawing pencil sketches look convincingly three-dimensional.
What pencil is best for drawing fruit sketches?
A set with at least HB, 2B, and 4B pencils covers almost everything you need. HB is perfect for light initial outlines, while 2B handles mid-range shading beautifully. For deep shadows, a 4B delivers rich, velvety darks without much pressure. Additionally, a good quality eraser and smooth cartridge paper make a noticeable difference. Therefore, even a small beginner pencil set gets excellent results for fruit drawing pencil sketches.
How do you draw a bowl of fruit with a pencil?
Begin by sketching the bowl shape as a simple curved rectangle with an ellipse for the opening. Next, loosely block in the largest fruits first — for example, a round apple or pear sitting prominently. Then layer smaller items like grapes or cherries around them. Additionally, vary the heights so some fruit peeks above the rim. Shading the bowl separately from the fruit creates clear separation and depth in the composition.
How do you sketch a banana with a pencil step by step?
Draw a gentle curved line for the outer edge of the banana, then mirror a shorter curve beneath it for the inner edge. Connect both ends with small rounded tips. Next, add two or three subtle ridge lines running along the length to suggest its faceted shape. Additionally, shade the inner curve darker and leave the outer curve lighter. Finally, a soft shadow underneath anchors the banana to its surface convincingly.
How do you draw an apple pencil sketch for beginners?
Start with a light circle, then indent the top slightly where the stem sits and add a small bump at the base. Next, draw a short curved stem emerging from the indent. Add a tiny leaf if you like — it adds charm instantly. Additionally, place your shading on the side away from your imaginary light source. Leaving a small oval unshaded near the top creates an appealing highlight that brings the apple to life.
What are some simple fruit drawing ideas for sketchbooks?
Single fruits like a lemon, plum, or strawberry are ideal because they fit neatly on one sketchbook page. Additionally, sliced cross-sections — for example, a halved orange — offer beautiful pattern practice. Clusters like grapes or blueberries help you practice repeating shapes confidently. Meanwhile, a simple bowl of mixed fruit is a satisfying step up when you feel ready. Any of these fruit drawing pencil sketches fill a sketchbook with variety and real skill-building.
How do you add texture to fruit drawings using pencil techniques?
Different fruits need different texture approaches. For example, an orange skin calls for tiny stippled dots applied with a sharp pencil tip. A strawberry benefits from small oval seed indentations scattered across its surface. Additionally, a peach looks convincingly fuzzy when you use short, soft strokes following the fruit’s curve. Therefore, studying the real fruit before drawing helps you choose the right mark-making technique for genuinely convincing, tactile results.
Have any thoughts?
Share your reaction or leave a quick response — we’d love to hear what you think!
-
 0
0 -
0
-
0
-
0
-
0
-
0


